
I am sharing the Silly Goose Witch Hat Tutorial today! You can follow along with this post. Or download the printable PDF at the bottom of the post which has more pictures. I also have a Companion Video on YouTube linked at the bottom of the post.
Let’s get started!
Option 1: Uses two fabric to creat a lined Witch Hat.
Option 2: Uses two fabric quilted with batting inbetween to create a quilted Witch Hat.
Supplies
Print the Pattern Pieces available at the link at the bottom of this post. Includes Instructions too.
Optional 6.5” elastic or two long ties/ribbons.
Option 1: Fat Eighth of two different fabrics.
Option 2: Fat Eighth of two different fabrics.
Fat eighth batting. – I like to use cotton batting.
10” square of quilting cotton for binding. Or 22″ x 2.25″ of bias binding. The bias is very important.
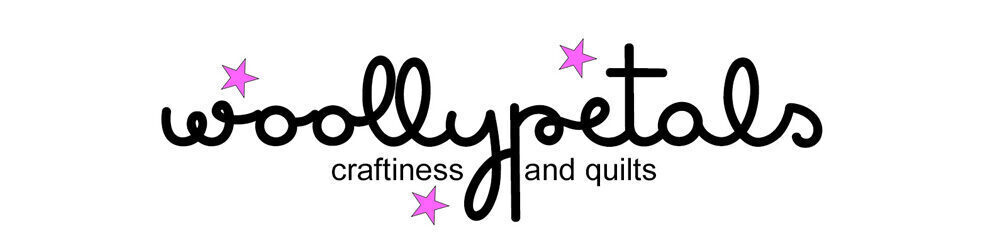
Cutting Info:
Option 1: Cut 1 from each fabric of the Hat Top and the Hat Brim.
Cut 1 6.5″ piece of elastic or 2 10″+ long ribbons or ties.
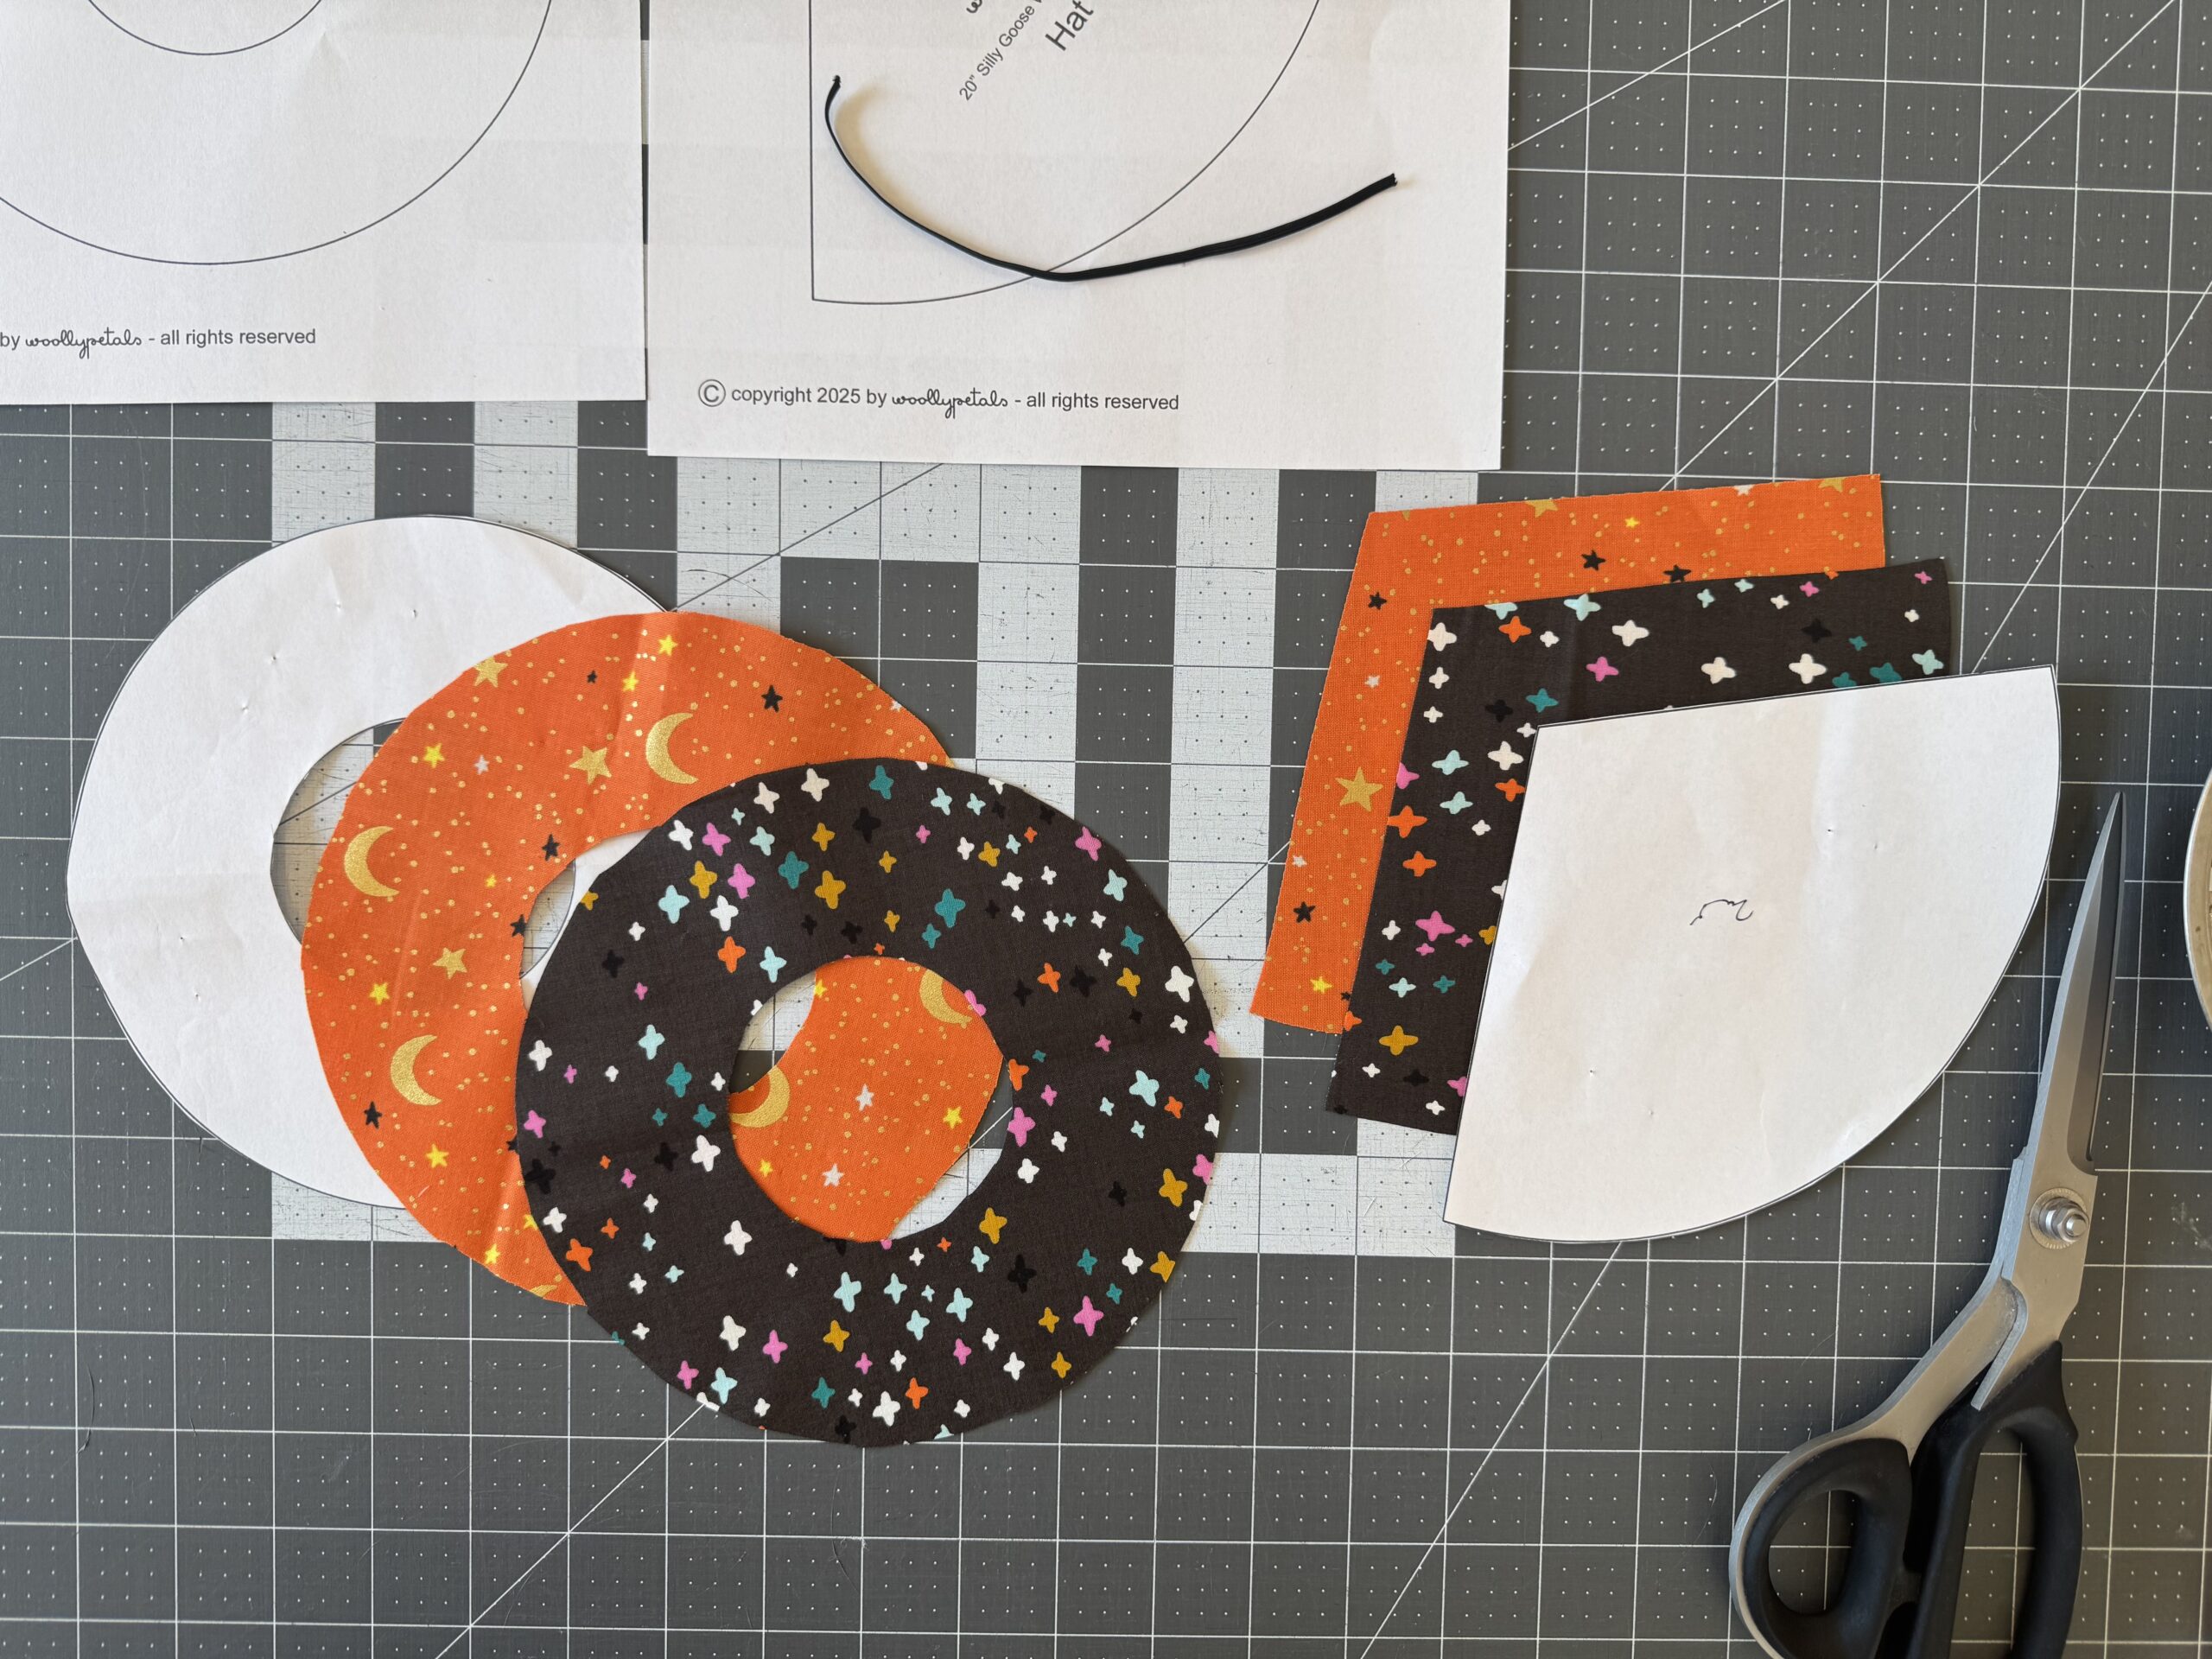
Option 2: Make a fabric sandwich with the main fabric and the lining fabric right sides facing out, with batting in-between.
Quilt as desired. I would suggest an allover style quilting pattern or a grid. Once quilted:
Cut 1 each of the Hat Brim and the Hat Top.
Bias Binding: Cut the 10″ square in half on the diagonal and then sew together to make a parallelogram. Cut 2 – 2.25″ wide strips. Sew strips together on the angle end to end.
If desired you can use the reminder of the parallelogram to cut binding for the Top to Brim seam. I don’t bind this seam though.
Option 1 Sewing Instructions
Sew with a ¼” seam allowance.
Complete steps below for both lining and exterior fabrics. Pay attention to (parenthesis) for lining pieces only.
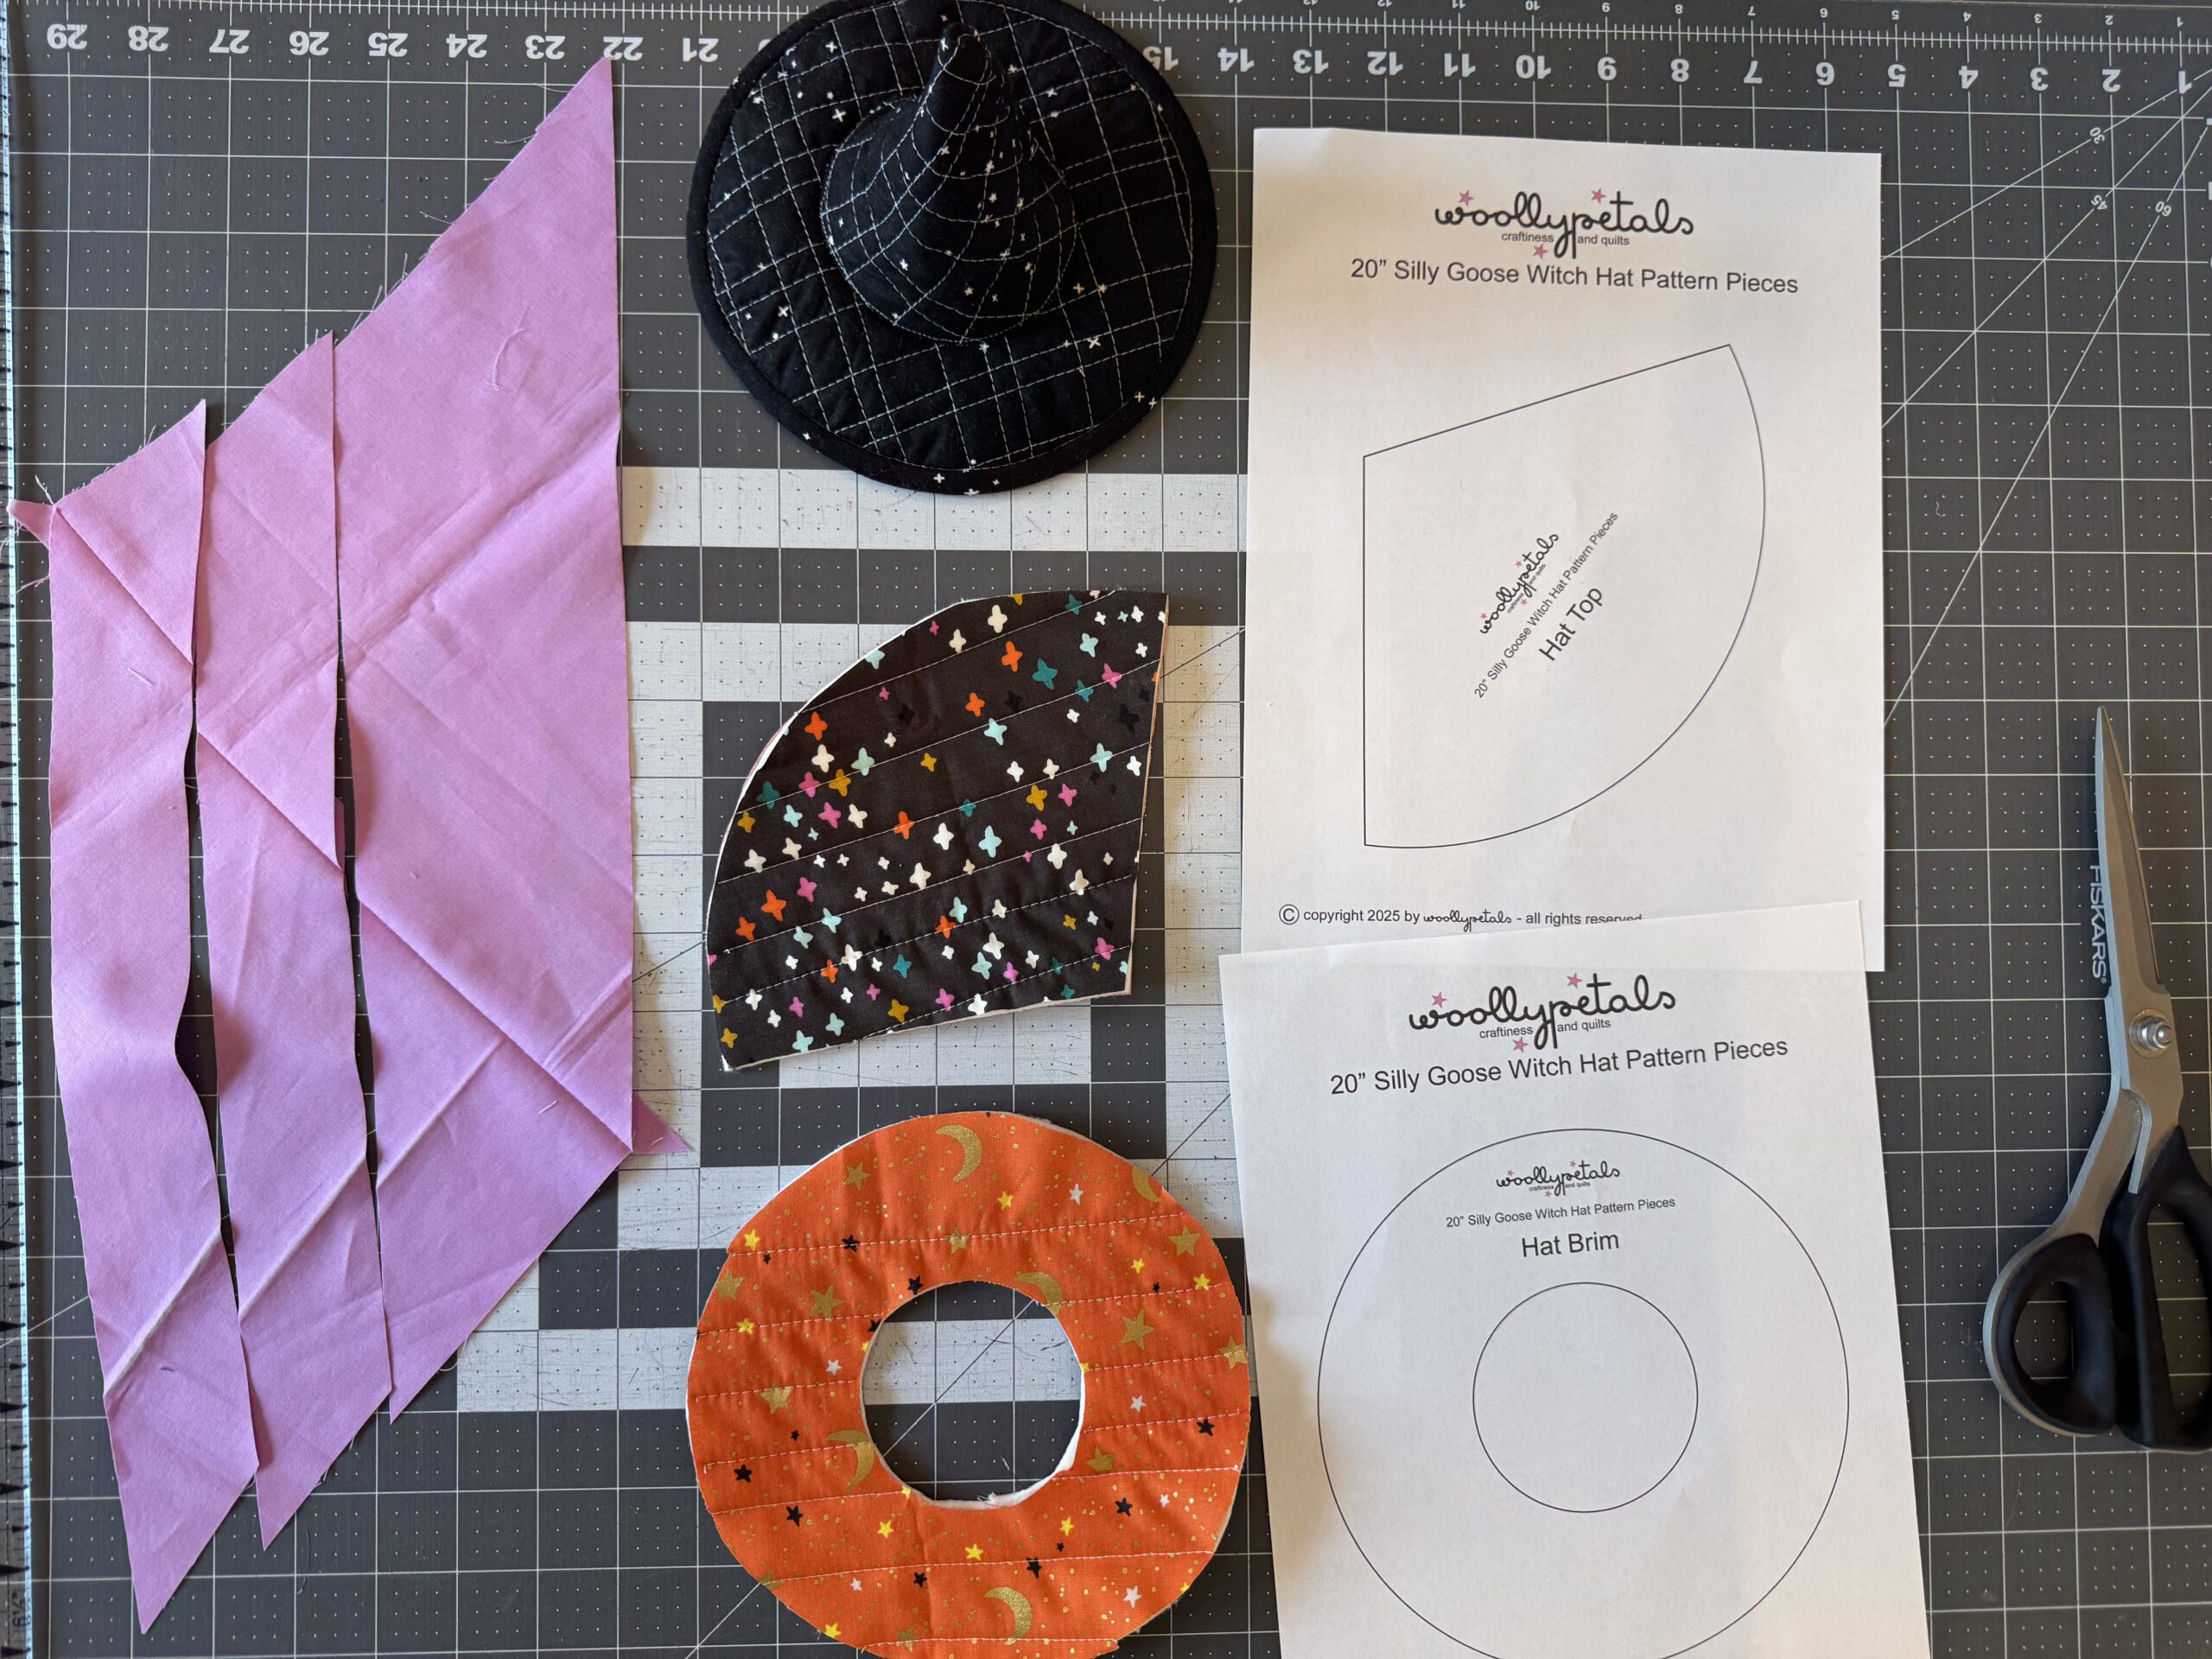
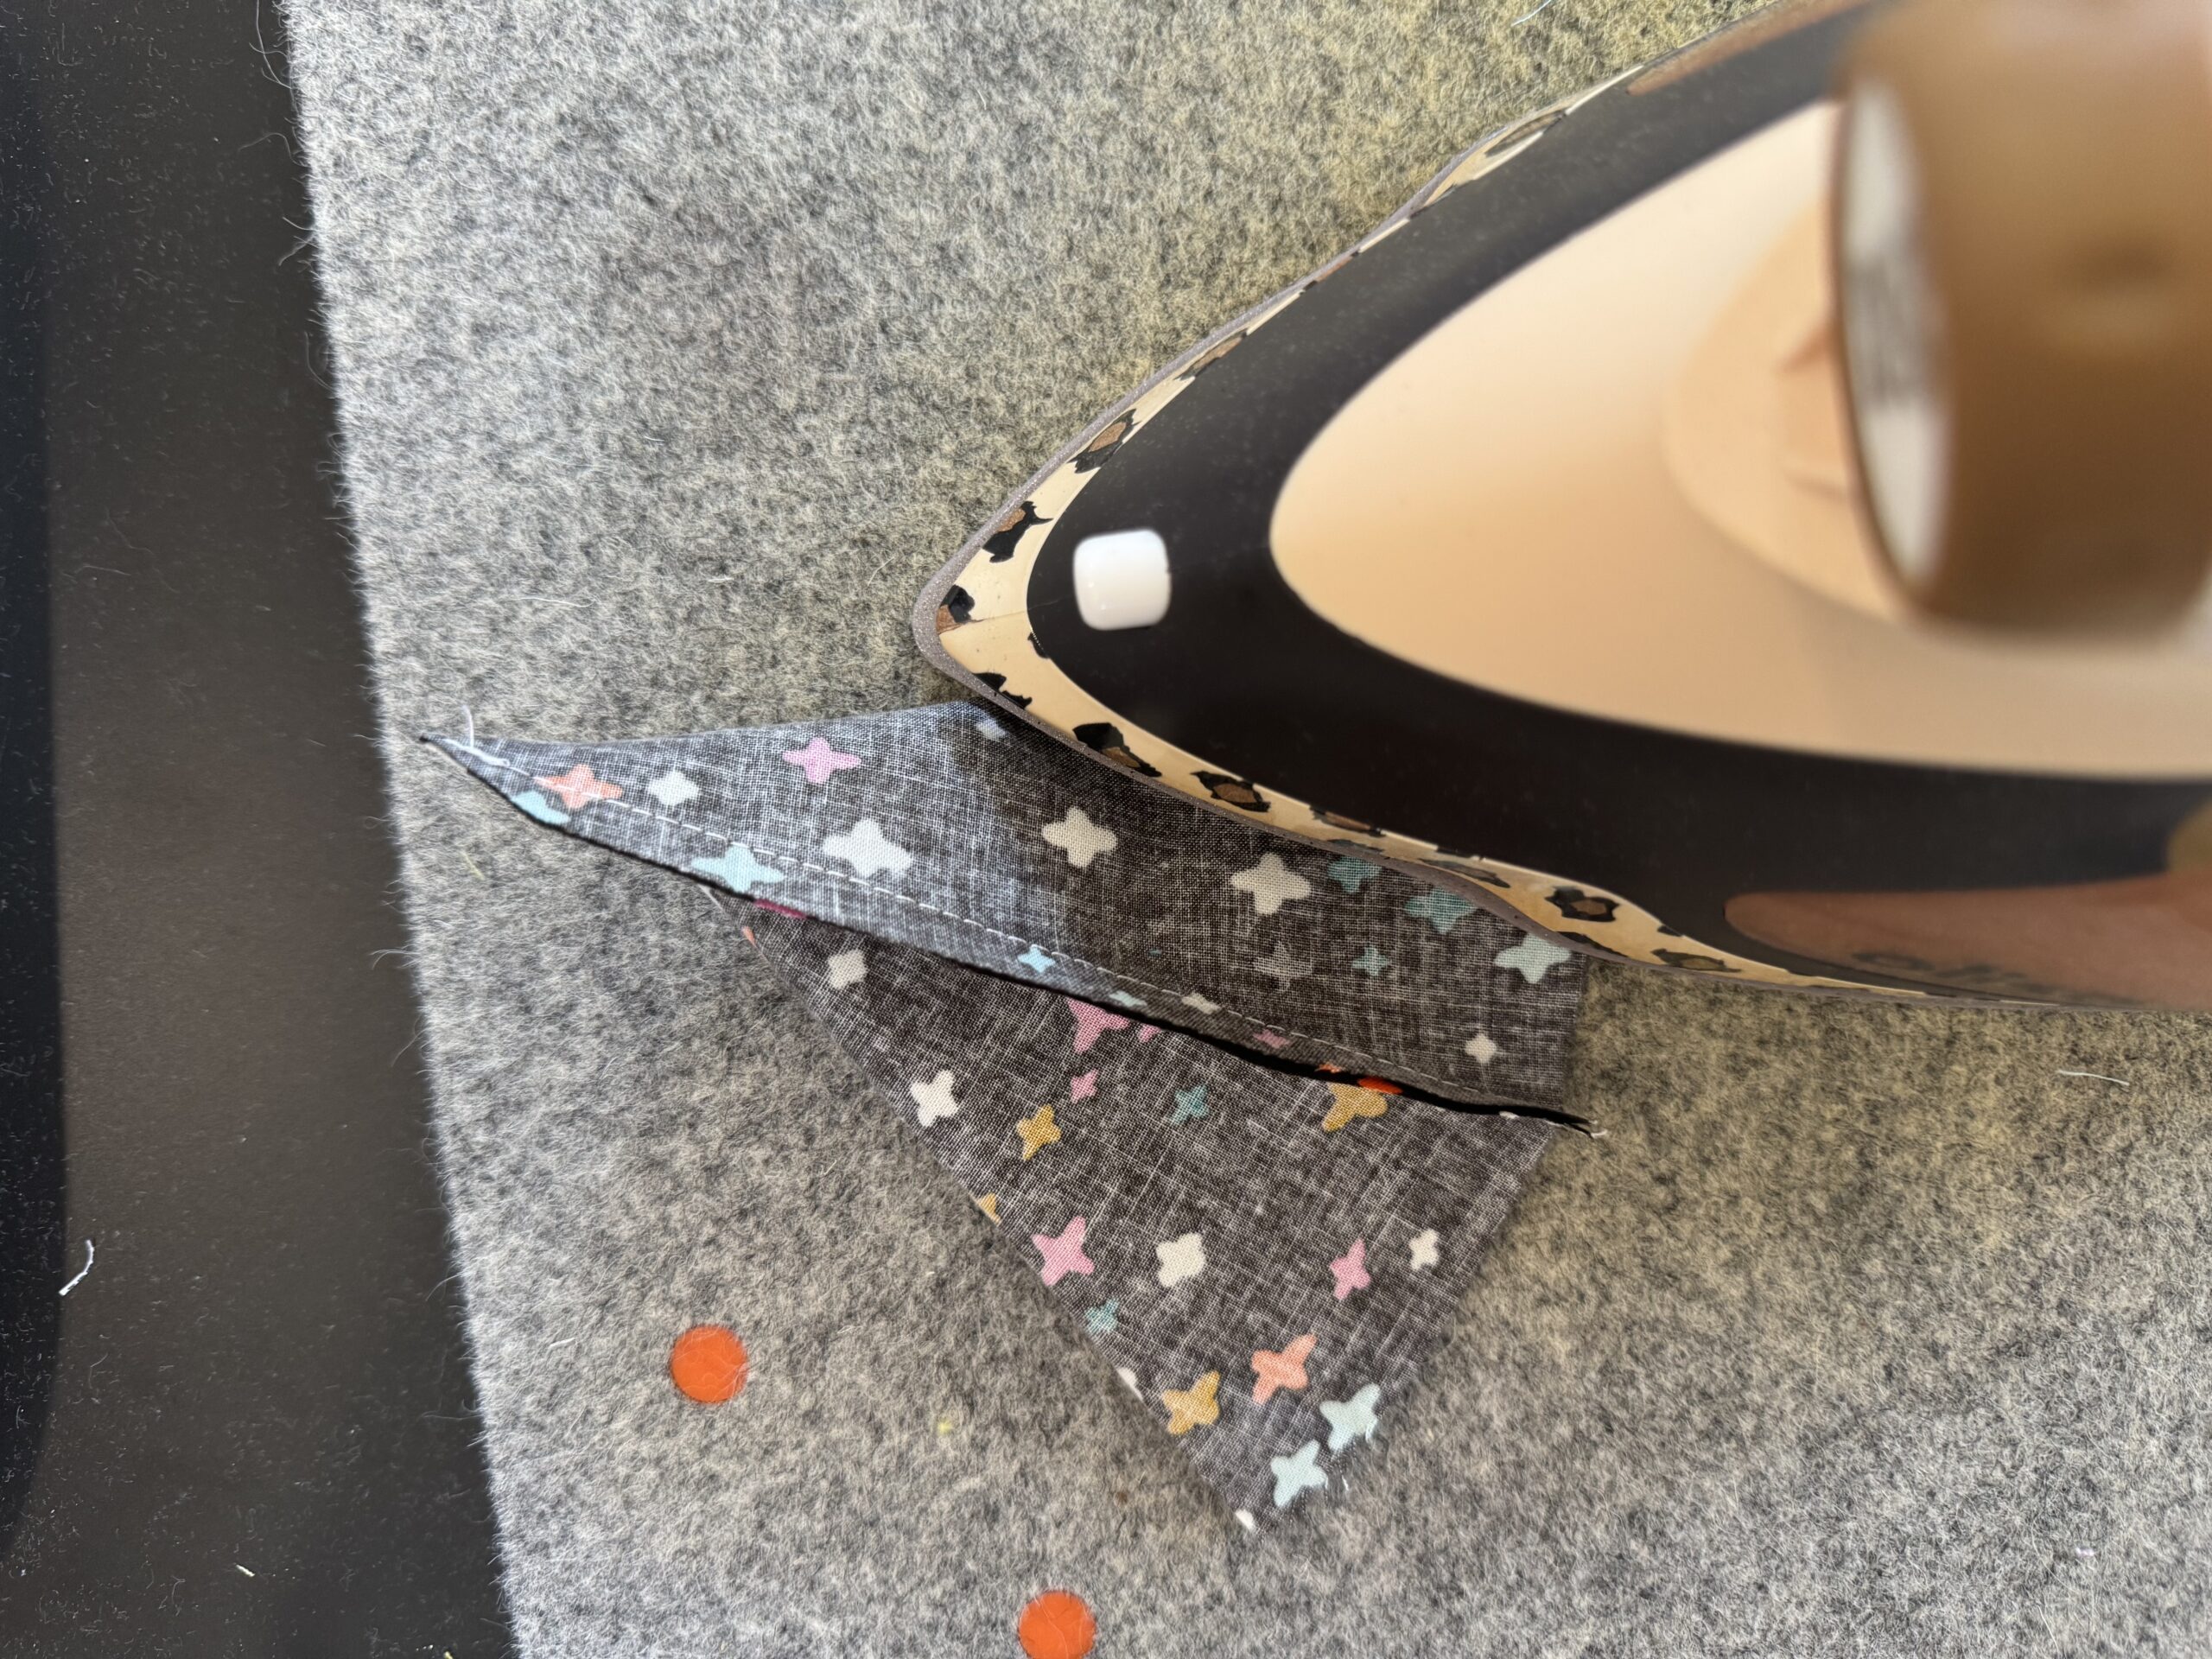
- Fold each Hat Top in half aligning the flat sides.
- Sew together along the straight side. Press seam open. (Lining Only) Leave a 1.5” opening in the middle of the Hat Top seam for turning.
- With the Hat Top folded in half at the seam, press a crease in the opposite side.
- Align that crease with the seam and press a crease on the other two sides.
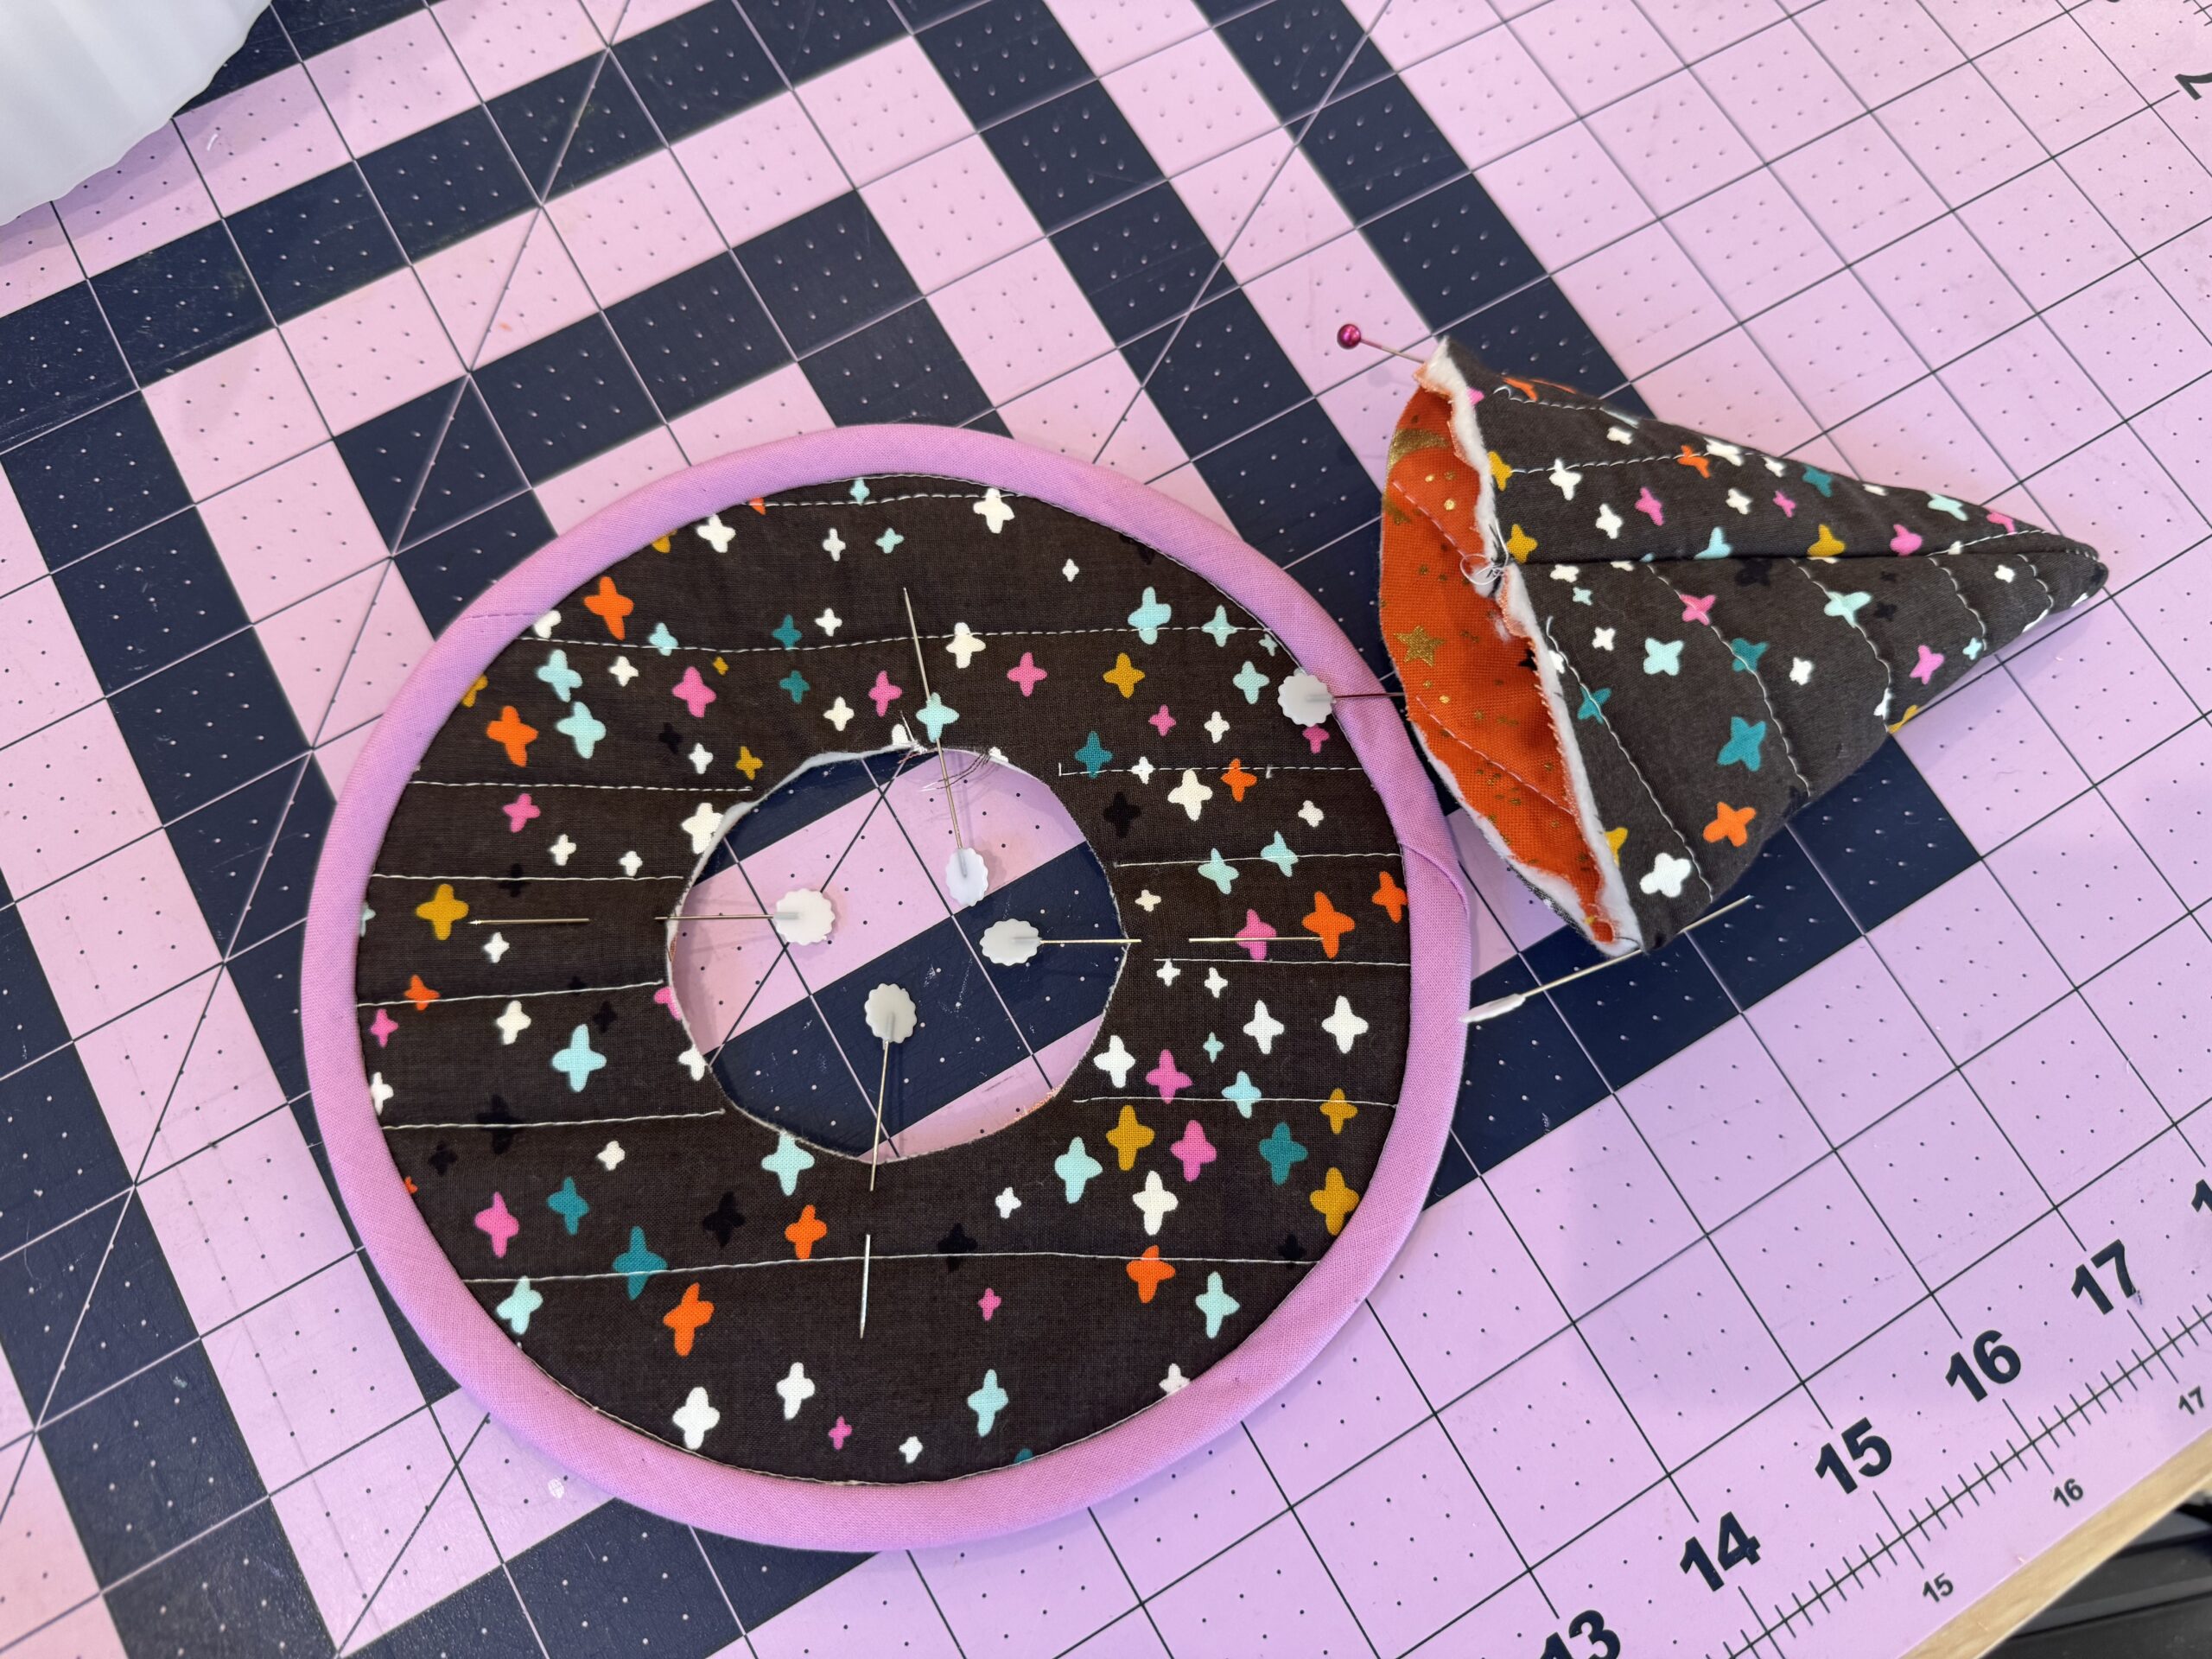
- Fold the Hat Brim in half and press a crease where it folds on the inner circle.
- Fold the Hat Brim in half again aligning the new crease marks and press a crease on the inner circle.
- You have now made four crease marks evenly spaced around the bottom curve of the Hat Top, and the inner circle of the Hat Brim.
- (Lining Only) For the lining Hat Top align the elastic ends on top of the two side creases and baste 1/8” away from the Hat Top edge. I consider the seam on the Hat Top as the back.
- OR if using ribbons or ties; align the edge of one tie on each of the side creases and baste in place.
- Place the Hat Top into the Inner Circle of the Hat Brim with right sides together, align the marks on the Hat Brim edge with the marks on the Hat Top edge. Pin each set of creases/seam together to align edges evenly.
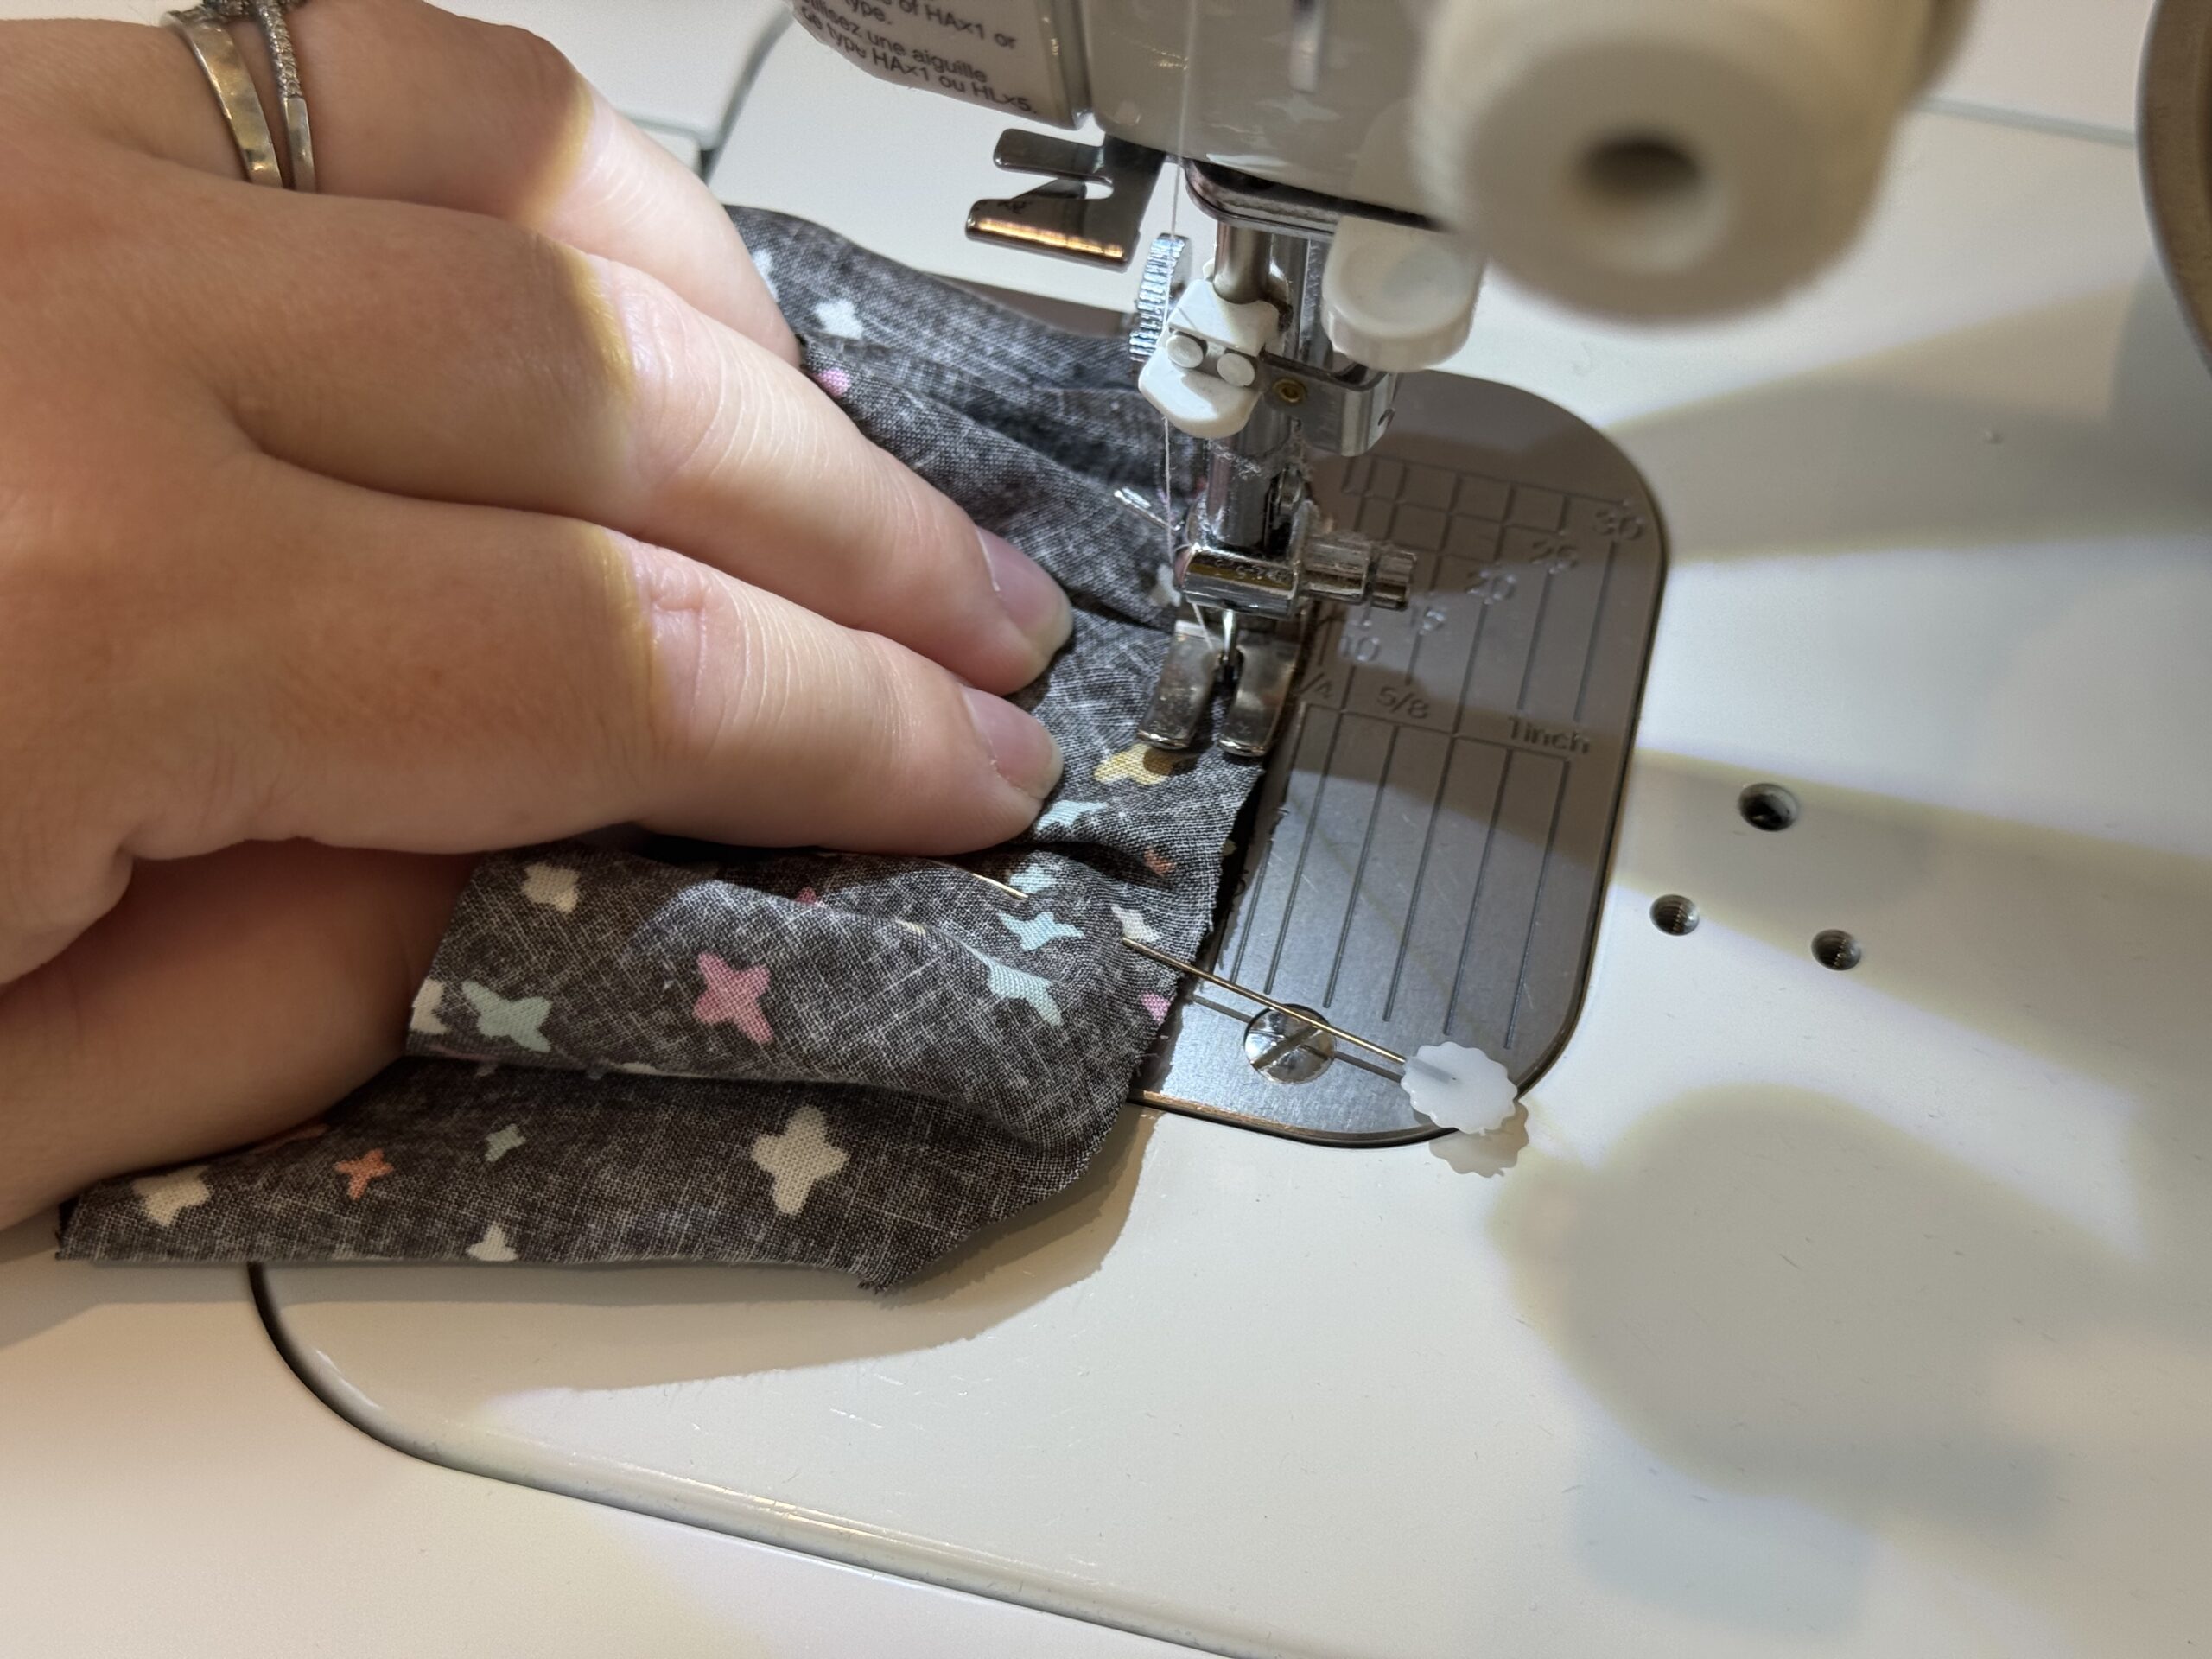
- With the Hat Brim on the top, sew the pieces together easing the Hat Brim to meet the Hat Top edges around the circle.
Repeat with the lining Hat Top and Hat Brim pieces. Noted the bold print for lining pieces.
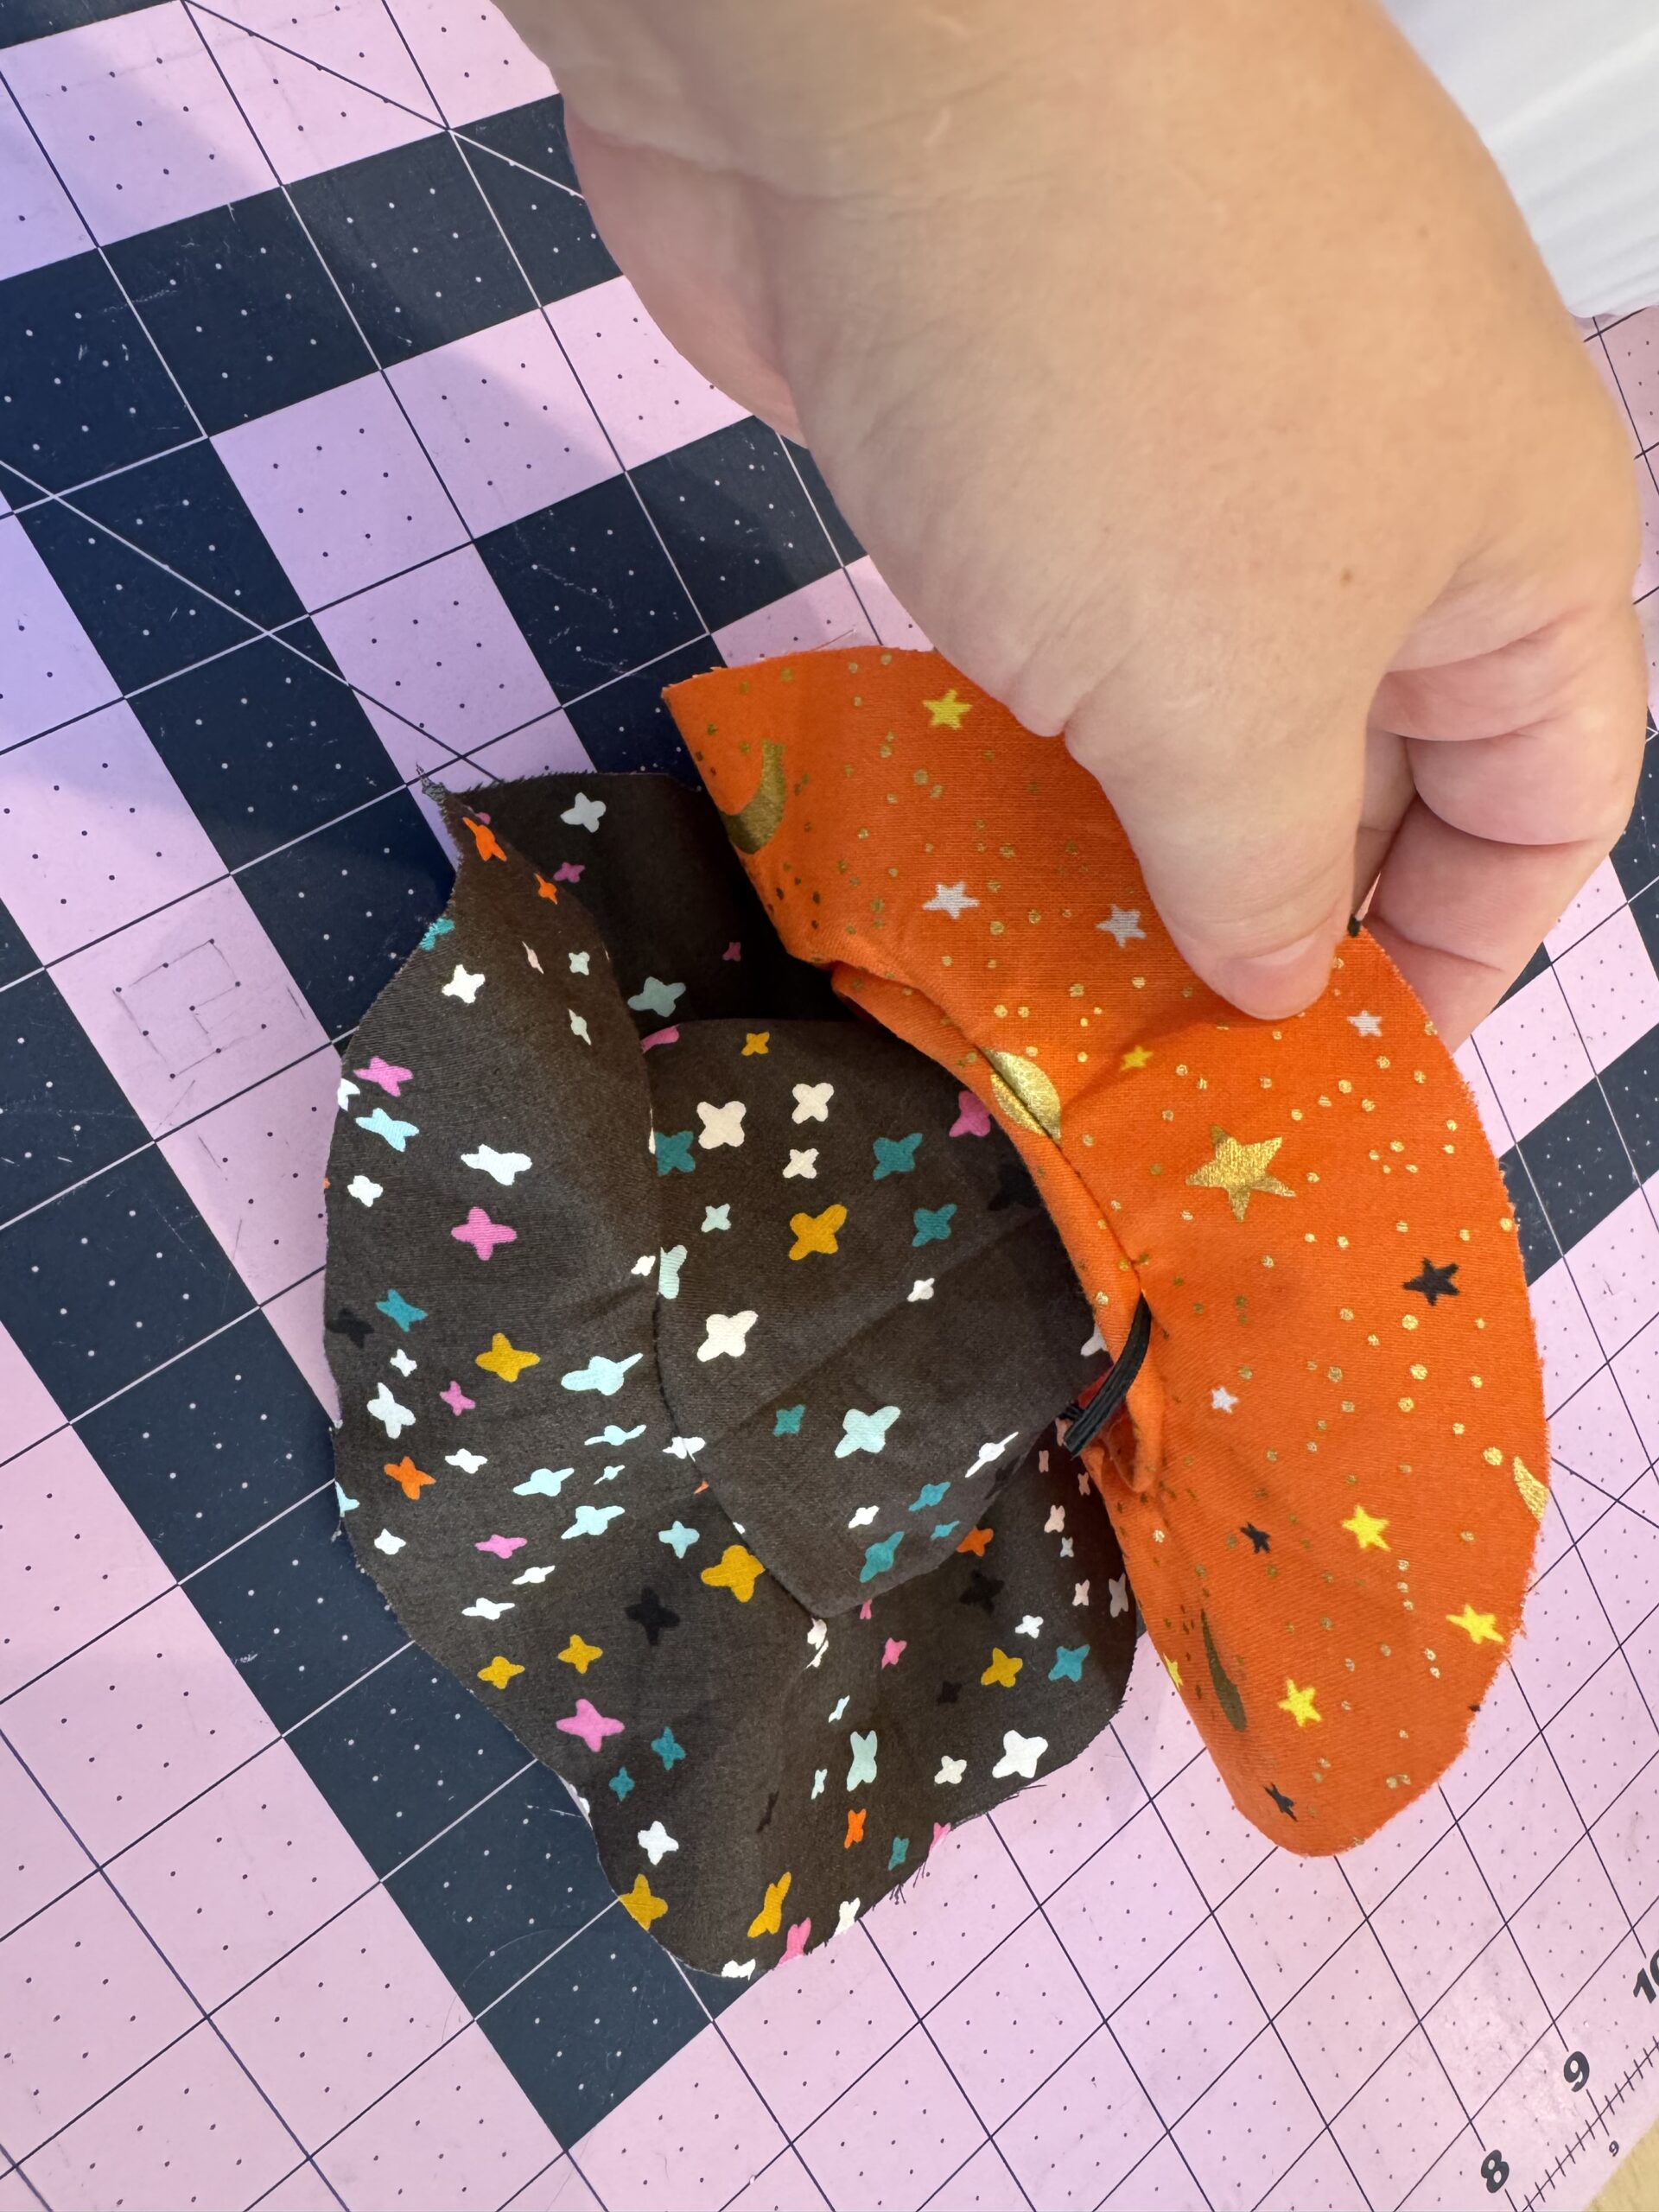
- Turn the Main Fabric Hat right side out and the Lining Fabric Hat wrong sides out. Align the hats with the Main Fabric Hat tucked inside the Lining Fabric Hat and outside brim edges all aligned.
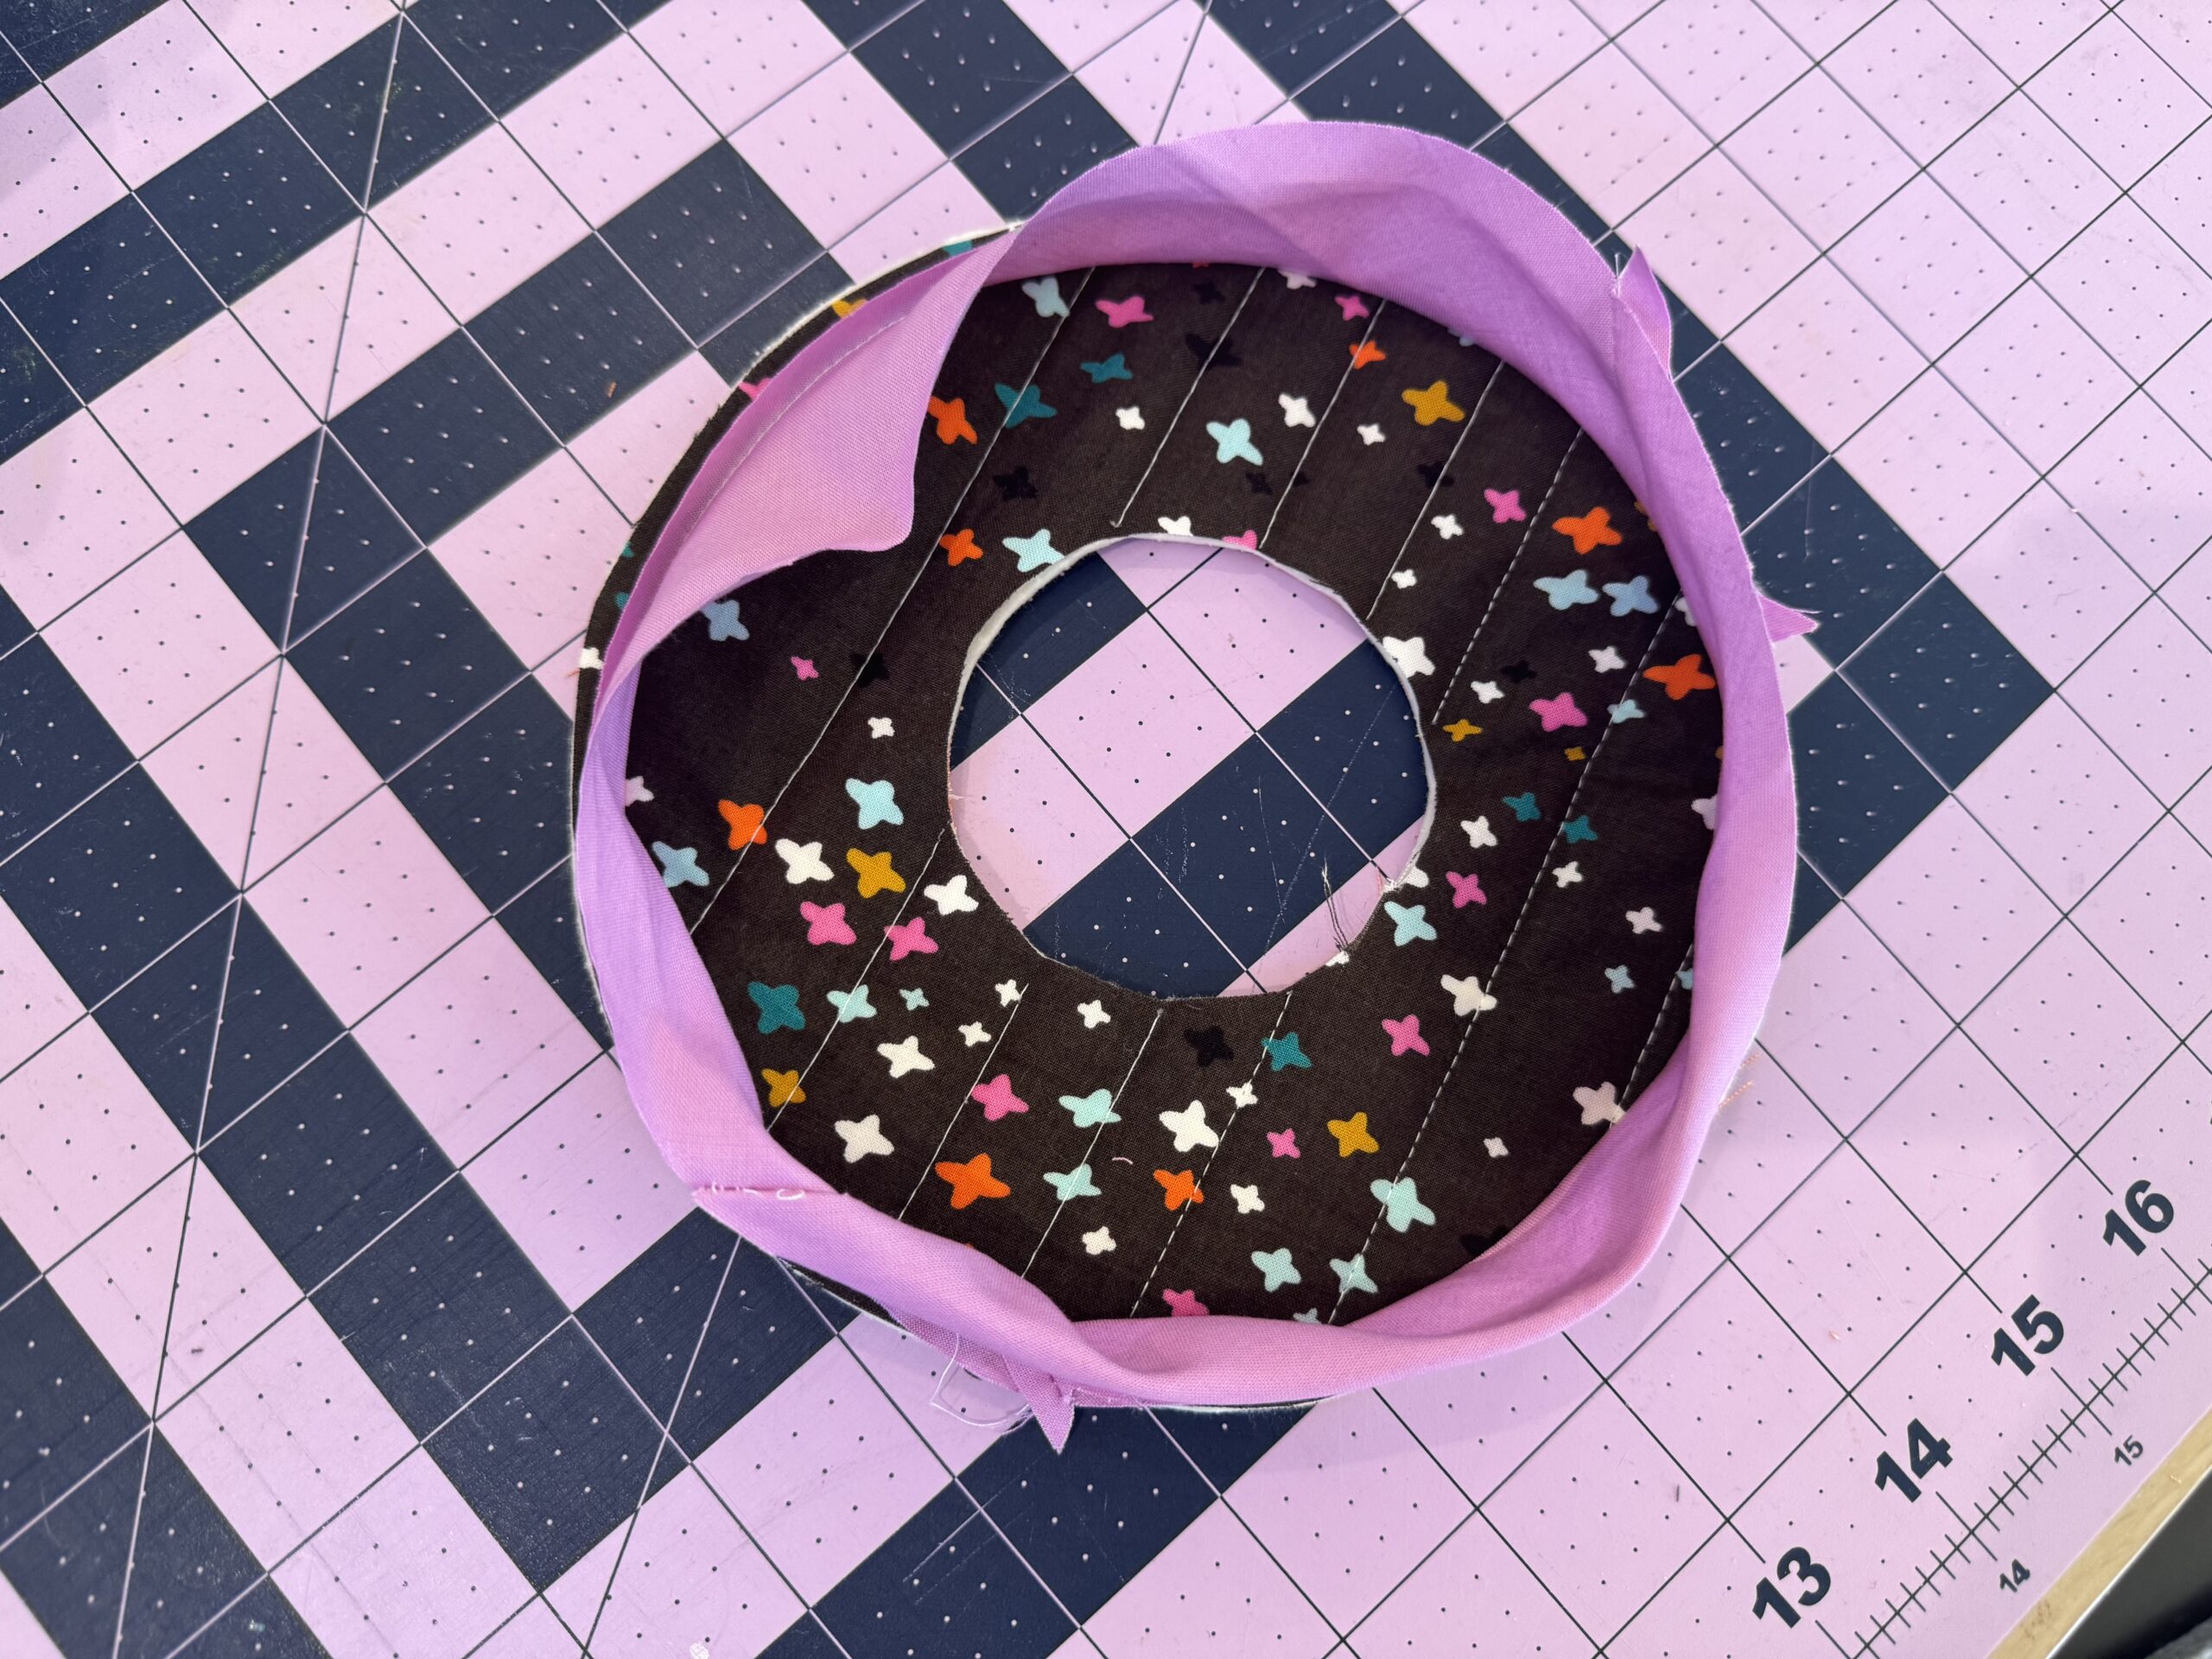
- Sew a seam around the perimeter of the brim.
- Clip the edge seam to relieve any pressure on the seam. Also clip the seam where the Hat Top attaches to the Hat Brim.
- Turn the Hat right sides out through the lining opening, smooth out the brim edge and press.

- Sew up the opening in the lining using a ladder stitch. (Find a ladder stitch tutorial video on my Youtube.) If you don’t want this hat to be reversible you can top stitch the opening closed. Being reversible will NOT work with an elastic or ties.
Try the Witch Hat on your Silly Goose!
Option 2 Sewing Instrutions
Sew with a ¼” seam allowance.
- Fold the Hat Top in half aligning the flat sides.
- Sew together on straight side. Press seam open. (See pictures on page 2 from lined hat. )
Bind the brim edge using the strips cut from the 10” square. See video for cutting of binding.
- Sew the binding strip on top of the outer edge of the Hat Brim with ¼” seam allowance.
- Fold the binding around the edge of the brim and tuck the binding under the brim with the raw edge folded under on the lining side.
- Top stitch on the top of the brim just outside the edge of the binding seam to attach the binding on the underside.
If the fabric is too thick to make the creases with an iron use a pin to mark the spot on the next couple of steps.
- With the Hat Top folded in half at seam, press a crease in the opposite side.
- Align that crease with the seam and press a crease on the other two sides.
- Fold the Hat Brim in half and press a crease where it folds on the inner circle.
- Fold the Hat Brim in half again aligning the new crease marks and press a crease where it folds on the inner circle.
- You have now made four crease marks evenly spaced around the bottom curve of the Hat Top, and the inner circle of the Hat Brim.
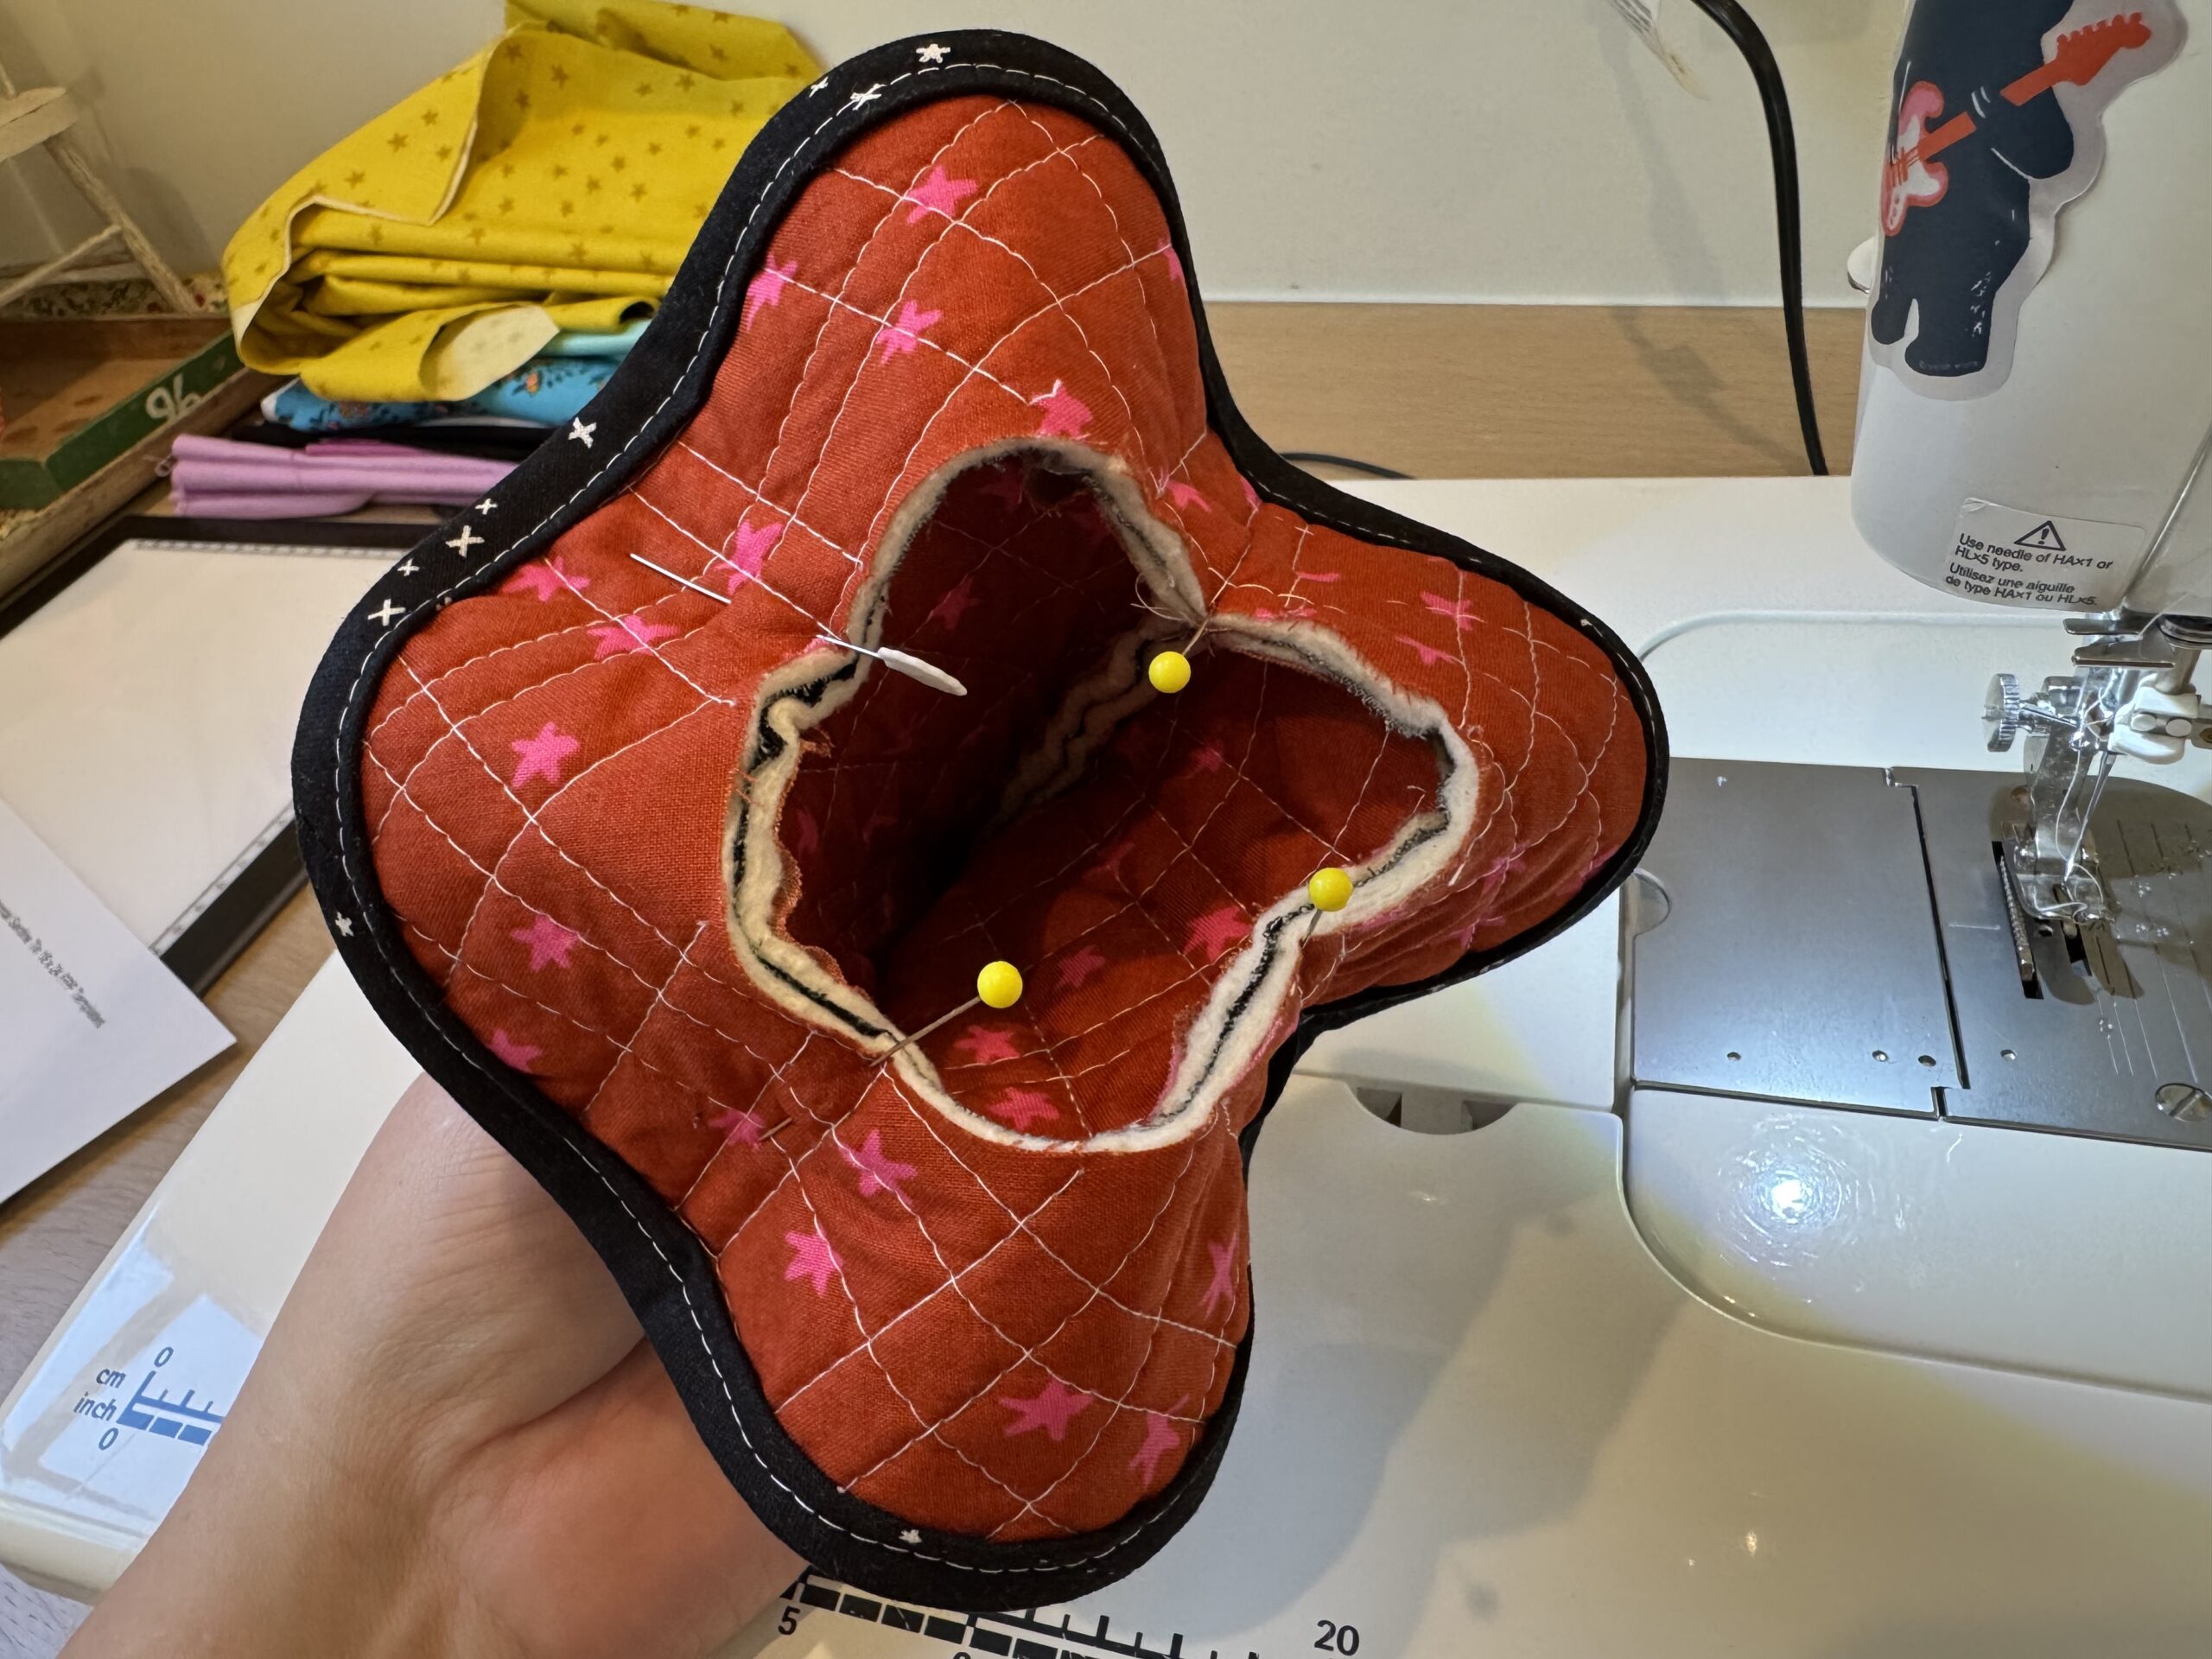
- With the Hat Top right sides facing out, and the Hat Brim right sides facing down insert the Hat Top into the Hat Brim as shown and align the marks on the Hat Brim inner circle edge with the marks on the Hat top curved bottom edge. Pin each set of creases/seam together to align edges evenly.
- With the Hat Brim on the top, sew the two pieces together easing the Hat Brim to meet the Hat Top edges around the circle. See picture on page 3 or watch Companion Video.
- Attach the elastic or ties to the sides sewing the edges only to the seam allowance of the Hat Top and Hat Brim.
- If desired, you can bind the seam connecting the Hat Top to the Hat Brim as well. Or just top stitch that seam allowance up toward the Hat Top.
- Try the Witch Hat on your Silly Goose!
Additional Info
I have a Companion Video on YouTube HERE walking your through making either option step by step.
Download the PDF Version of the Silly Goose Witch Hat Pattern with the Pattern Pieces HERE.
Please share using hashtag #woollypetalssillygoosewitchhat on social media. Tag me if you remeber! I would love to see it!
Thanks for stopping by and checkin gout my Silly Goose Witch Hat Tutorial!
Thank you so much for the kind generous gift of your time, pattern, and video for the witch’s hat. Your style of teaching really resonates with my brain.I can’t wait to start sewing!
Thanks you! I hope your emjoy making it!