
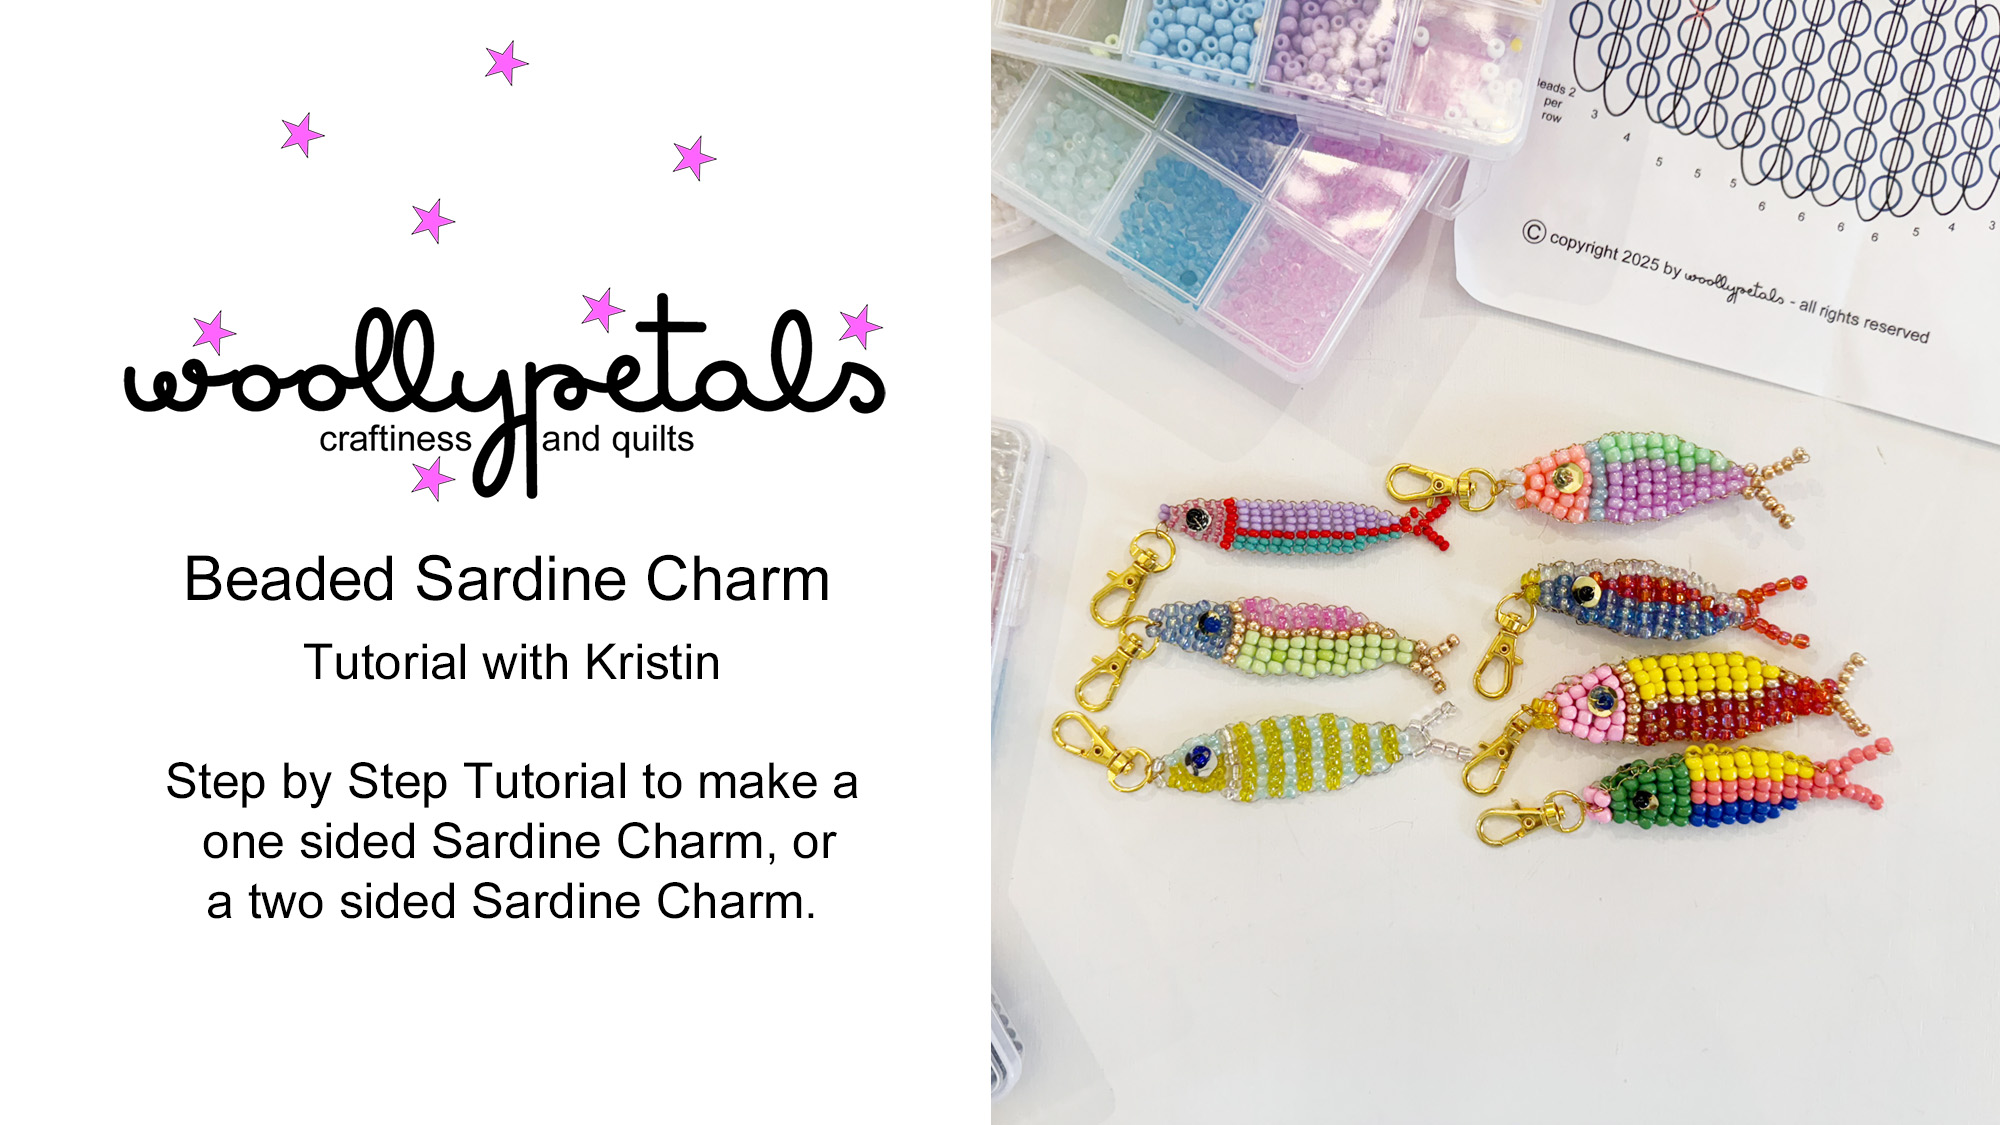
Let’s make a Beaded Sardine Charm! You can find the full YouTube Video at the link below. Scroll down for a Supply List where I link to all the items I used. I don’t make money from those links. I just like to share what I used. Plus there is a downloadable PDF you can view on your device or print out and keep in your bead kit.
Beaded Sardine Charm YouTube Video Here
Beaded Sardine Charm Downloadable PDF Here
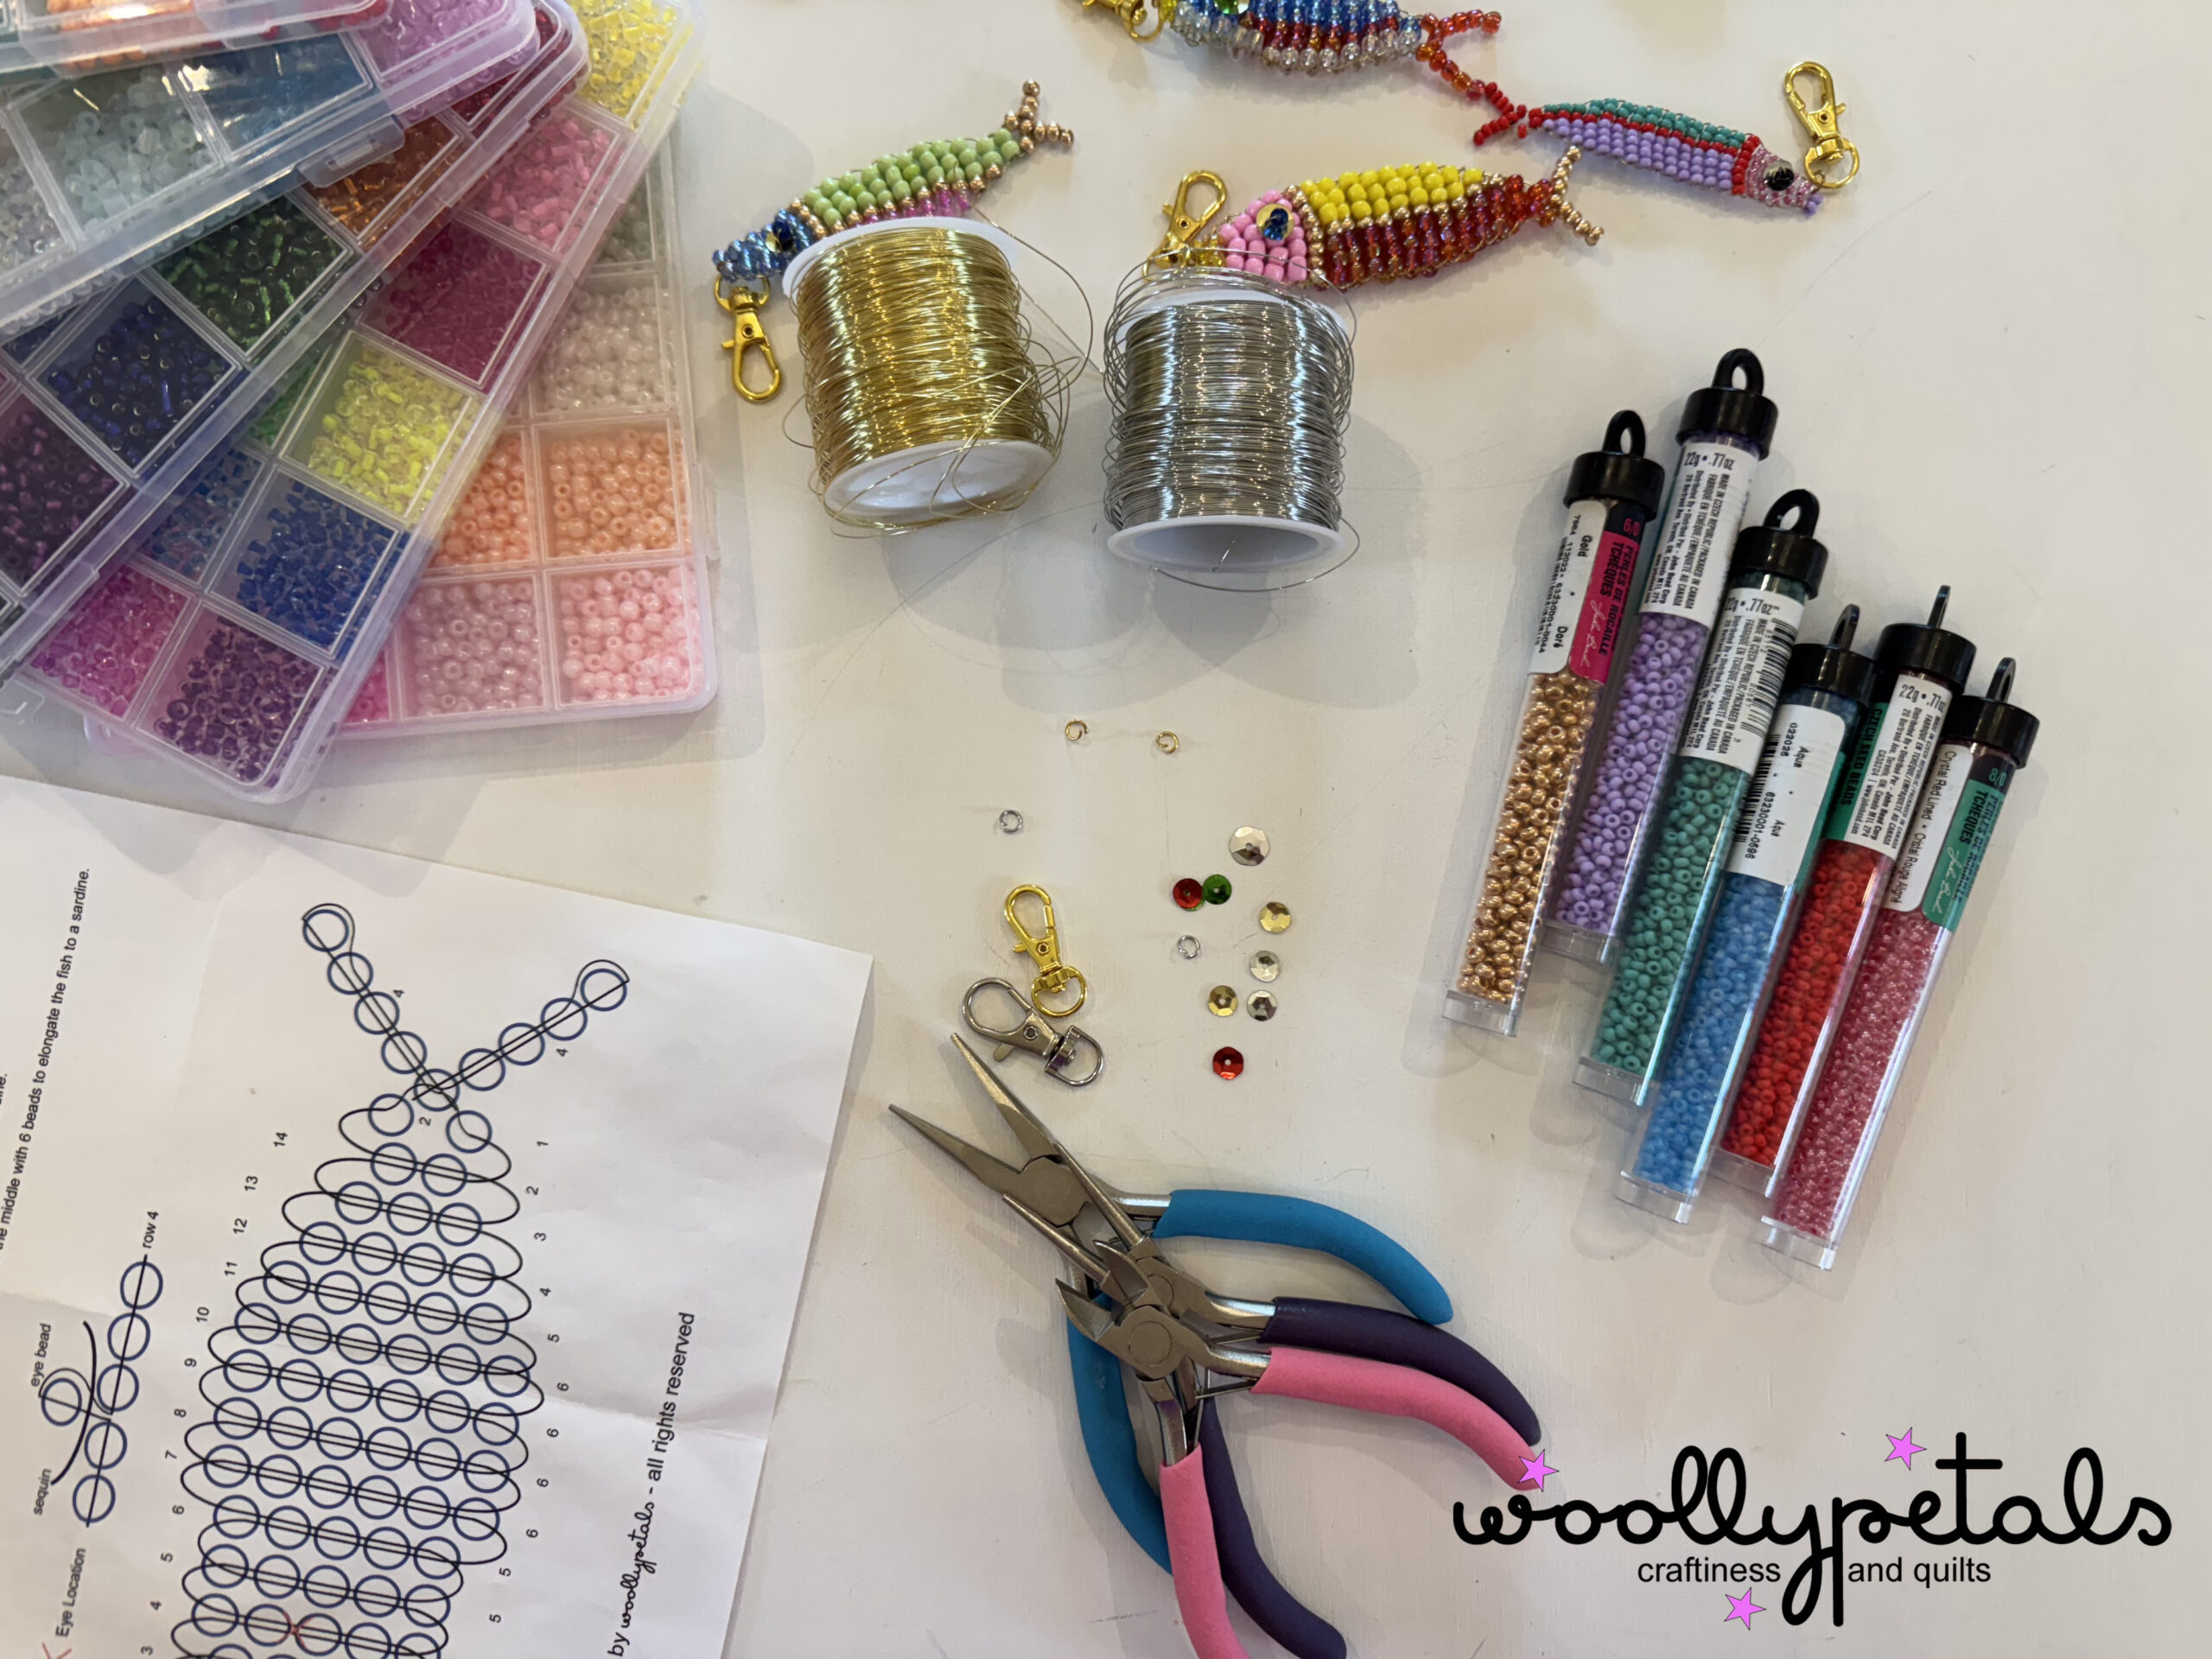
Supplies:
4mm Seed Beads or 3mm Seed Beads, 3 mm equivalent 8/0 Czech Beads from Micheals, 4mm equivalent 6/0 Czech Beads from Micheals.
Swivel Lobster Claw Clip: Silver or Gold
Jump Rings: I used 5mm Silver or 5mm Gold. Link for a kit of multiple sizes with both colors.
Sequins: Any Color. I used 9mm sequins for the 4mm bead sardines and 6-7mm sequins for the 3mm sardine. 8mm white sequins 6mm multilcolored mix of sequins.
Pliers: Trio I bought here. Needle Nose, Round Nose, and Wire Cutters
None of the links here are affliate links.
Tutorial Info
Watch the Video on Youtube and follow the road map on the Beaded Sardine Charm Downloadable PDF printable. Basic written instructions below.
Step 1: Cut a 3ft piece of wire for a single sided sardine charm. OR cut a 6ft piece of wire for a double sided sardine charm.
Step 2: Place two beads with a jump ring inbetween the beads on the wire for row 1. Move beads to the center of the wire.
Step 3: Place three beads on the one side of the wire for row 2. Weave the other side of the wire through the 3 beads and pull both wire ends tight to move the 3 beads to the middle next to the two beads in row 1.
Step 4:Place four beads on one side of the wire for row 3. Repeat above.
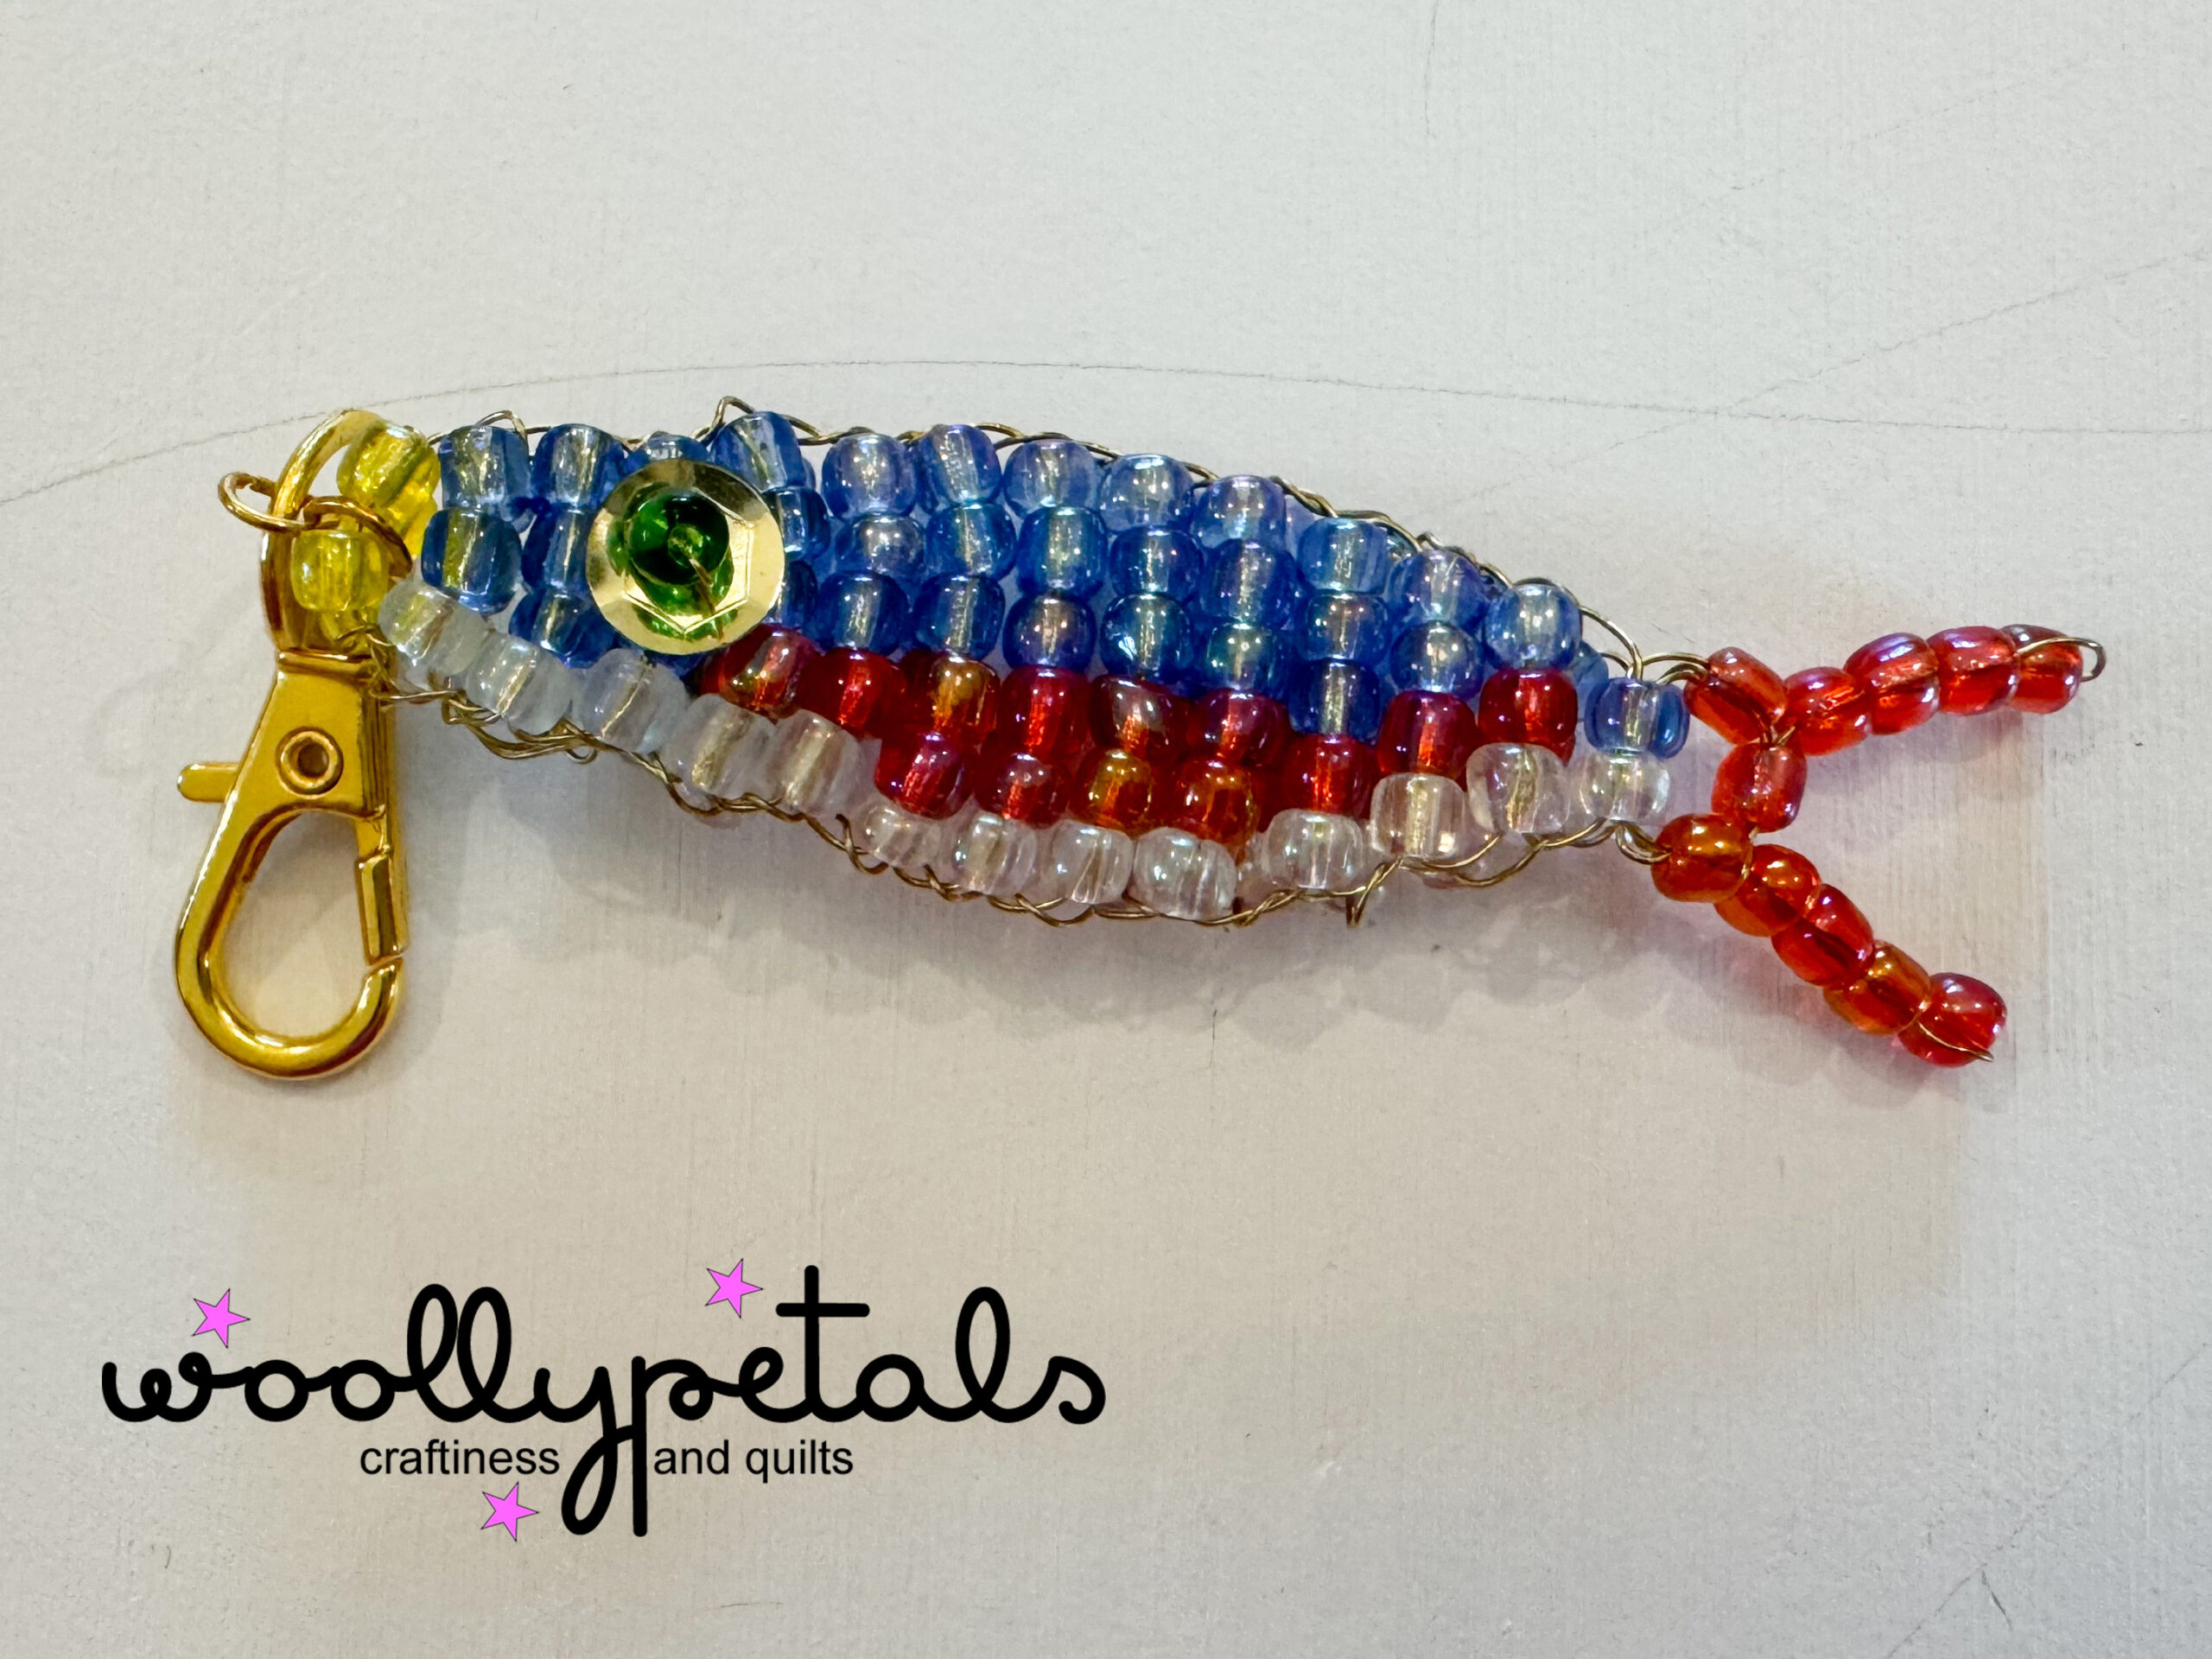
Step 5: EYE ROW: Place 2 beads on one side (top of fish) of the wire for row 4. Place a sequin and a bead for the eye next. Move all down to the bottom of the wire. Wind the wire around the eye bead and back through only the sequin. Pull tight. Place 3 more beads on the row. Weave the other wire side through only the 5 beads and pull row tight.
Step 6: Place 5 beads on one side of the wire for row 5. Weave the other side of the wire through the 5 beads and pull both wire ends tight to move the 5 beads to the middle next to row 4.
Step 7: Place 6 beads on one side of the wire for row 6. Weave the other side of the wire through the 6 beads and pull both wire ends tight to move the 6 beads to the middle next to row 5.
Step 8: Repeat Step 7 at least 3x, longer to create a more elonagated sardine shape if desired.
Step 9: Place 5 beads on one side of the wire for row 11 (or higher if additional rows were added). Weave the other side of the wire through the 5 beads and pull both wire ends tight to move the 5 beads to the middle next to previous row.
Step 10: Place 4 beads on one side of the wire for row 12 (or higher if additional rows were added). Weave the other side of the wire through the 4 beads and pull both wire ends tight to move the 4 beads to the middle next to previous row.
Step 11: Place 3 beads on one side of the wire for row 13 (or higher if additional rows were added). Weave the other side of the wire through the 3 beads and pull both wire ends tight to move the 3 beads to the middle next to previous row.
Step 12: Place 2 beads on one side of the wire for row 14 (or higher if additional rows were added). Weave the other side of the wire through the 2 beads and pull both wire ends tight to move the 2 beads to the middle next to previous row.
Step 13: Place 2 beads on one wire and place one bead on the ther wire. Weave the wire with one bead through the bead on the end of the other wire only. Pull tight. These three beads and the row of two next to it should almsot look like a circle.
Step 14: Place 4 beads on one wire. Wrap the wire around the last bead and weave it through the first 3 beads on the wire. Pull tight to the fish and then weave the wire through the single middle bead from step 13:
Step 15: Place 4 beads on one wire. Wrap the wire around the last bead and weave it through the first 3 beads on the wire. Pull tight to the fish and then weave the wire through the single middle bead from step 13:
Step 16: If you are making only a single sided Sardine Cut wire to about an inch of each side and weave the ends through some of the rows to fasten off.
Step 17: Add a jump ring and a lobster claw swivel slasp to the jump ring in row 1.
For other options see below.
Alternative Sardine Options
If you would like to make a single sided (layer) sardine with an eye on each side, make the sardine as noted above EXCEPT in Row 5 right after you do the sequin and eye bead, add a second sequin and bead before you add the last three beads for row 5. The second sequin and bead should facethe oppostie direction. And sometimes you will need to decrease the three beads after the sequin to two for the row size to work.
For a double sided sardine (2 layers). After you make the full sardine charm as noted above but before you would cut the wire continue the steps below.
Step 16: weave the wire through the singel bead of each side of the tail right after the last row of 2 beads. This will move the wire on each side back to the base of the fish between the fish and the tail.
Step 17: Repeat the Sardine steps 3 – 15 above in reverse. So do Step 15 then Step 14… and so on till you are back at the first row 2 (step 3). Between each row wrap the wire around the wire from the first side to connect the sides as you go.
Step 18: After you finish row 2 and weave the wire around the sides, place one bead on one wire, weave that wire through the jump ring on row 1, then add a second bead. Next weave the second wire through the 2 beads and the jump ring.
Step 19: Cut the wires about 1″ long and seave them back through the rows to finish the wire.
Step 20: Attach the second jump ring and the lobster claw swivel clasp to the first jump ring.
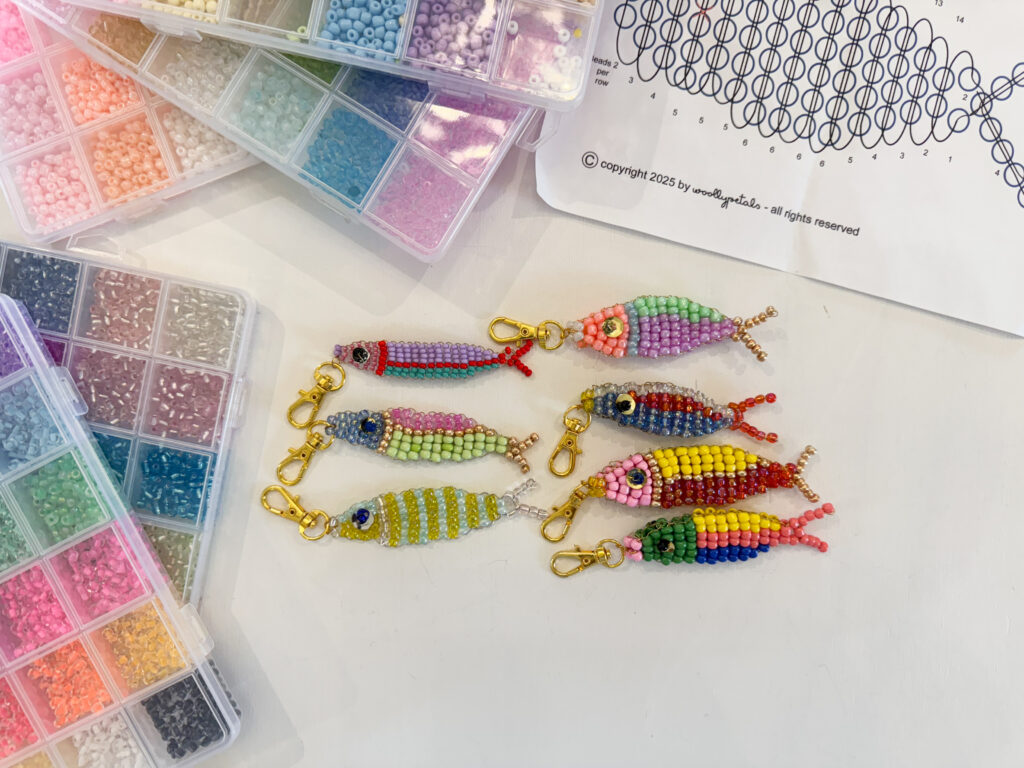
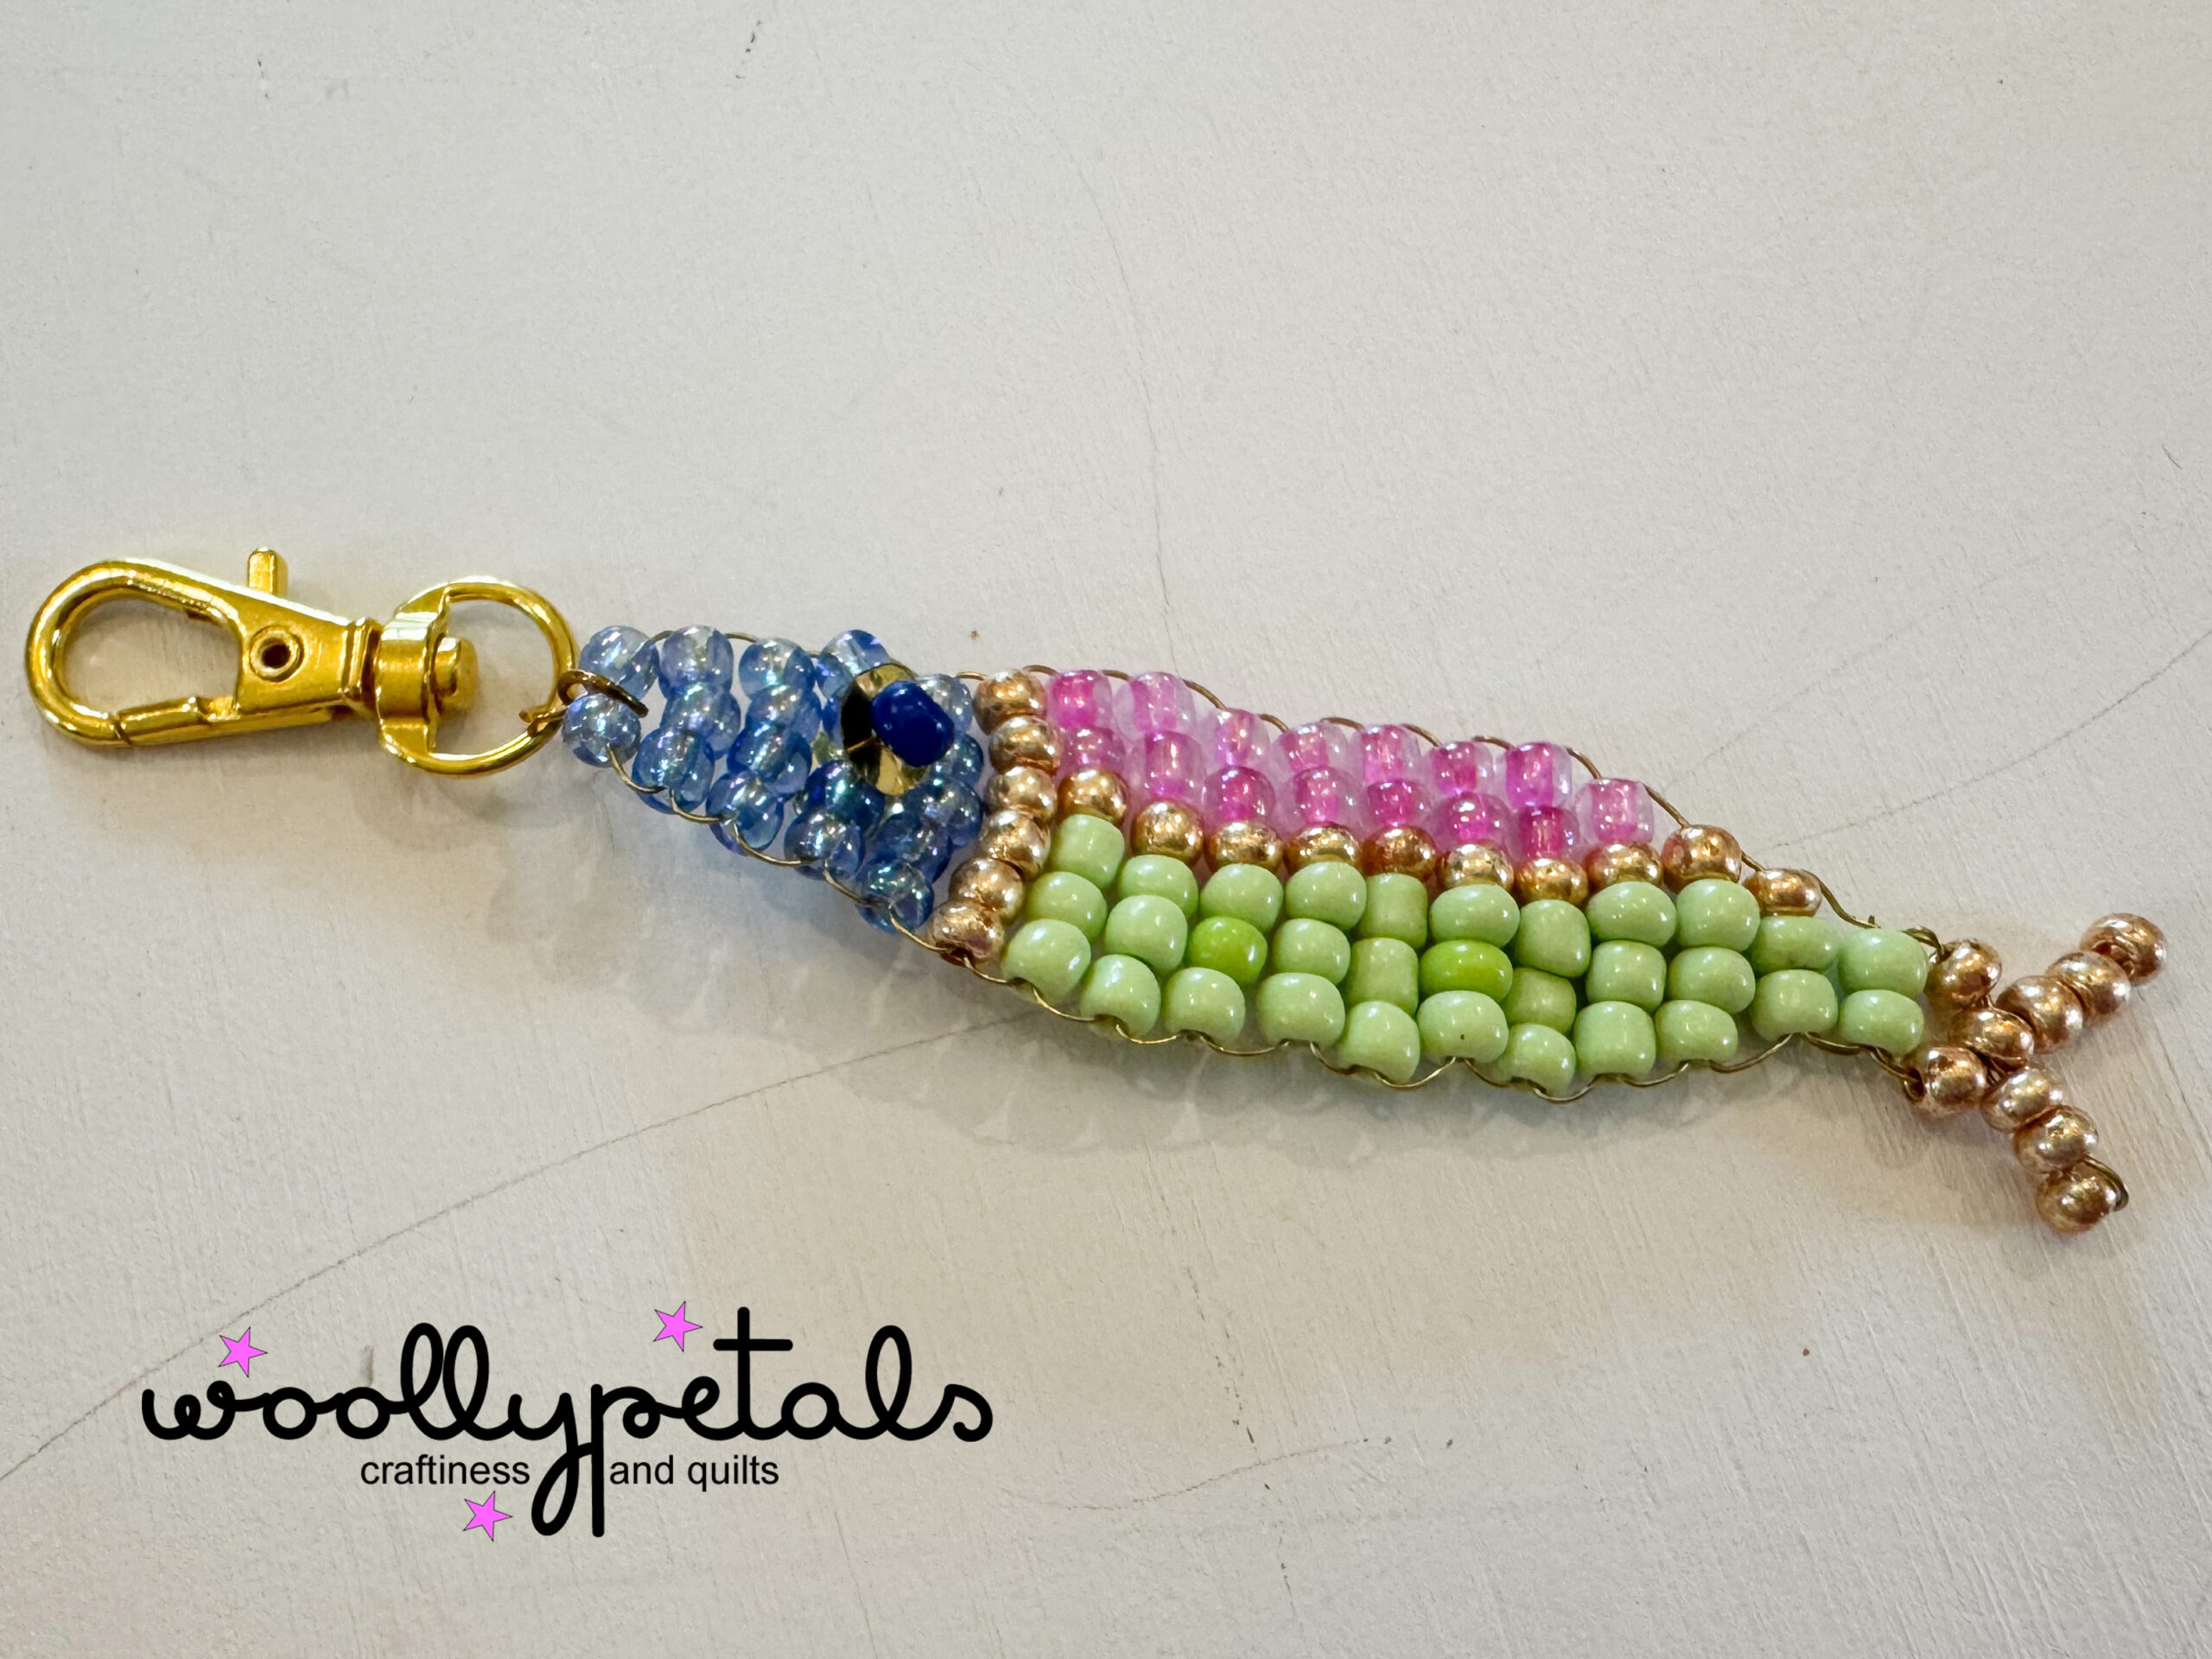
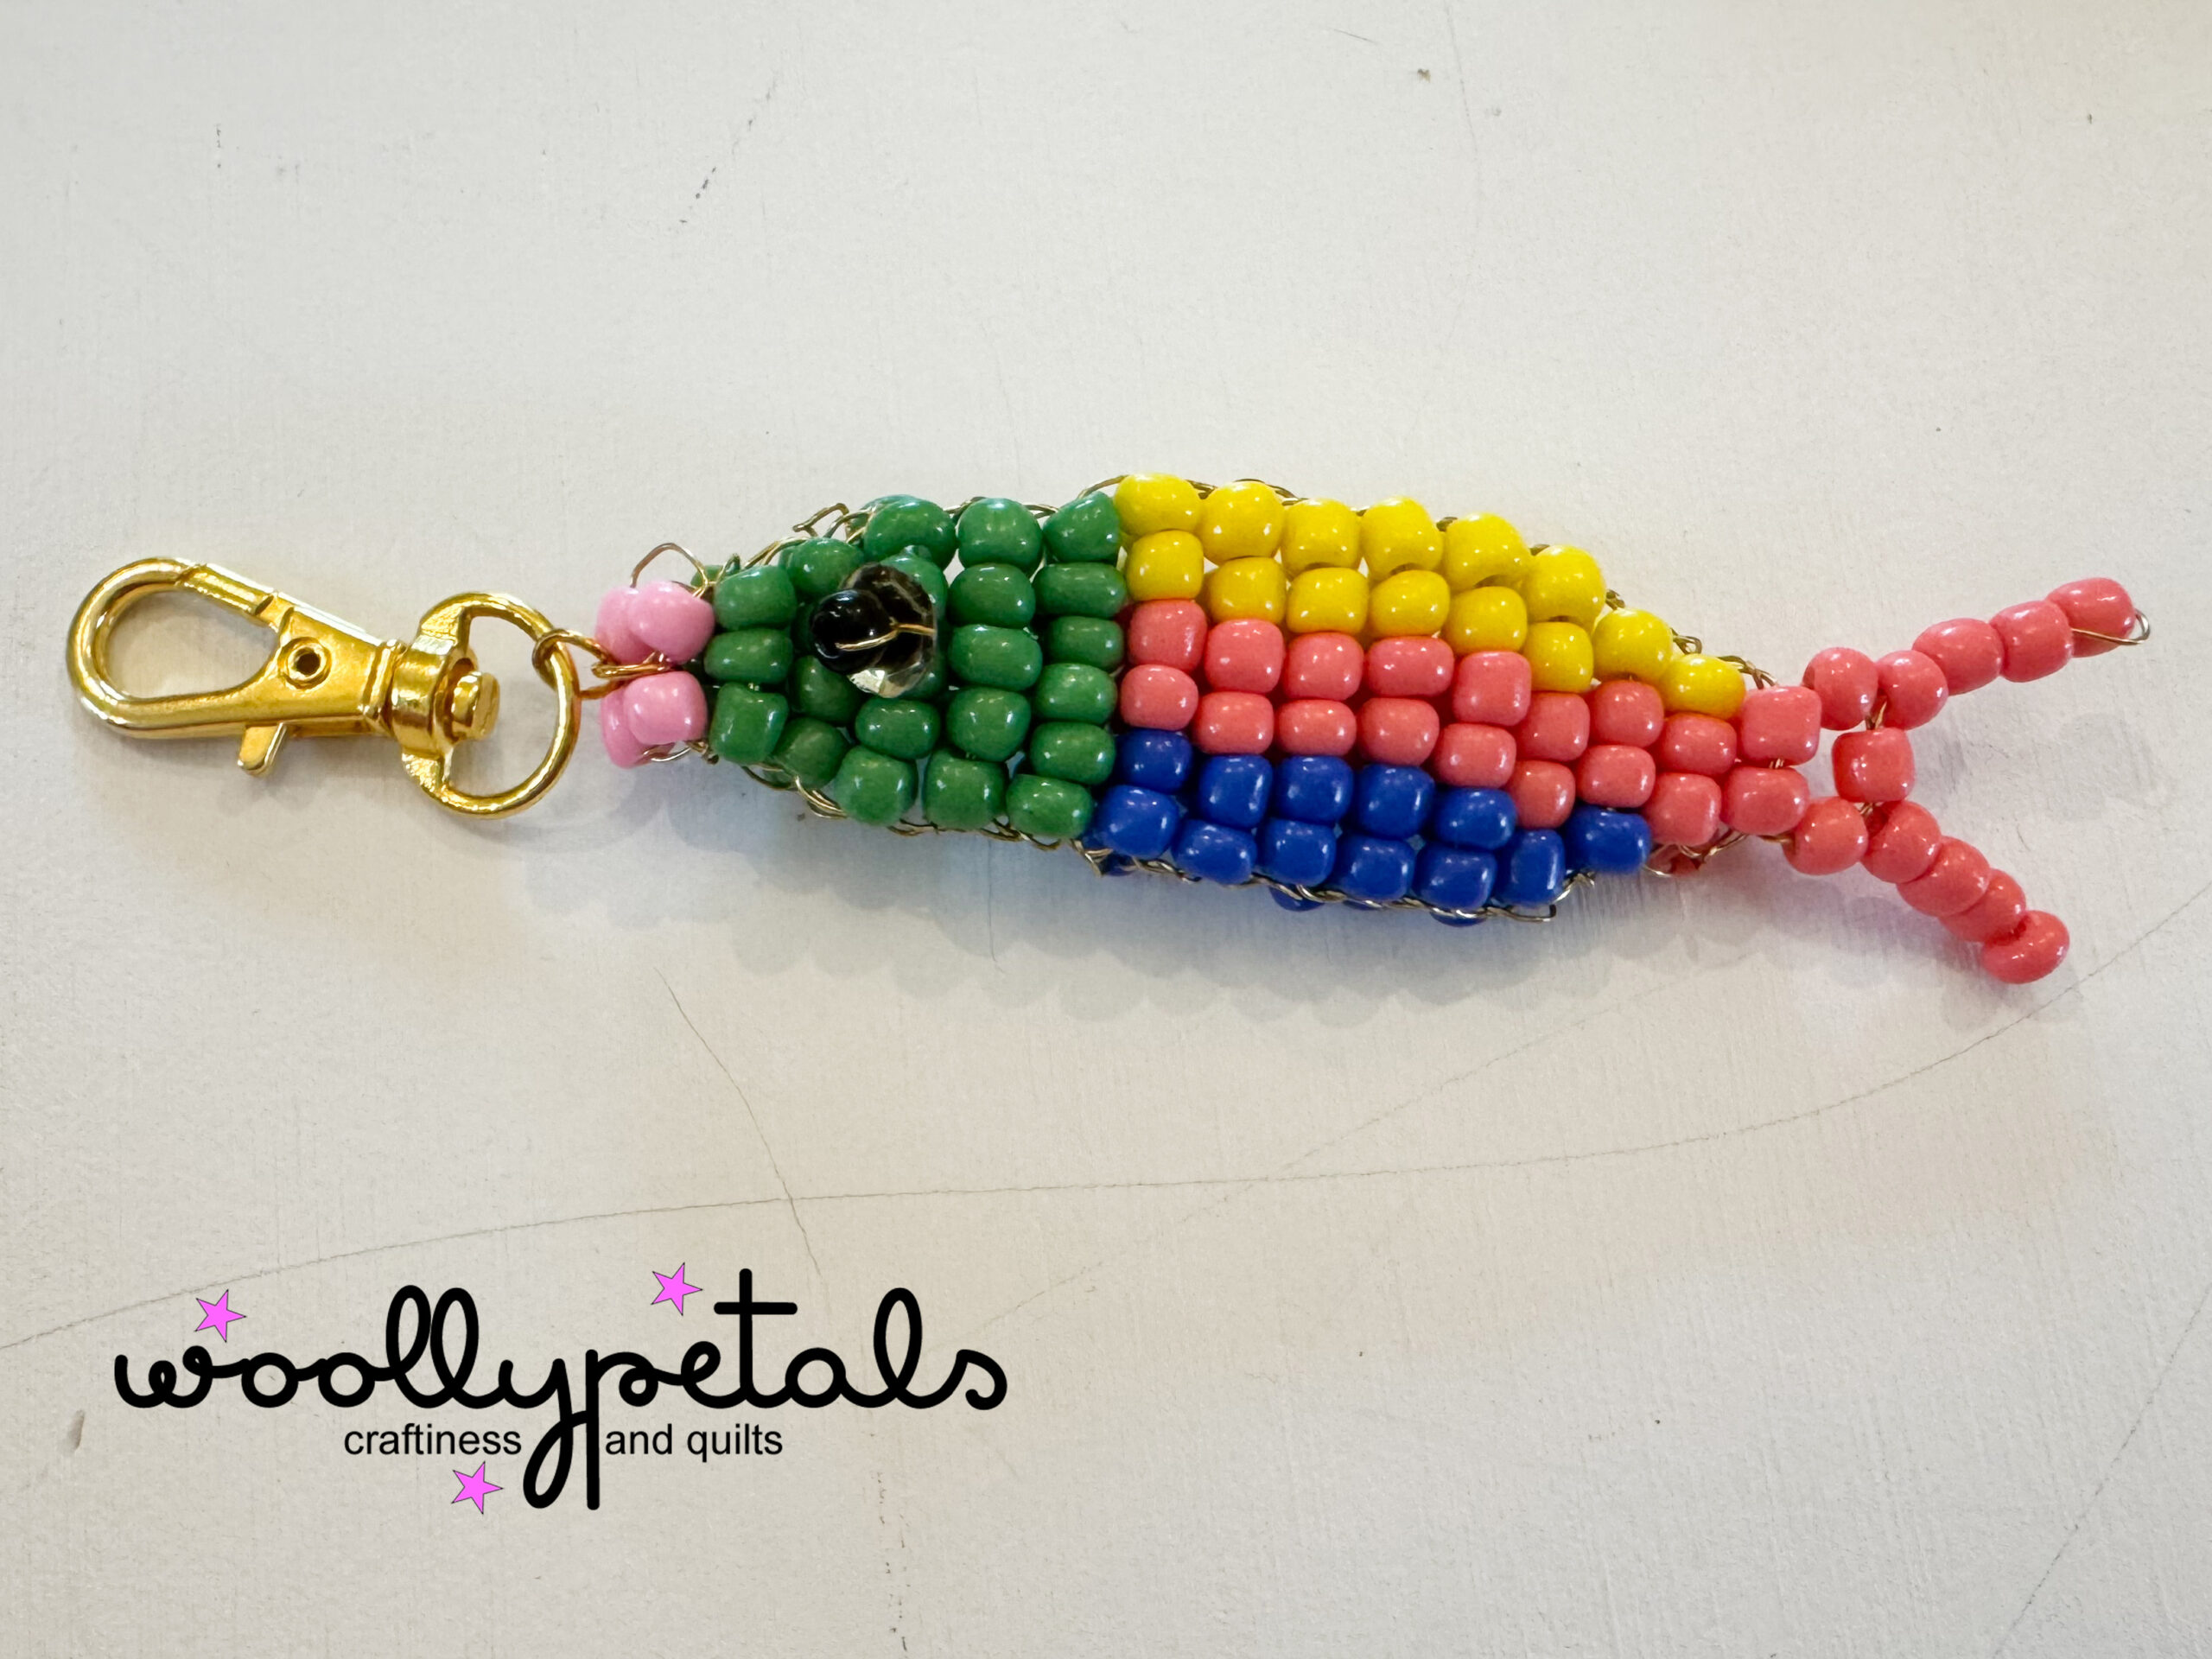
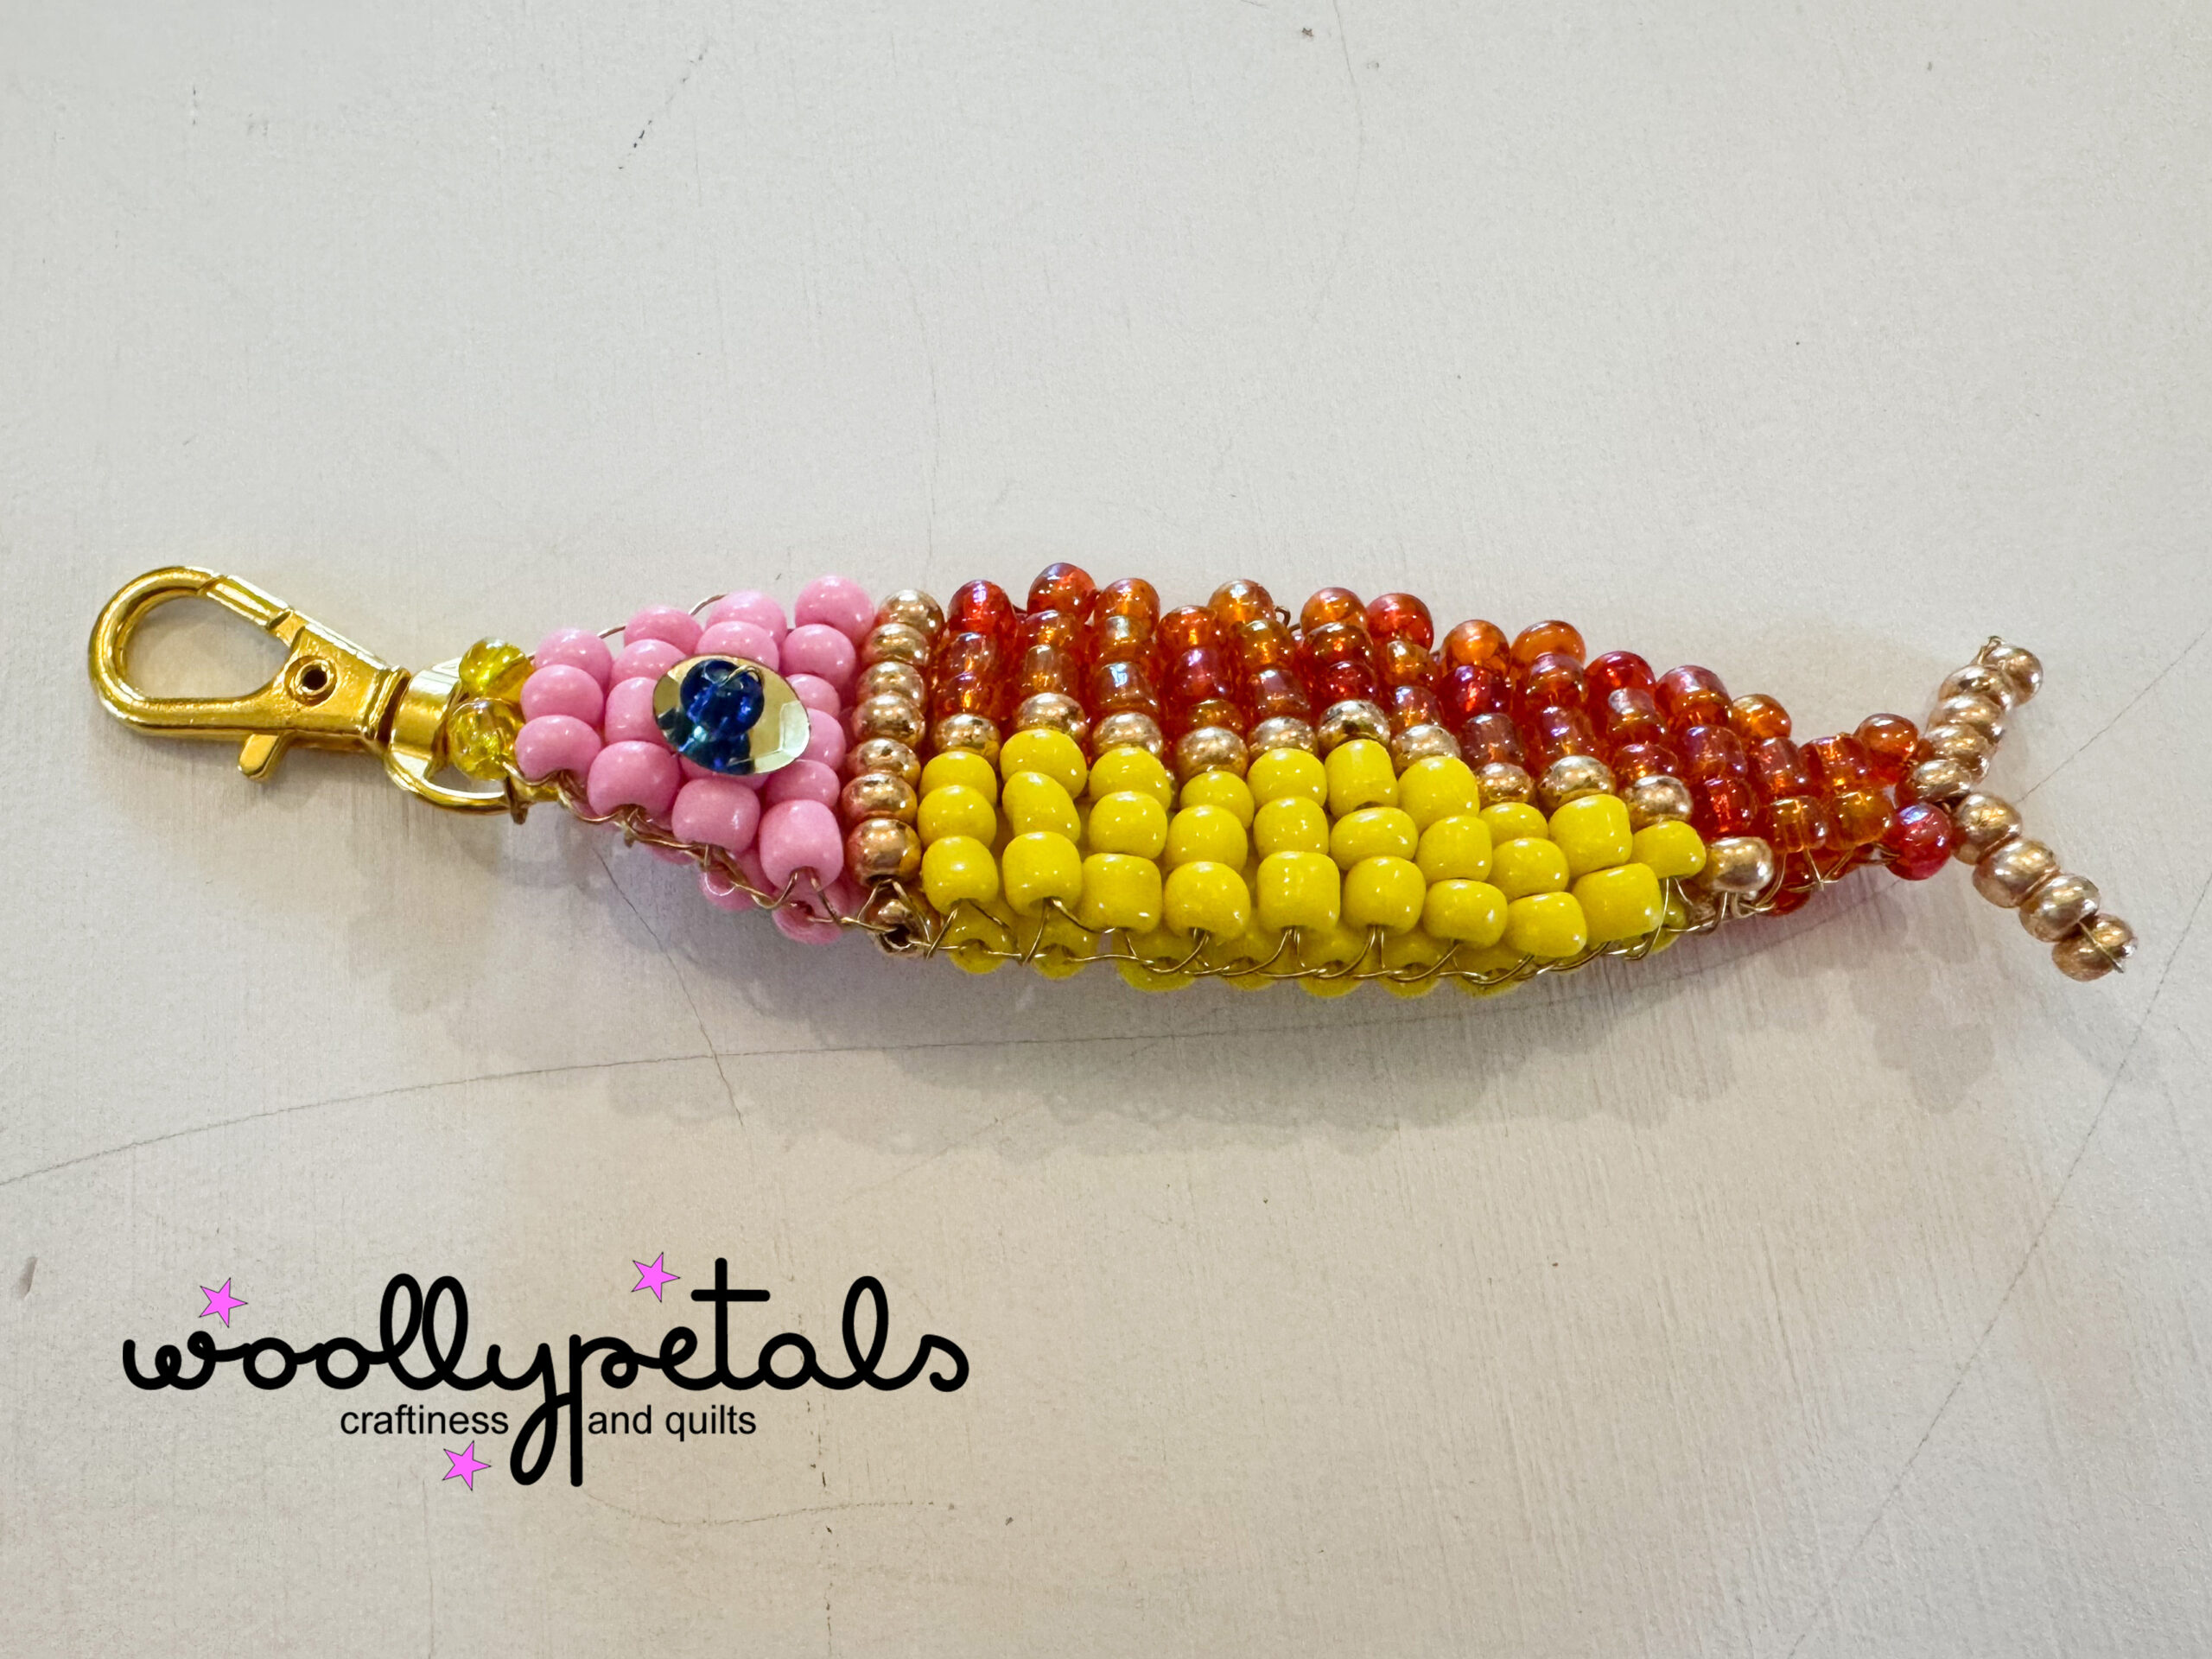
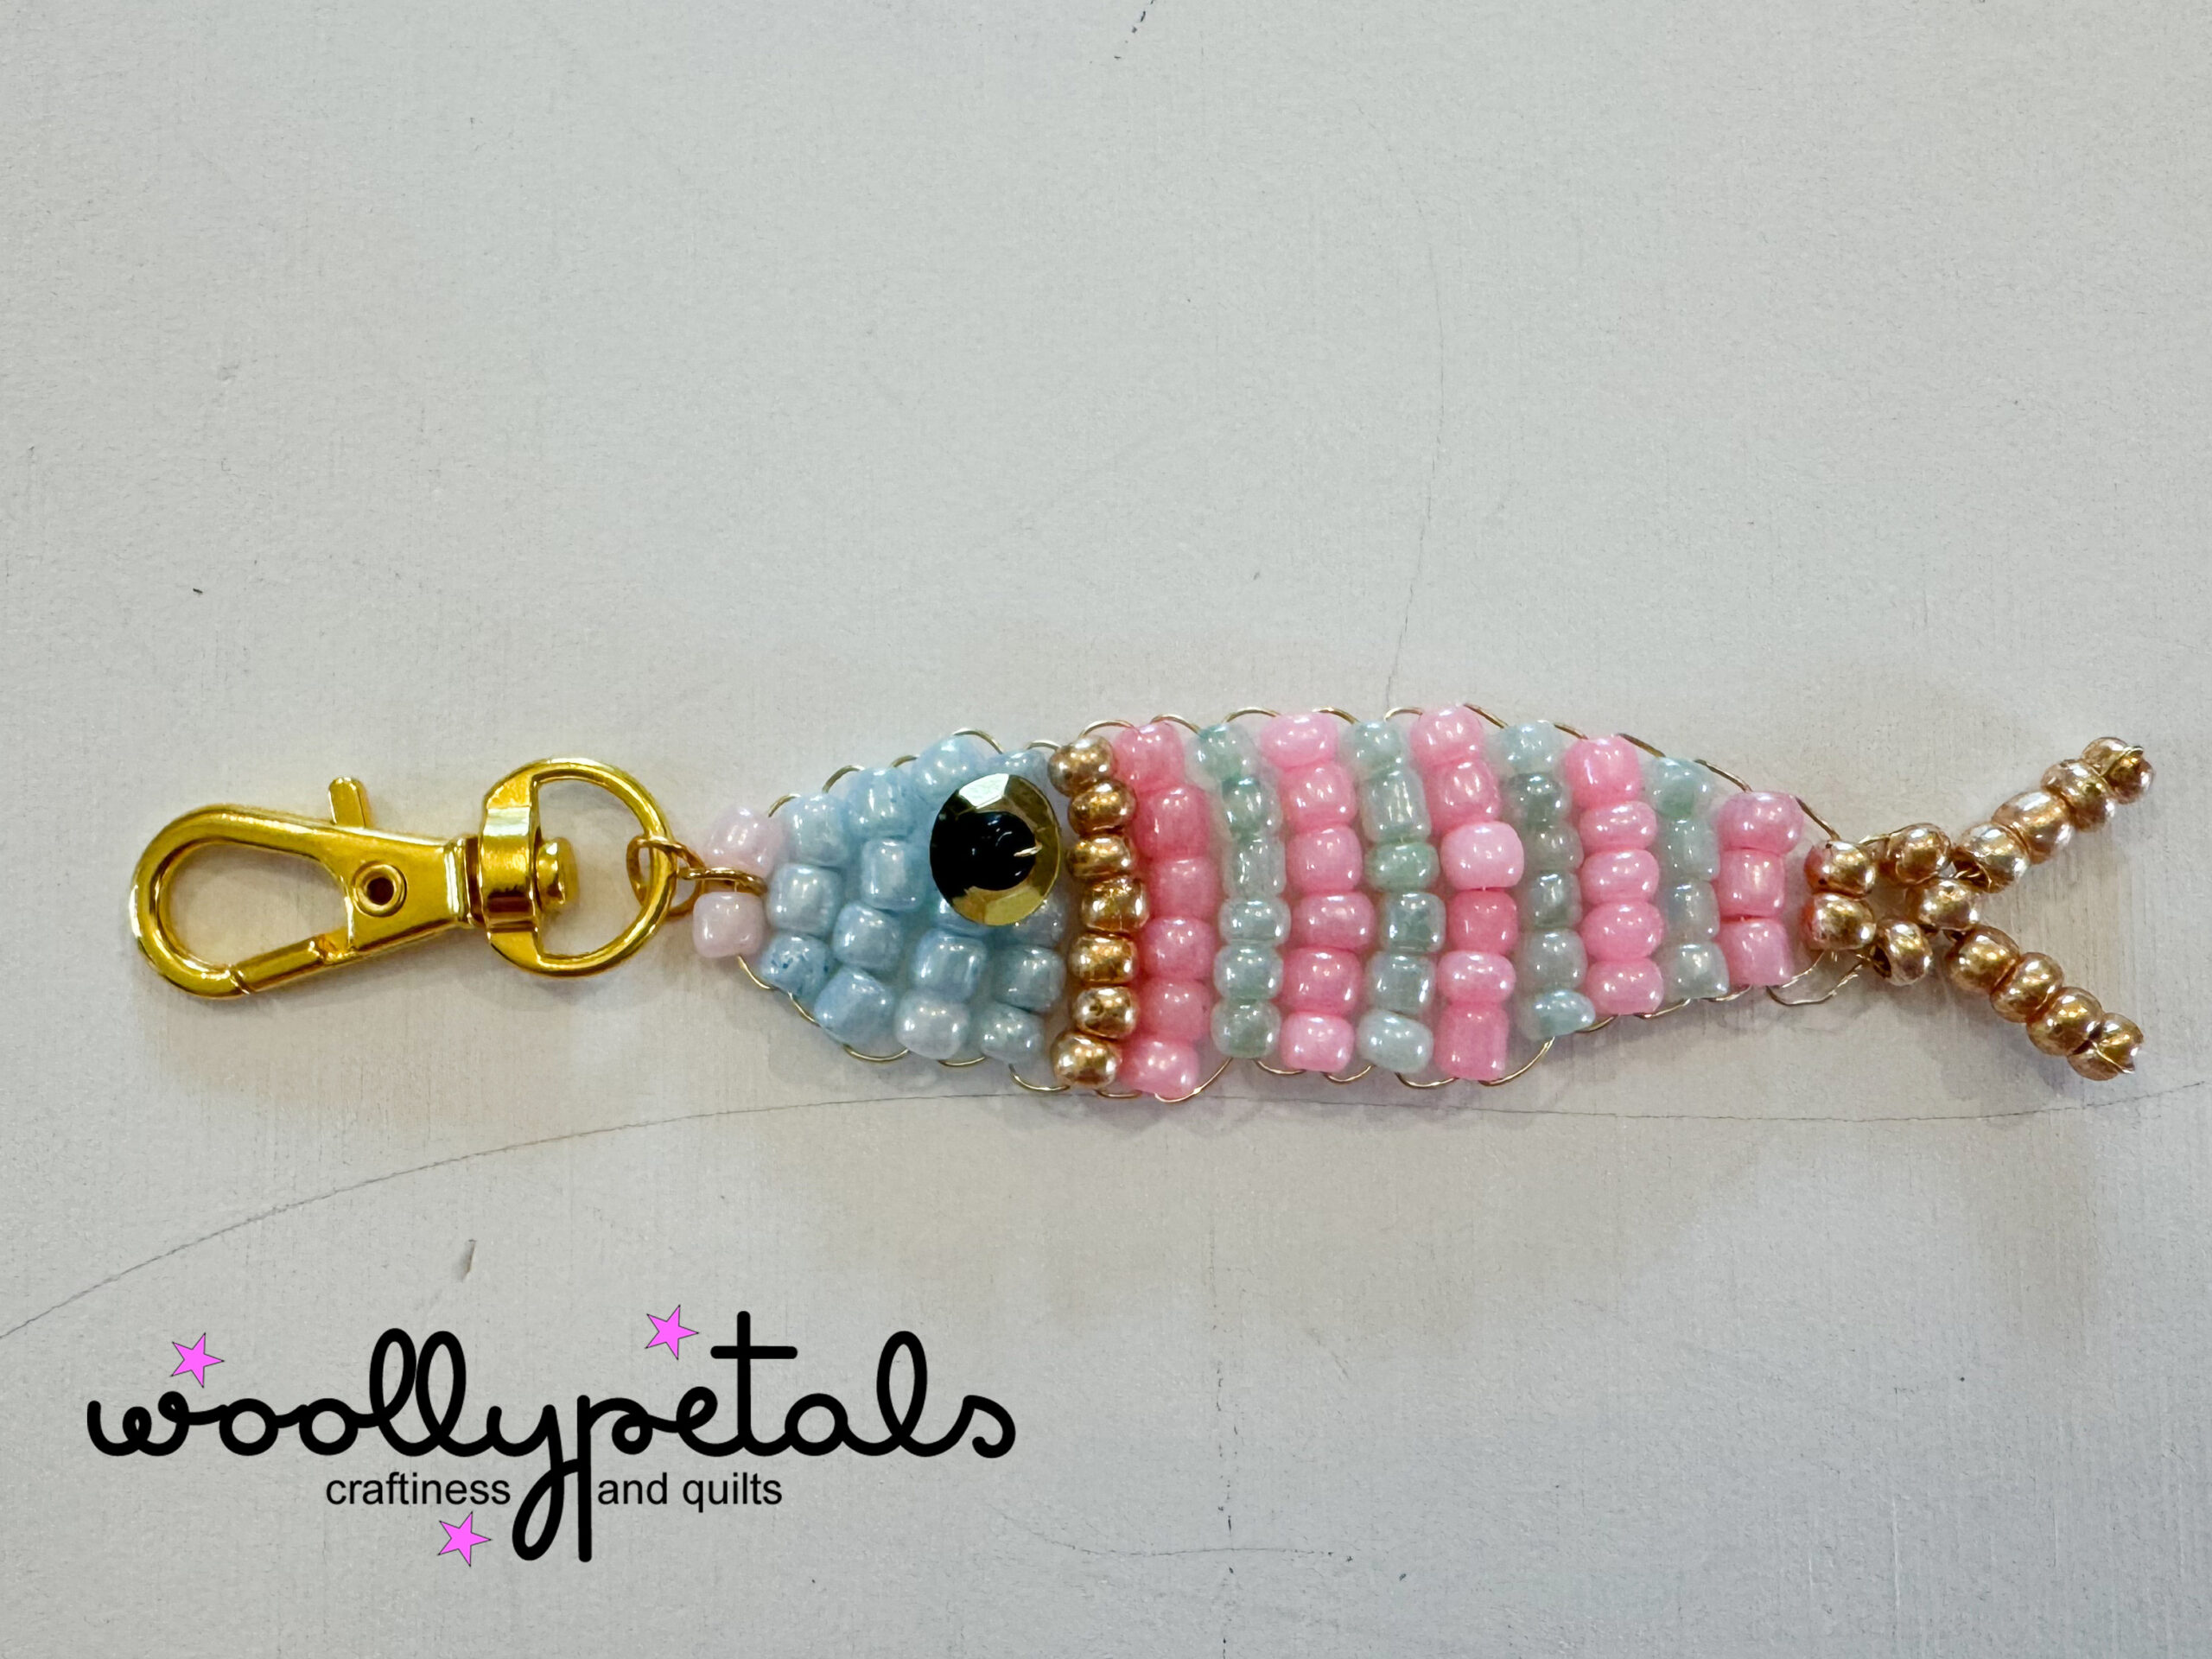
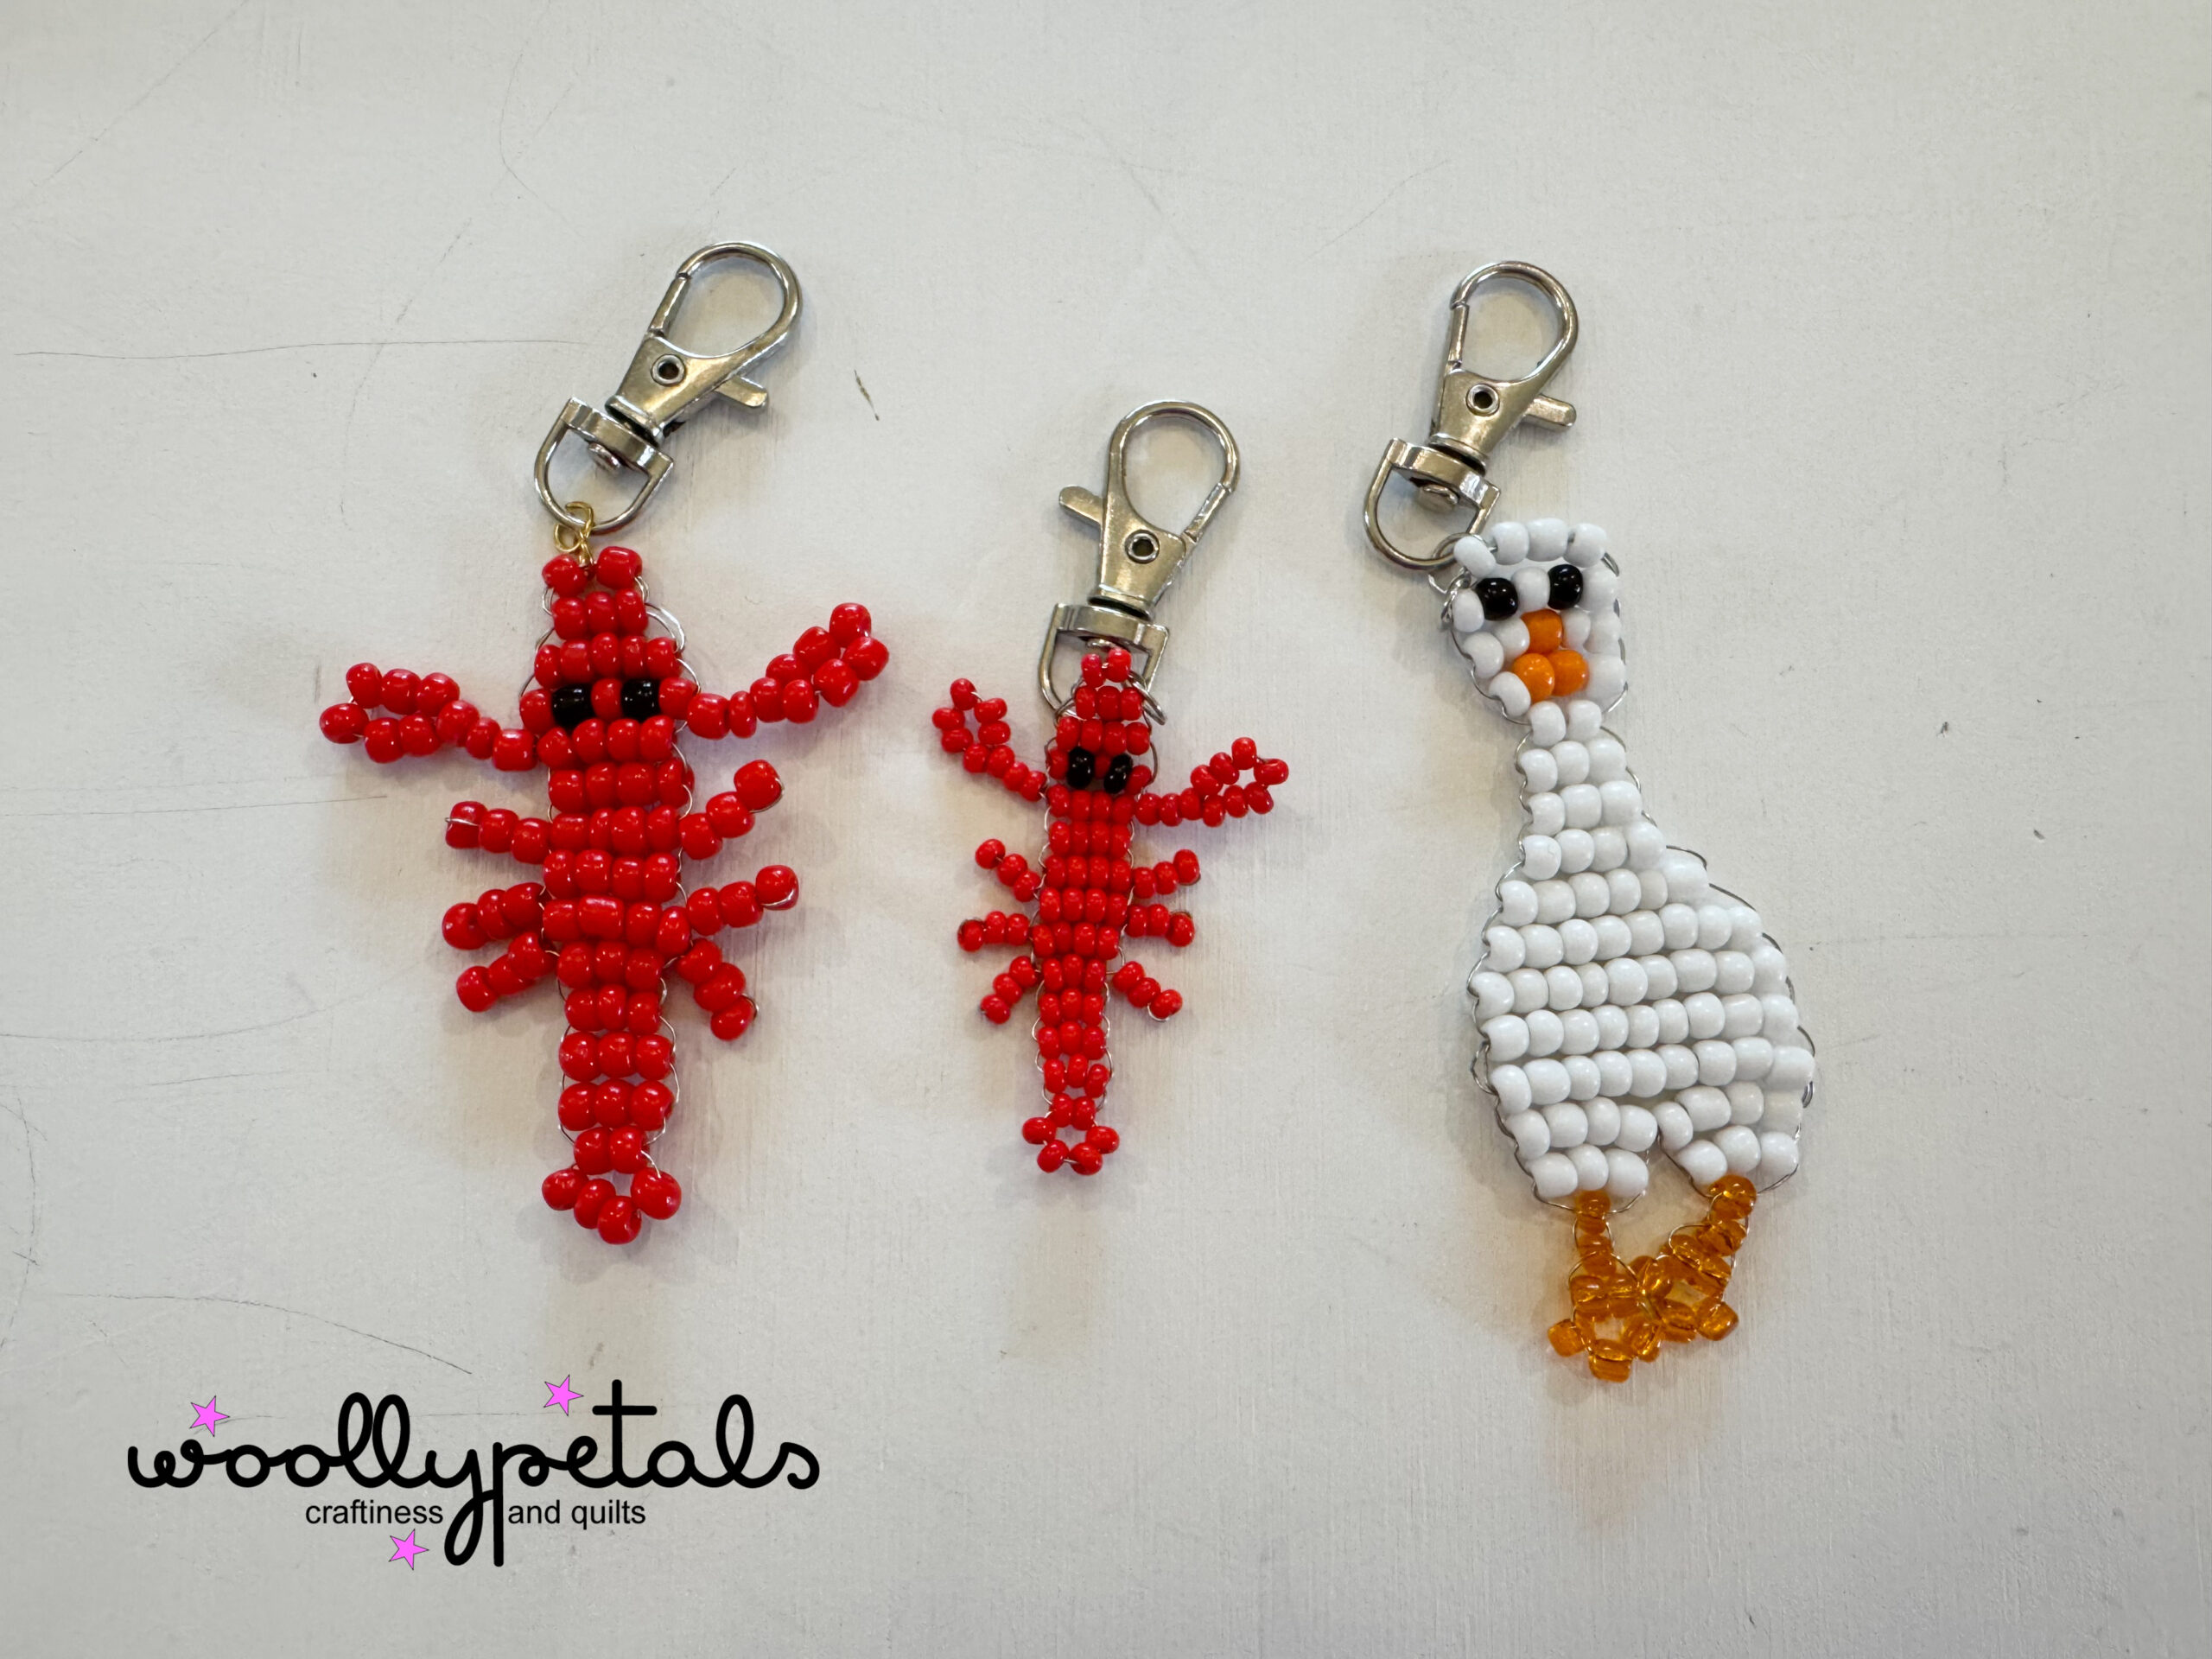
Sardine Color Blocking Options
There are lots of fun color blocking options you can acheive with the Beaded Sardine Charms. Check out the pictures below and copy them, or use the color locations but swap to your own colors. There are loads of fun inspiration on Pinterest and Instagram too.

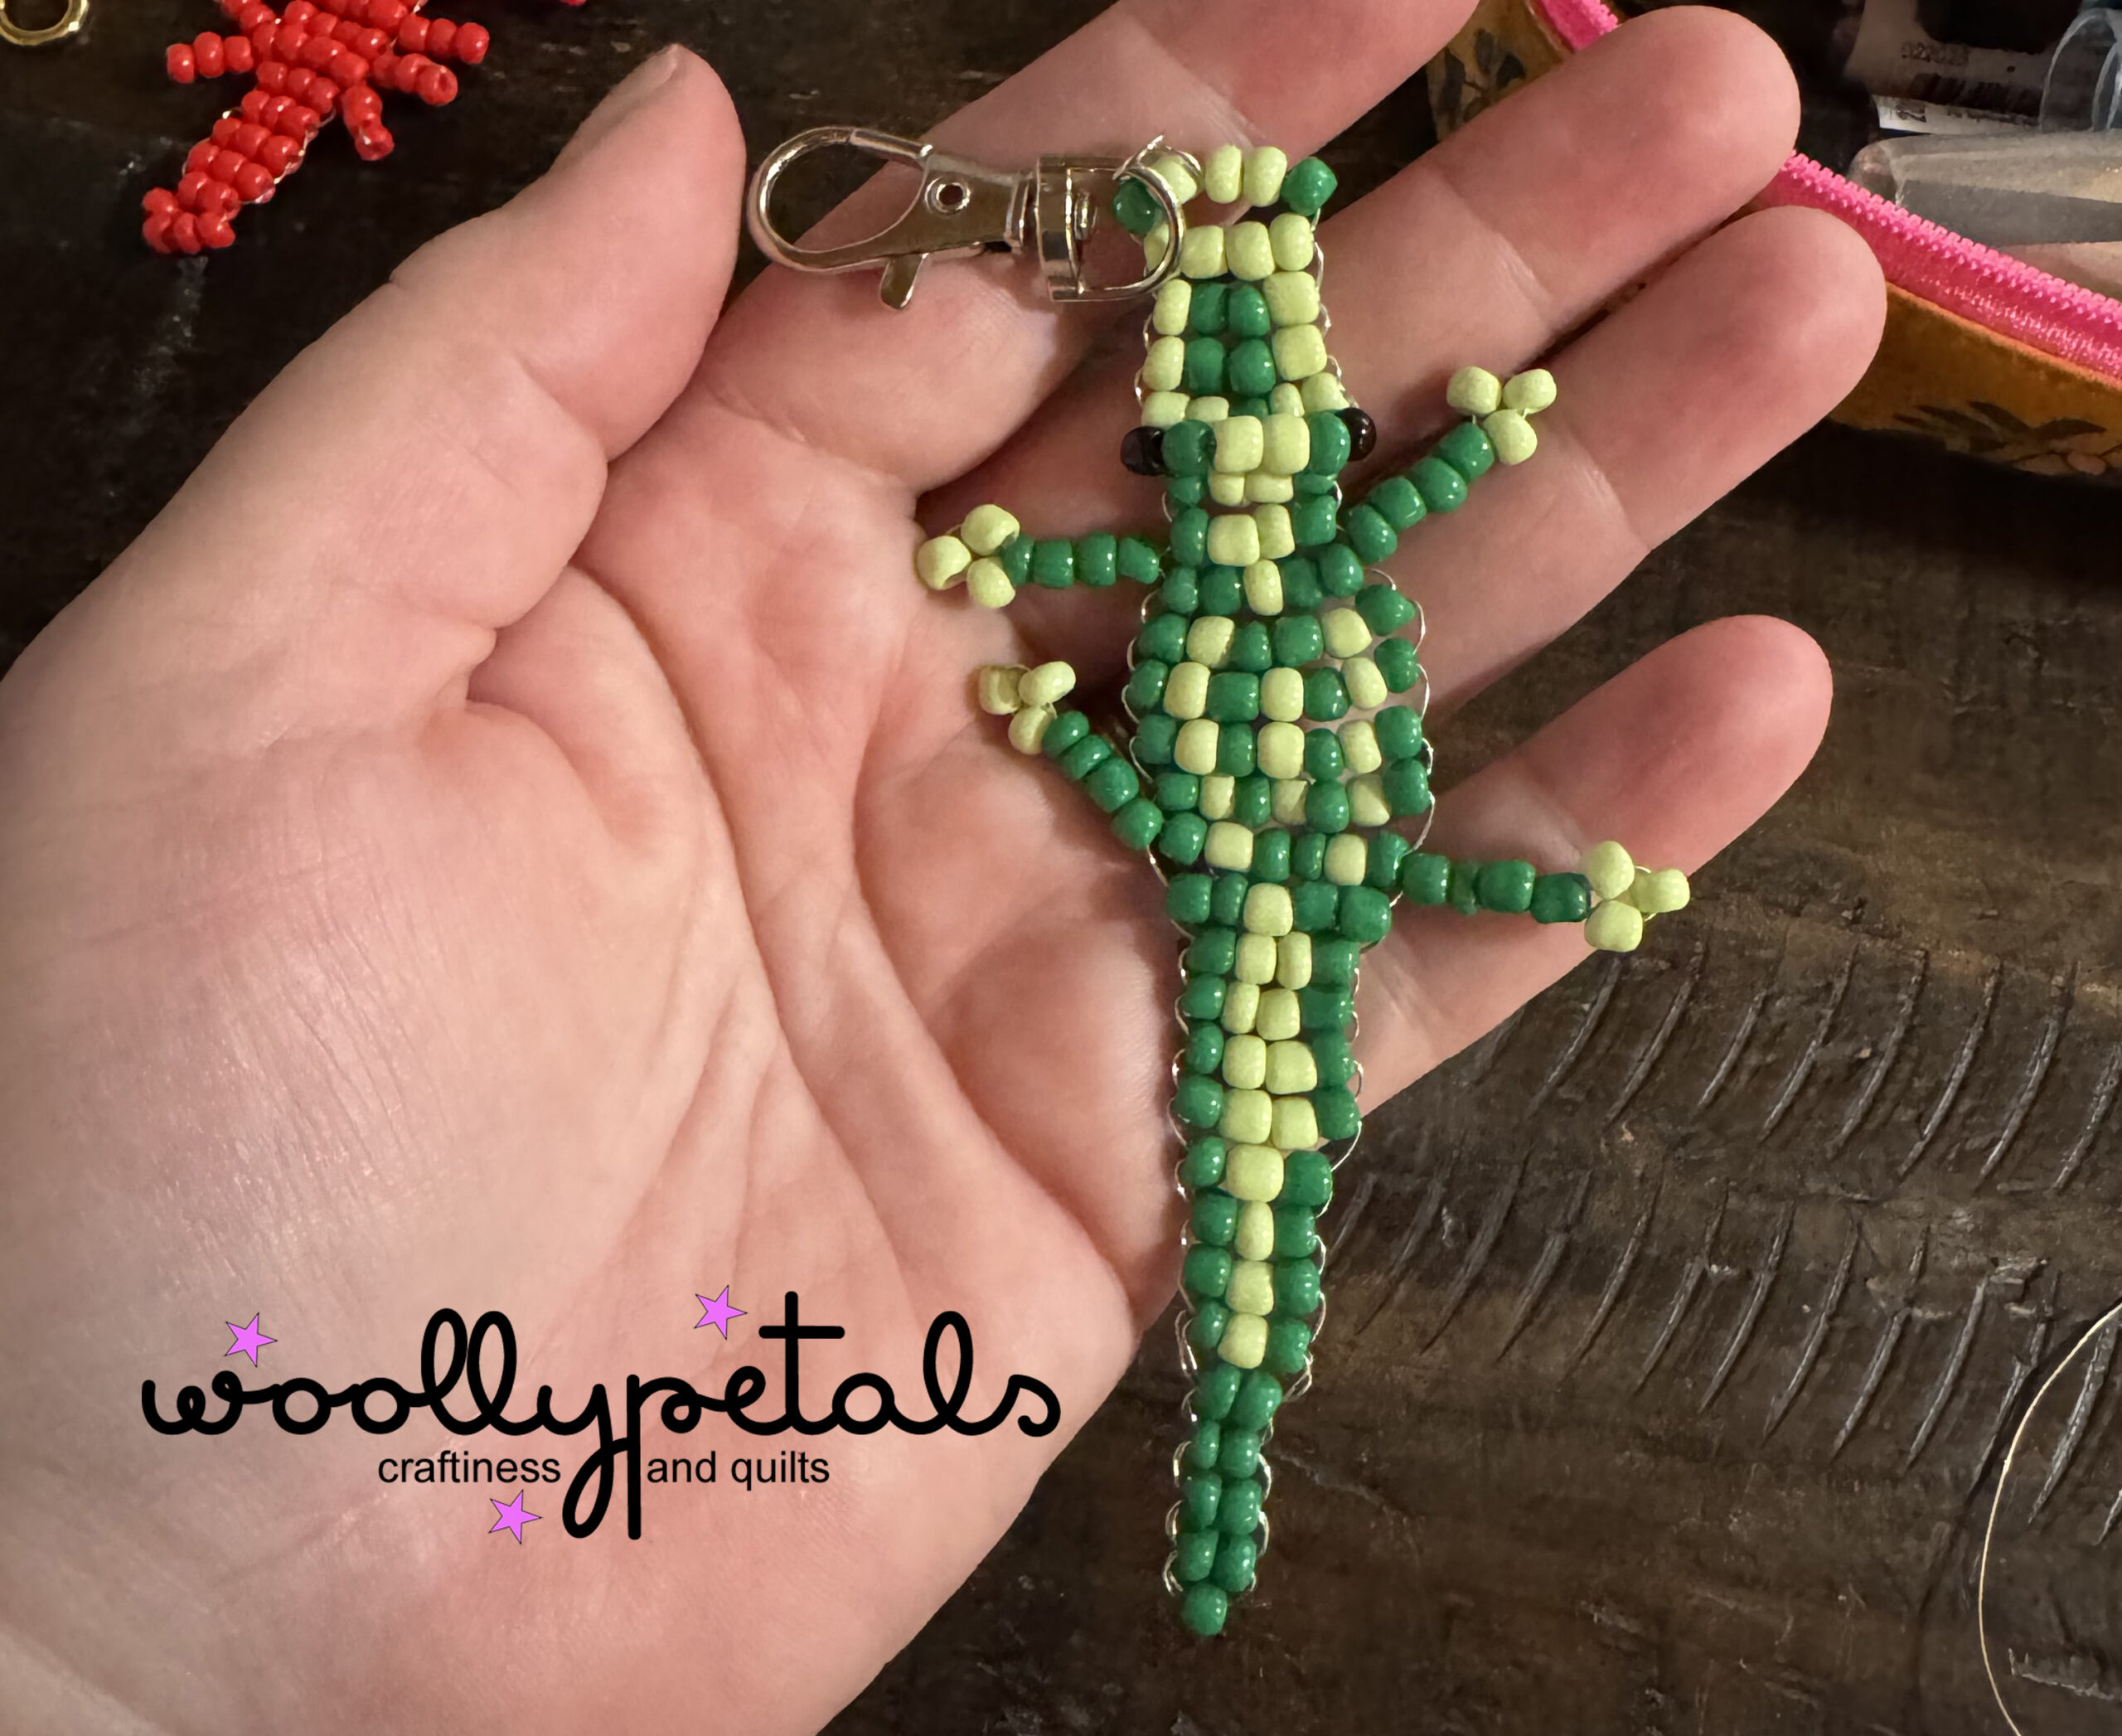
P.s. you can use this technique to make alot of fun animal charms. Find a fun design on Pinterest and remake it. Just remember. It’s always nice to share you inspiration and tag them. And don’t sell other peoples deisgns without permission. So if you copy someones exact style or layout please don’t sell them or ask for permission first.
Thanks so much for crafting with me!
One thought on “Beaded Sardine Charm Tutorial”