
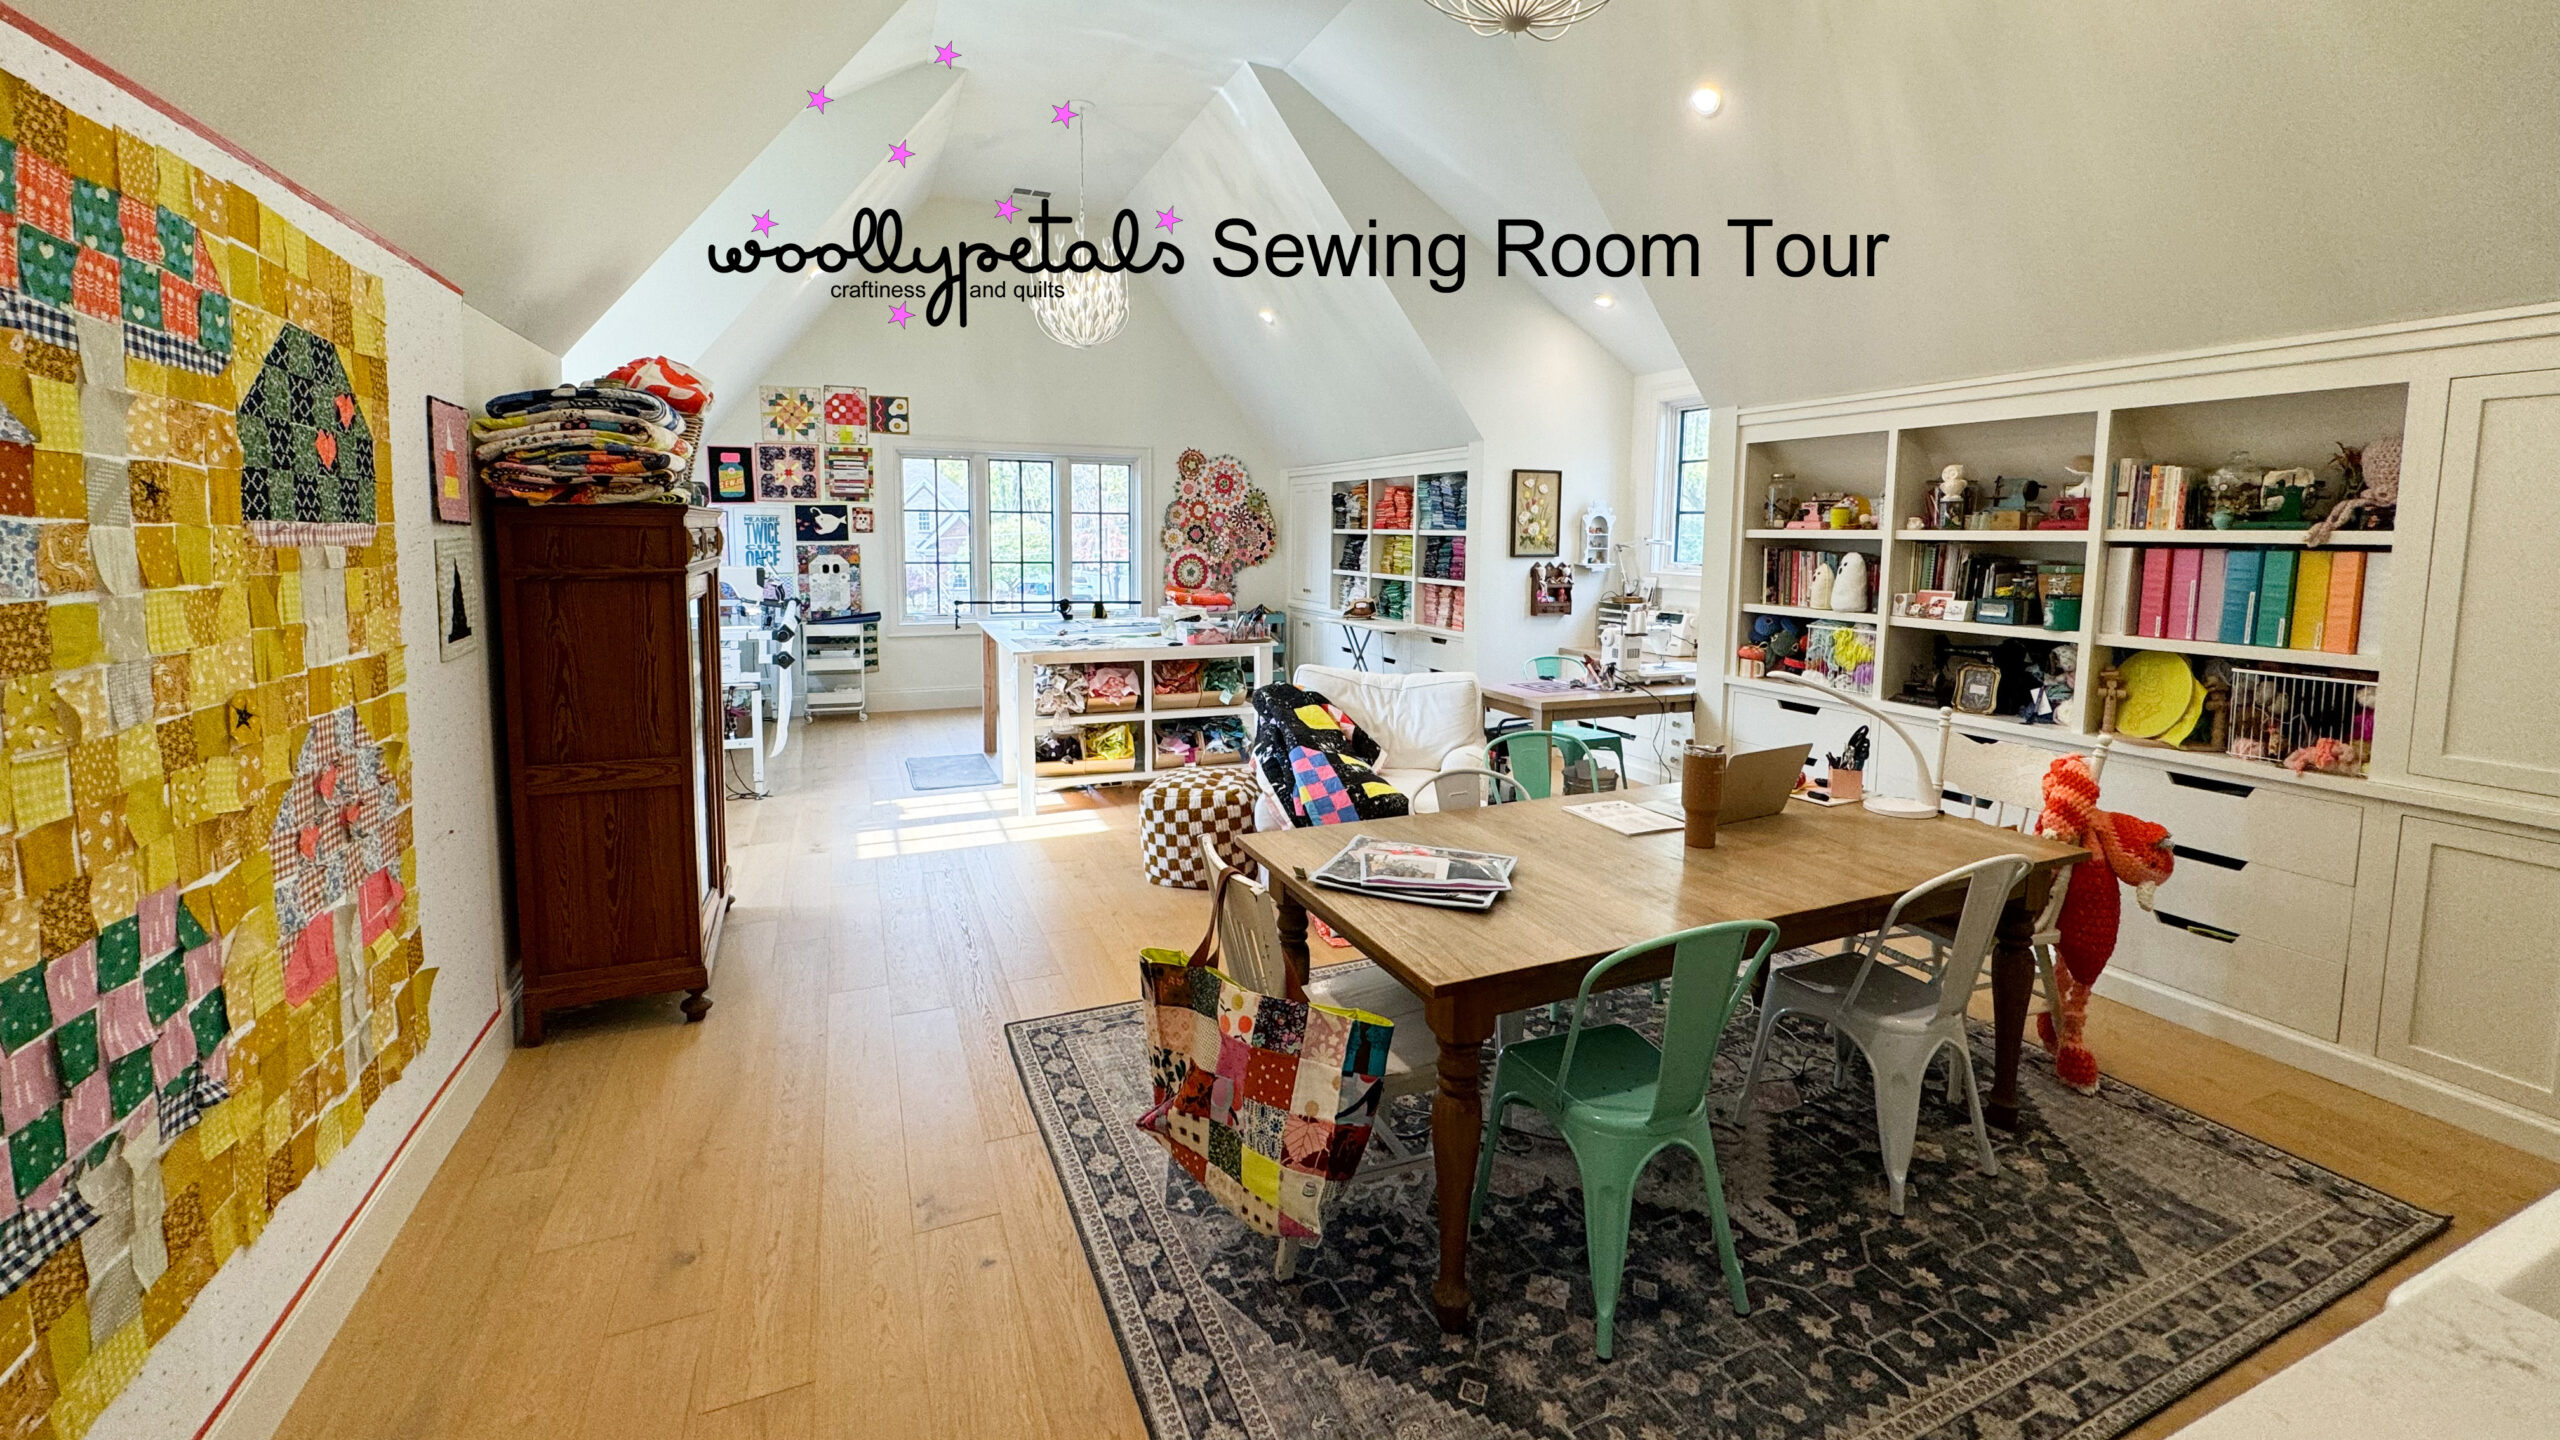
Hello everybody! I am sharing a Sewing Room Tour on my Youtube Channel today and I hope you will check it out. YouTUBE Woollypetals Sewing Room Tour Video Link I…
Ghost Party SAL Week 6
It’s Ghost Party SAL Week 6 and it’s time to finish your quilts! Let’s Baste, Quilt, Bind, and love our quilts! Week 6 We are at the end! Week 6….
Ghost Party SAL Week 5
Hi ALL! It’s Ghost Party SAL Week 5 and we are sewing our quilt tops together. Let’s get into the details! Week 5 Week 5 and you are cruising right…
Ghost Party SAL Week 4
Hi ALL! It’s Ghost Party SAL Week 4 and we are sewing jACCKs! OR your last three Ghosts! Let’s get into the details! Week 4 Week 4 and you are…
Ghost Party SAL Week 3
It’s the Ghost Party SAL Week 3. For week 3 you will make three AHHnna Blocks. Let’s get into it! Week 3 For Week 3 make three AHHnna blocks or…
Ghost Party SAL Week 2
The Ghost Party SAL Week 2 has arrived and we are working on BOOnes. This week runs from September 9th – September 15th. This week you are starting to sew…
Ghost Party Pumpkins Pattern + GP SAL Week 1
It’s here! The Ghost Party Pumpkins Pattern + GP SAL Week 1 has arrived. Each week I will highlight the Sponsor and the Prize in a blog post with a…
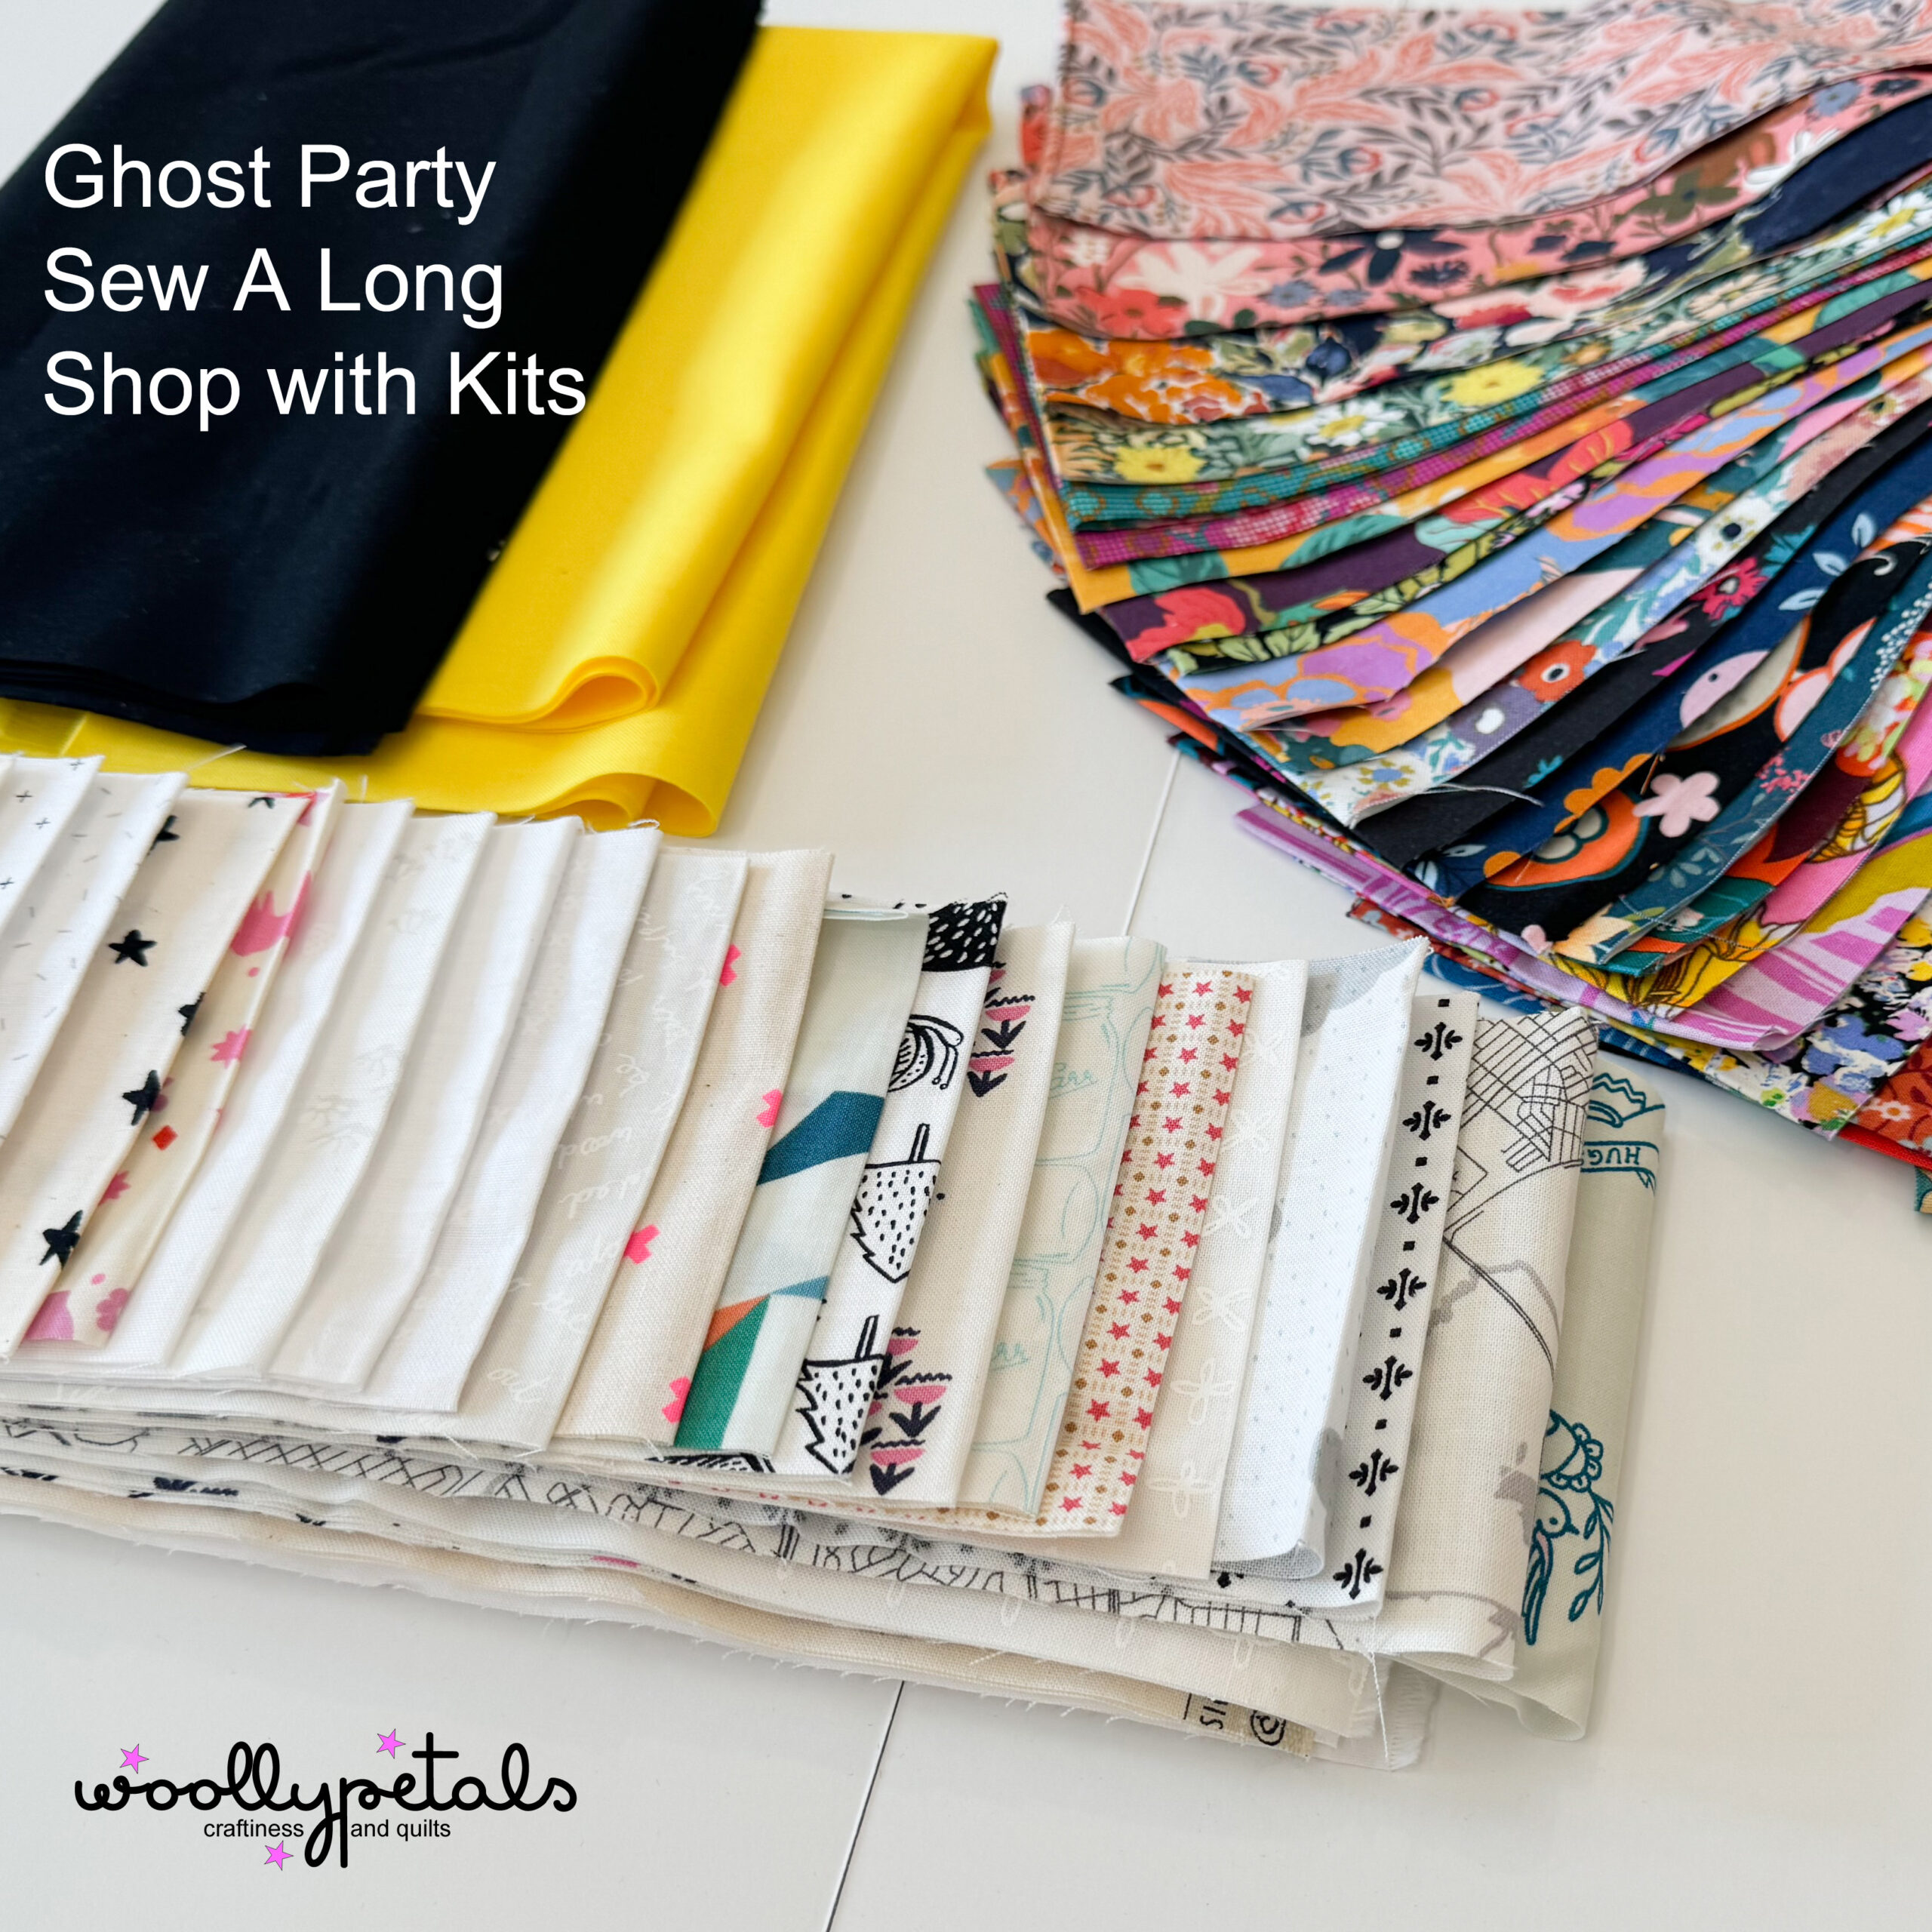
Ghost Party Pattern Kits
Ghost Party Pattern Kits and SAL Sponsor post to share what you need to know! Ghost Party Kits Let’s take a look at some Ghost Party kits! – Act fast…
Ghost Party Sew A Long 2024
Let’s Go! The Ghost Party Sew A Long 2024 is going to be so much fun! September 2nd – October 14th. Maybe you’ve made a Ghost Party Quilt already and…
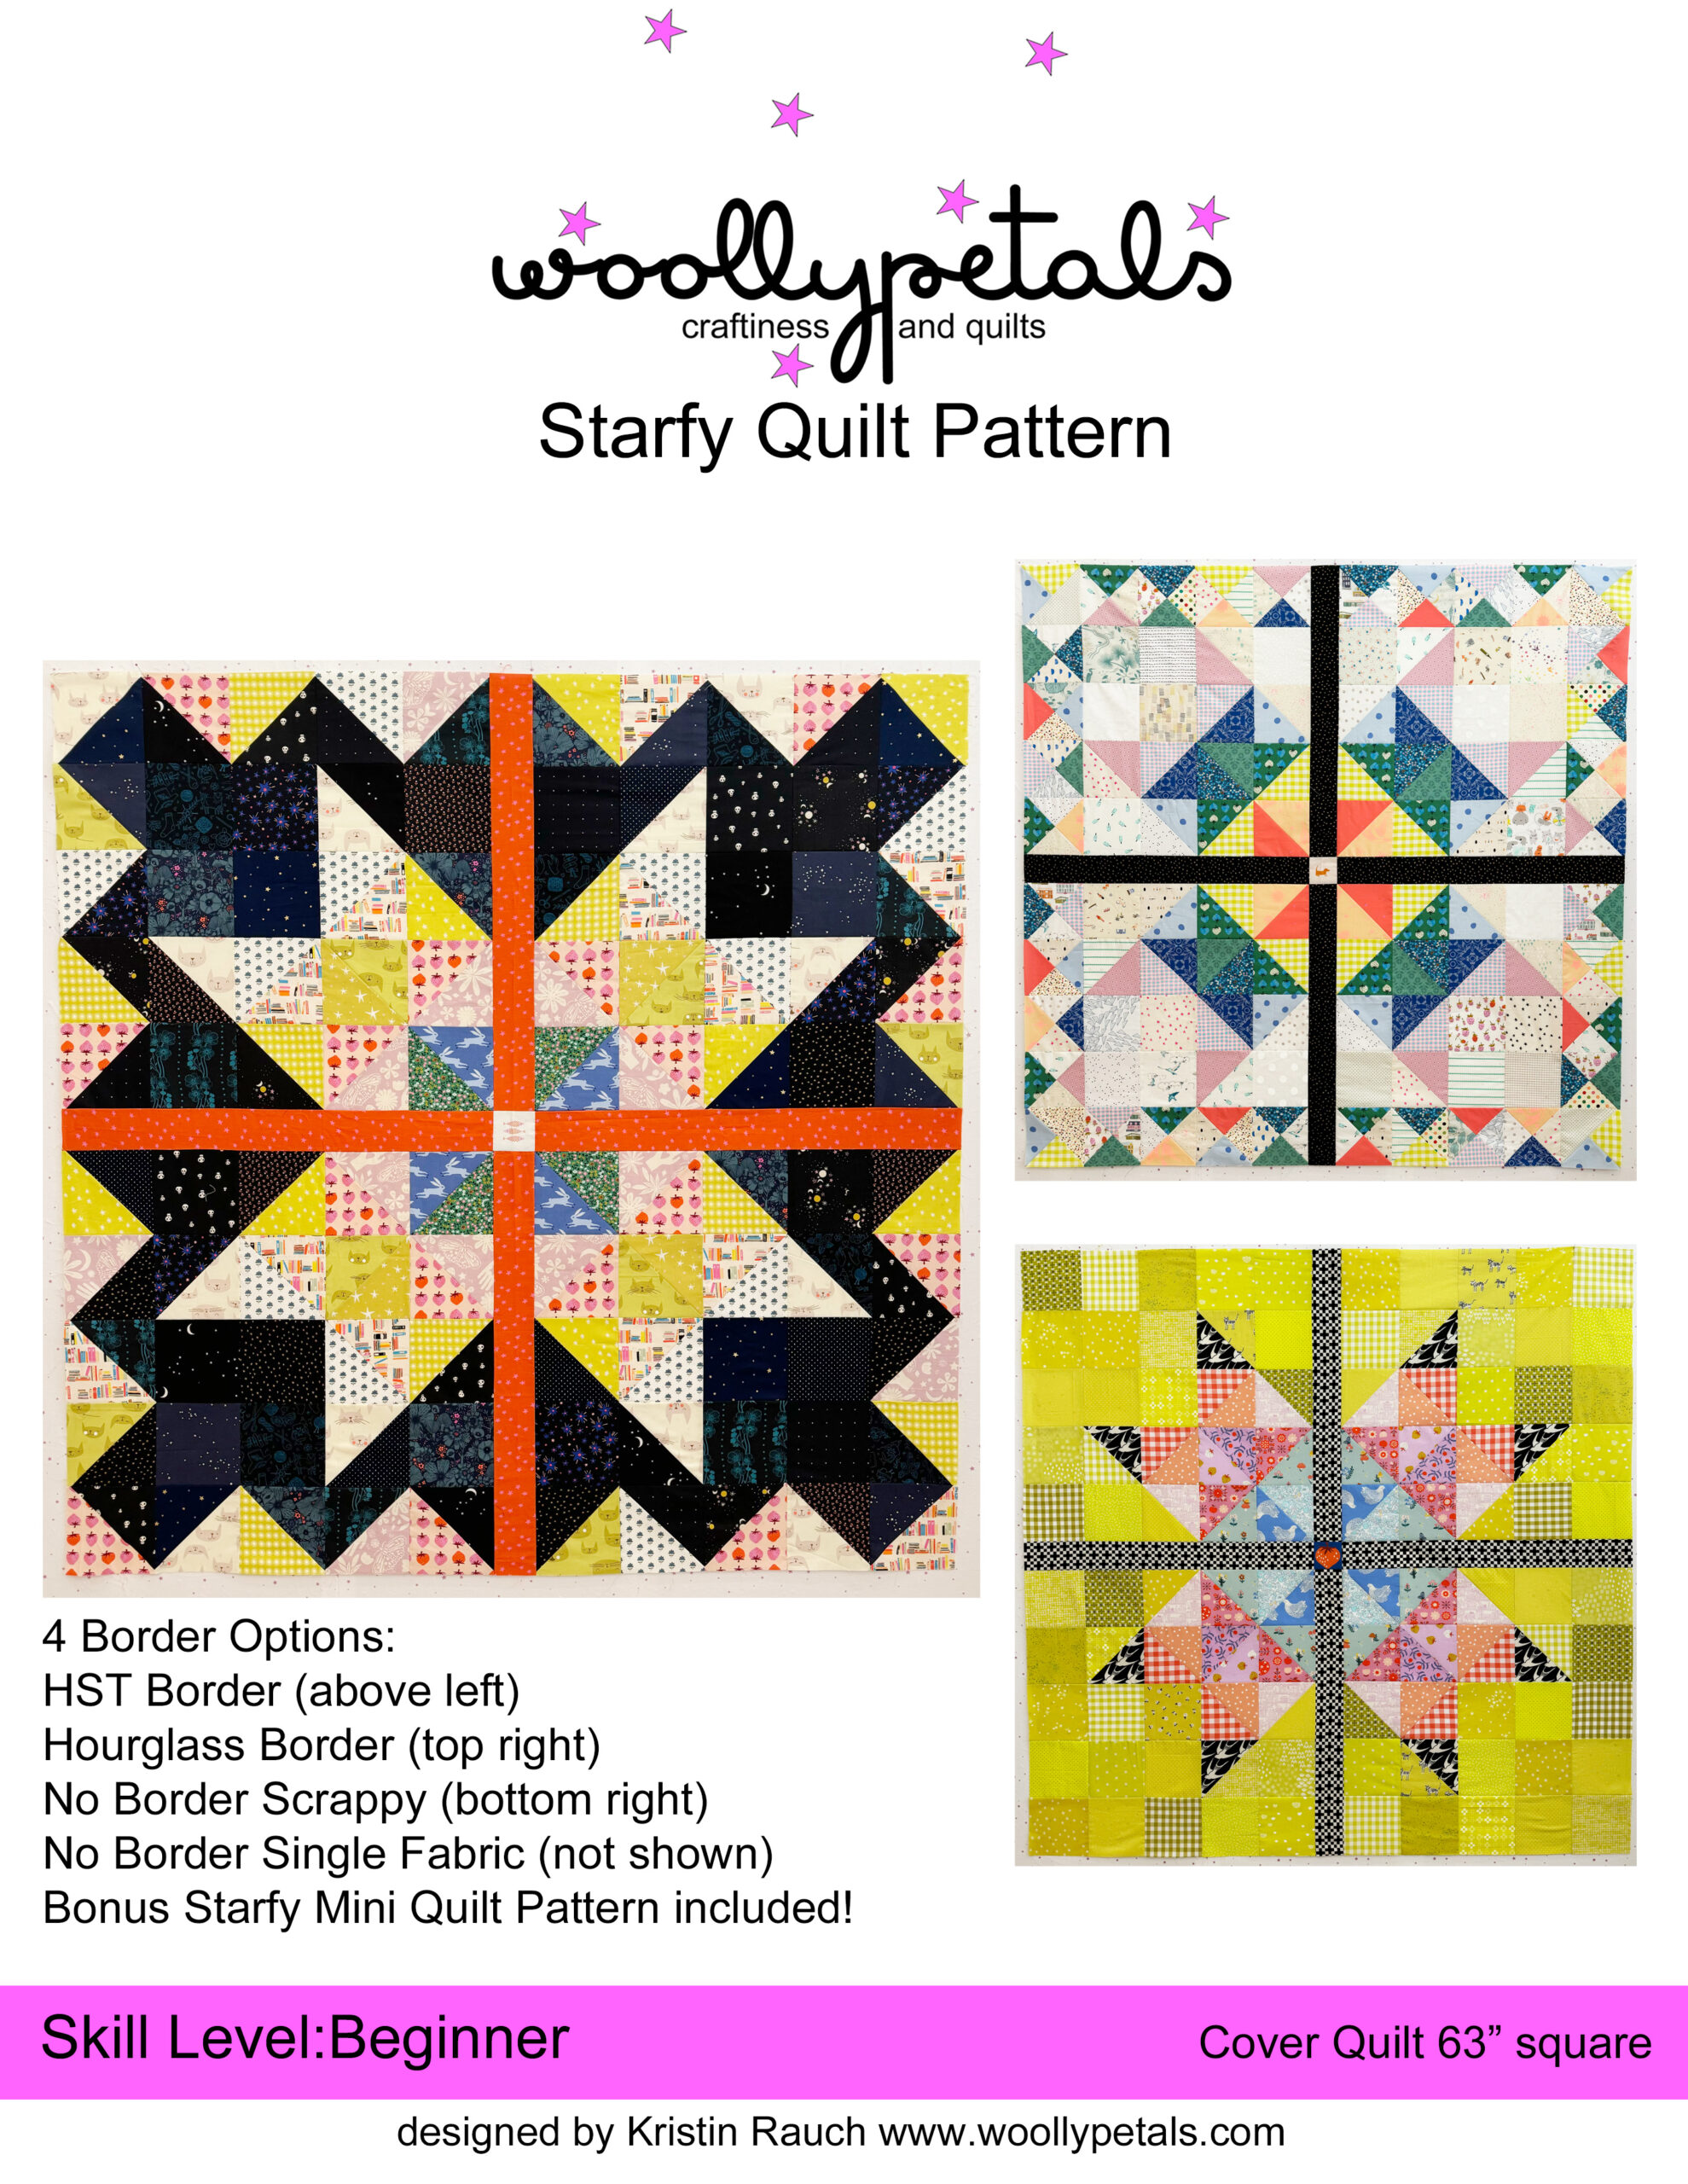
Starfy Quilt Pattern Release Day
It’s the Starfy Quilt Pattern Release day for both the throw quilt size and the mini quilt size. Starfy Quilt Details The Starfy Quilt is a Prismatic Giant Sawtooth Star…