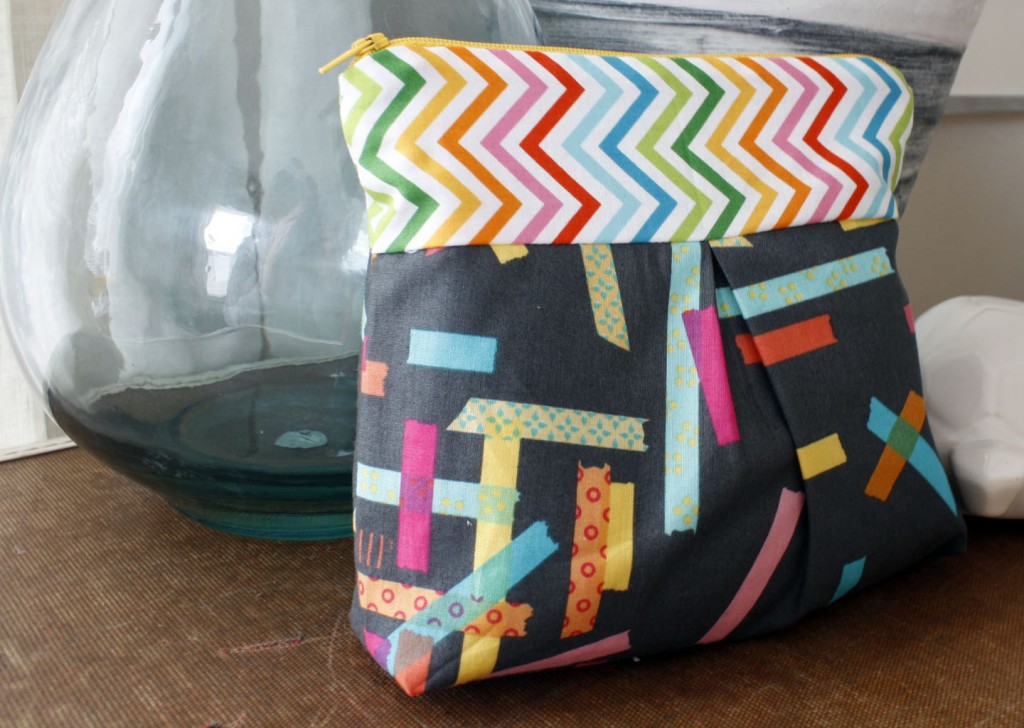
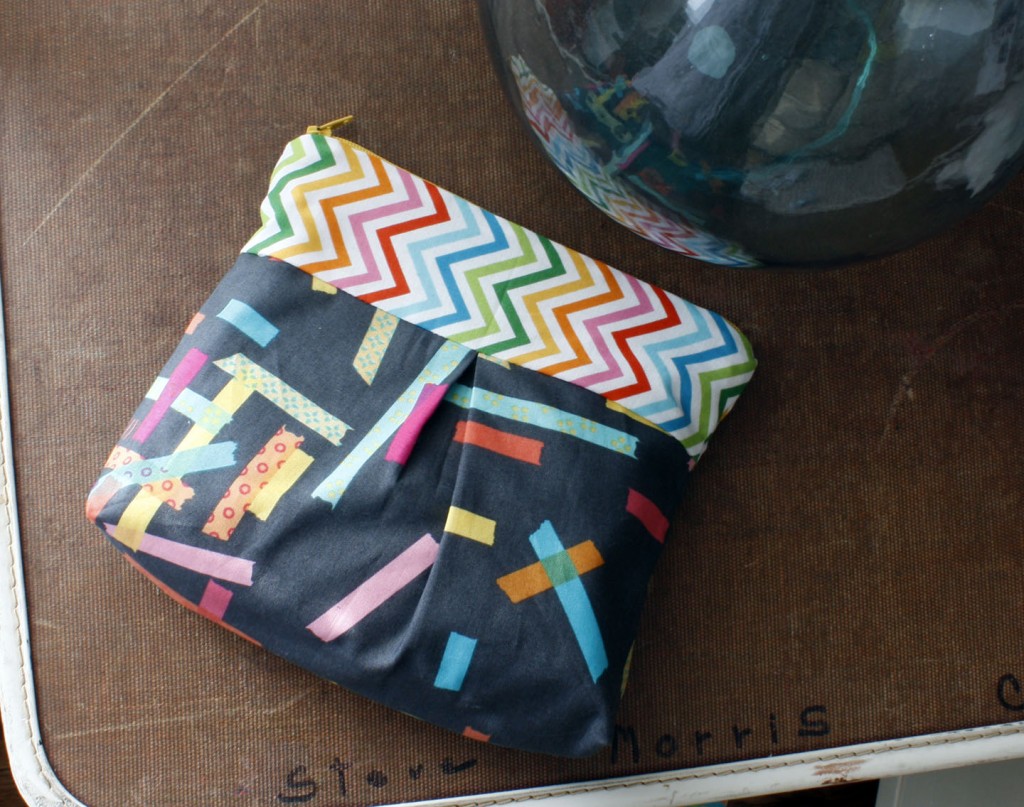
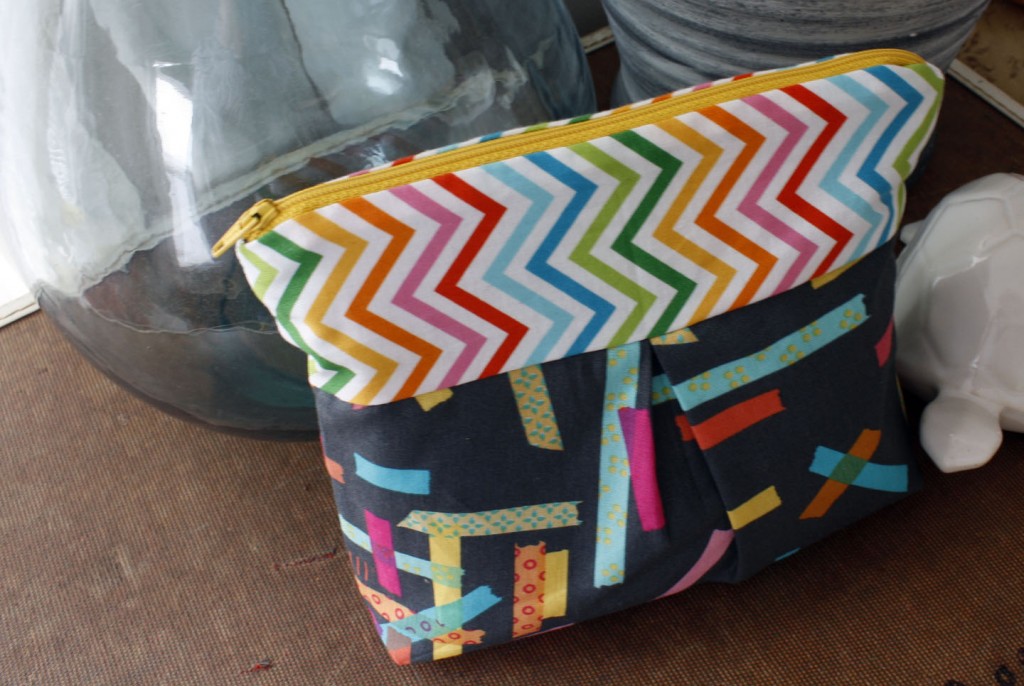
I wanted to make a quick little project a couple days before our trip. You know, for the satisfaction of finishing something quickly. :) I decided a little pouch for my stitching project I was planning on taking with me on the trip. I wanted something a little different than I normally make so I did a google search and found a tutorial from Needle and Spatula: A Pleated Pouch.
I love the little curve the darts at the bottom make in conjunction with the pleat at the banding. I altered the dimensions a bit. I made mine a couple inches longer and wider to fit the project I wanted to carry. But that was simple to do since the pieces you cut are rectangles to start with.
Her tutorial was great, clear and simple. I will hopefully find time to make some of these in the future for other projects and as gifts.
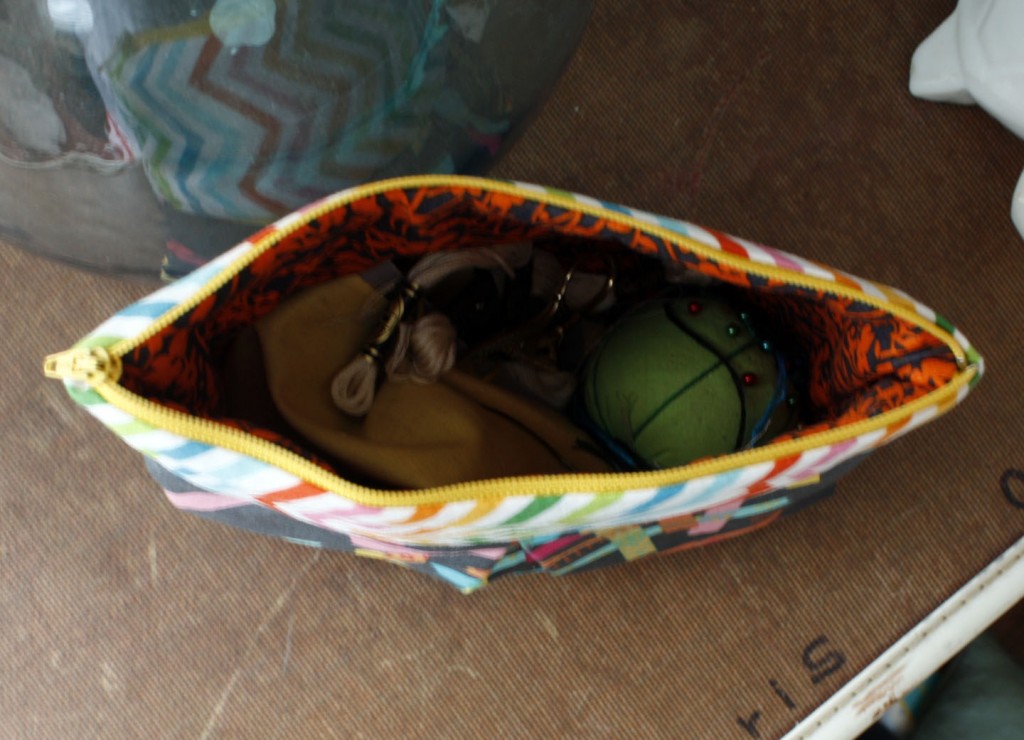
This holds a lot. I fit an approx. 18″x24″ of linen, a couple small piece of fabric, several skeins of floss, a 6″ embroidery hoop, and a pincushion. I didn’t measure the pouch and am to lazy to run upstairs to do that, but I think I added 3 inches to her width, 1″ to the banding height, and maybe 1″ in height to the main fabric. ?!?!?! Don’t quote me though. ;)
Thanks for stopping by!
::I am sharing this tutorial link and project of my own accord. I find tutorials and use them periodically and I will hopefully be sharing them more in the future.


