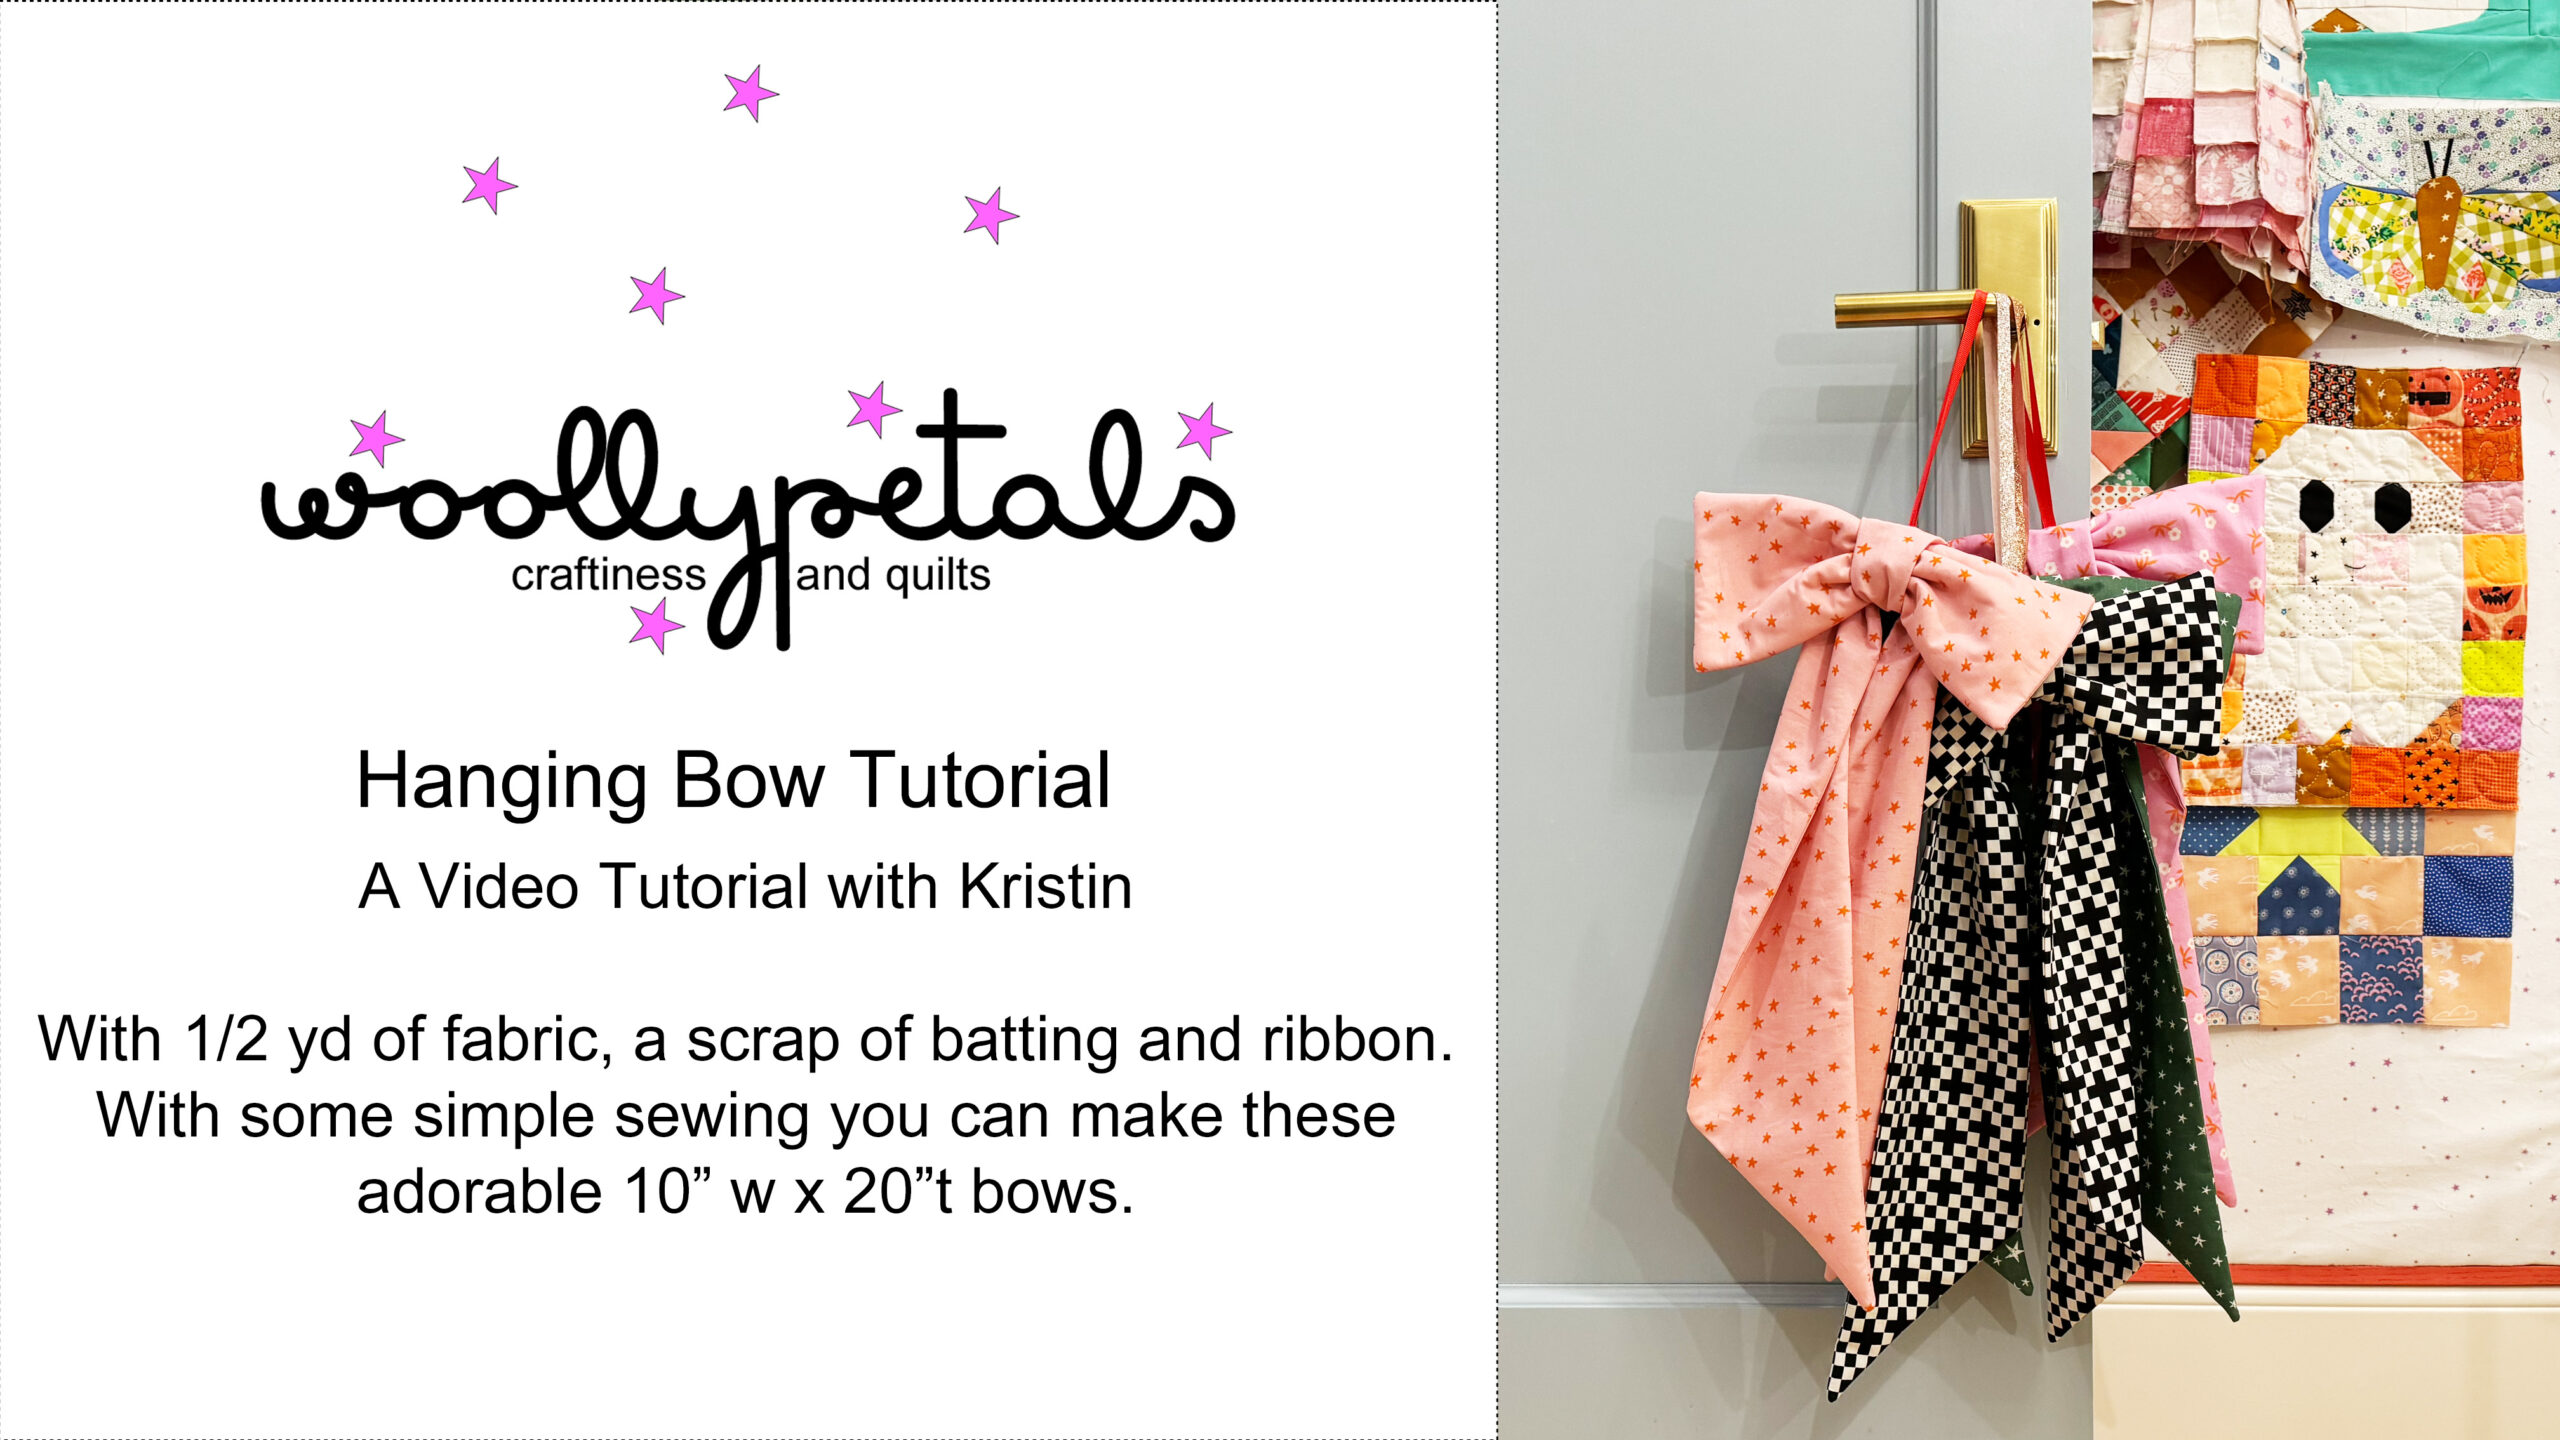
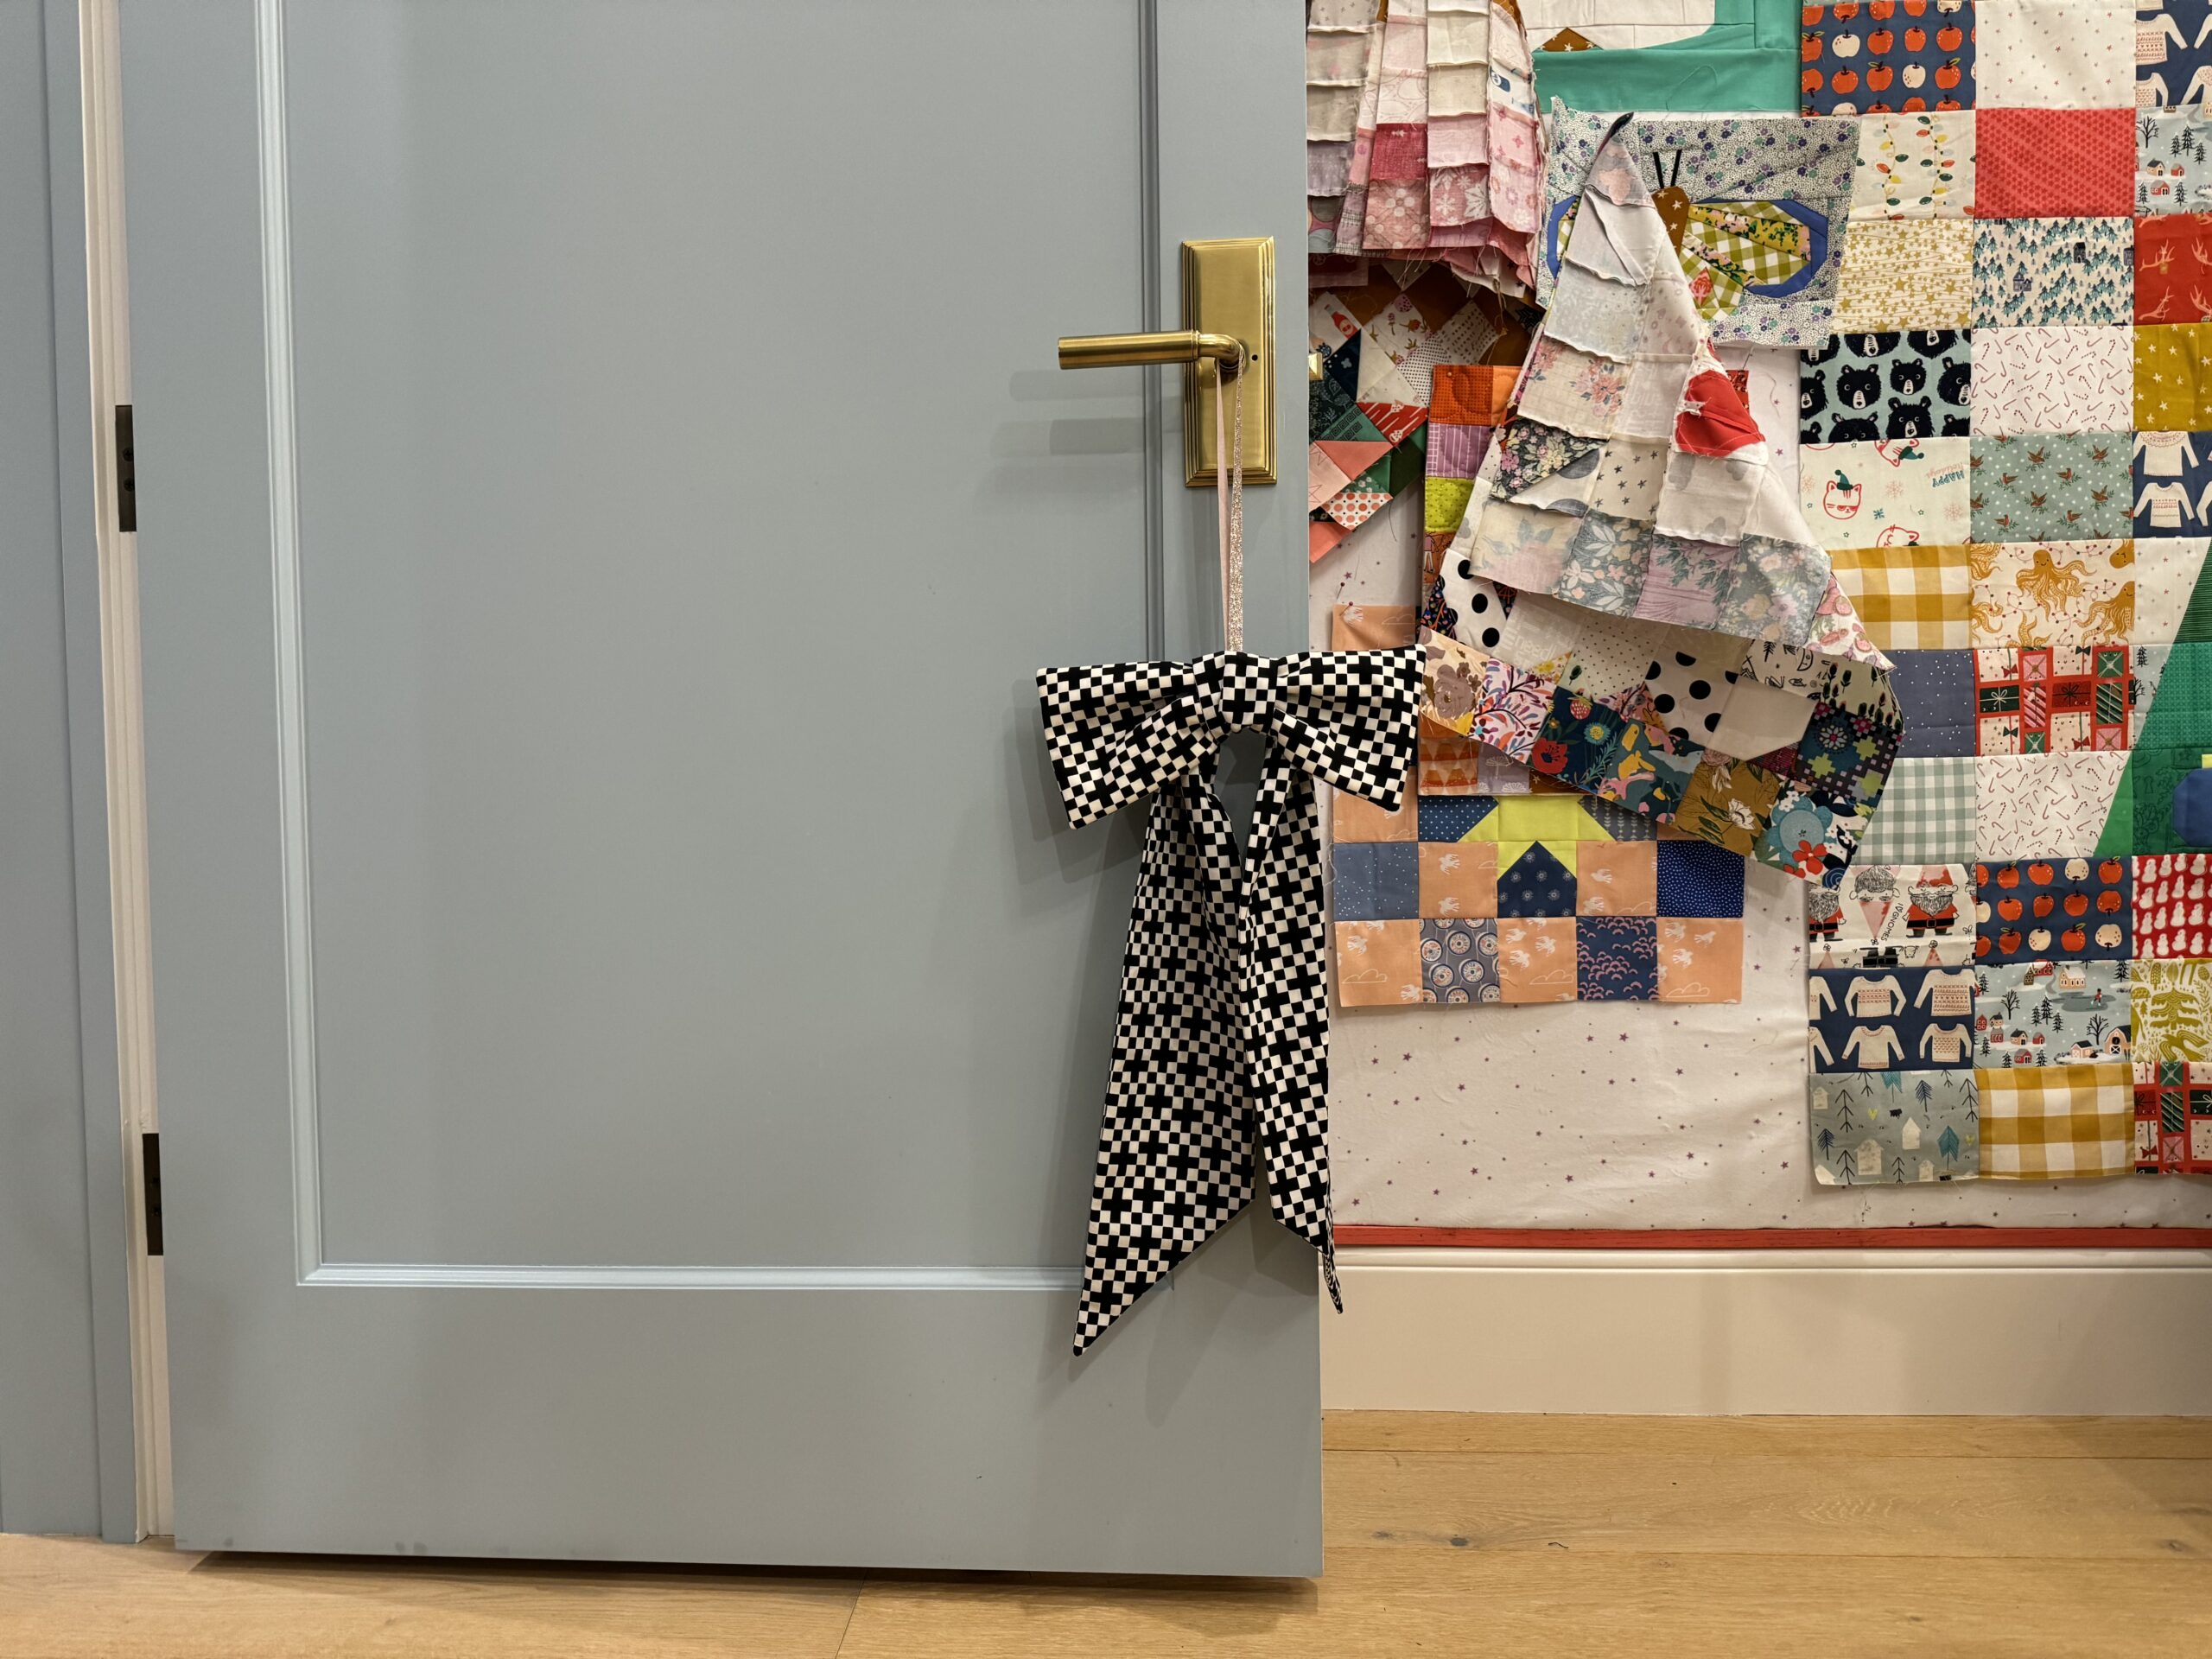
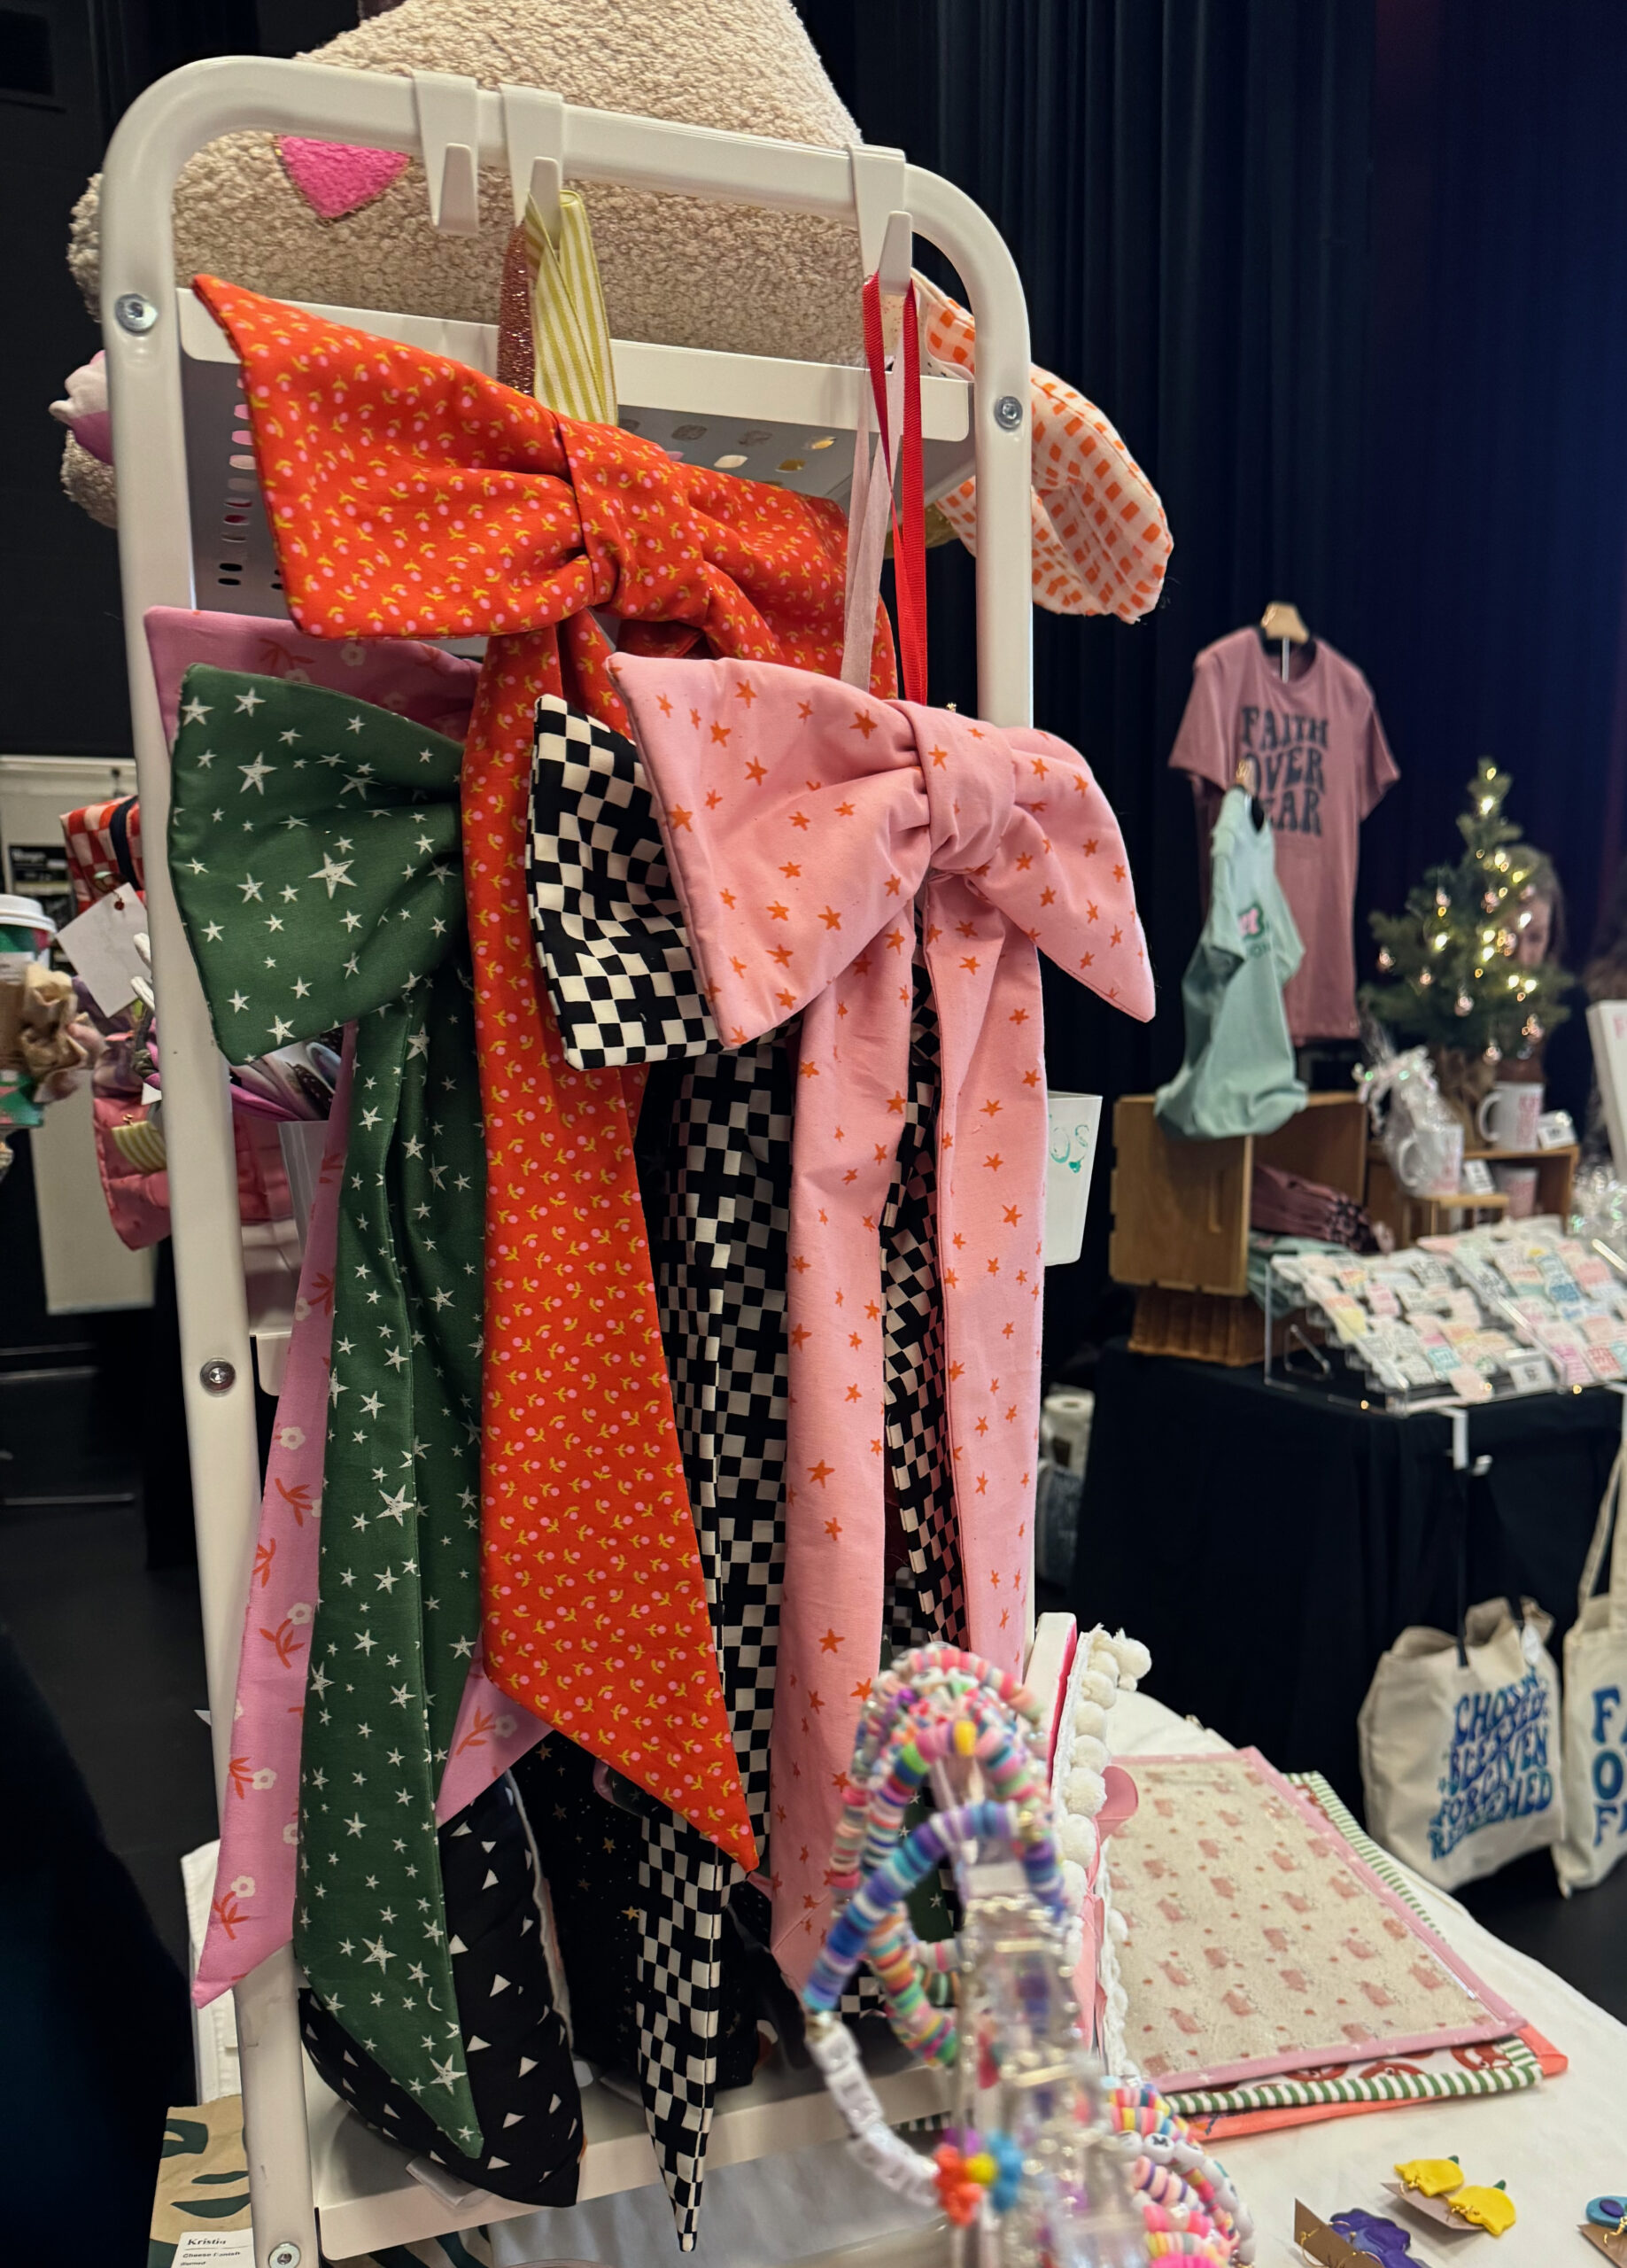
I am sharing a Hanging Bow Tutorial on Youtube today! I wanted to have a landing page on my site to share it with you and have the supply list here for you!
With a little fabric and about 30 minutes you can make this cute bow. the bow, tails, and the tie are all sewn separately on the sewing machine and then hand stitched together. Check out the full Youtube Video Tutorial to make this fun bow!

Supplies
To make the Hanging Bow Tutorial you will need very few supplies yay! The supplies are shared in the video as well.
1/2 yard of fabric 40″+ wide. Quilting cotton is a great option, but any fabric will work. Typical quilting cotton is 40″-44″ wide and the width of the fabric will determine how long your “tails” are for the bow.
18″ of ribbon Any ribbon or material you desire to be your hanger.
12″w X 5.5″t piece of batting
Additionally you will need cutting tools. A rotary cutter, mat, and ruler is ideal. But you could cut this with scissors.
A sewing machine, and a hand sewing needle and thread as well.
Bow Details
This is a non traditional bow. What I mean is, it is not a long piece of fabric tied in a bow. It is a padded piece that makes up the bow itself, with a smaller sewn tube for the tie or knot around the bow, and lastly a long piece used for the tails hanging down on the bow. All sewn with the machine and then hand stitched together at the end. Very easy to make and produces a perfect bow every time.
The fabric is cut horizontally but the tails hang vertically. So ideally you would choose non directional fabric. If not just know your fabric pattern will be sideways on the tails of the bow.

Cutting + Sewing Info
Cutting: With the 1/2 yard of fabric folded as it comes off the bolt. Cut the list below.
3 pieces 5.5″tall X WOF
From one of the three long pieces cut above sub cut it into:
2 pieces 5.5″tall x 12″ wide.
1 piece 5.5″tall X 8″wide.
Place the remaining two long pieces cut in the first step with right sides together. Matching the ends. Cut the ends on a 45 degree diagonal with the longest point on the top and the shorter point on the bottom.
From batting cut 1 piece 5.5″tall X 12″wide.
Sewing: when sewing backstitch at beginning and end of seams.
Sew a 1/4″ seam on all sides of the two long pieces with right sides together. Leave a 2″ opening in the middle of the width.
Place the 2 5.5″t X 12″w pieces right sides together and then place the same size batting piece of the outside. Sew 1/4″ seam on all seams through the 3 layers.
Fold the 5.5″t x 8″w piece in half so it’s 2.25″t X 8″ wide and sew 1/4″ seam up the side where the two edges align.
Turn all sewn pieces right sides out and press flat. With the bow piece with the batting turn from between the two fabric pieces so that the batting ends up in the middle once turned.
If needed stitch the turning openings closed on the Bow and Tails pieces only.
Gather the Bow and Tails down the middle with a hand stitched gathering stitch.
Lay the Tails behind the Bow aligning the gathering stitches and then wrap the knot around the middle inserting on end of the tub into the other. Stitch all together.
Attach the hanger by folding the ribbon in half and knotting the ends. Then stitch onto the top back of the bow so the knot and stitches are hidden but the hanger hangs from the top back of the bow.
Watch the YouTube video for a a step by step walk through Tutorial of the written instructions above.

Links
<<<<<<<<Woollypetals HANGING BOW TUTORIAL YouTube Video>>>>>>>>
Please tag me on social media or let me know on YouTube or here if you’ve made a bow. Seeing what you make is one of the best things about making tutorials.
Thanks so much for stopping by!
