
It’s Backing, Batting, and Basting for Week 6 of the New Star Beginner Quilt Course. Yay! Let’s talk about the three B’s.
Backing
Our first B of the Backing, Batting, and Basting week 6 three B’s is backing. Lol. I didn’t mean for that to be such a tongue twister.
The backing of a quilt is the fabric that goes on the back. Seems simple enough. But there are a few things to keep in mind. Backing can be any type of material, but being compatible with the Quilt top is key. i.e. Something that will shrink a similar amount or not shrink. Coordinating the fabric to the quilt top is nice, but not necessary. Sometimes you will choose to use leftover fabric from the Quilt Top to piece a backing. Almost like a second quilt, typically far simpler. Sometime you will choose to use a soft fluffy backing like Minky Fabric. And sometimes you may choose an easier route and buy a flat sheet or wide back fabric for backing.
The most common type of backing is using quilting cotton yardage. For this you will need to calculate how much fabric you need. Some patterns share that info in the fabric requirements. But it’s always good to make sure it’s enough for you and any special circumstances you have.
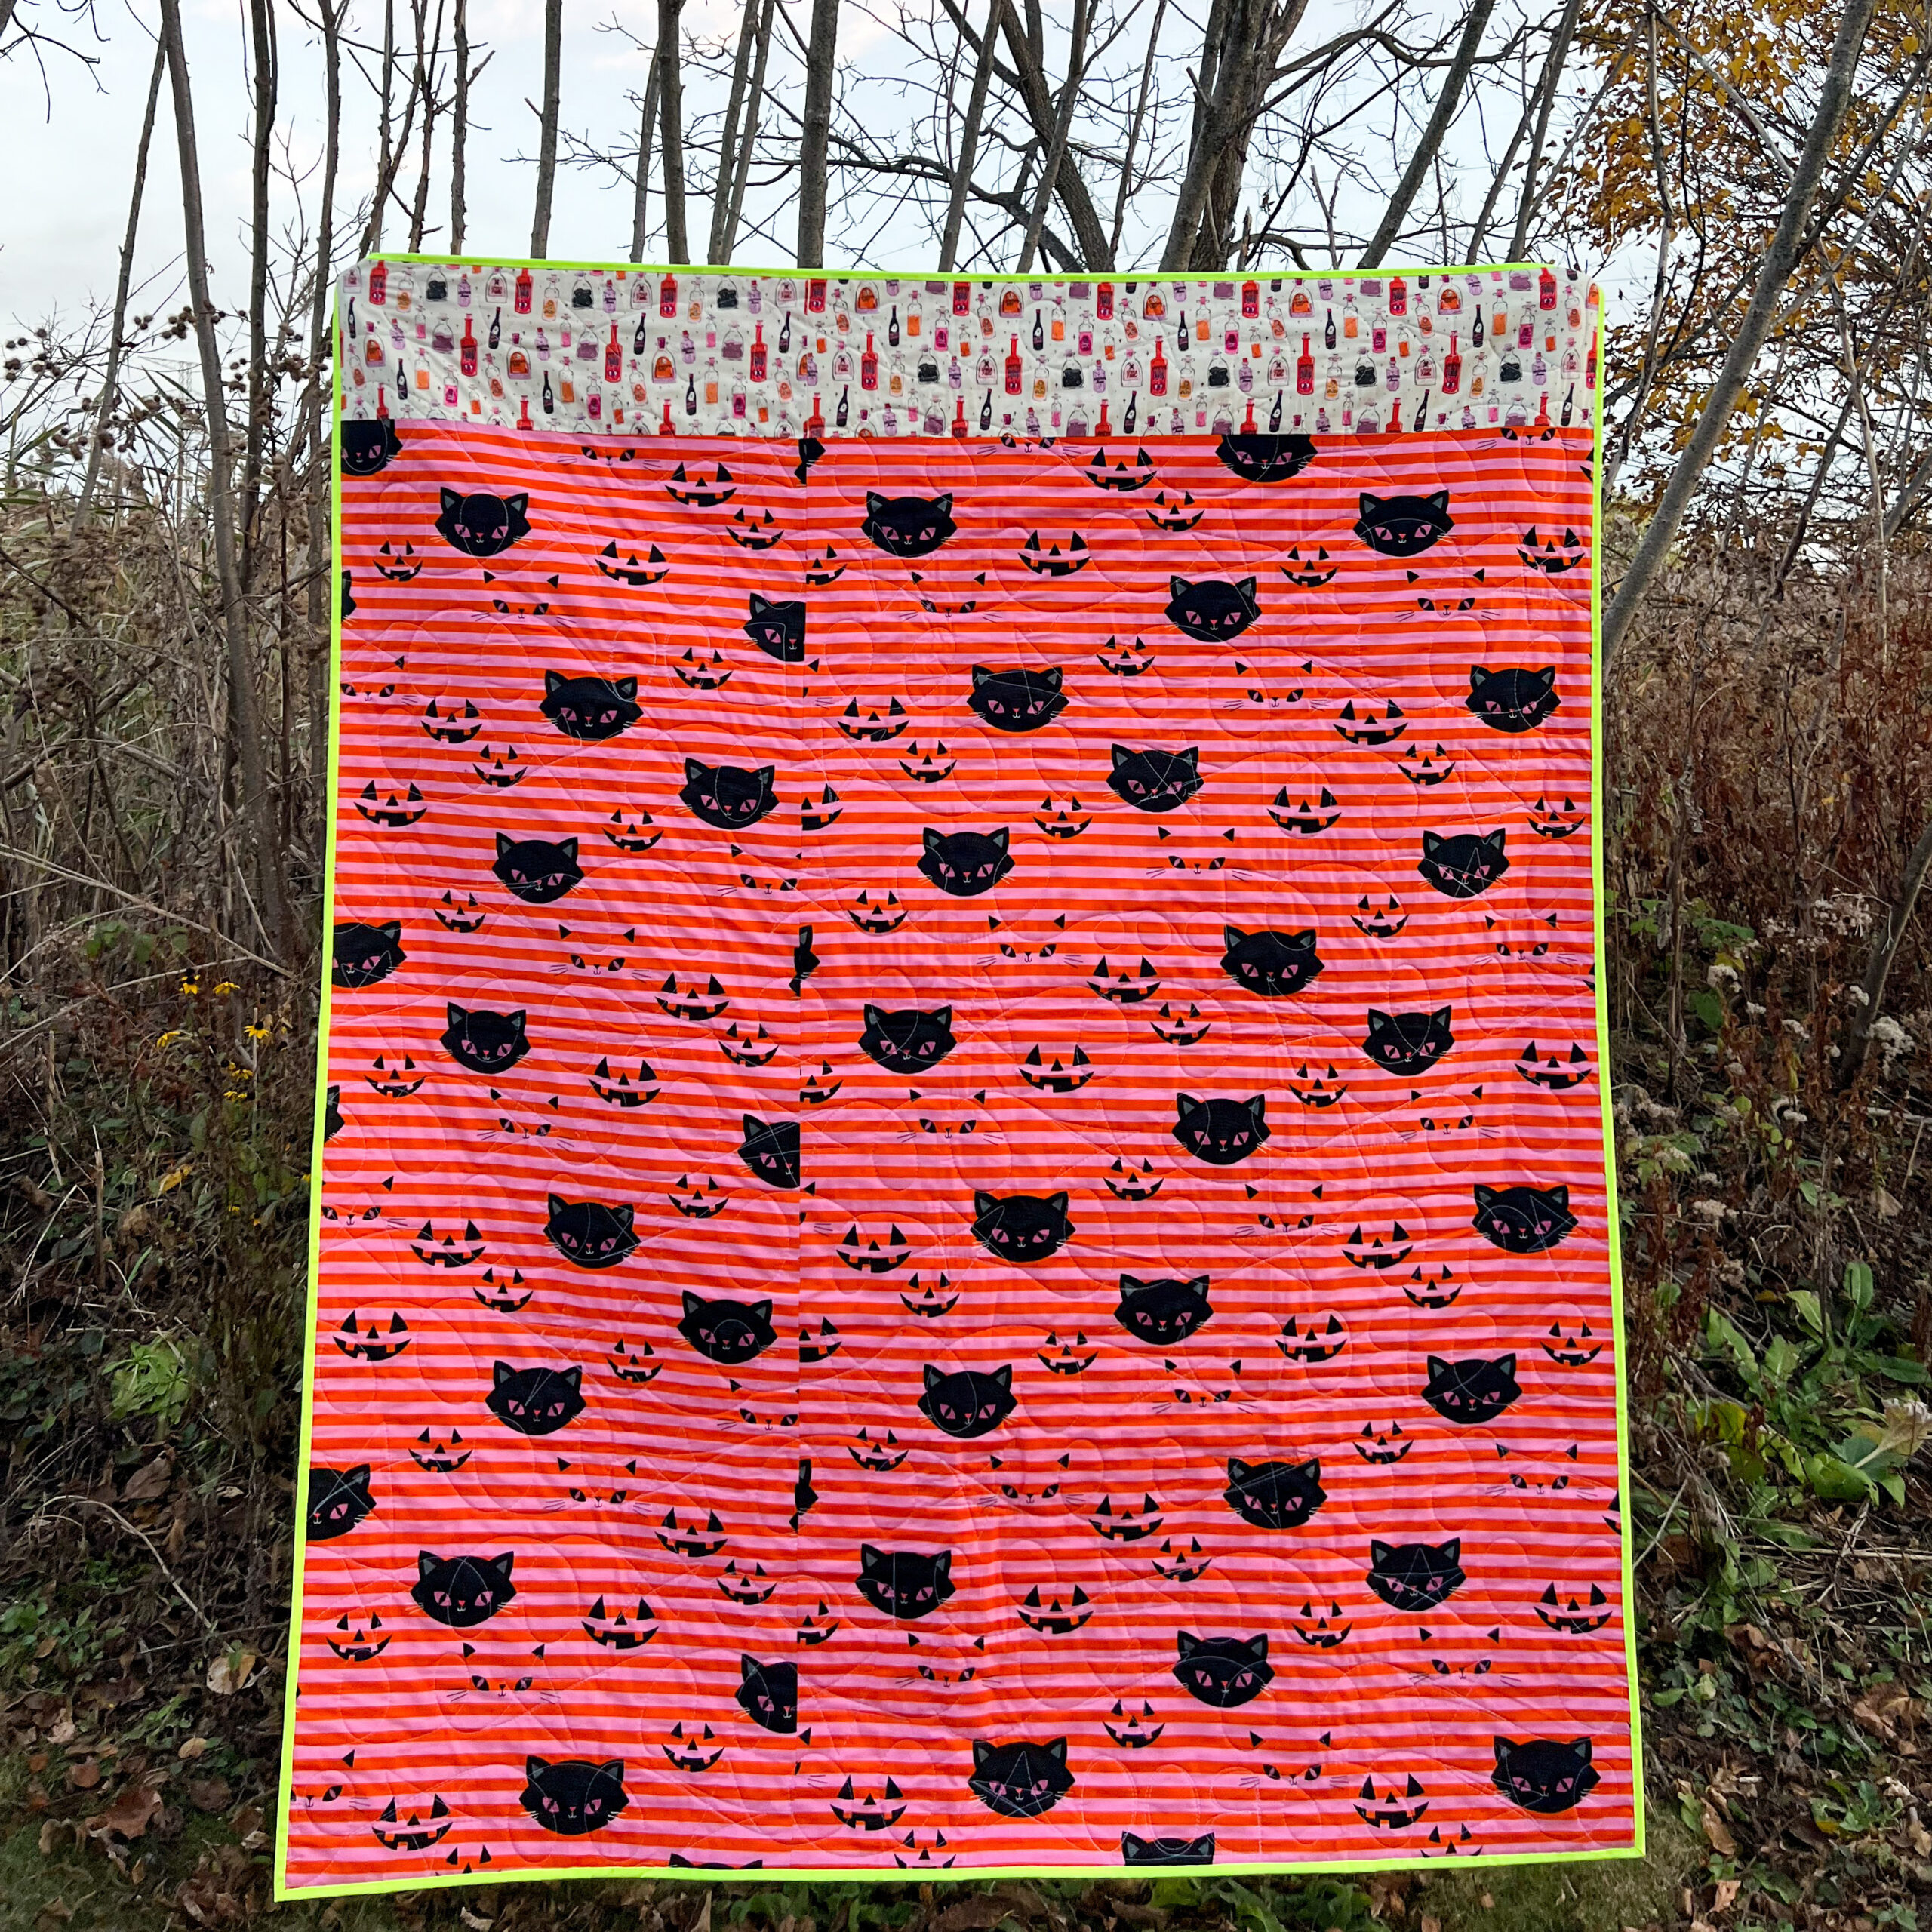
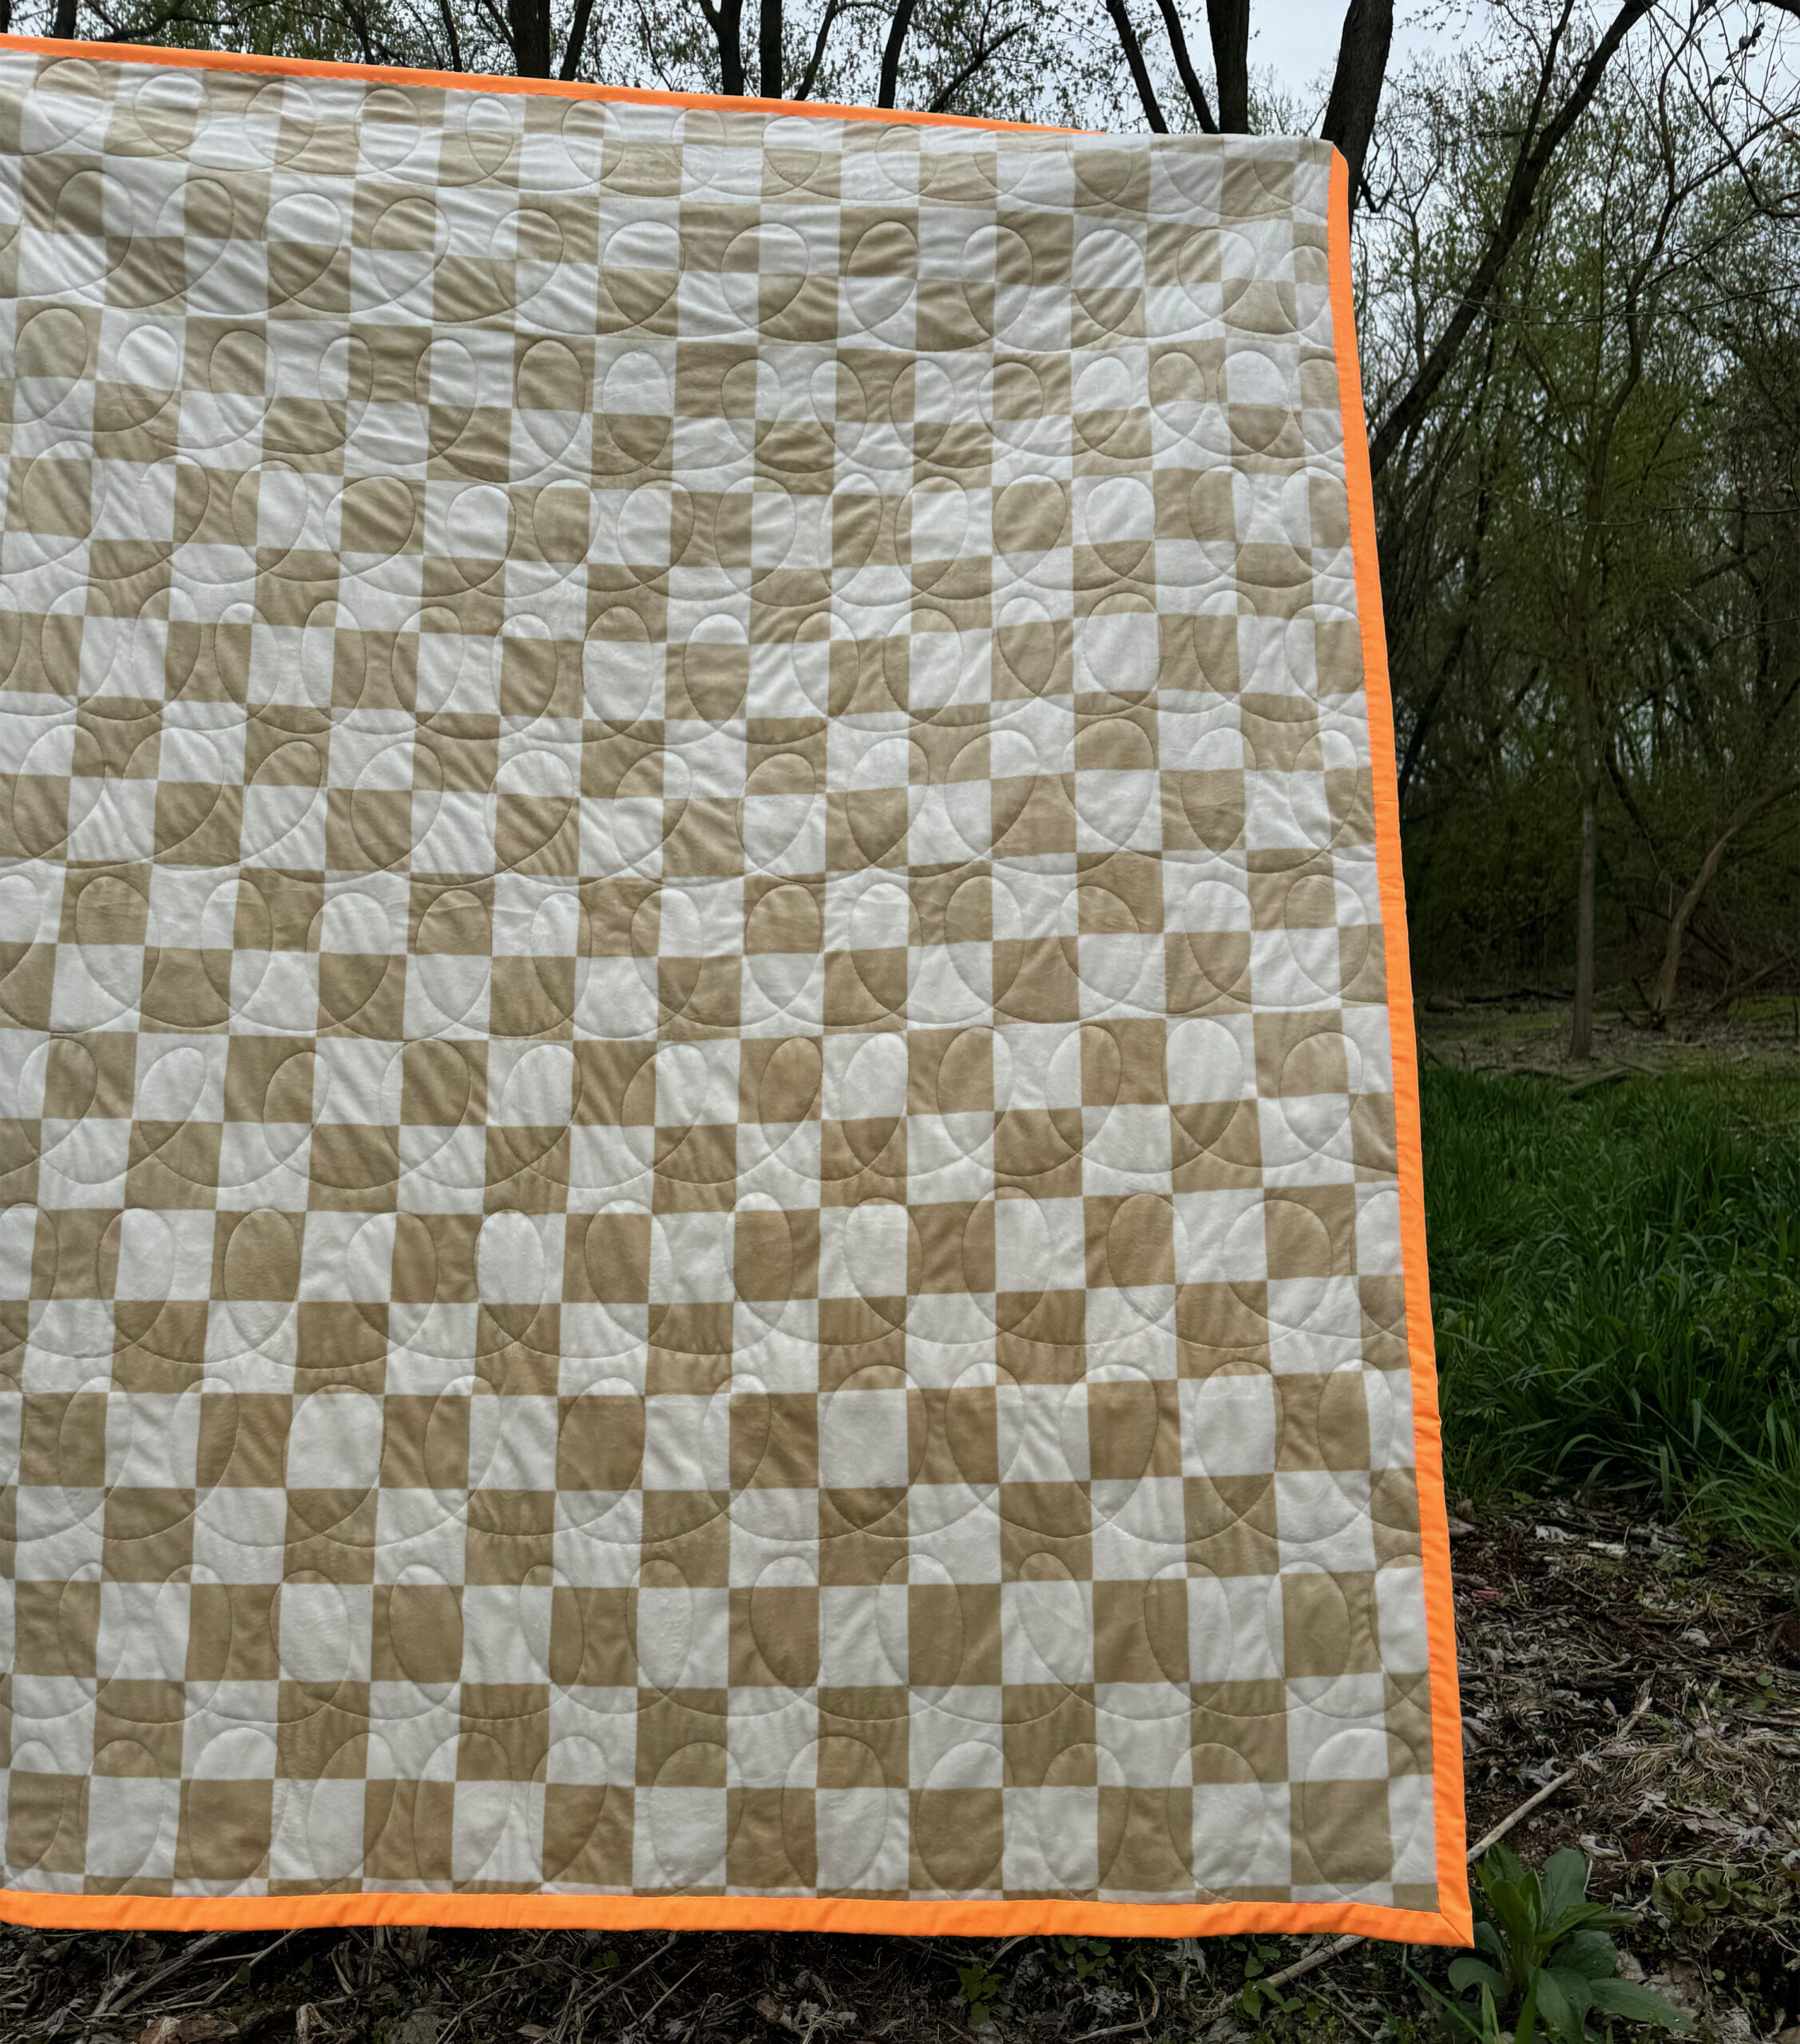
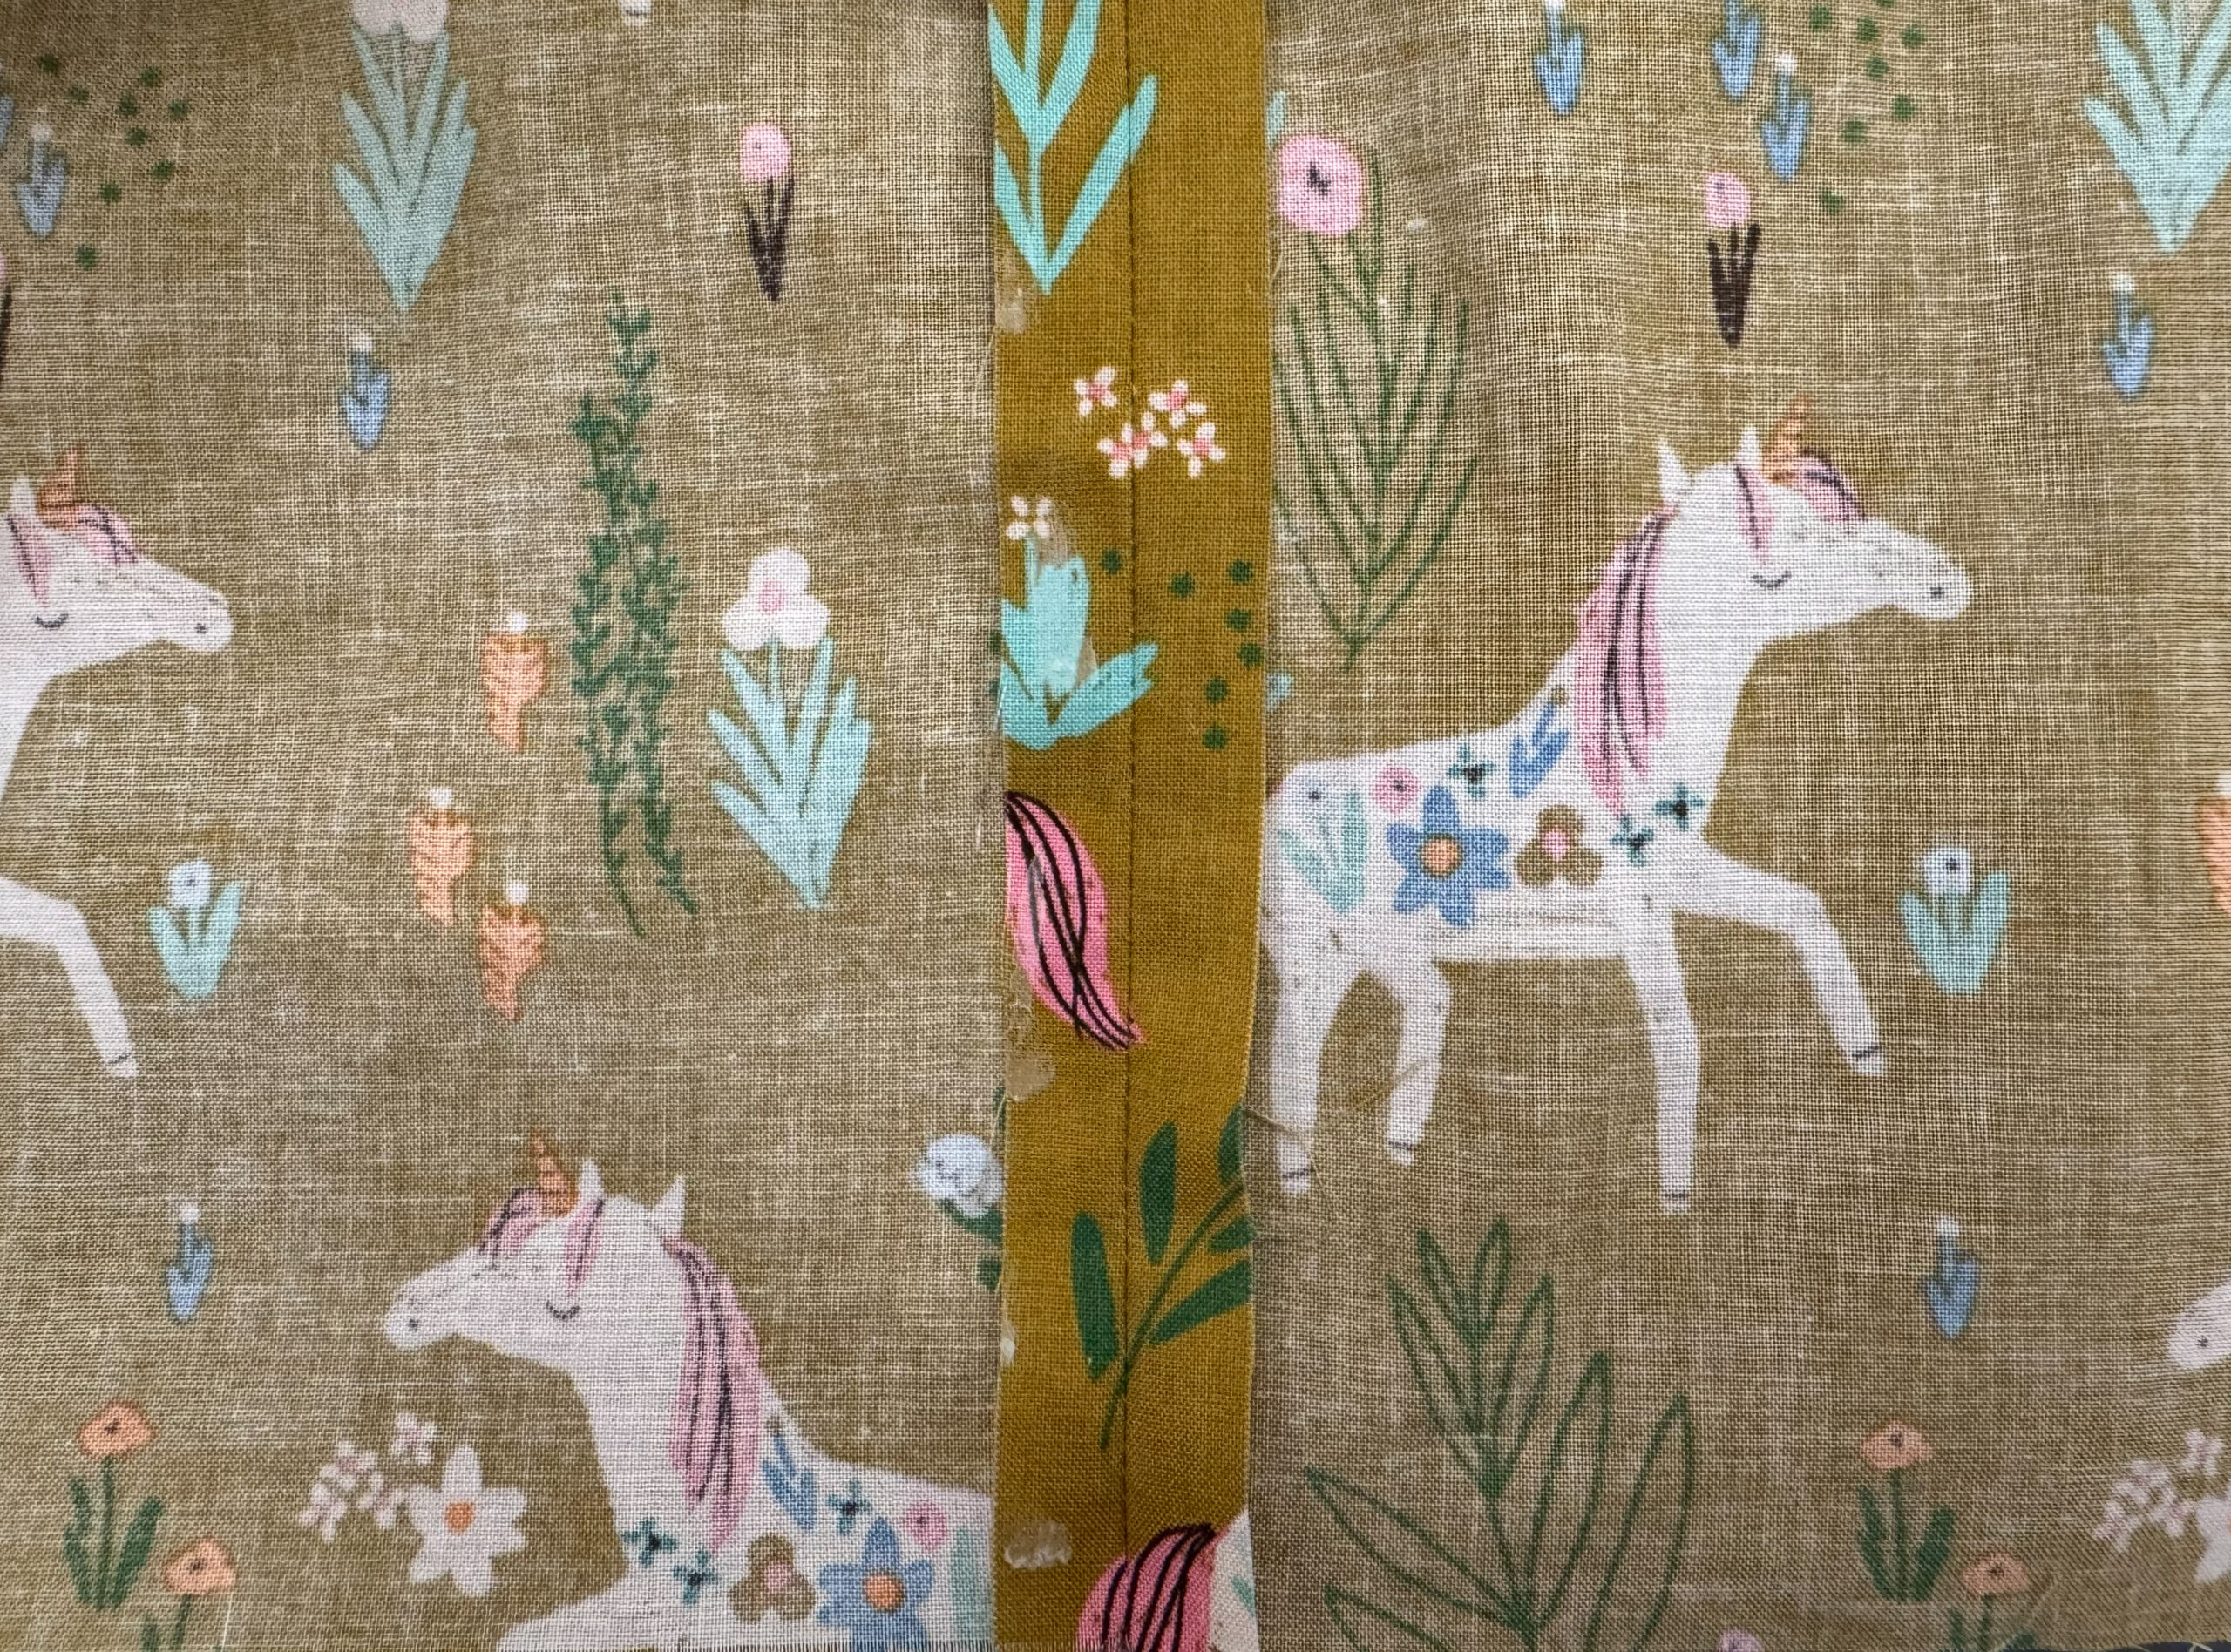
Some different pieced quilt backs below. First, a pieced back using two pieces of fabric. Second, a single minky fabric back. Third, a backing with FPP words pieced in it and two different fabrics.

Calculating Backing
A wideback fabric, which is a quilting cotton fabric 108″ wide instead of the standard 40″-44″ wide quilting cotton. Although some widebacks can come as wide as 120″. Widebacks are all sold by the yard no matter the width. You will need to determine how tall your quilt is, assuming the width of the quilt will fit on the width of a widleback fabric, and then add a few inches to determine how many yards of wideback fabric you need.
I typically add 4″-6″ to the height of a quilt if basting and quilting at home. So if your quilt is 66″ tall like our New Star Quilt, you would add 6″ to 66″ for a total of 72″. Dividing that number by 36″, a yard in inches, which determines you need 2 yards of wideback fabric for a backing.
For any fabric less wide than the width of your quilt. i.e. most quilting cotton or minky. Unless of course you are making a smaller quilt like a baby quilt, you will need two widths of fabric that are seamed together to get the width that works for your quilt. You will do the same sort of calculations for the length. Height of Quilt + 4″-6″ divided by yards. But since you need two lengths you will double that amount. So for our 66″ tall New Star Quilt, 66″ + 6″ = 72″. 72″/ 36″ = 2 yds. 2 yds X 2 = 4 yards.
In some instances for larger quilts you will need three lengths of fabric. 2 lengths of fabric sewn together will be 80″-88″ wide. 3 lengths sewn together will be 120″+ which is more in the range of a king size quilt.
Another reason you will need more fabric is pattern matching. Skip to that section below to find out more.
Longarm Quilting Difference
When you send your quilt to a long arm quilter. A longarm quilter is someone you pay to quilt your quilt for you. They have a big machine that they load your quilt on, and quilt with a computerized all over design.
Typically longarm quilters have specific sizes they want you to make your backing. Usually a specific amount larger than the quilt top. I think it is more in the range of 8″ bigger on both the height and the width. But it’s always best to double check with your longarm quilter before buying yardage or trimming. You will still need to piece your backing before sending.
Making a Backing
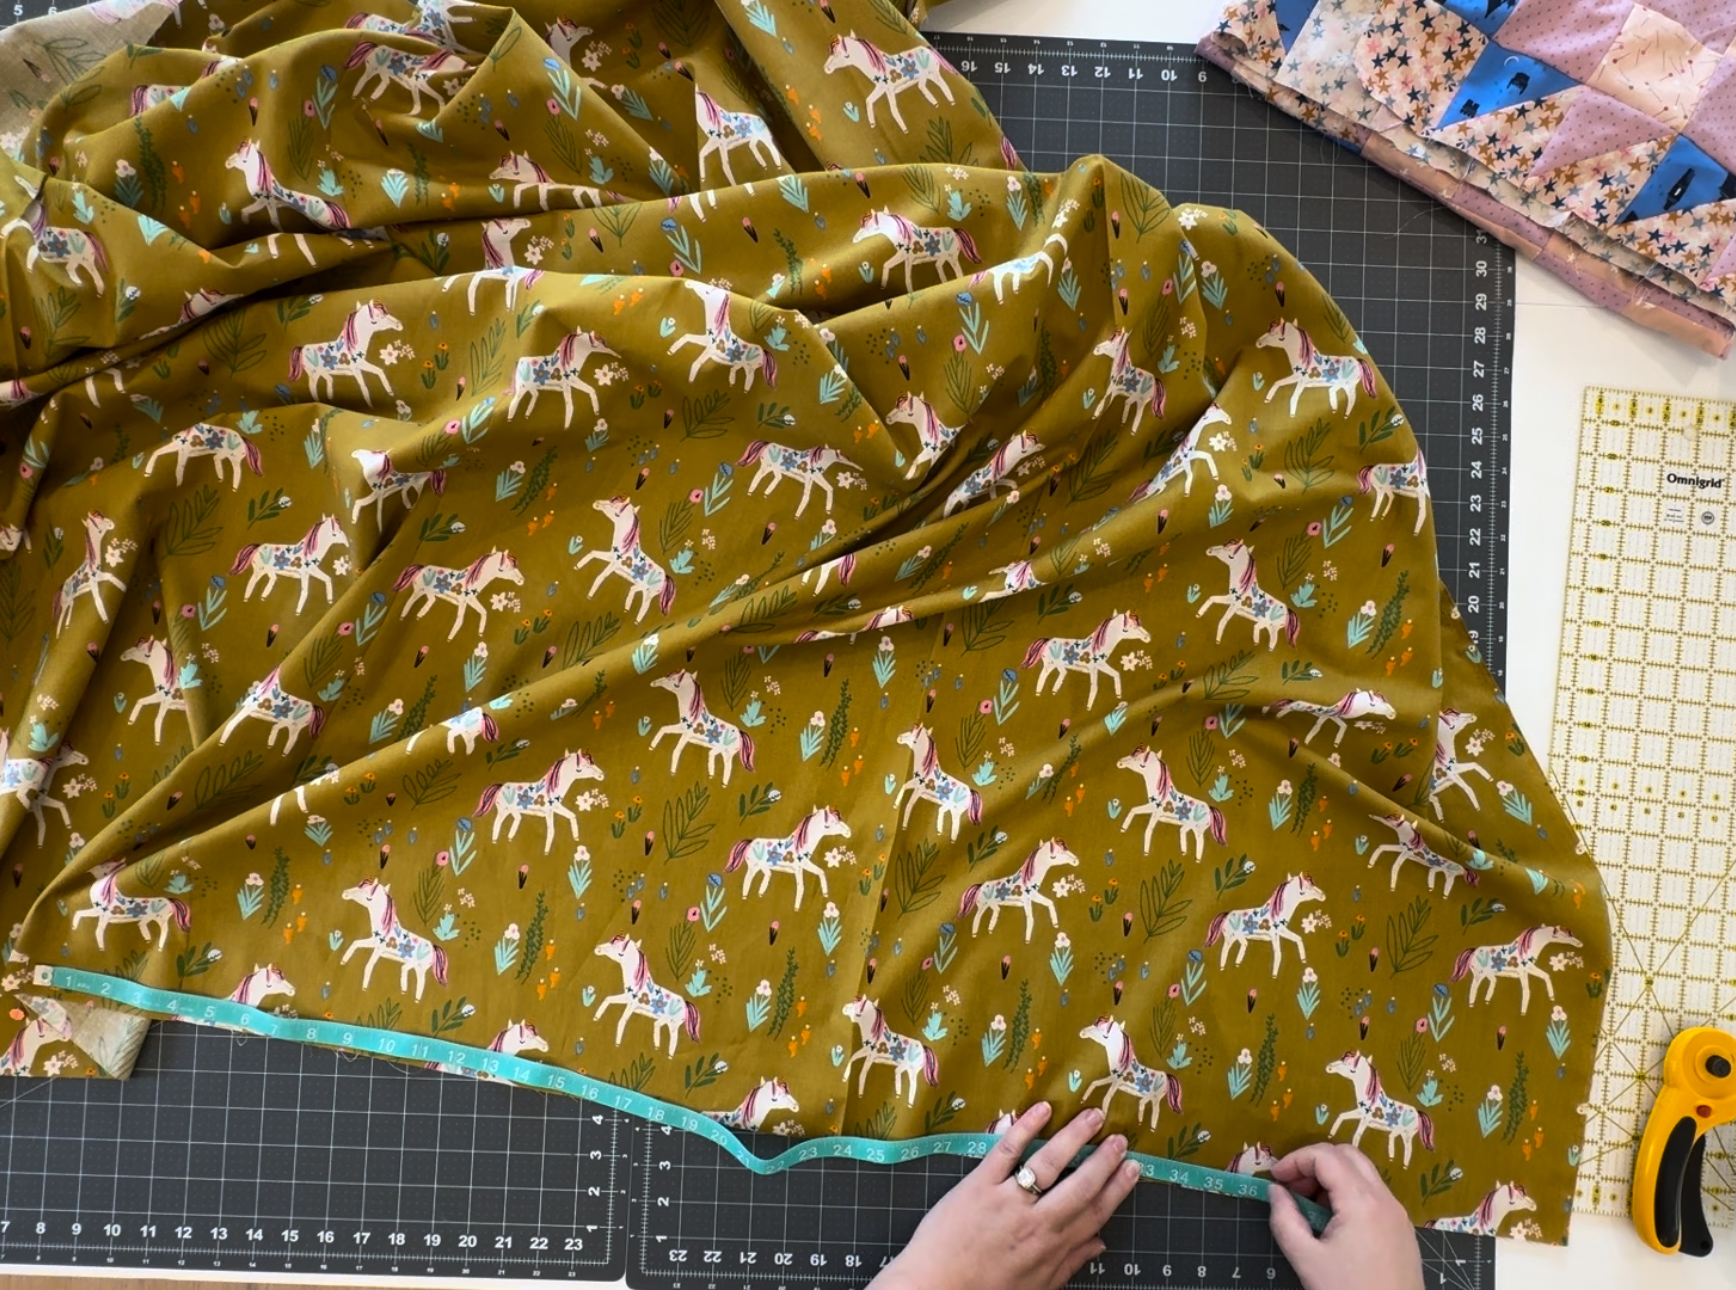
How to make a backing when you are sewing multiple lengths of fabric together. First trim the ends of your fabric to a 90 degree angle just like when we cut our fabric in week 2. Leave the fabric folded in half like it comes off the bolt, align the ruler with the fold and cut each end to be a perfect 90 degree angle. If you are making a backing using only two lengths of fabric measure from one cut edge the length you need and cut at that point. Leaving the fabric folded to cut. Then measure and cut your second piece.
Next we need to sew those two pieces together along the longer edges. If you watch my video you know you can either pattern match or not. For pattern matching read below before cutting your fabric. But for no pattern matching continue here. Align the two long edges of your fabric pieces pin together and sew a seam 1/2″ from the inside edge of the selvedge. Or if you prefer trim the selvedge edges off where the selvedge meets the fabric print and then sew 1/2″ in from that edge. Once you have that long seam, you should cut the selvedges off anyway leaving a 1/2″ seam allowance.
Then iron the seams on the back so they are open. That means on part of the seam points in one direction and the other part of the seam points in the opposite direction and you can see the stitches of the seam. Ironing open gives you the least amount of bump on the backing.
Pattern Matching
If you have a print, that you want to use for the back, that really needs to be matched with the second length of fabric so the pattern continues seamlessly you will need to pattern match.
In that case more fabric will be needed depending on how big the pattern spans. Anywhere from 1/4 yd – 1 yd extra. You may not be able to determine this unless seeing the fabric. But in general a smaller pattern repeat requires less extra fabric, and a larger pattern repeat requires more.
When cutting for a pattern repeat I like to cut my first length of fabric exactly the length I need. Then align it with the leftover fabric so the pattern matches up at the top of the fabric on both. That may require shifting the cut piece down a bit to get the proper alignment. Once aligned you can cut the second length by using the first length to measure. I would typically say adding an extra inch or two to the bottom of the second length to be safe. That will ensure you don’t make a cutting mistake.
Once both lengths are cut you will need to fold under the edge of the short piece and align on top of the second piece to make sure the pattern is aligned. Then attach those two pieces with pins or glue to keep them in place for sewing your seam. I share a couple methods of this in the video so you can see what looks the easiest to you.
Glue basting the fabric in place requires your to iron a folded edge and then glue the folded edge to the flat longer length of fabric. Then sew on the ironed crease.
Or after ironing the crease align the pattern, pin, then flip right sides together and pin on the wrong sides of the fabric where you will sew. I highly recommend watching the videos for both options since they are better explained visually.
Once your have your backing sewn you can trim down the ends. And then iron the whole backing to get any wrinkles out and be ready for basting.

Batting
For our Three B’s, backing, batting, and basting we have moved onto batting!
Batting is the fluffy layer in between the Backing and the Quilt Top. A low loft batting is best for quilting. I am going to share some types of batting I like below. But in general a non fluffy batting is what you want.
Battings I typically work with and have tried.
My favorite batting is Warm and Natural Brand, the Warm and Plush. It is 50% thicker than their regular Warm and Natural batting. That is what I buy for 80% of my quilts. I will occasionally purchase a wool batting or a bamboo batting for special project.
I have used the battings below as well and have found them all fine, but keep coming back to the Warm and Natural Plush as my main batting of choice.
Pellon 80/20 – which means it’s 80% cotton and 20% polyester.
Hobbs WL90 – Wool batting
Hobbs heirloom 80/20 – 80% cotton and 20% polyester
Quilters Dream 80/20 – 80% cotton and 20% polyester
Hobbs HL 72 – Cotton batting like Warm and Natural
Pellon W-72 – Wool Batting
What Size Batting?
When buying batting you can buy it in packages cut to specific sizes. Those size usually correlate to a bed size so they may not be an exact match for a the quilt you are making. Buy the size that is at least 1″-2″ wider and taller than your quilt top.
For the New Star Quilt we are making in this Course a Twin Size batting piece will work great. That will be about 72″ x 90″. Sometimes you can buy batting by the yard. In that case it’s probably 90″ wide so buy the length that fits your quilt plus a few inches.
If you really get into quilting I recommend looking into a batting roll. You can get 20 yards or 40 yards on a roll. It saves money, but is a giant roll of batting so you need a place to store it and also need to be okay with the initially investment of several hundred dollars.
Basting Methods
The Three B’s, backing, batting, and basting leads us in how to combine your quilt top, quilt back, and batting into a quilt sandwich by basting.
Basting is pinning together multiple layers so they are connected in the right order for quilting. There are multiple methods for keeping the layers together.
Spray Basting: Uses spray glue to adhere the backing to the batting, and then the quilt top to the batting. I don’t share this method as it’s not what I use. But please use google and find some tutorials. It is the fastest and least physical method. But uses a glue, is smelly and can be messy. I personally find my layers shift to much with this method.
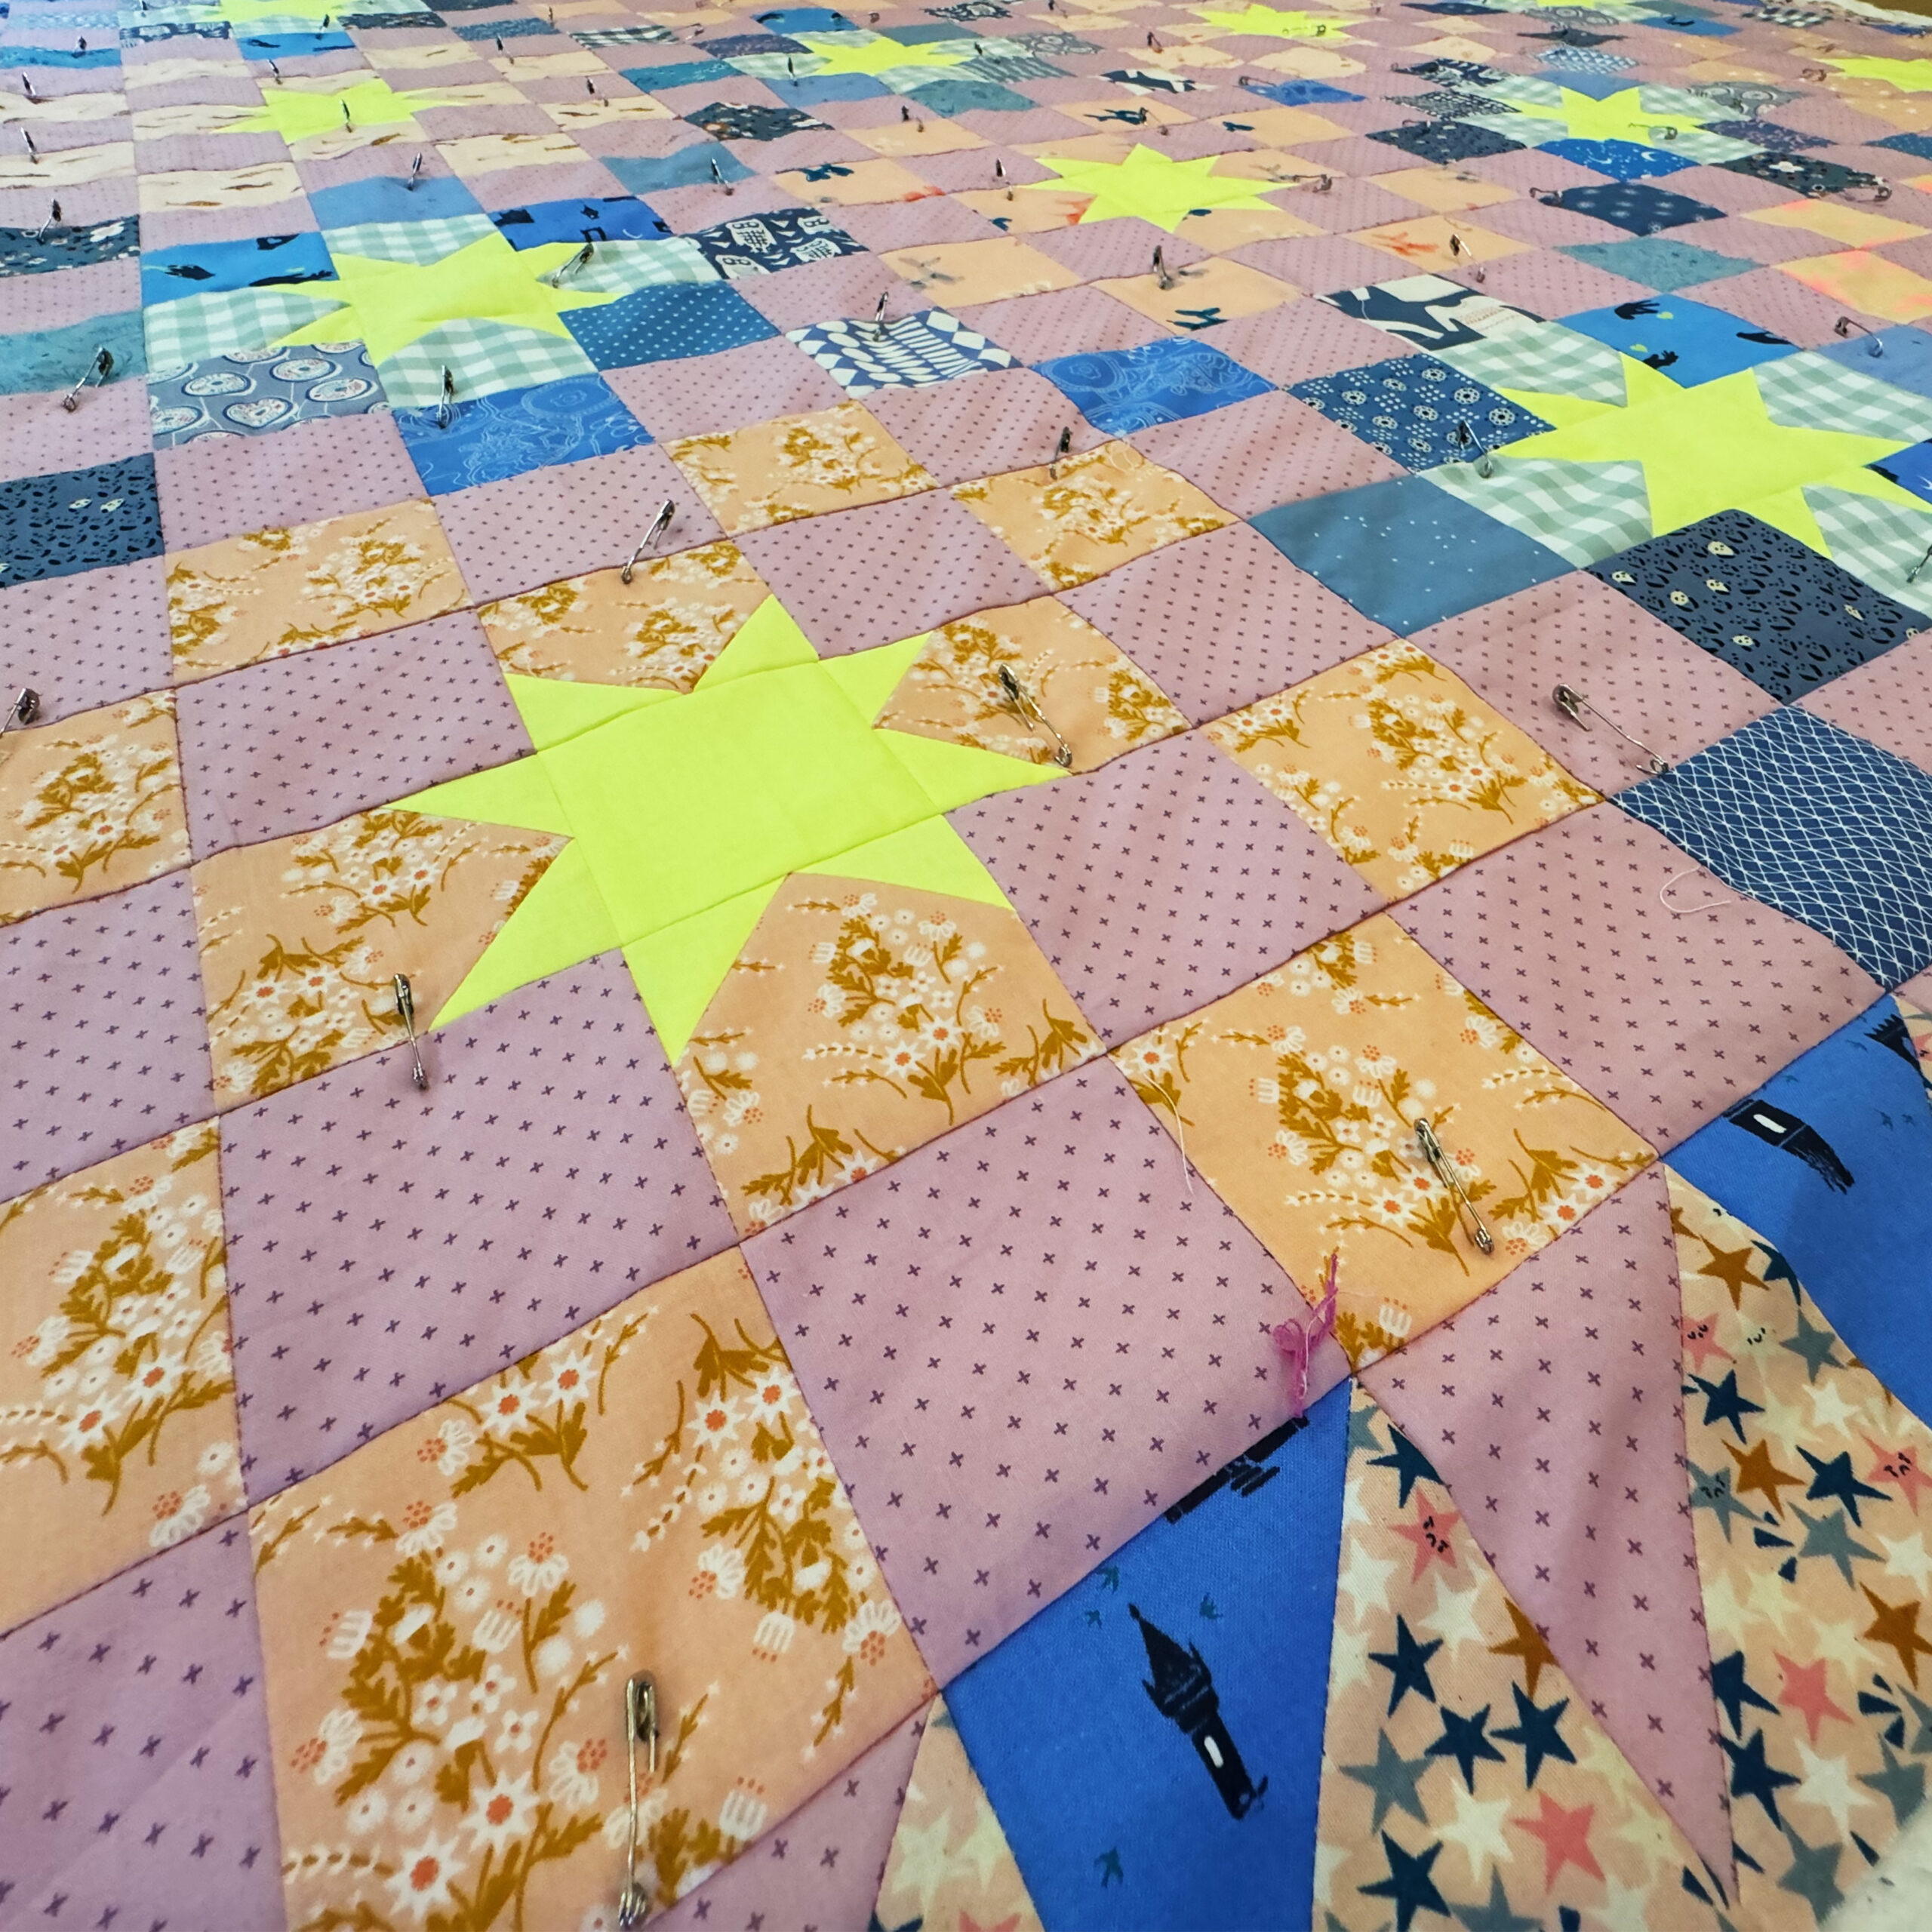
Pin Basting: This is the method we are going to learn. Using curved safety pins you will pin all three layers together once you have them set up to baste. The pins should start in the middle of the quilt top and work their way out to the edges. They should be space around 6″ apart in a grid like manor.
Thread Basting: This method is similar to pin basting in how you set up the layers of the quilt but instead of pins you are using a needle and thread to make giant stitches across your quilt to hold it together temporarily. Or sliding the needle and thread through in spots and tying the ends of the thread in that spot. Repeating all over the quilt.
Pin Basting
Let’s get the Backing, Batting, and Quilt top set up for basting! For pin basting you will need Basting Pins like these. And wide tape. I like masking tape the best. Whatever you use just make sure the tape is wide and sticks to both your floor and the fabric of your quilt backing.
Find a spot on the floor that is big enough for your quilt back to lay out with a little room around it for you to maneuver. Lay the quilt back down smoothed out with the Right Side of the backing facing the floor, so you see the Wrong Side of the quilt back facing up. With masking tape, tape each of the corners to the floor, pulling tight as you tape them. Then tape along the middle of each side of the backing adhering it to the floor.
Step back and make sure the quilt back is square, not skewed, and there are no wrinkles. Then take your batting and lay it on top of the quilt back working from the middle out to smooth any wrinkles and help it “stick” to the quilt backing. The batting may extend over the edge of your quilt backing. You can trim that after you have the Quilt Top added.
With the batting in place you will lay the quilt top on next. Center the quilt top on the backing and batting and make sure the quilt top is straight in correlation with the backing so that the backing doesn’t look skewed once finished. Smooth out the quilt top making sure there are no wrinkles. You may need to flip the batting up to see where the edge of the backing ends.
Once the three layers are in place you will pin or thread baste. You will have to crawl on the top to get to the middle of the quilt to start with the pins/thread, work out from the center in a grid pattern about every 6″ for pins. Pin all three layers together all over the quilt and once the whole quilt is pinned you can undo the tape and lift the whole basted quilt up to check the back.
Check the backing to make sure you don’t have any big folds or wrinkles pinned on the back. If you do undo some pins around it and try to smooth them out. Worse case scenario you may have to unpin it all and rebaste the quilt.
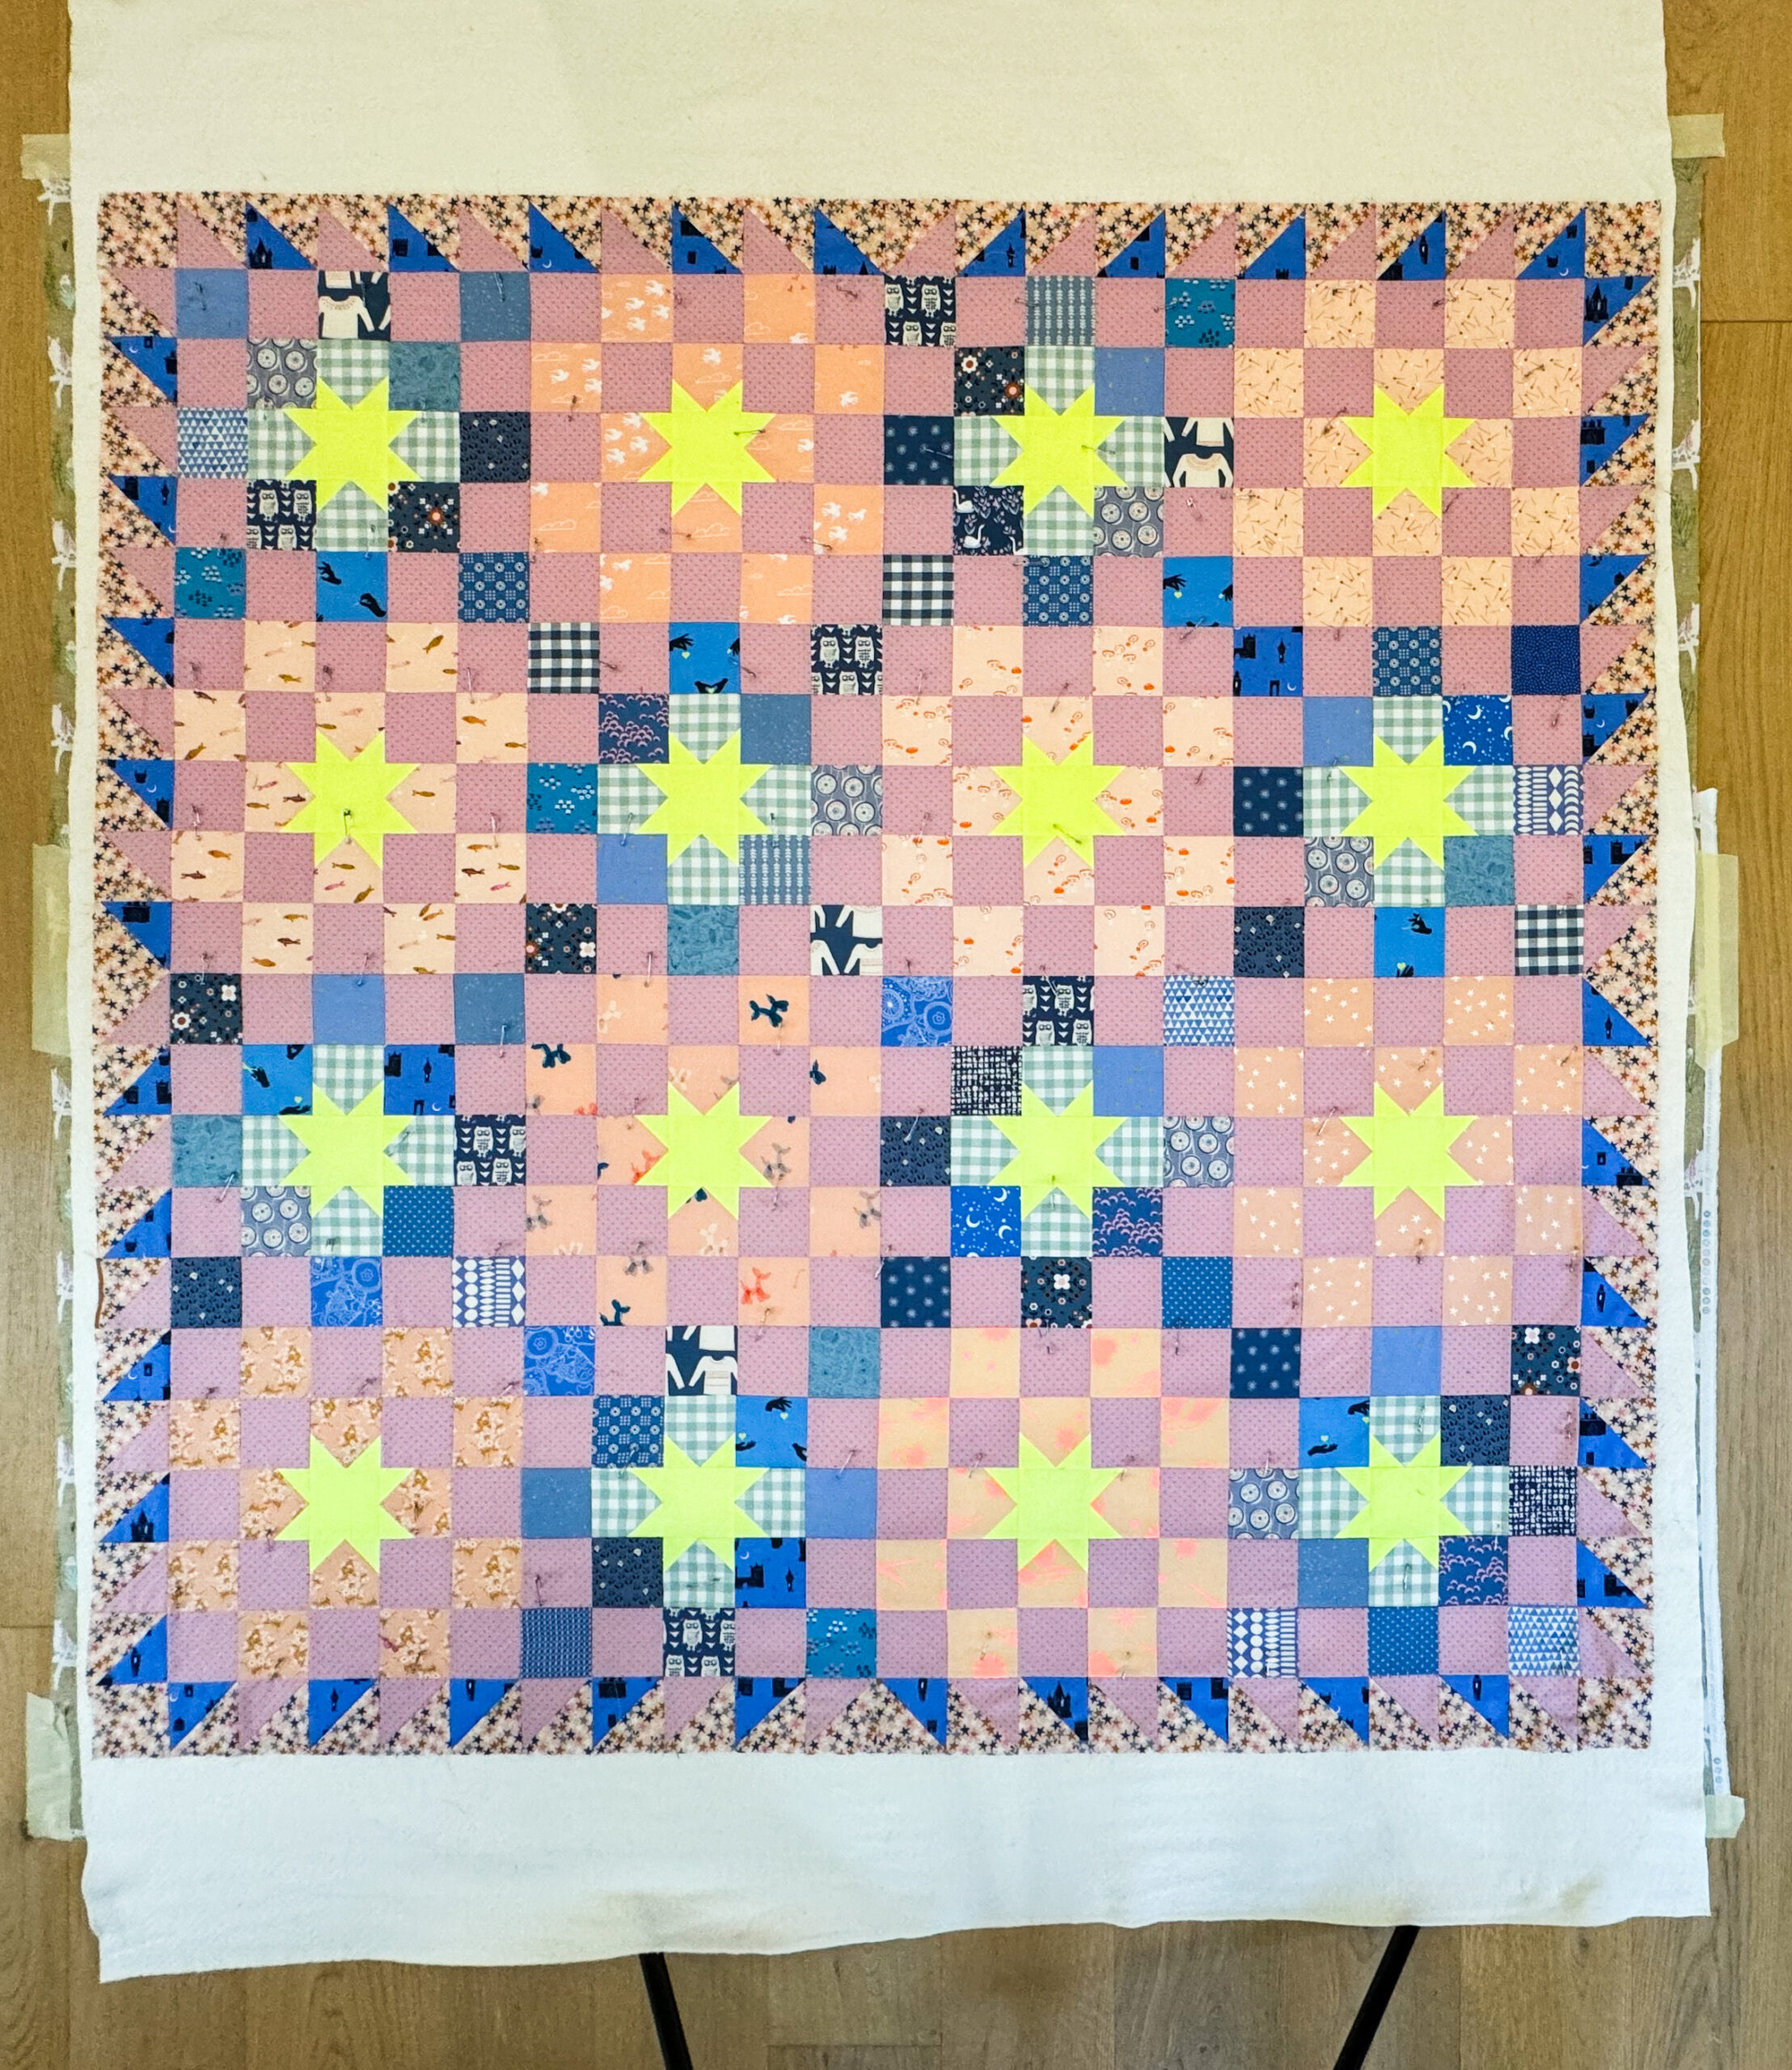
Table Top Basting
Check out the additional video I am linking below of me Table Top Basting a Ghost Party quilt. I made this video during a Sew A Long and it shares pin basting on a table so you are not crawling around on your knees. The only additional supply you will need are a few large clamps you can buy online or at a Home Improvement store to help hold the fabric to the table top.
Week 6 – Homework
Your Homework for Week 6 – backing, batting, and basting is to make a backing and baste your quilt. Watch the Videos on Youtube. And if you think you need to try a different method than pin basting google spray basting.
NSBQC Week 6 – Basting a Quilt
New Star Beginner Quilt Course Landing Page
Community
I hope you have enjoyed Week 6 – backing, batting, and basting for the New Star Beginner Quilt Course. Check out @woollypetals posts on Instagram for the New Star Beginner Quilt Course, leave your IG name and when you started the course and make friends with anyone else who has commented. This is a great way to find friends who are just starting out in the quilting world.
Have questions? Need answers right away? I do respond to questions on these posts but if you need an answer asap please reach out via email or Instagram. I am Instagram the most and would be happy to answer any questions you message me there. Typically I hop into email and respond to questions within a day or two.
Thanks so much for starting your quilting journey with woollypetals and the New Star Quilt Course.