
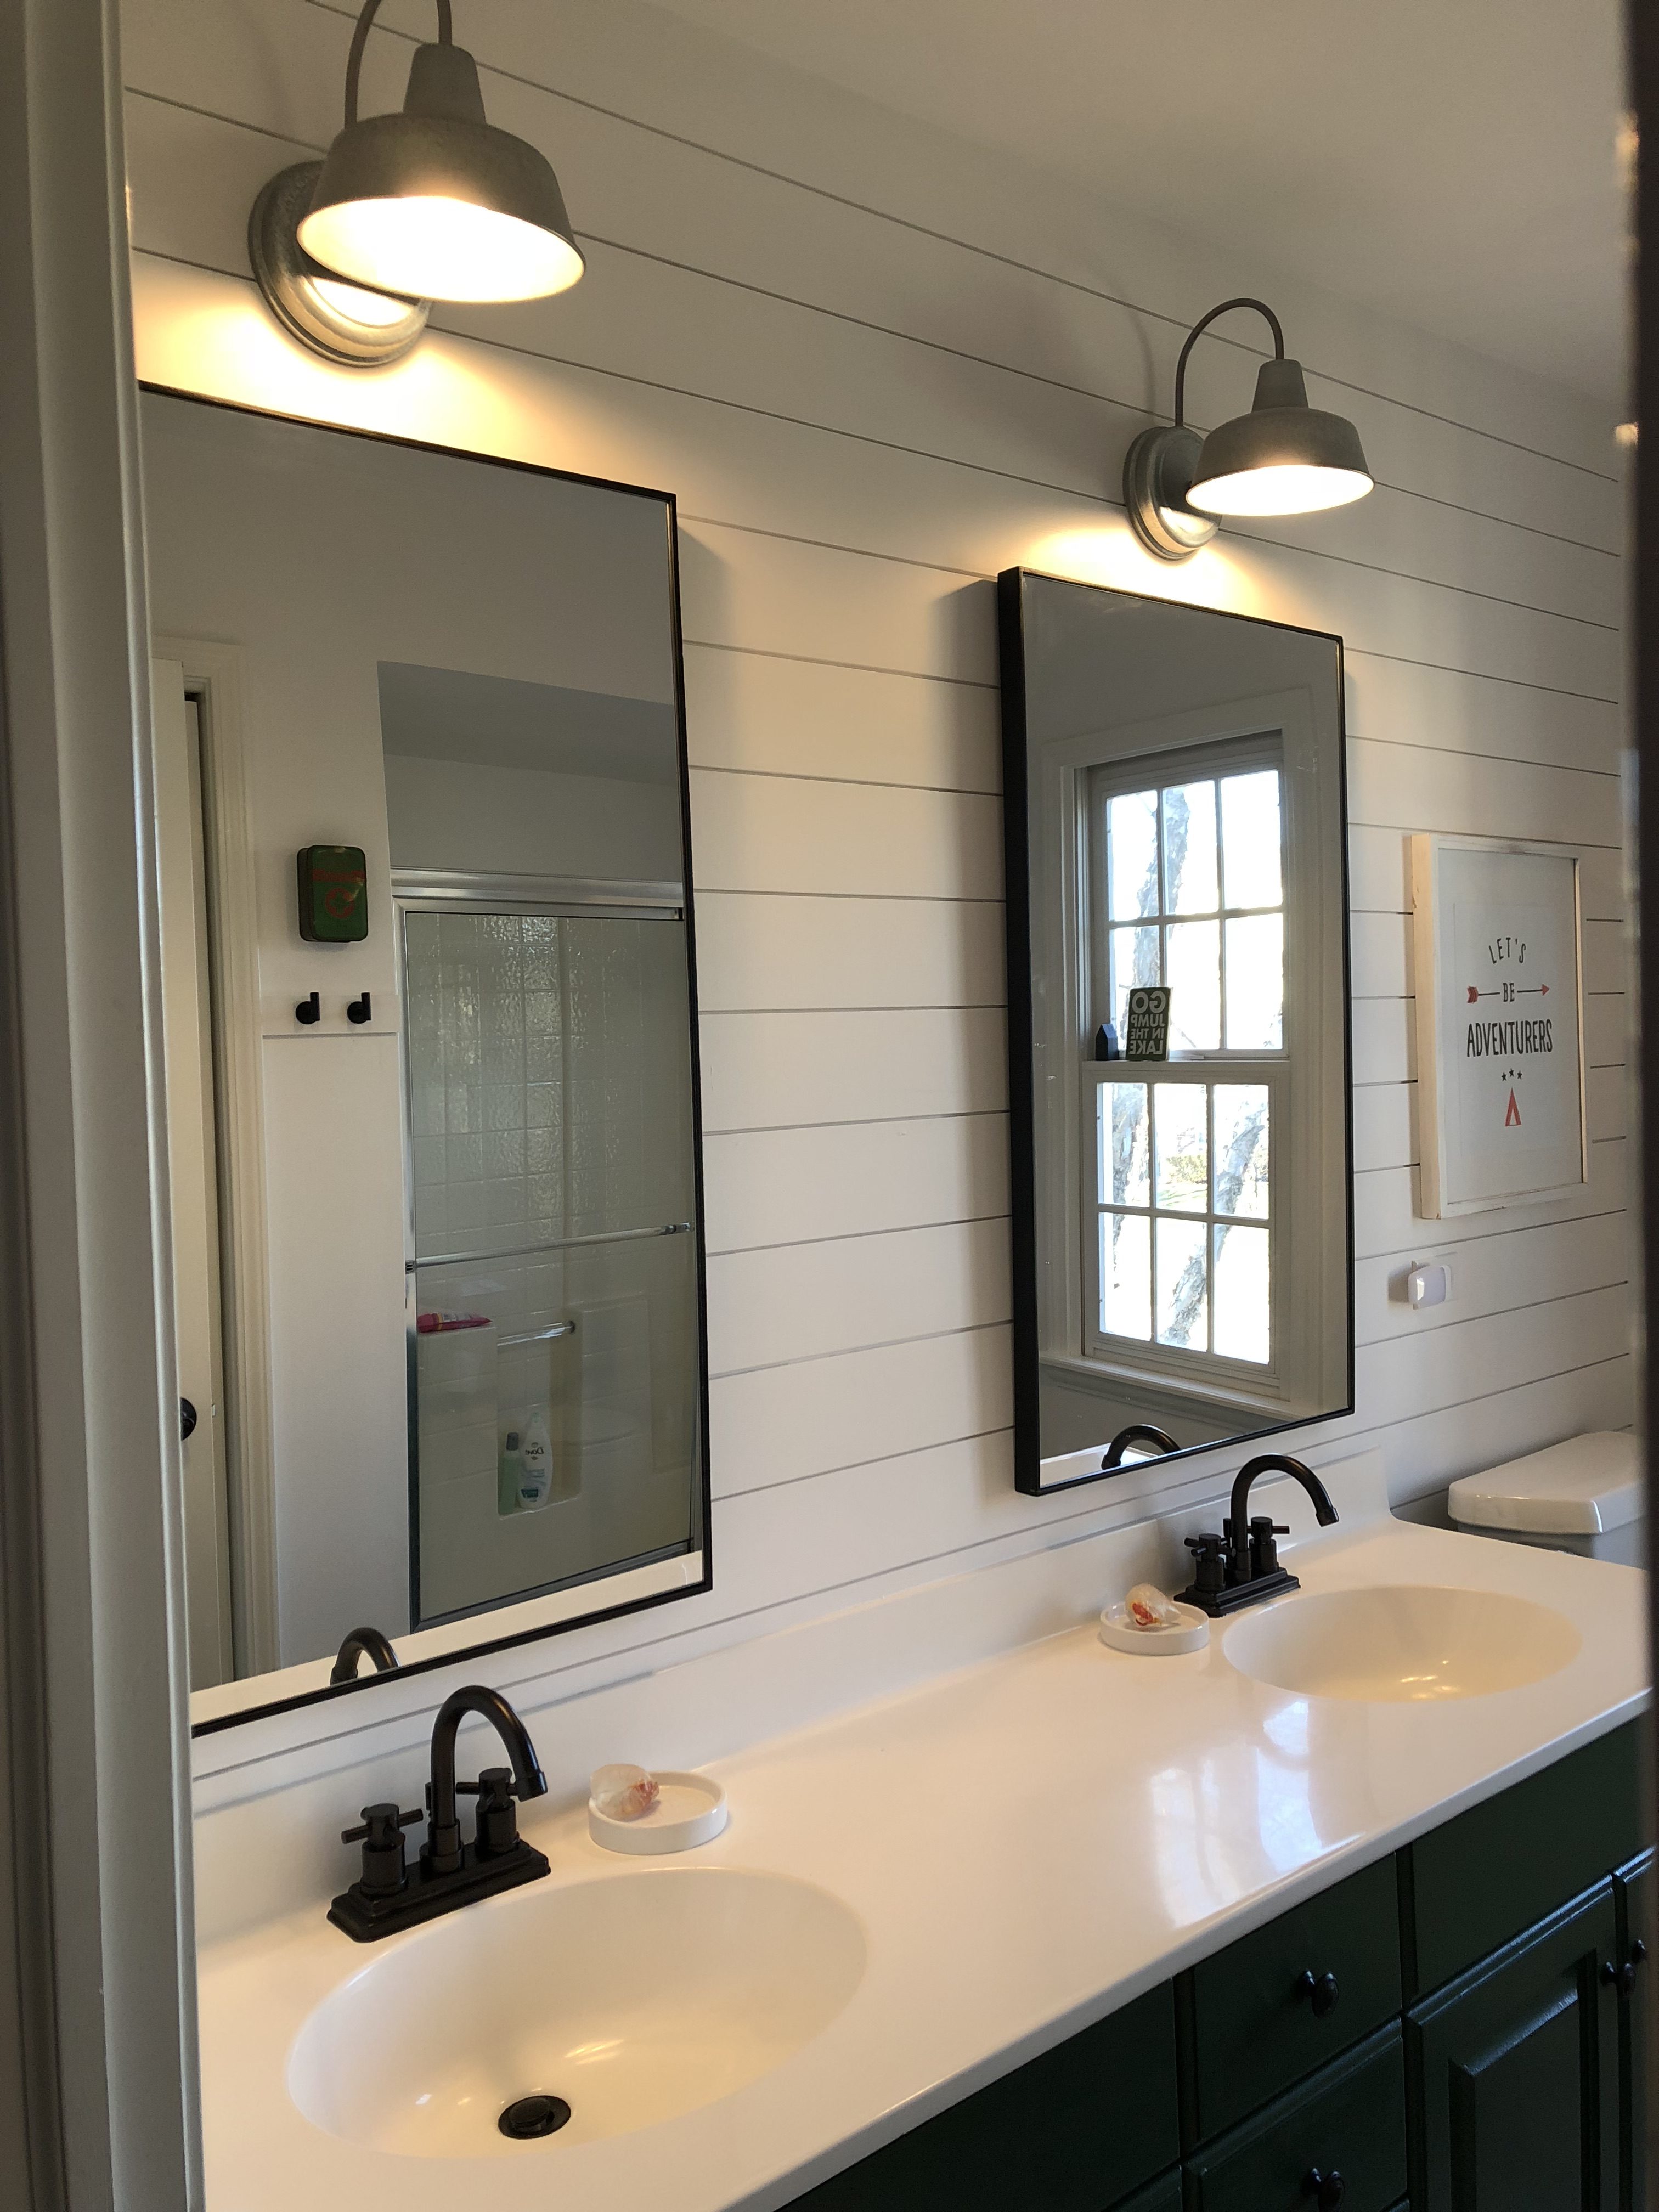
I’ve been itching to give the kids bathroom a little refresh since we moved in but it wasn’t that bad to begin with so it had to wait till a week ago when I had some time to tackle it.
Okay so here’s a little glimpse of the after. Can I tell you how hard it is to photograph a long narrow bathroom…. It’s not easy!
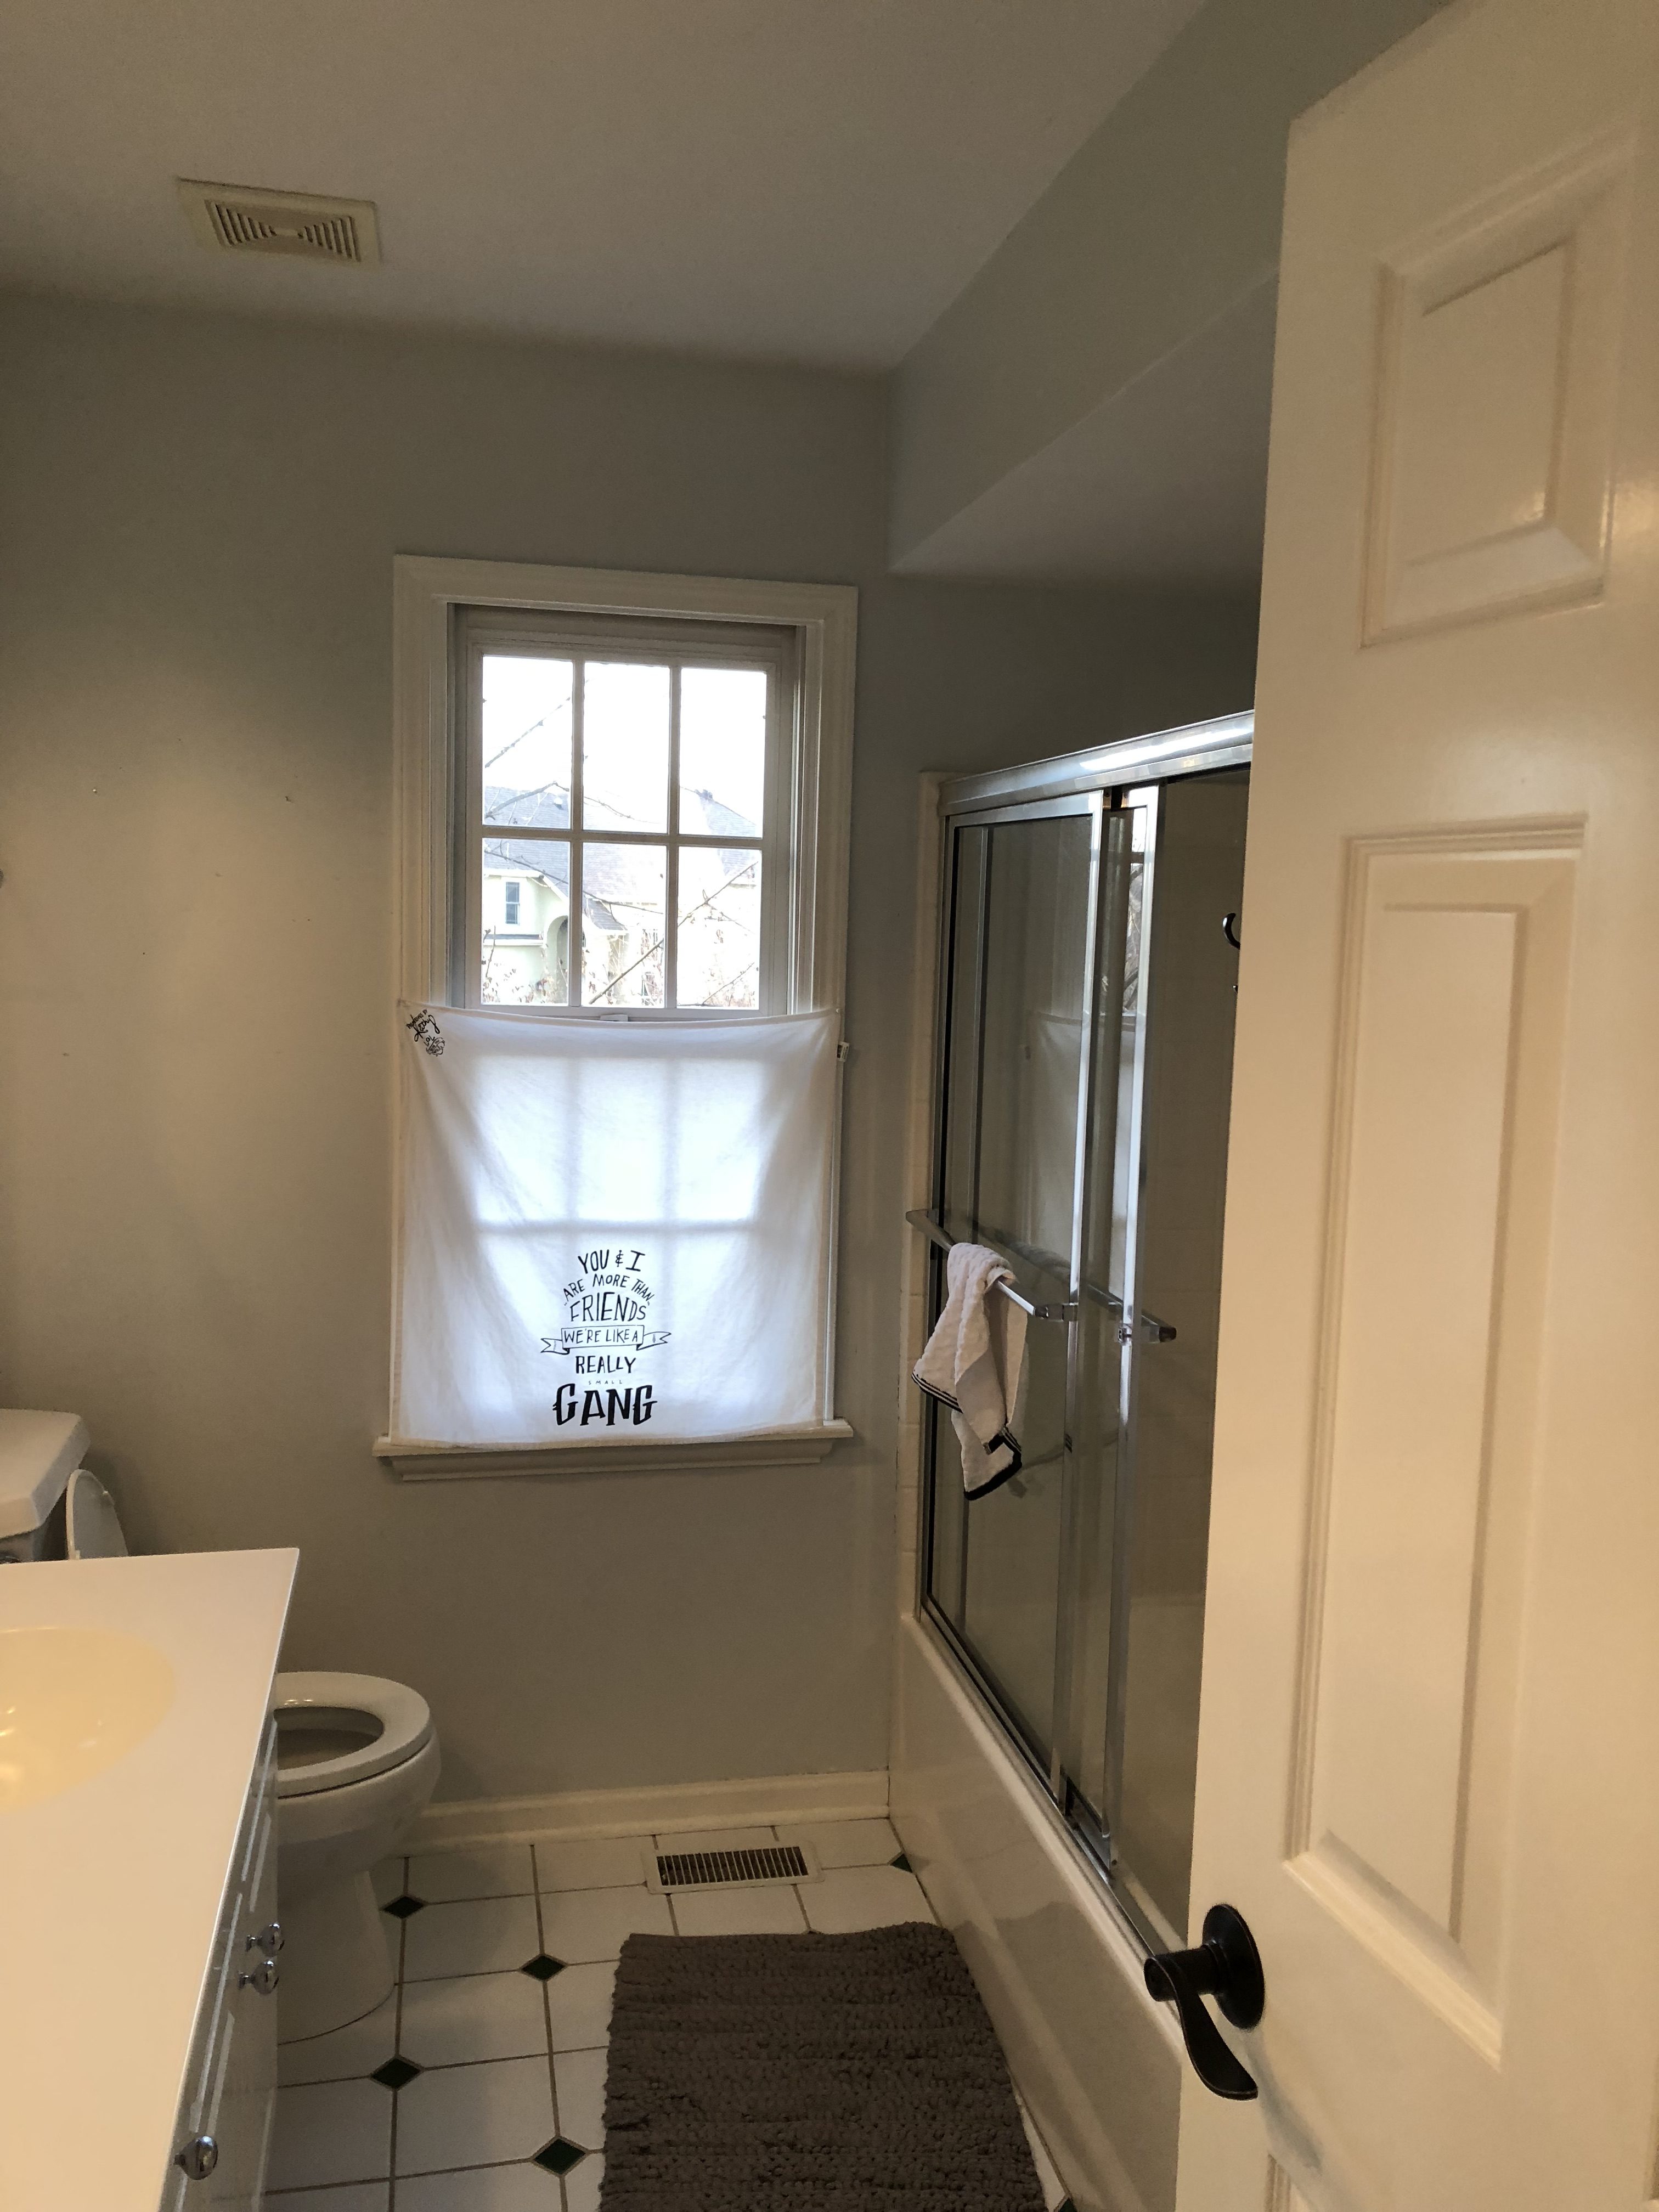
So before we talk about the after lets take a peek at the old.

Yes, I realize it’s just fine, neutral, livable, clean. I just didn’t love it. We replaced the faucets a couple months ago which is a whole story in itself, started with some very pricey plumbing quotes, which turned into a plumber causing a massive leak and having to replace a ceiling….. and then we found a wonderful skilled handyman to install a bunch of new faucets for us at a fraction the cost. Thank goodness! The old faucets in here were chrome and had those giant cut plastic knobs straight out of the 90’s. I also replaced the lights in here as soon as we moved in to these nice inexpensive outdoor lights from Lowe’s.
The small darker squares on the floor are hunter green and for the first year living here all I could think about was replacing them, which wasn’t in the cards currently. But then the dark green trend started popping up and I thought maybe I could work with them. So I dubbed it the kids camp bath and went with that theme for the refresh.
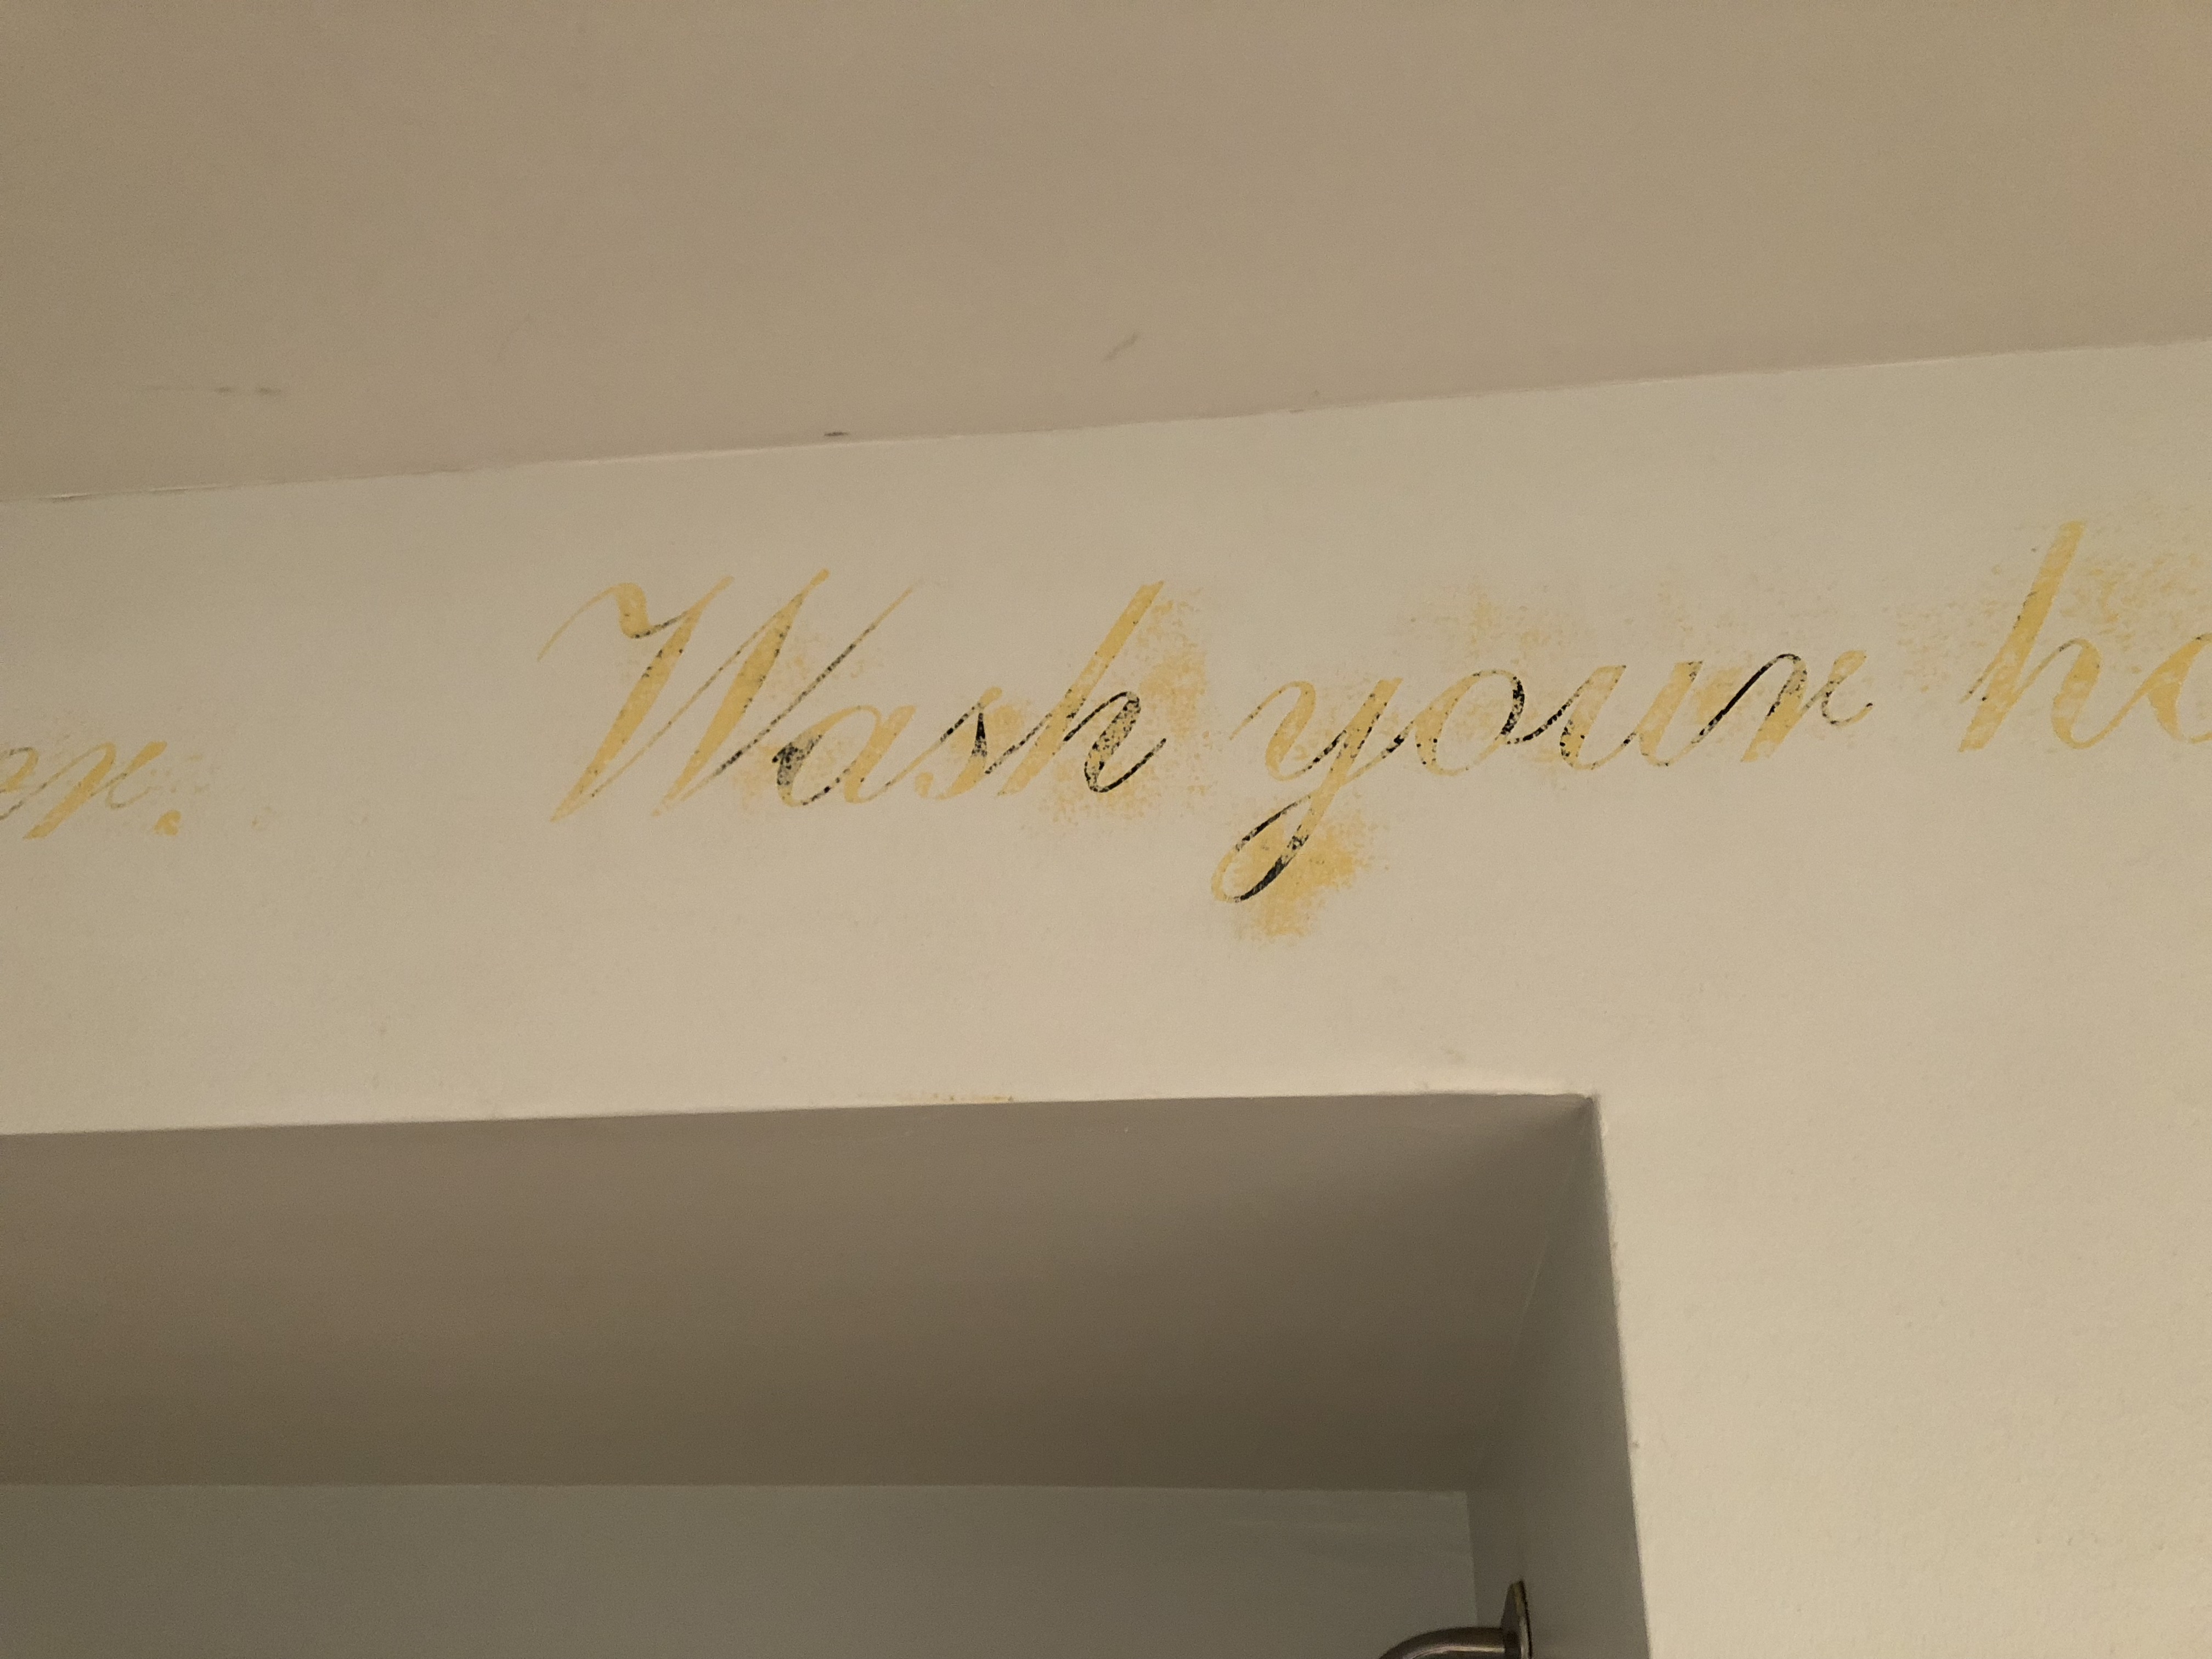
The hardest fix was taking the giant mirror down, and sanding through the paint to remove the raised letters underneath. I could never get a good picture while the letters were painted over with the pale blue color on the walls, but after some serious sanding I smoothed it all out and could see what was written. The picture below is what was around the entire room just under the ceiling.
So the game plan was:
-remove mirror
-sand words away
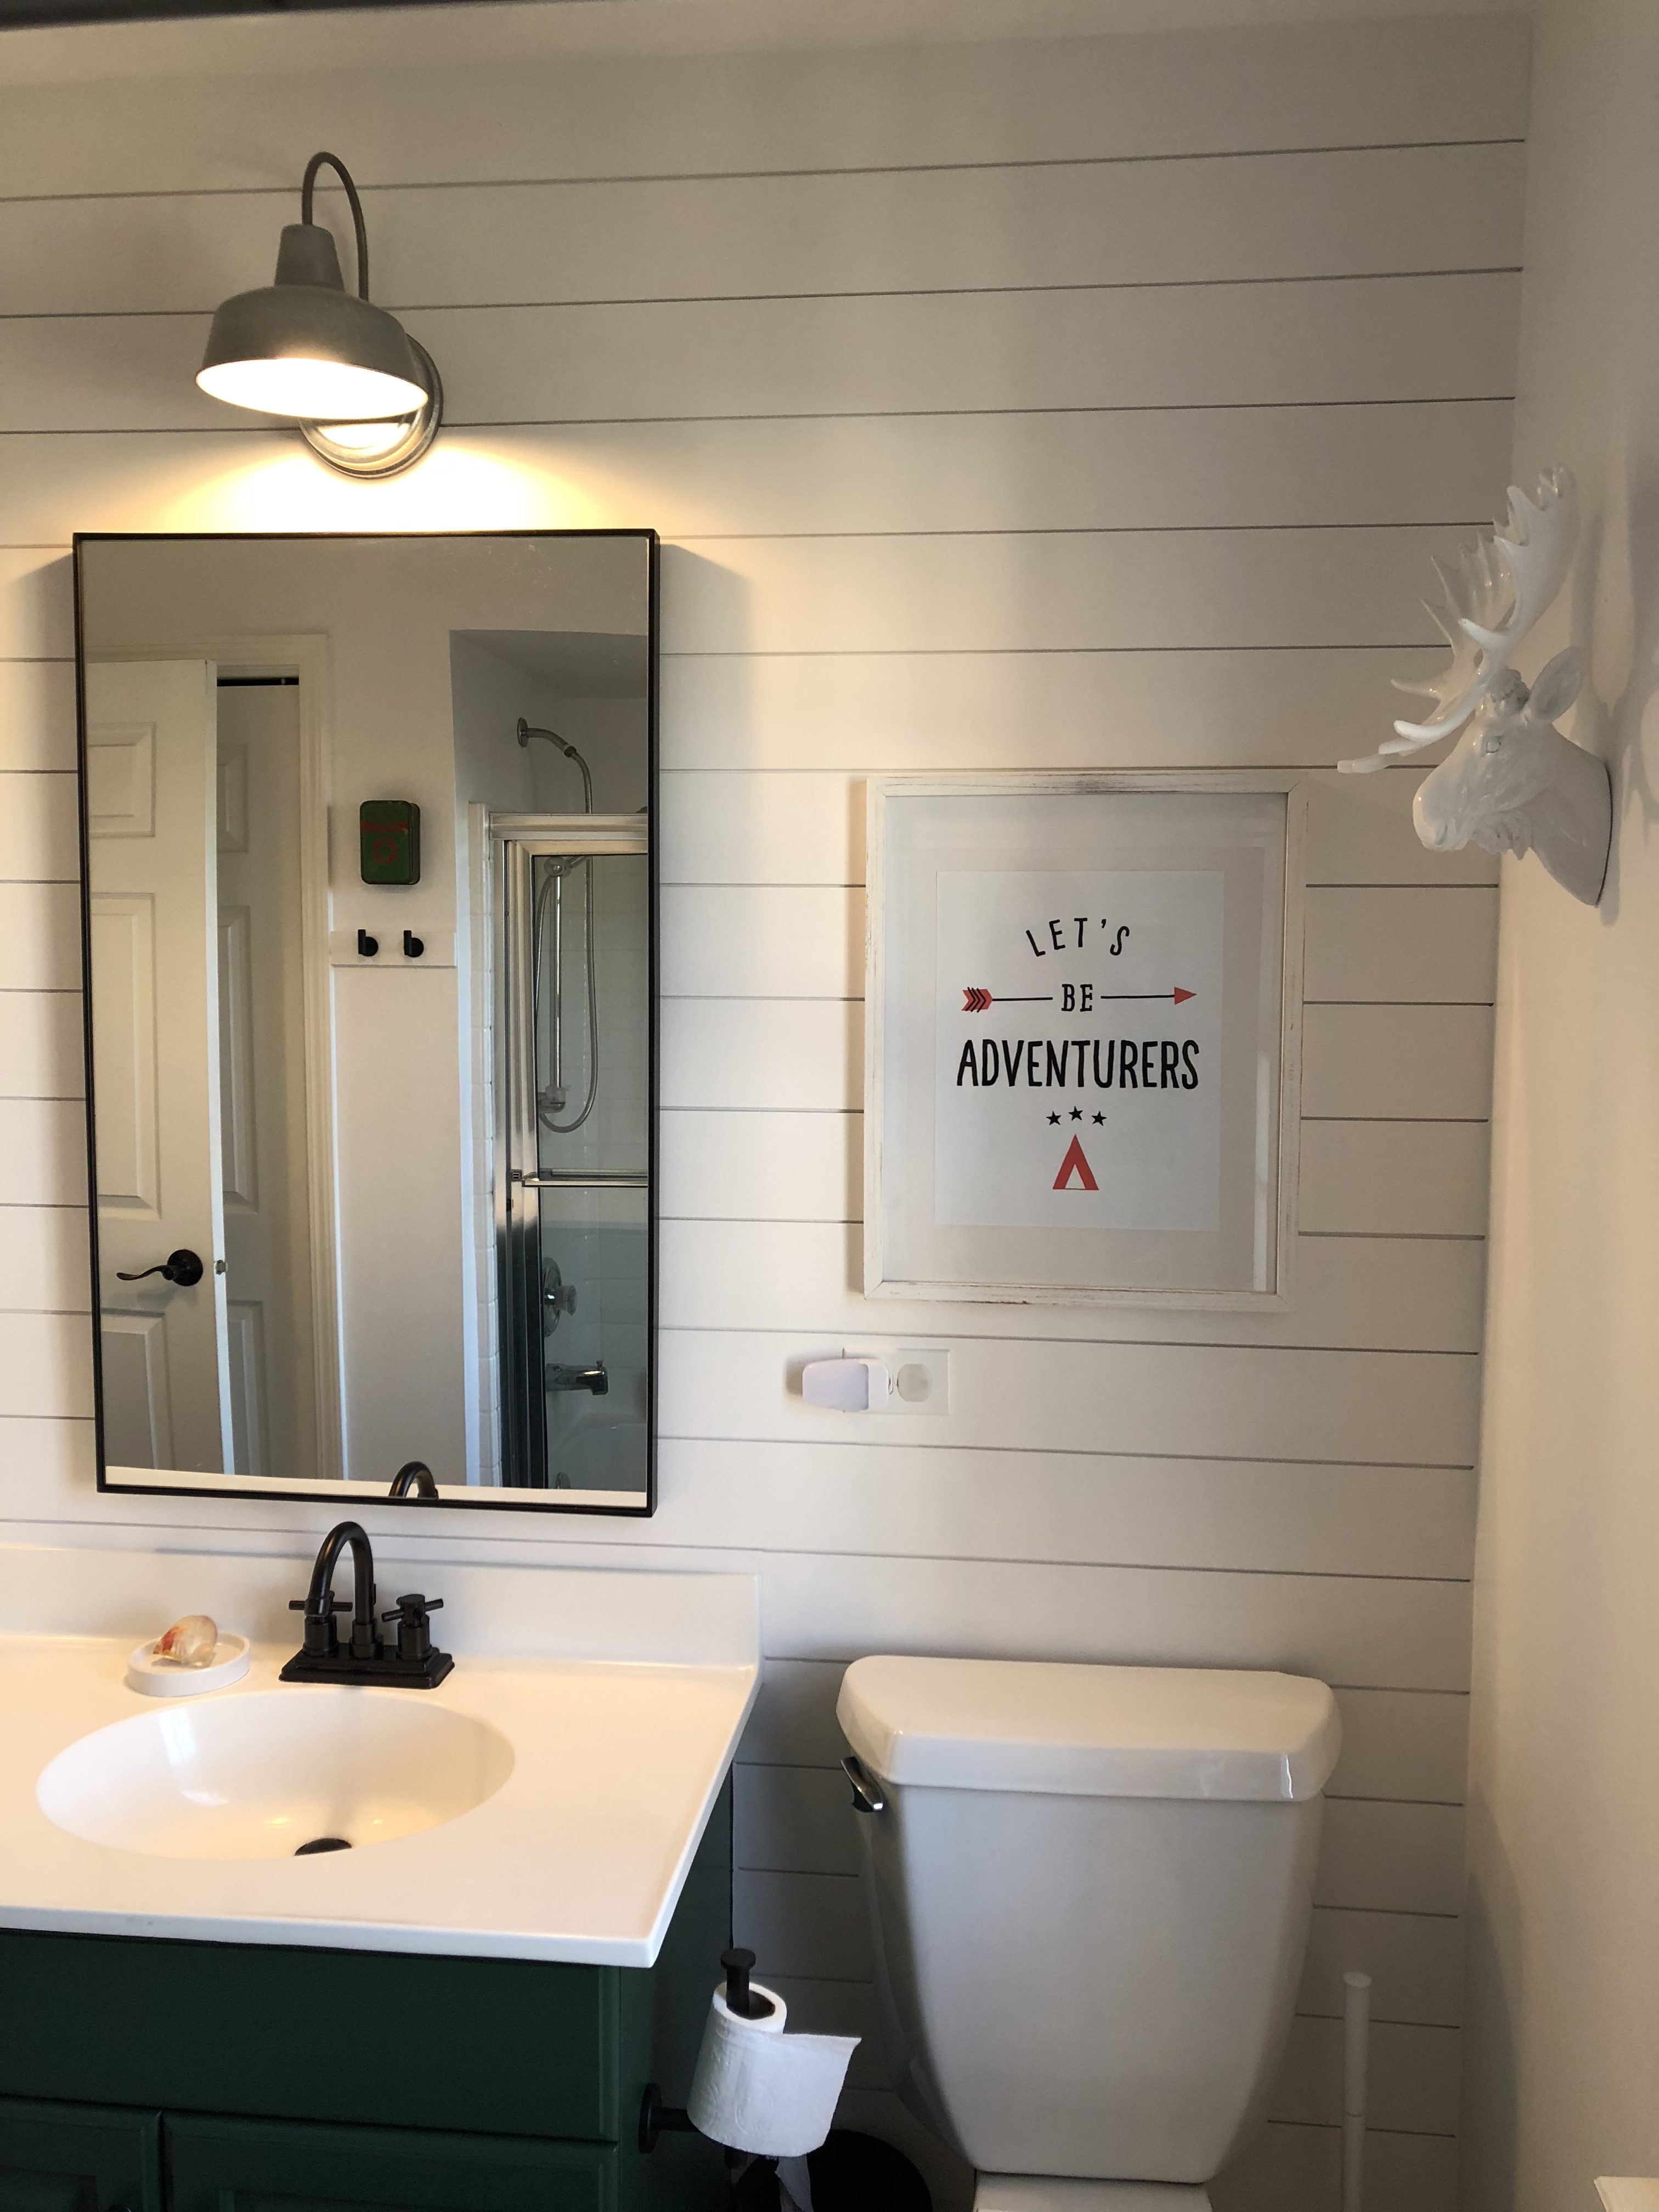
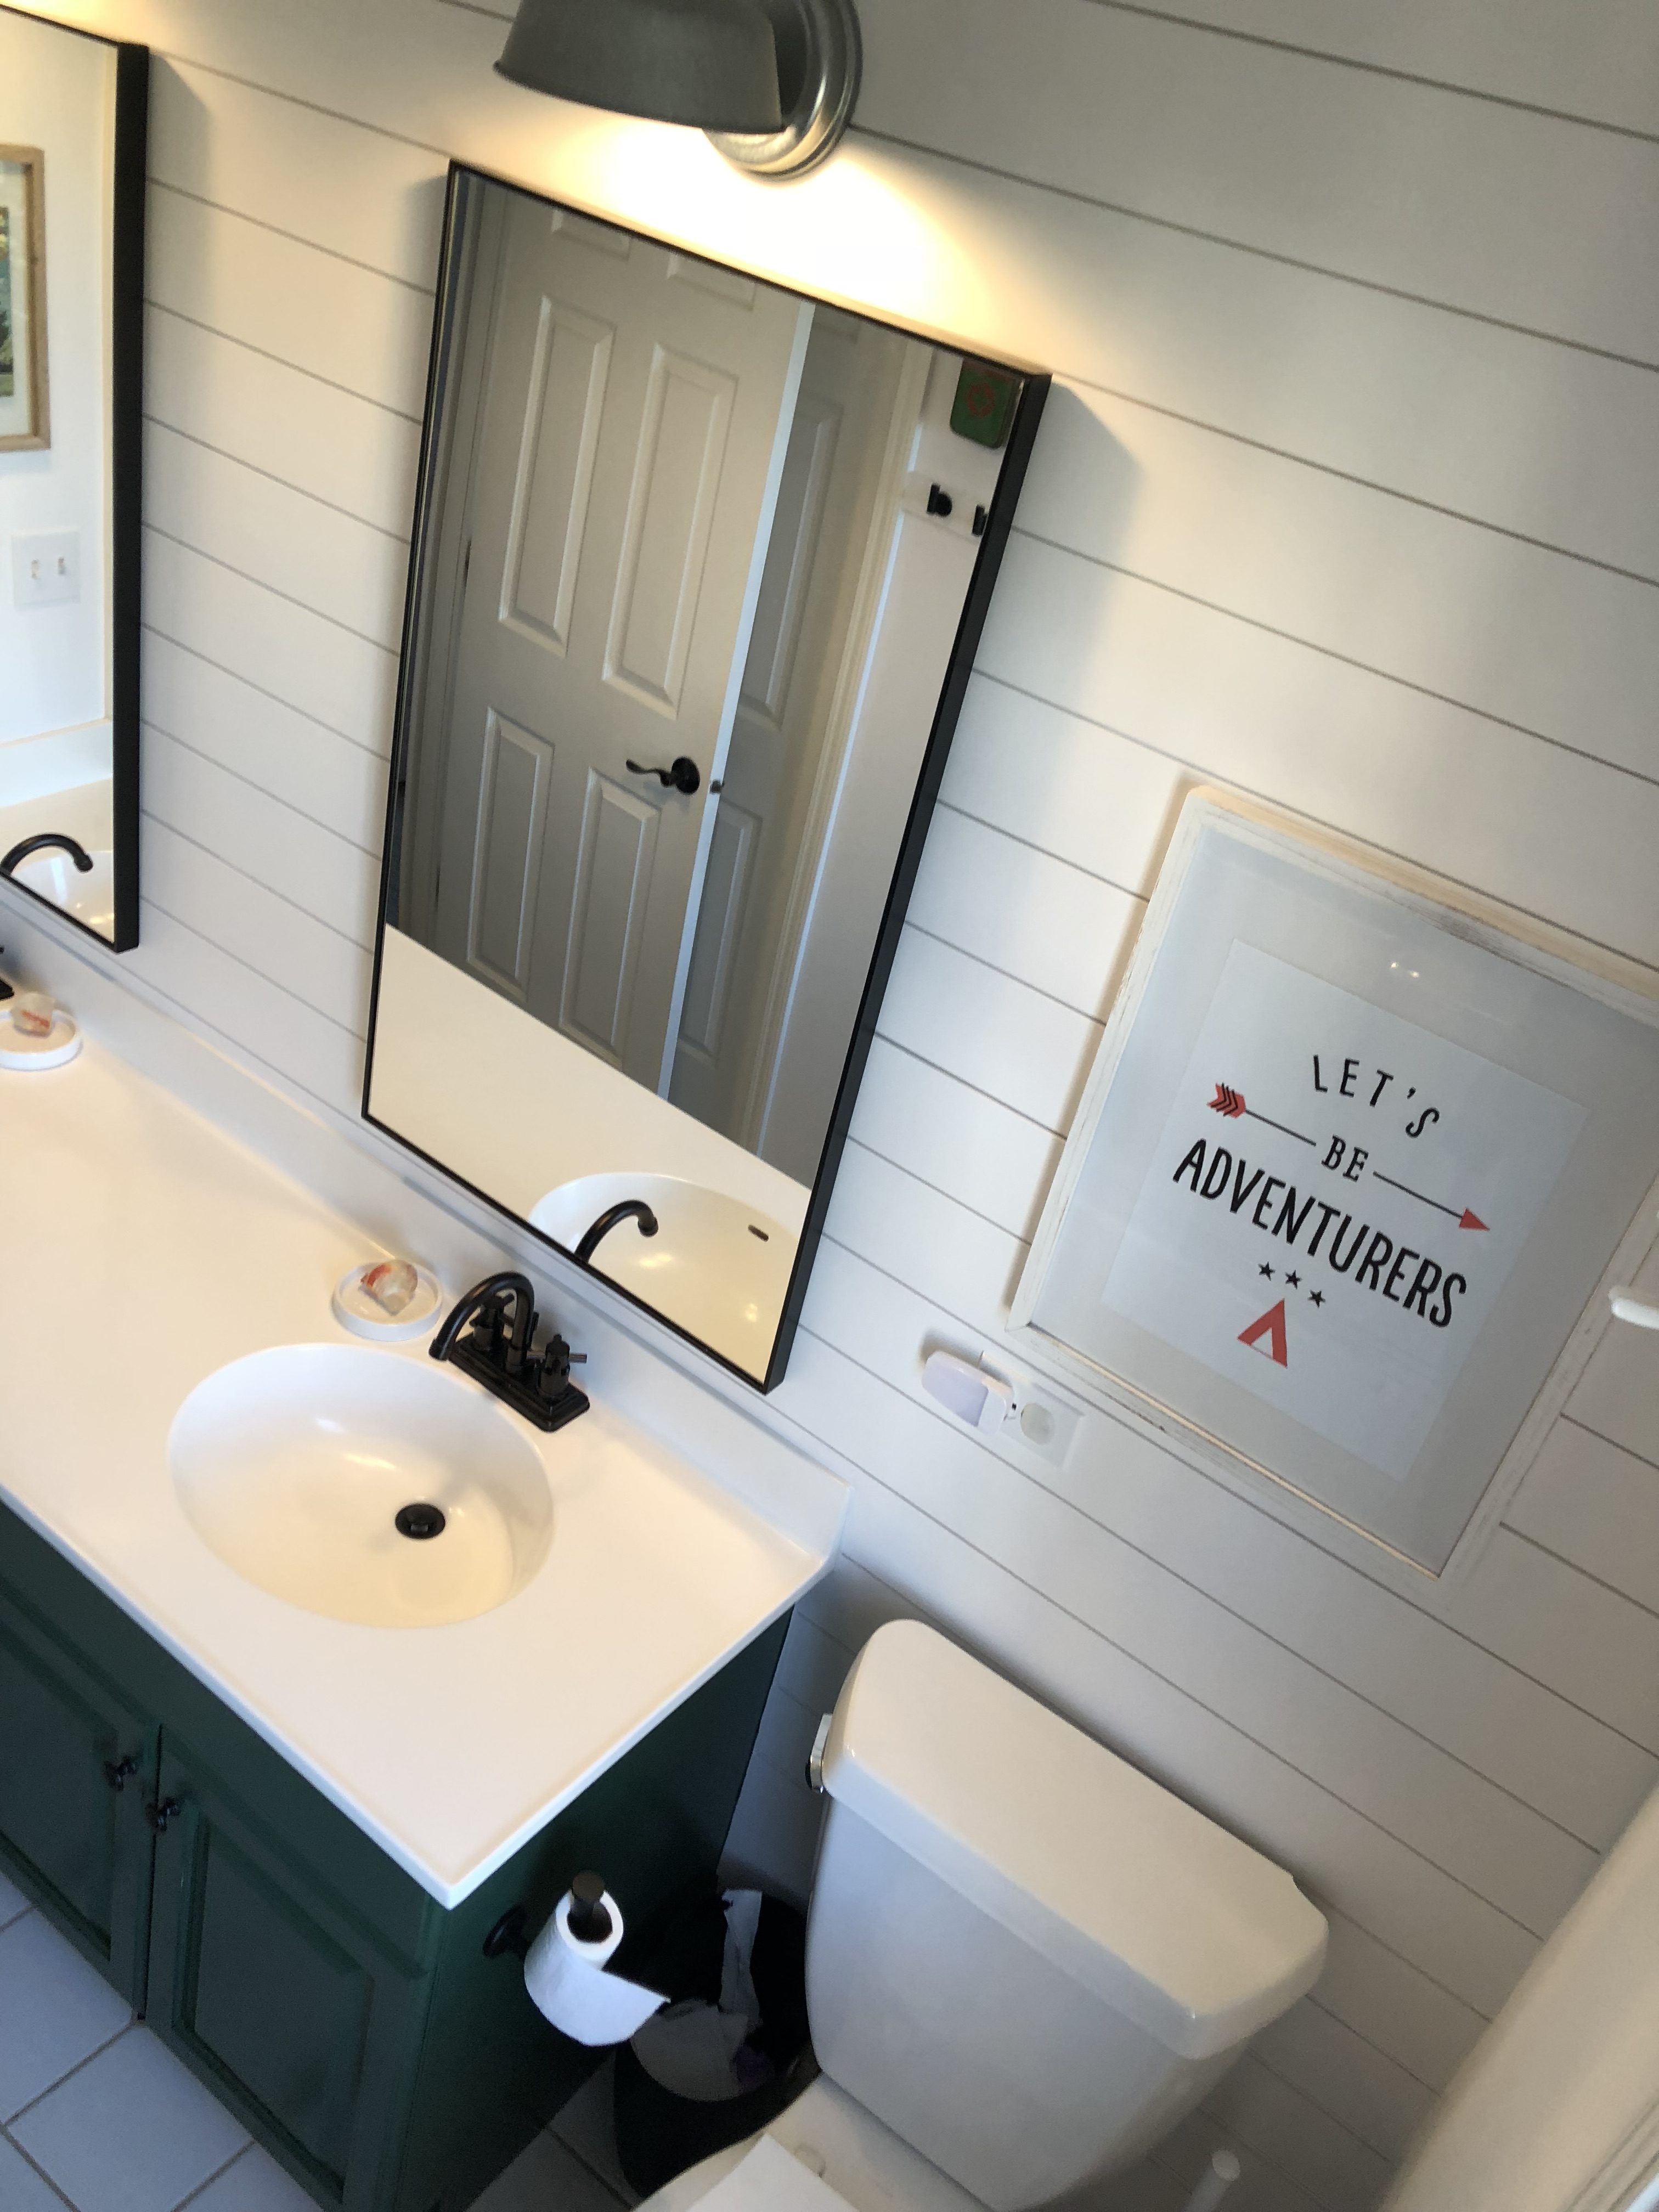
-shiplap wall behind sink
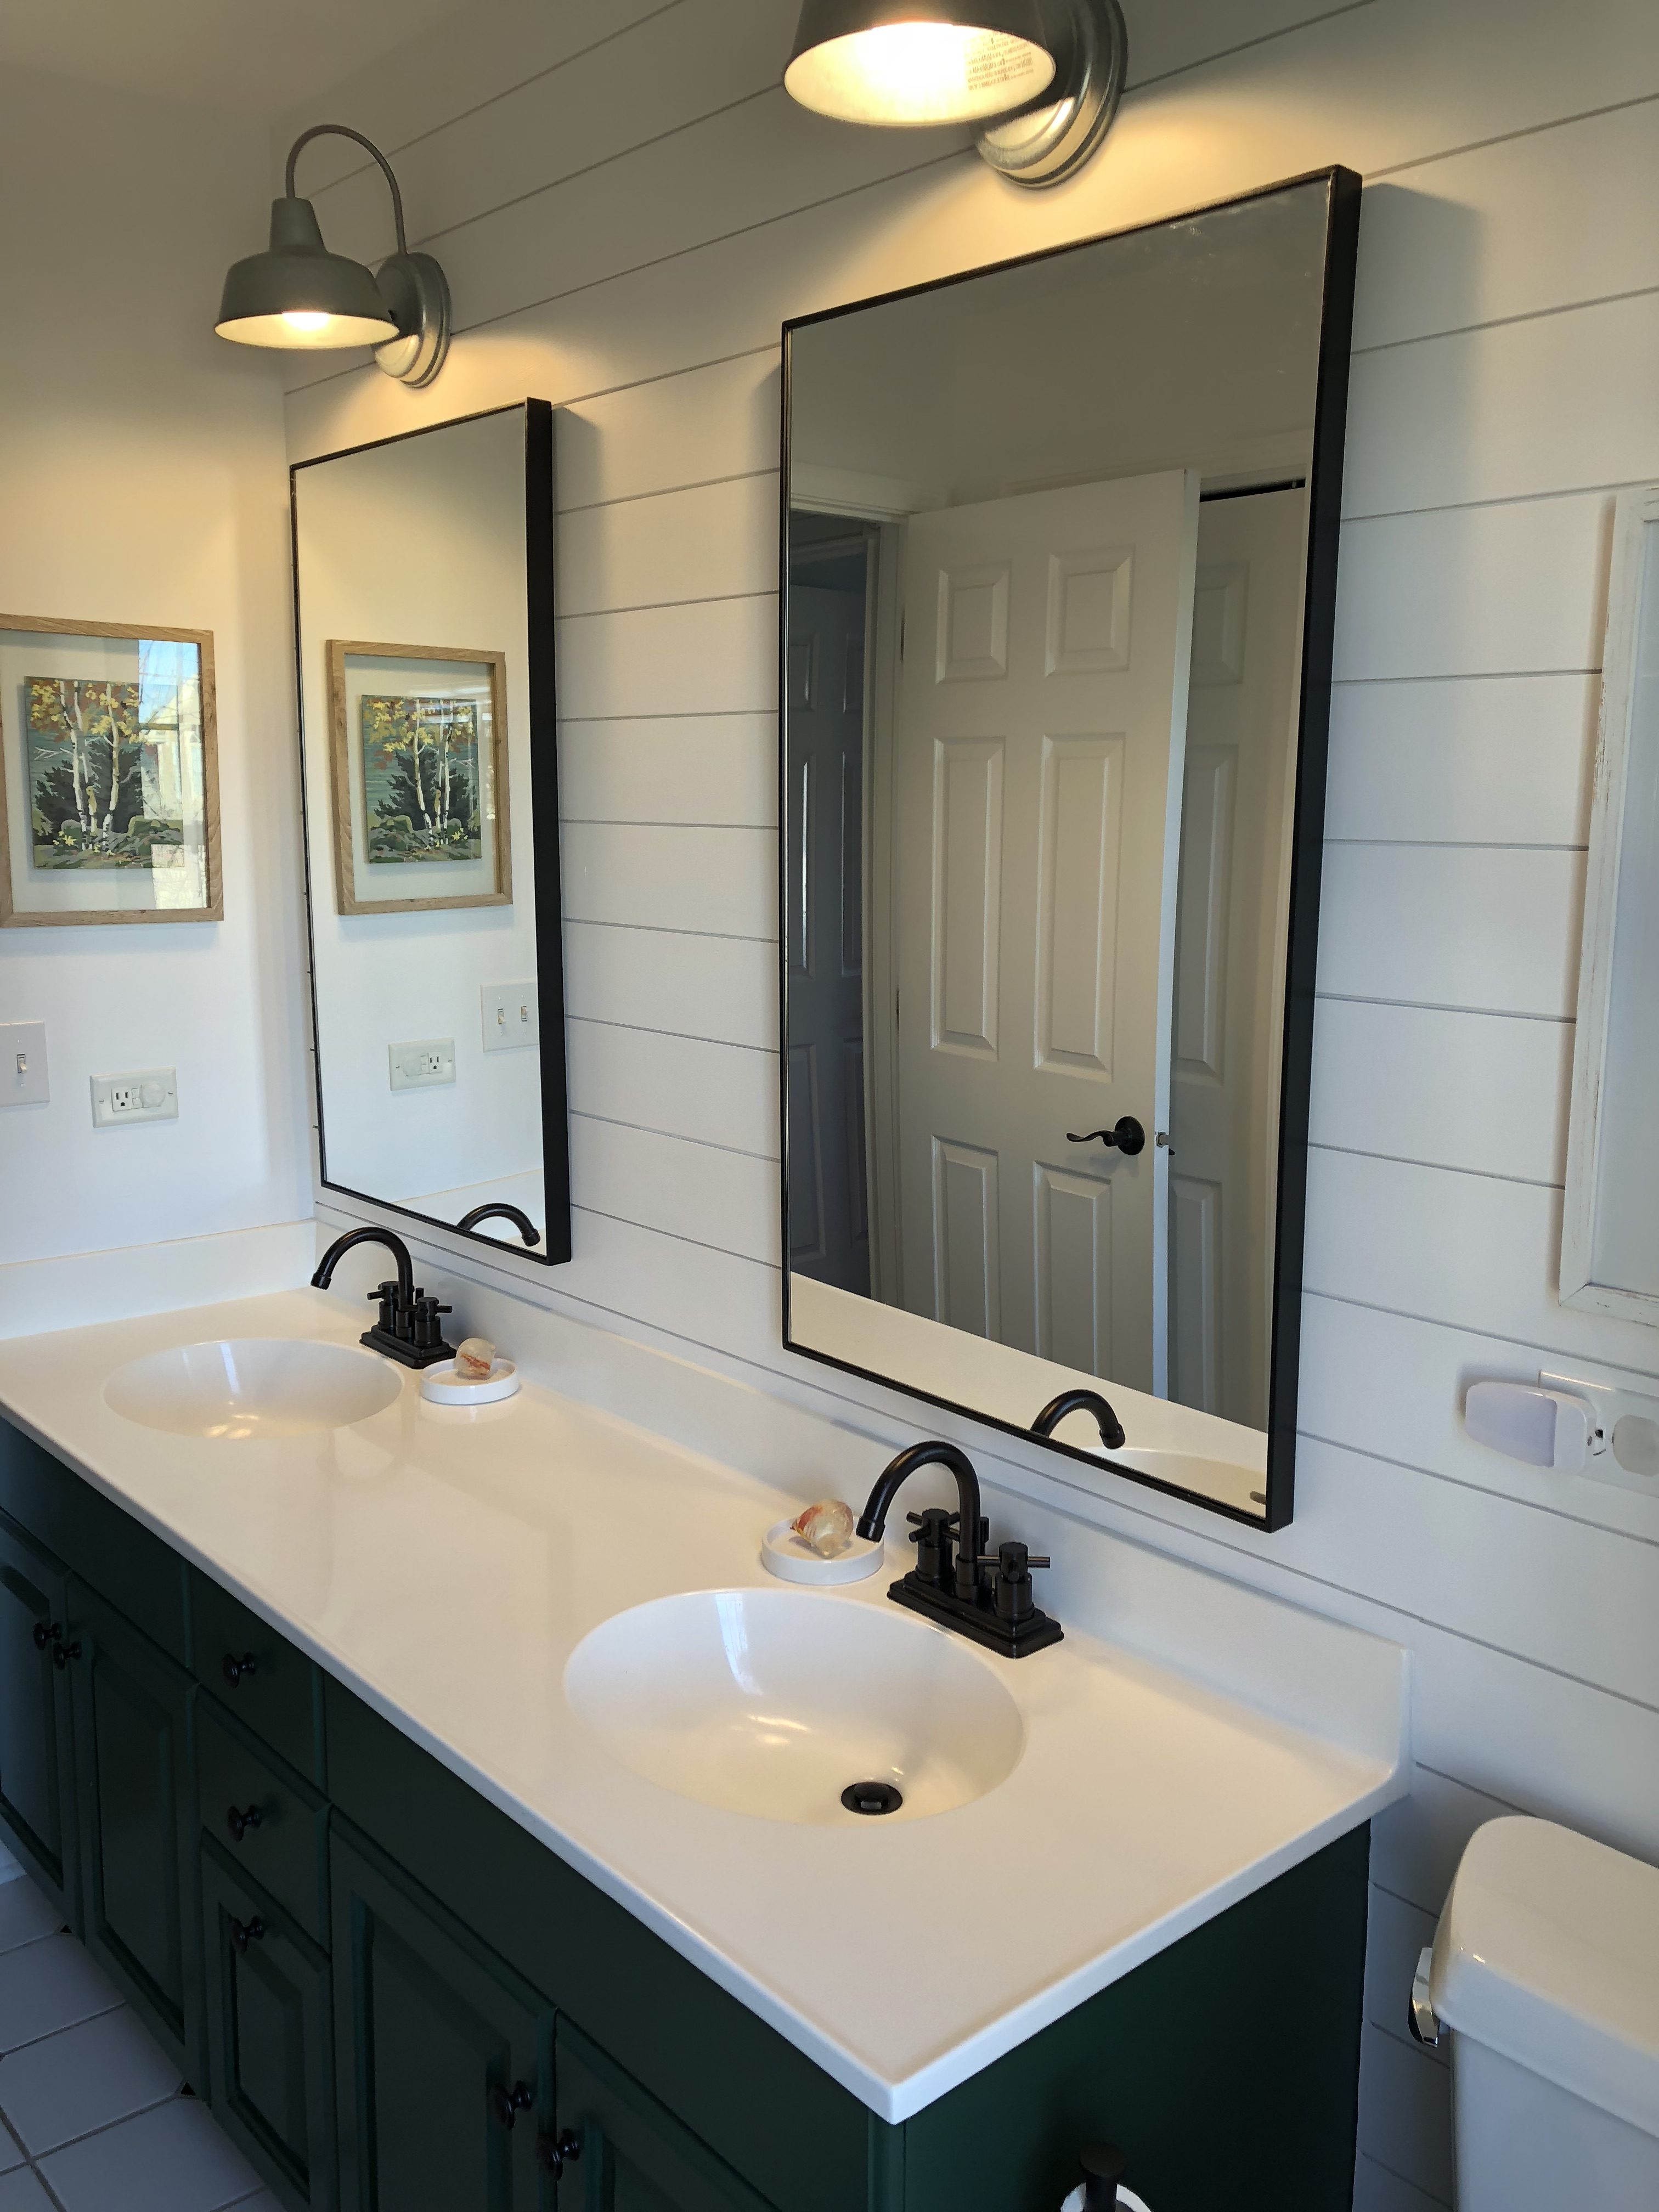
-paint walls and vanity
-replace mirror, knobs, toilet paper holder, and hooks
-hope the kids don’t wreck it to fast

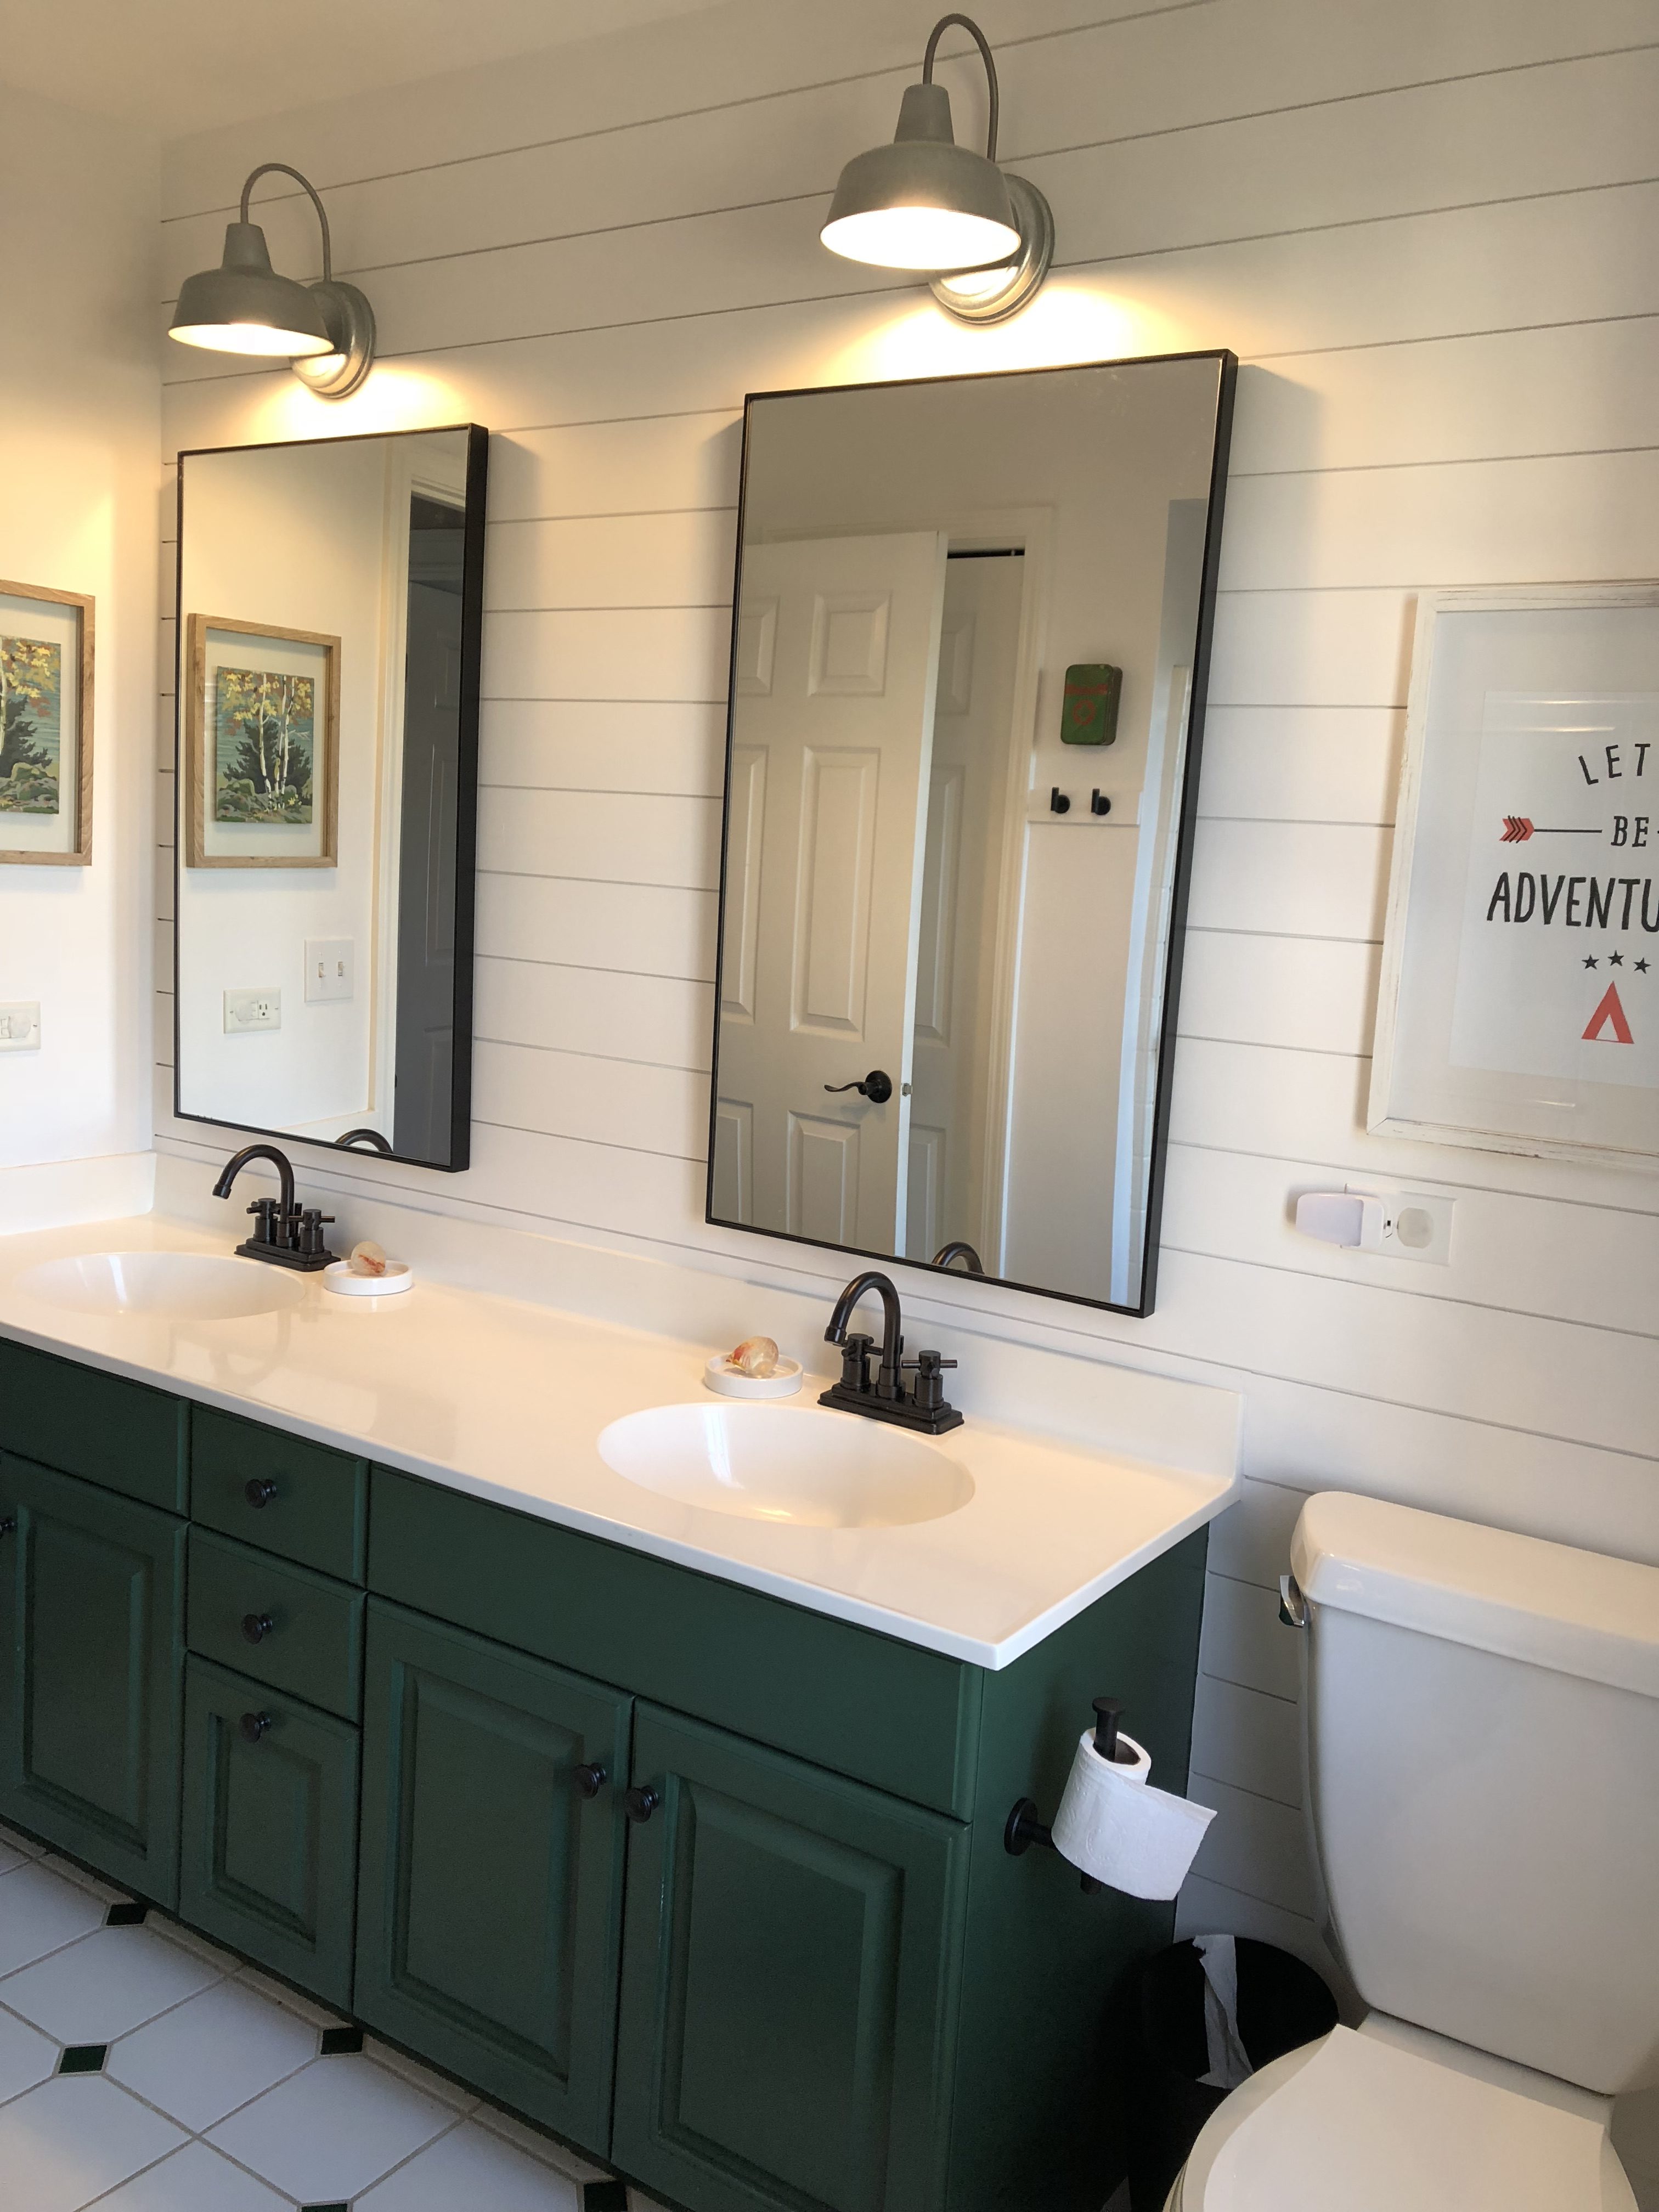

I am very pleased with how it turned out and it wasn’t any sort of work that even a beginner DIY’r couldn’t tackle. The hardest part was removing the mirror, mainly because I had no clue what I was doing. It definitly didn’t go as smoothly as the YouTube videos I watched said it would. I taped the heck out of it and slowly chipped it off, breaking it a bunch, but the last 2/3rd came off in one nice big piece I now have to figure out how to dispose of. ;) The sanding was the other hard part, but luckily I have an electric sander that helped speed the process along. It still took a couple hours and sore arms to accomplish though.
The premade Shiplap I found at Home Depot was so easy to use and since I was doing only one wall it wasn’t that expensive. I have used 4′ x 8’ft sheets of luan or underlayment in the past and ripped them down to 8′ ft lengths by the height I need typically around 8″. This process is cheap as the sheets cost $12, but it’s time consuming to cut them all and much more finicky to hang. For a large room I would still do this as it’s saves sooo much money but for one wall I love this shiplap option. Linked below.
Here are a few sources for the things I used. I linked things when I could. I’m not paid or sponsered by anybody I just like to give as much information as possible since that’s what I always love myself.
Faucets – Kingston Brass from Amazon
Toilet paper holder – from Amazon
Hooks on wall across from mirrors Home Depot
Let’s be Adventurers Art Print – Rae Ann Kelly
Mirrors and Moosehead hanging by window – HomeGoods
Paint by Number – Vintage
First Aid Tin hung above wall hooks – Vintage
Towels, floor mat, soap dishes, frames, little black house – target
Go Jump in The Lake Wooden sign – Brick and Mortar in Lake Geneva, IL
I hope you enjoyed my little Kids Camp Bathroom Tour.
Thanks for stopping by!