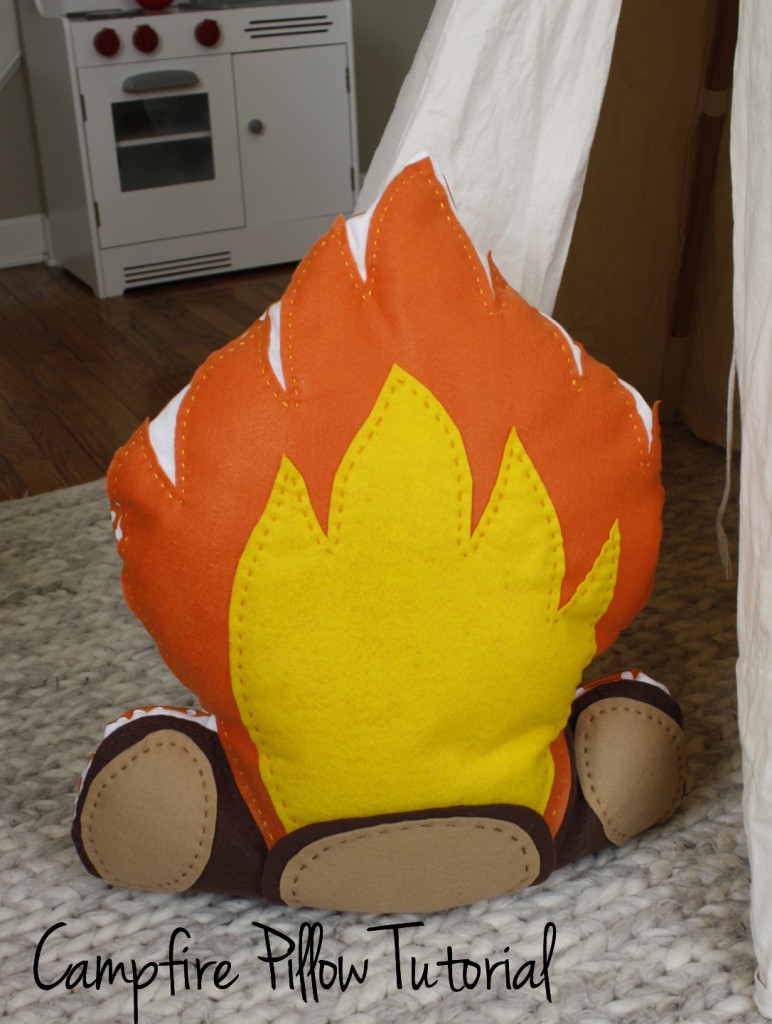
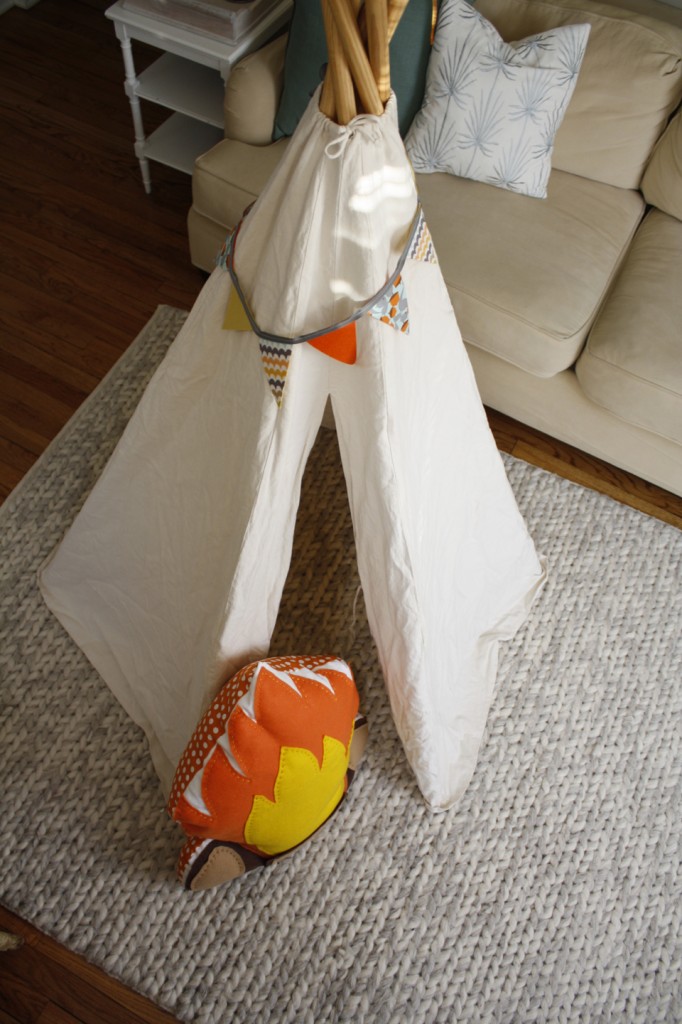
Dana from Old Red Barn Co. asked me to do a tutorial on this campfire pillow I posted about back in December. She is hosting a giveaway of a Felt Campfire Pillow I made on her blog today. Go check it out and enter!
Let’s get started!
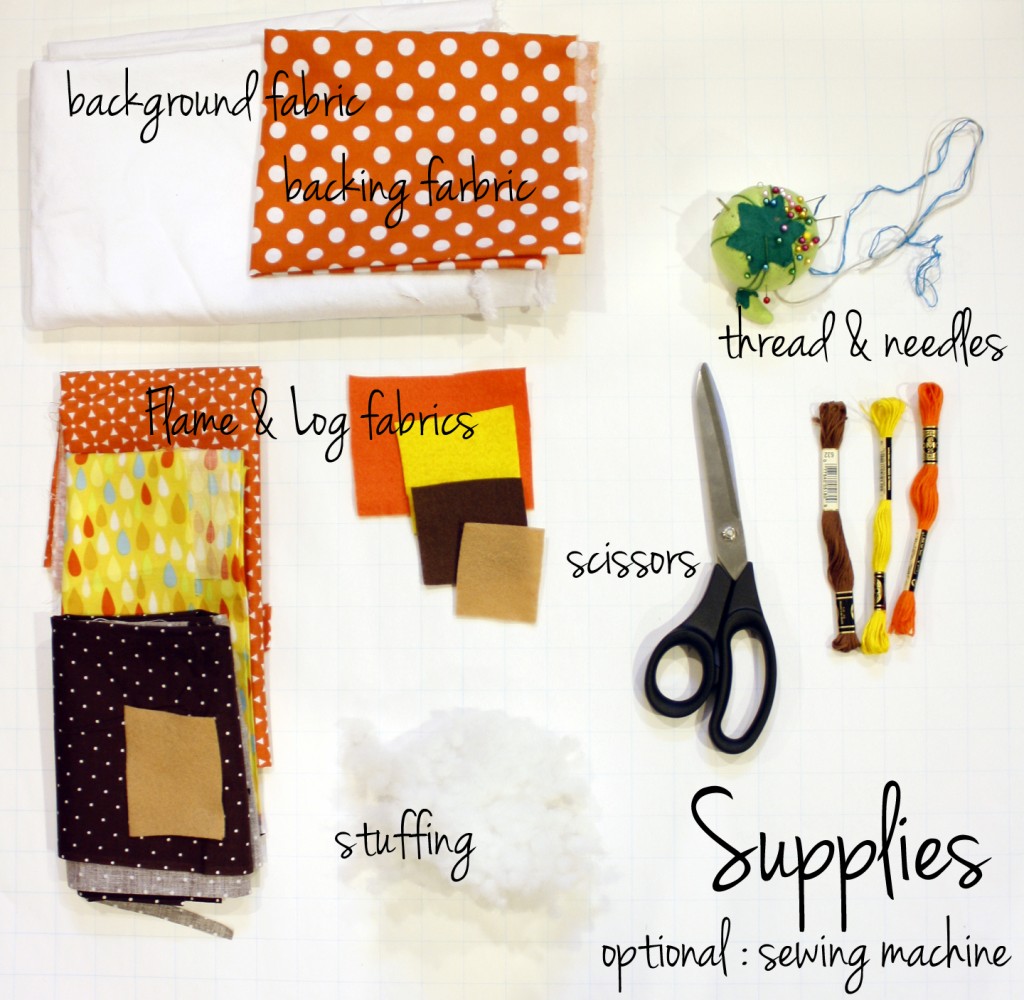
To make this pillow you will need the above supplies + the pattern pieces. The sewing machine is optional because you could sew the whole pillow by hand if you don’t have a machine or don’t know how to use one. As for amounts of fabric, my pillows measured 24 inches tall when I finished them. I used roughly 3/4 yd of white duck for the background fabric for two pillows, and 3/4 yard polka dot backing fabric for two pillows. I used the printed quilting fabric I had on hand for the flames and logs but each was roughly 1/2 yd ( I had plenty of scraps leftover) I also used 3 tan felt 9″x12″ rectangles for two pillows. For the felt pillow, I purchased 3/4 yd of orange, 1/2 yd of yellow, and 1/4 yd of dark brown. The amount of fabric will depend on how large you make your pillow.
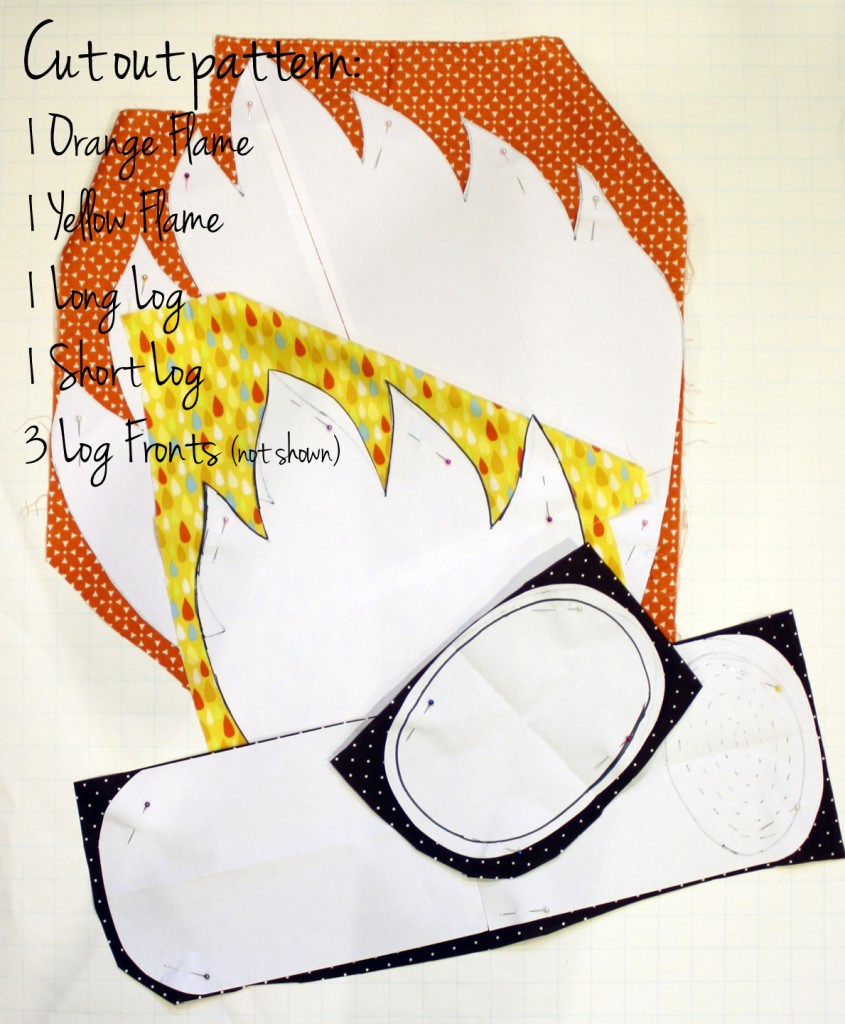
For the Pattern pieces, they are all ready to print on 8.5″x11″ paper, and they are all scaled to each other, i.e if you print 1 at 100% print the others at 100% also, if you enlarge 1 to 200% print the others at 200% as well. To print at 100% so it is just the 8.5″x11″ would make a small pillow roughly 12″ tall. You can either enlarge the pattern pieces and have printed on a large printer, print each piece in sections and tape together (what I did), or use the patterns as a guide to free hand sketch you own.
Orange Flame Pattern : Yellow Flame Pattern: Log Patterns
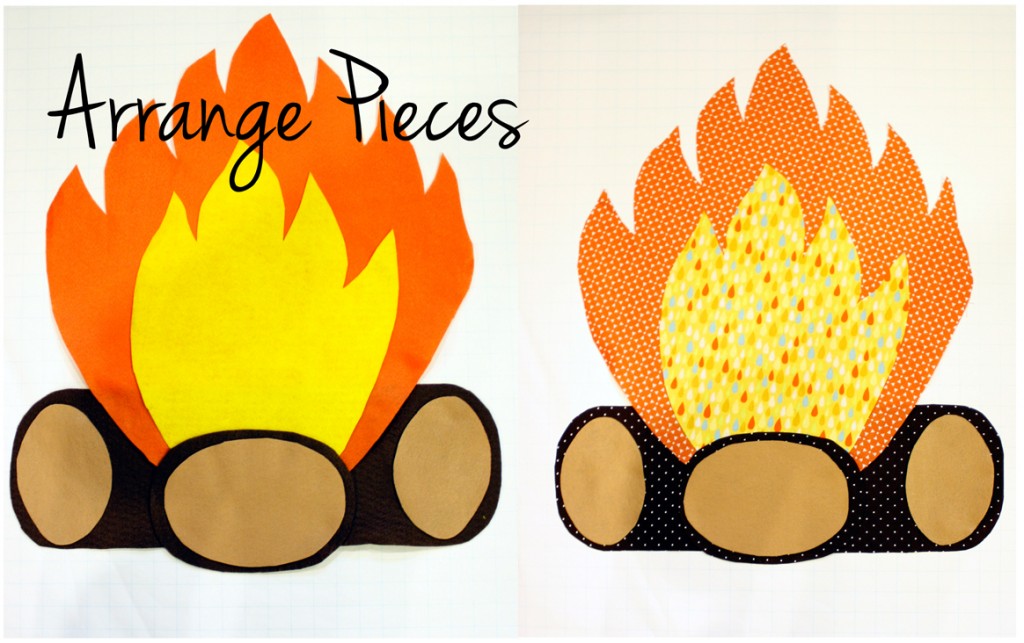
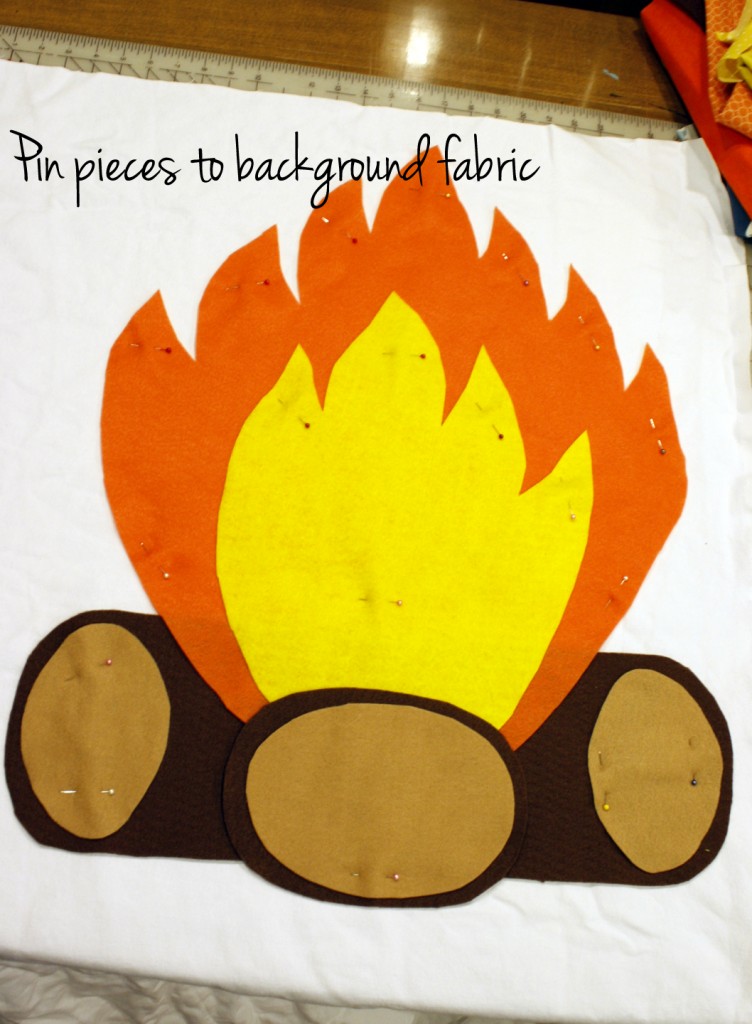
Cut each pattern piece out of the respective fabric you are using. Once cut, arrange pieces on the background fabric in the arrangement shown below.
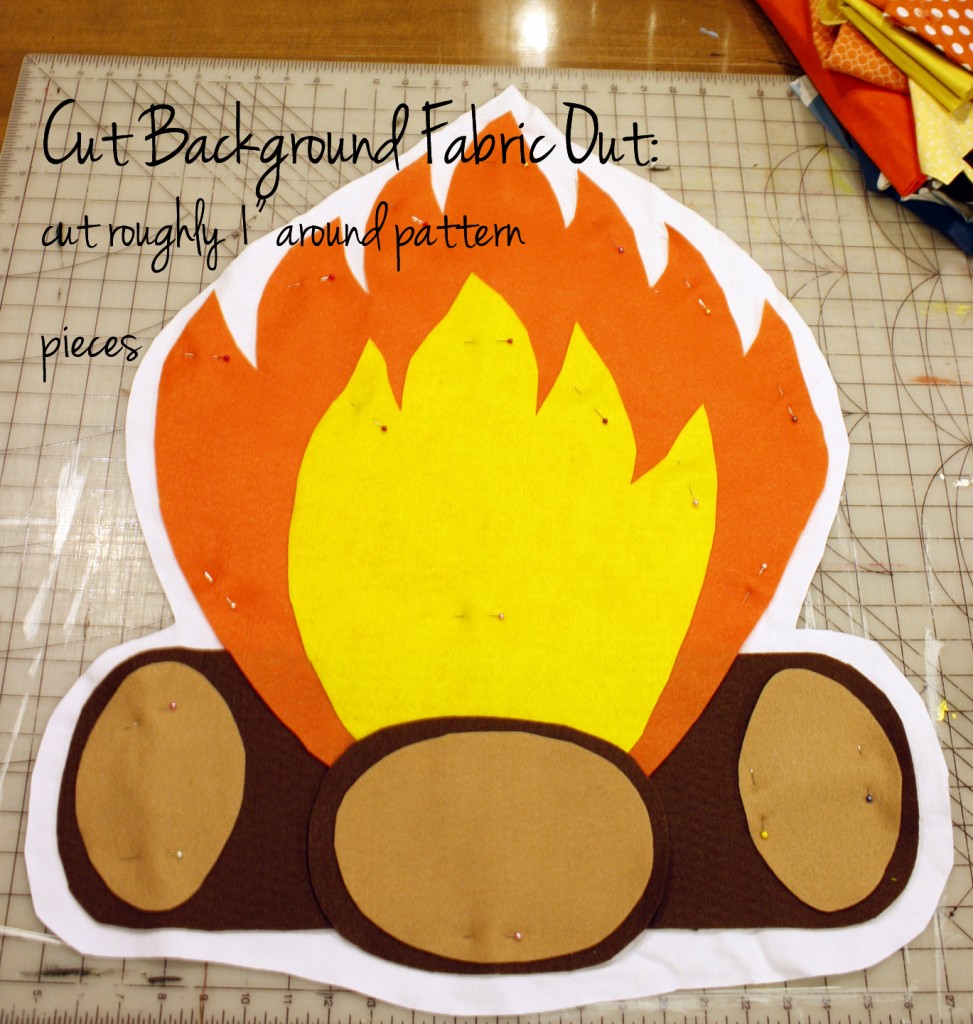
Pin the pieces to the backing. As you may notice there is not a pin in the top of the middle log. This is because I will be lowering that log so I can sew the piece underneath down a bit, and then I will put that log back in place once that is finished. After pinning all the pieces to the background fabric, cut out the background fabric about an 1″-1.5″ around the perimeter.
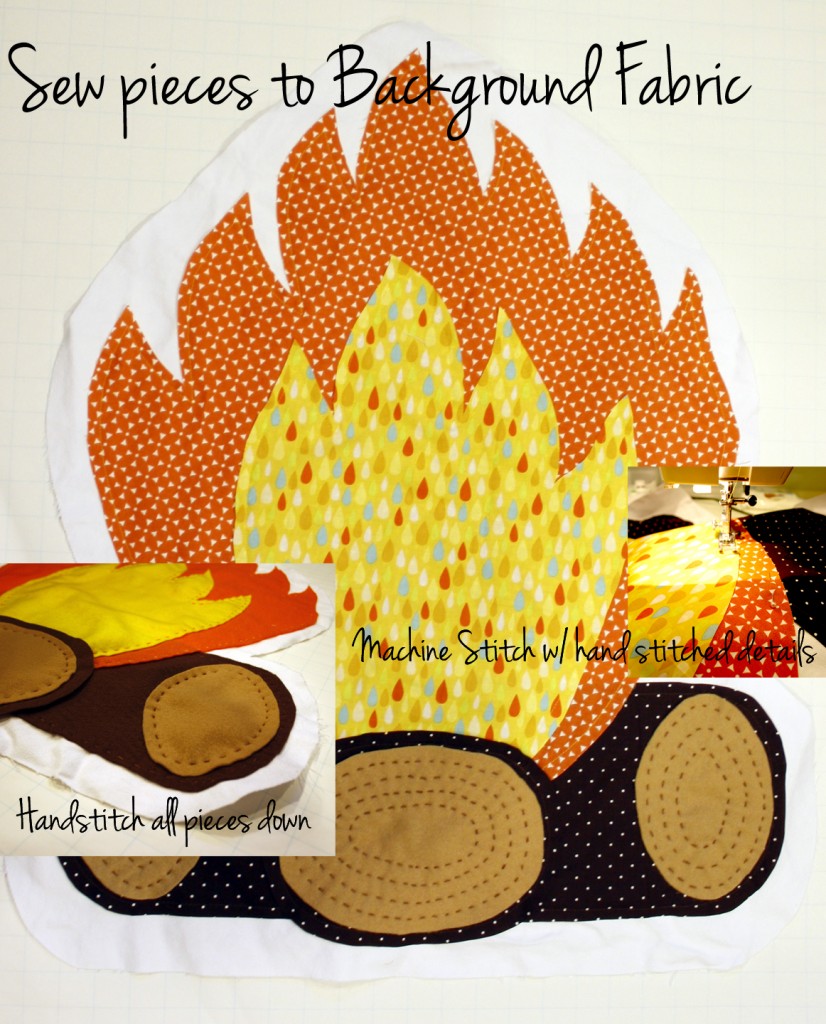
Sew the pieces to the background fabric. I went in this order: 1. Long log (lifting the flames and the middle log to sew underneath. 2. flames ( lifting middle log to sew just under edges) 3. middle log. 4. light brown front of logs (sewn by hand)
On the pillow made of all felt (shown above), I sewed everything by hand since it won’t fray and I like that the hand stitched detail shows up nicely against the simple felt and adds a bit more interest. On the Pillow with mostly fabric pieces (shown below) I machined stitched all of the fabric pieces down (since this fabric will fray) and then hand stitched the front of the logs for a nice detail. You could do a combination of hand stitching and machine stitching, or 100% of either. It is mainly up to you and your preference.
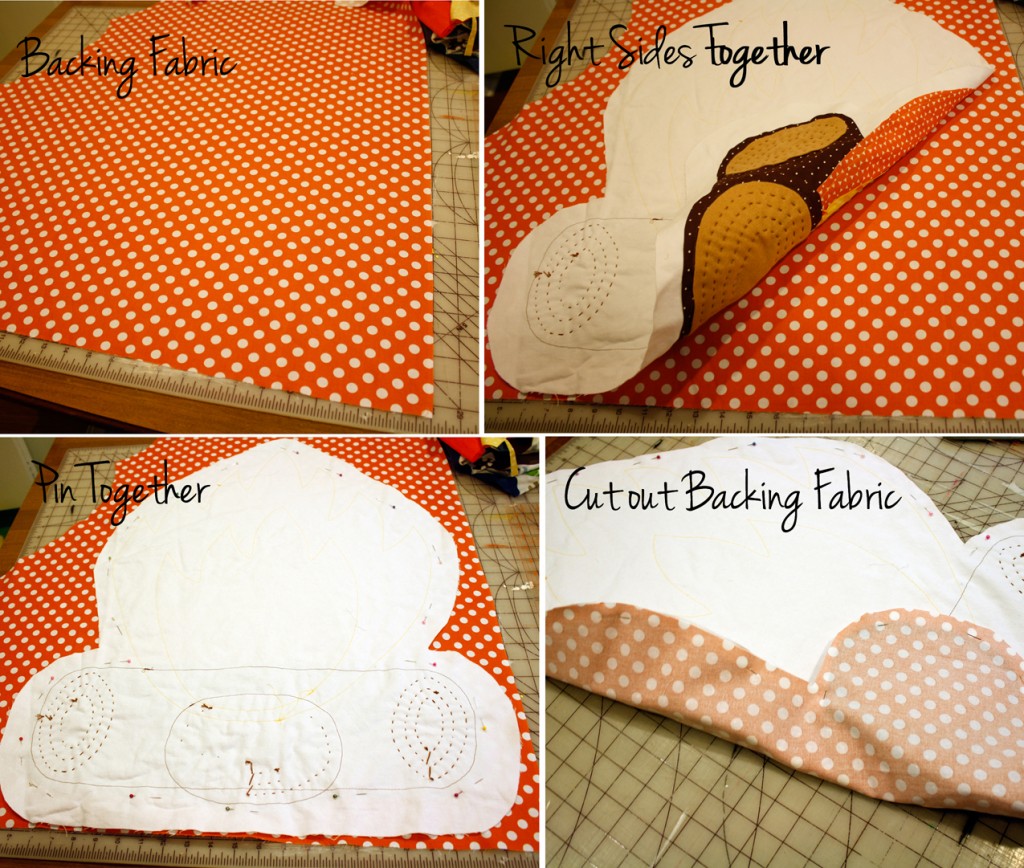
With the pieces all stitched to the background fabric, you will then take your backing fabric (orange polka dot) and lay the two right sides together, pin them, and then cut out the backing fabric.
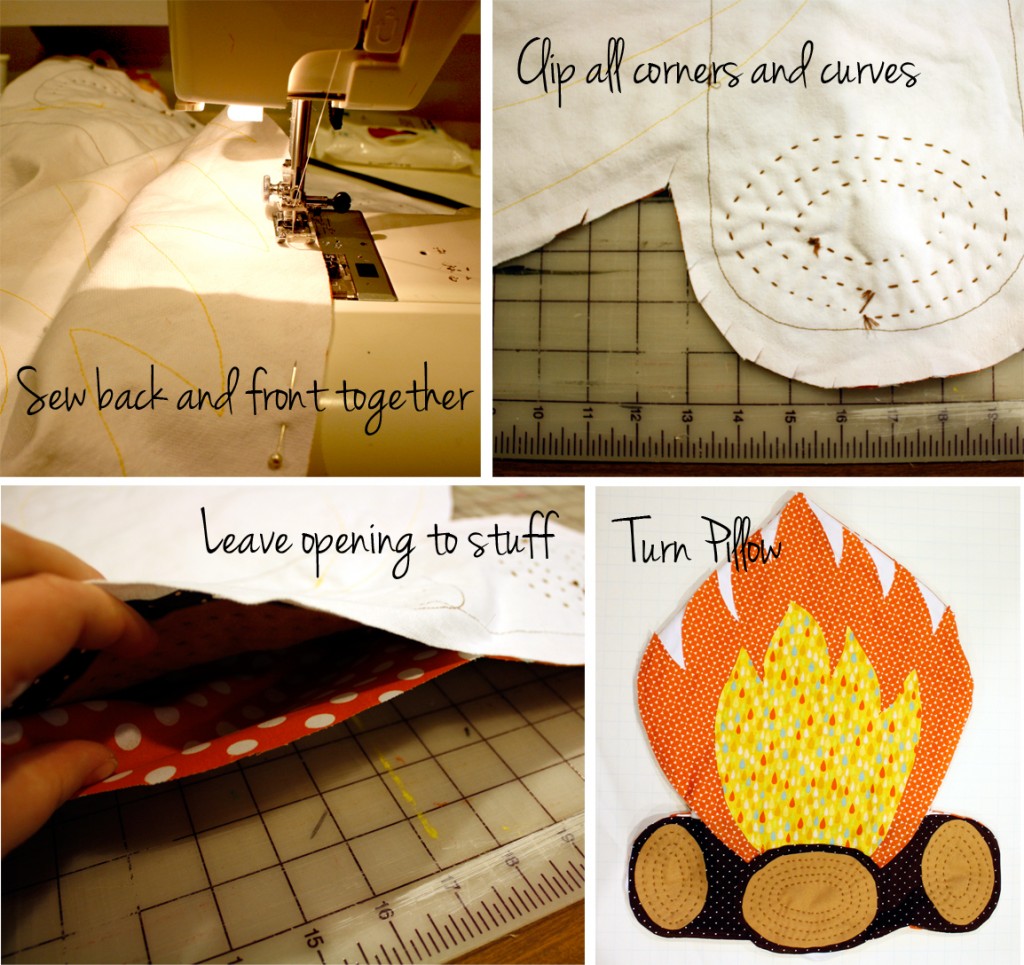
Now sew your front piece to your backing. This can be done by hand using the backstitch. Make sure to leave an opening somewhere to stuff it, my opening was in the bottom center. Once sewn, clip all the curves and corners so it will lay flat once it is turned. Turn pillow.
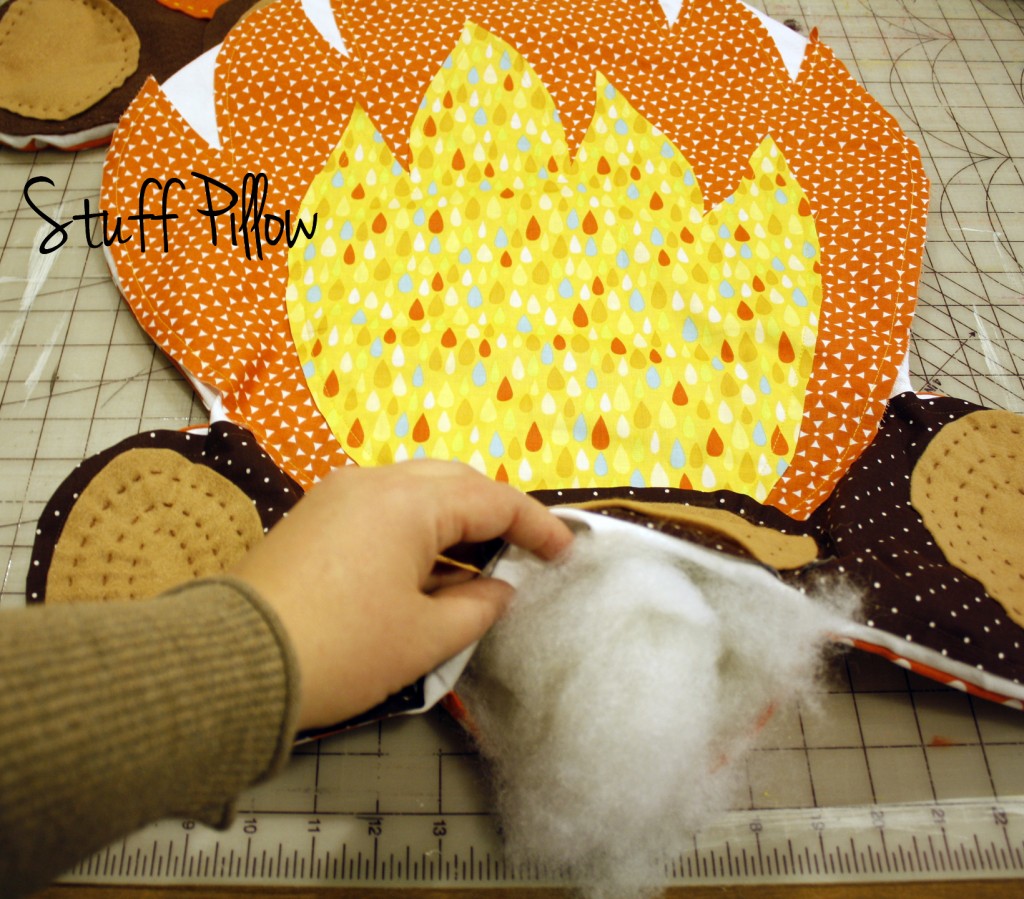
Stuff pillow and sew up that opening, hand sew – I used the whip stitch, or machine sew.
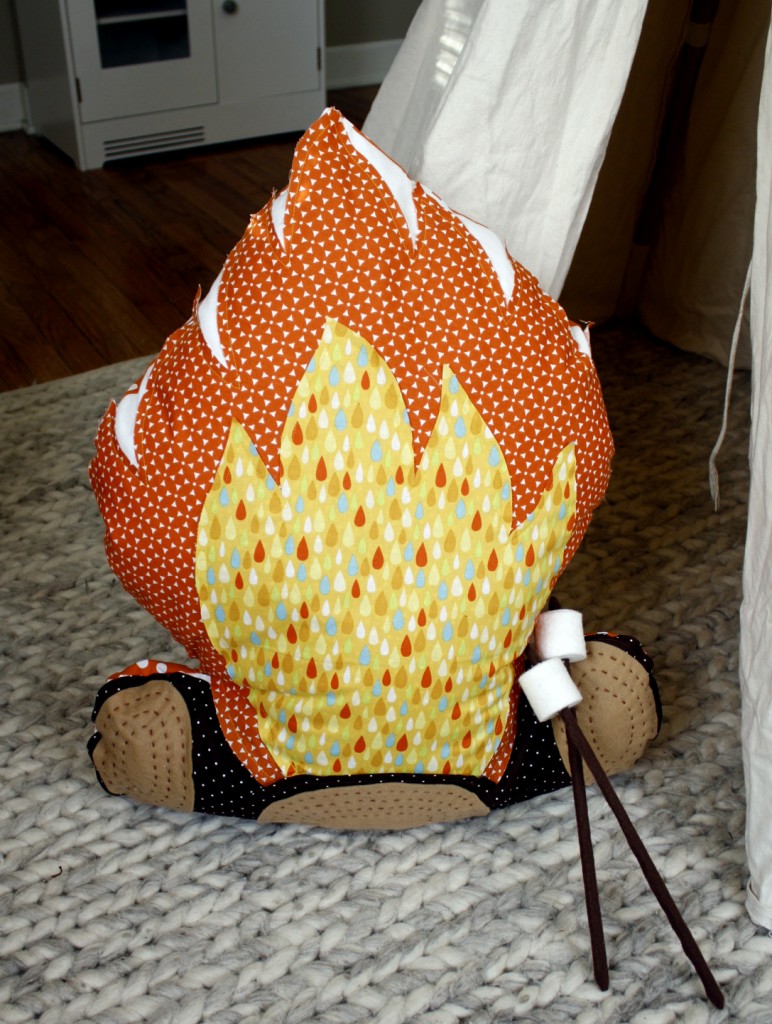
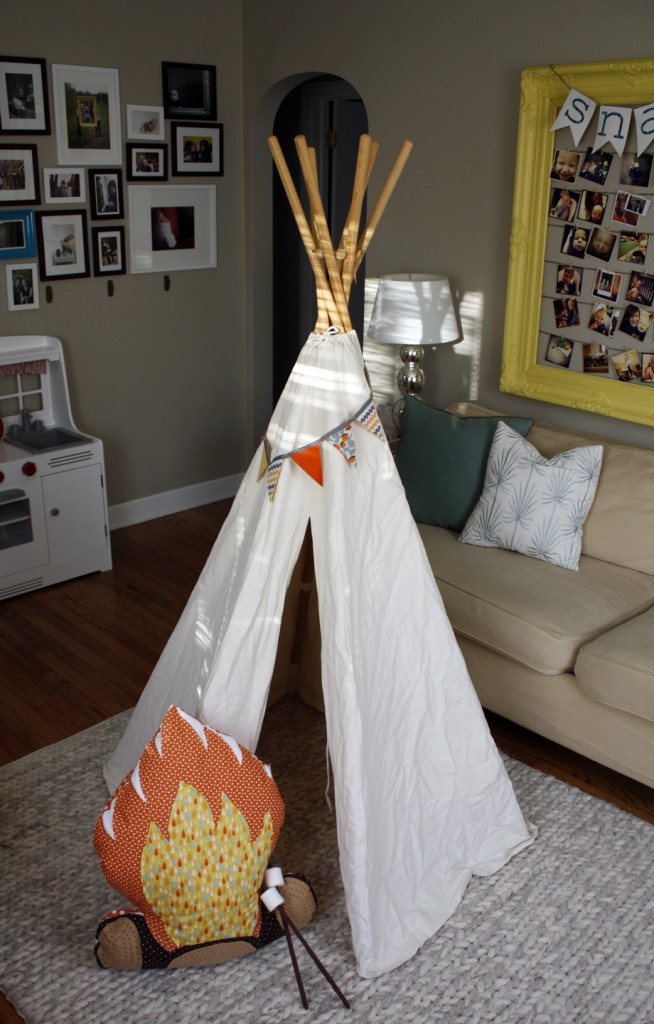
Now enjoy your campfire pillow.
I hope that my directions are clear. But definitely email me or comment with any questions that you have. I would love to see any creations made from this tutorial and pattern. Please let me know if you blog about it or add your photos to my flickr group.
I also want to mention that this is not my original idea, as in my post about the first campfire pillow I made for a gift, I saw this on Michelle’s blog vintagejunky and am just sharing how I made it.
Thanks for stopping by! Don’t forget to hop over to Dana’s Blog for the giveaway!

That is utterly adorable! :-D
You are so awesome to make and share the pattern with us. I am going to make one! Love Dana and Old Red Barn.
Thank you so much for sharing this great tutorial.
Love it! So creative, great tutorial!