Week 2 of the Sew A Long is underway. This week is all about cutting. Now I’m sure all of you are pros at cutting out quilts and quilt blocks. I thought I would just share a few tips that help make cutting go quicker for me. First off, templates. You will need to print the templates for the petals from the pattern with NO scaling. That means print at actual size, no fit to size, or fit to page or whatever. Check the 1” square on the printed template page to make sure it has printed correctly. If your petals are to small none of the other pieces will fit. Once you have the printed template page you will need to cut them out. I use an old blade in a rotary cutter (I just have a rotary cutter that is only for paper) and I cut out the paper templates with a ruler and rotary cutter just like I cut out fabric with my fabric rotary cutter. It helps keep those paper edges nice and straight and is quick.
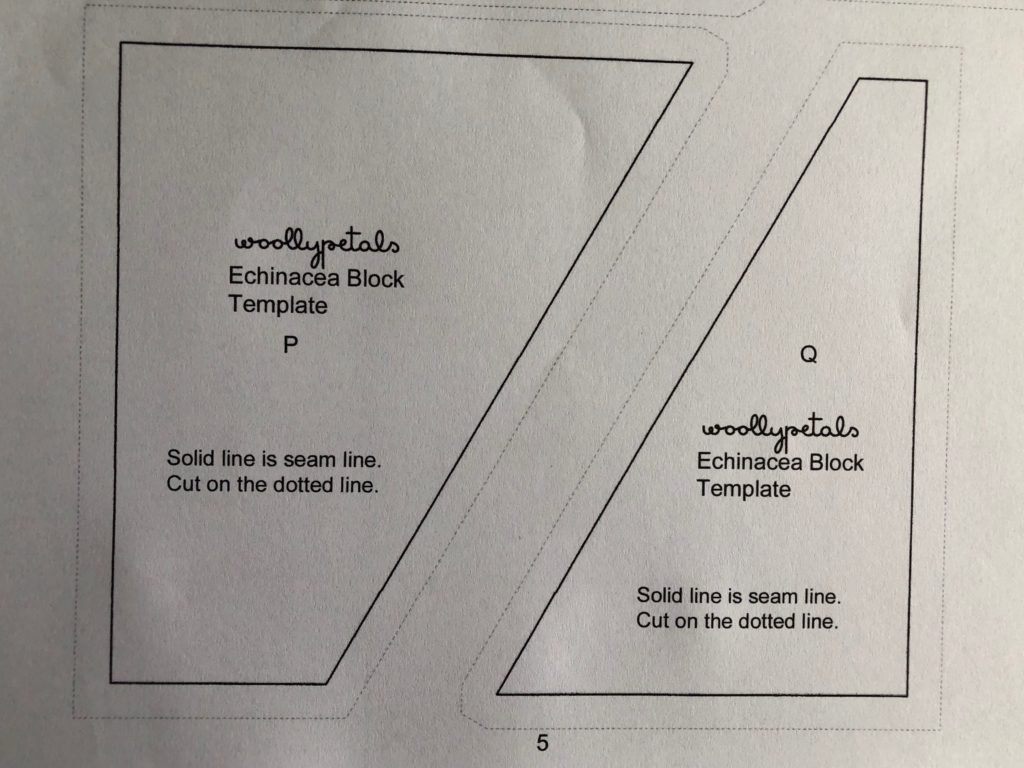
To cut the petals out of fabric I lay the templates on top of my fabric and use the force of the ruler pressing down to hold it in place and cut around the template with the ruler and rotary cutter. You could also trace the template onto the fabric with any writing utensil since any marks would be in the seam. Just remember to try and stay on the inside of your marked lines so you don’t make your pieces to big. Pinning the paper template to the fabric and cutting with scissors works as well but would be the least accurate unless you’re a pro at this technique. The only things I really cut out with scissors are clothing and small curves, otherwise I even use a rotary cutter for curves.
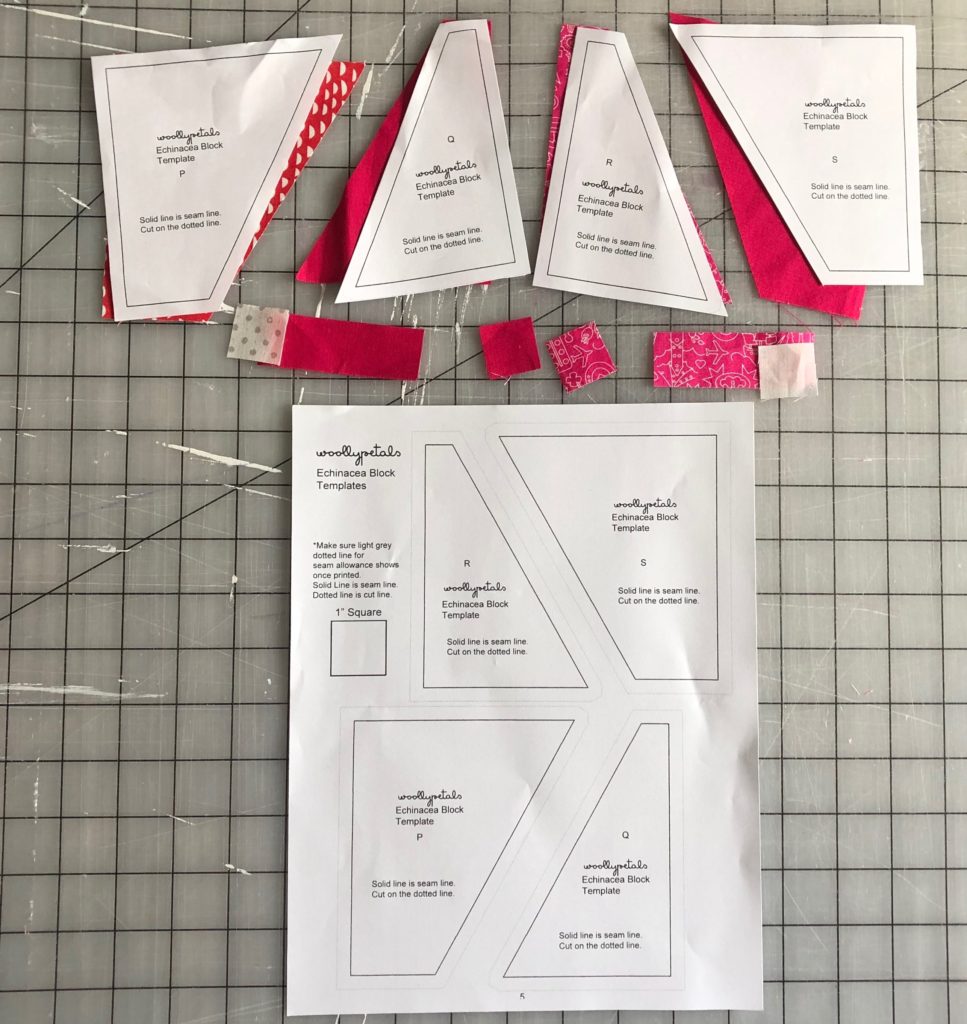
Once the petal templates are all cut out you have to cut all the pieces on the cut list from the pattern. These are all cut using a ruler and rotary cutter.
There are a couple extra pieces to cut for the petals. Don’t forget those before you fold and put away your fabric. For the cut list, you can cut multiple pieces at once. Yay! There are two ways to cut multiple pieces. First you may be cutting more than one block in that case cut all the same pieces at once. If your using scrappy fabric for the background just stack the fabrics. If you are using the same background for everything and need to cut 10 pieces size 2” x 7” cut a 7” x width of fabric strip and then cut 2” pieces from the strip.
Second you might only be making 1 block, but you can still cut multiple pieces at once because the pattern has multiple pieces of the same size for just one block. So cut those all at the same time by stacking fabrics for scrappy, or cutting with the strip method above.
Some of you who are making a smaller project may not have much cutting to do. But remember if you are cutting one block it’s basically just as easy to cut two and make something for a friend. Wink wink. Everybody loves getting something handmade right?
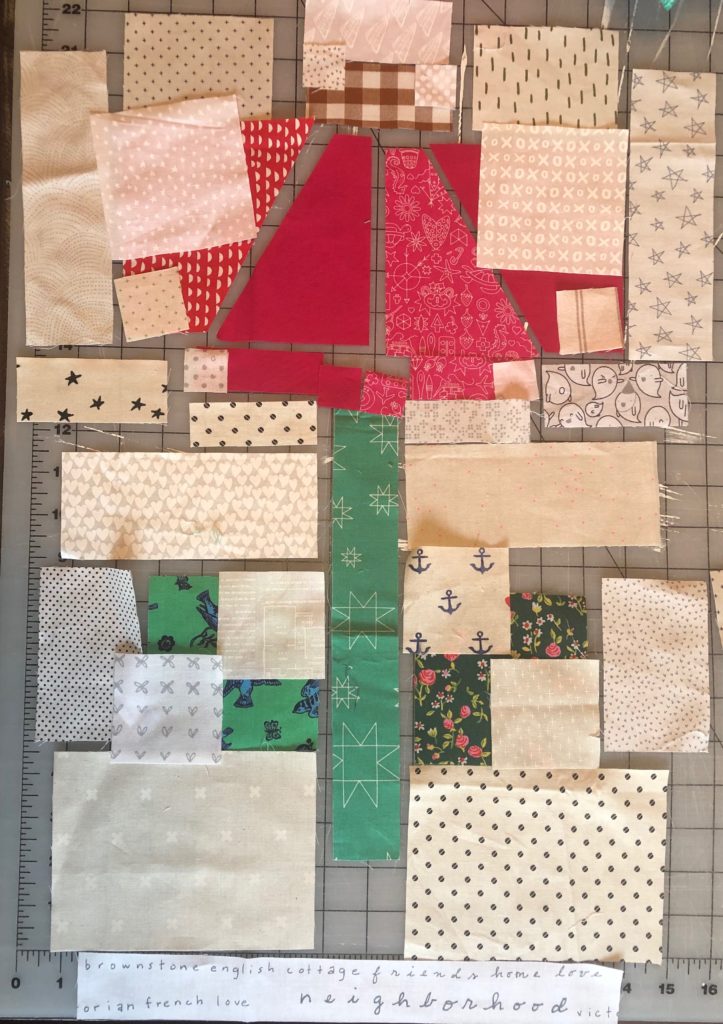
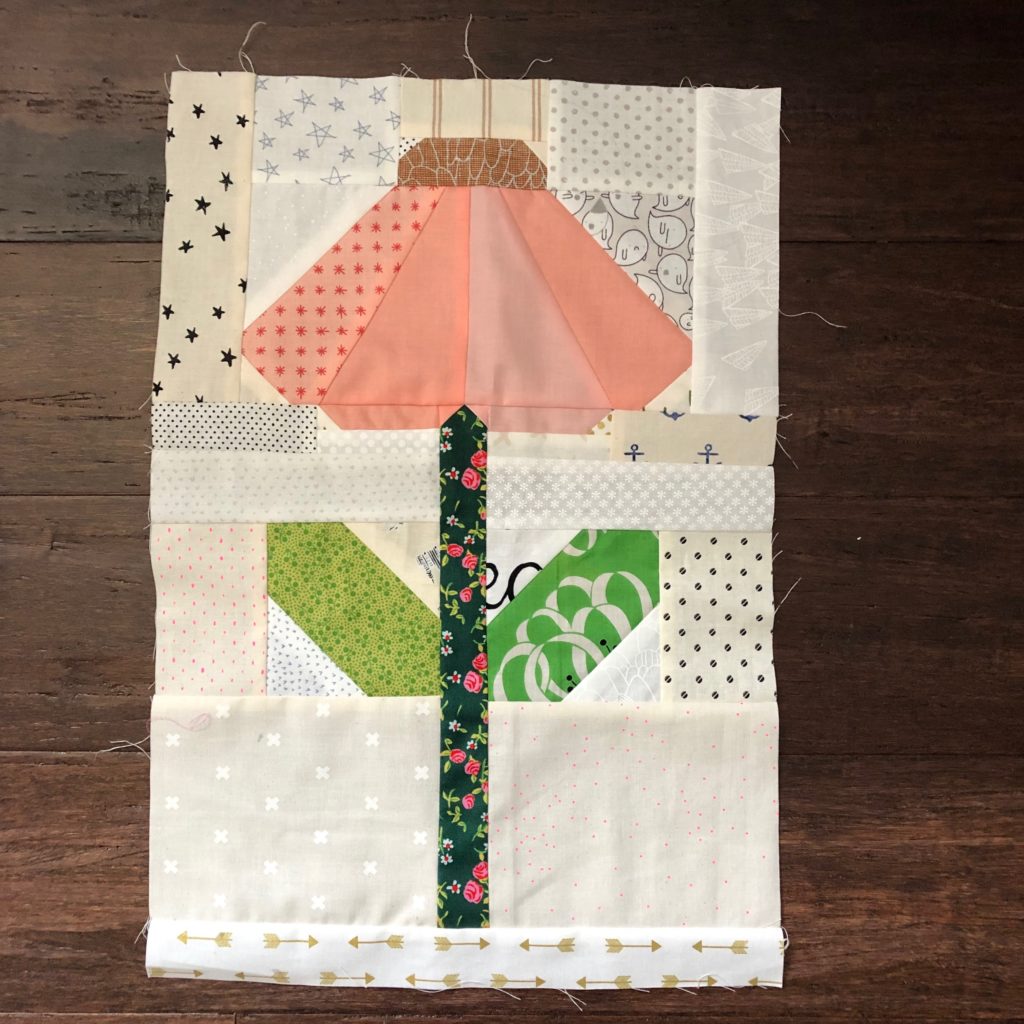
My last tip for cutting. (I will update this picture with a better one when I get back in town.) As you cut, lay the pieces out like the pattern. i.e. cut piece A and then place piece A where it will be once sewn. Cut Piece B then place that next to Piece A as it aligns on the pattern. Once your done cutting you will have a laid out block, you can stack multiple blocks on top of each other and chain piece.
Happy Cutting!
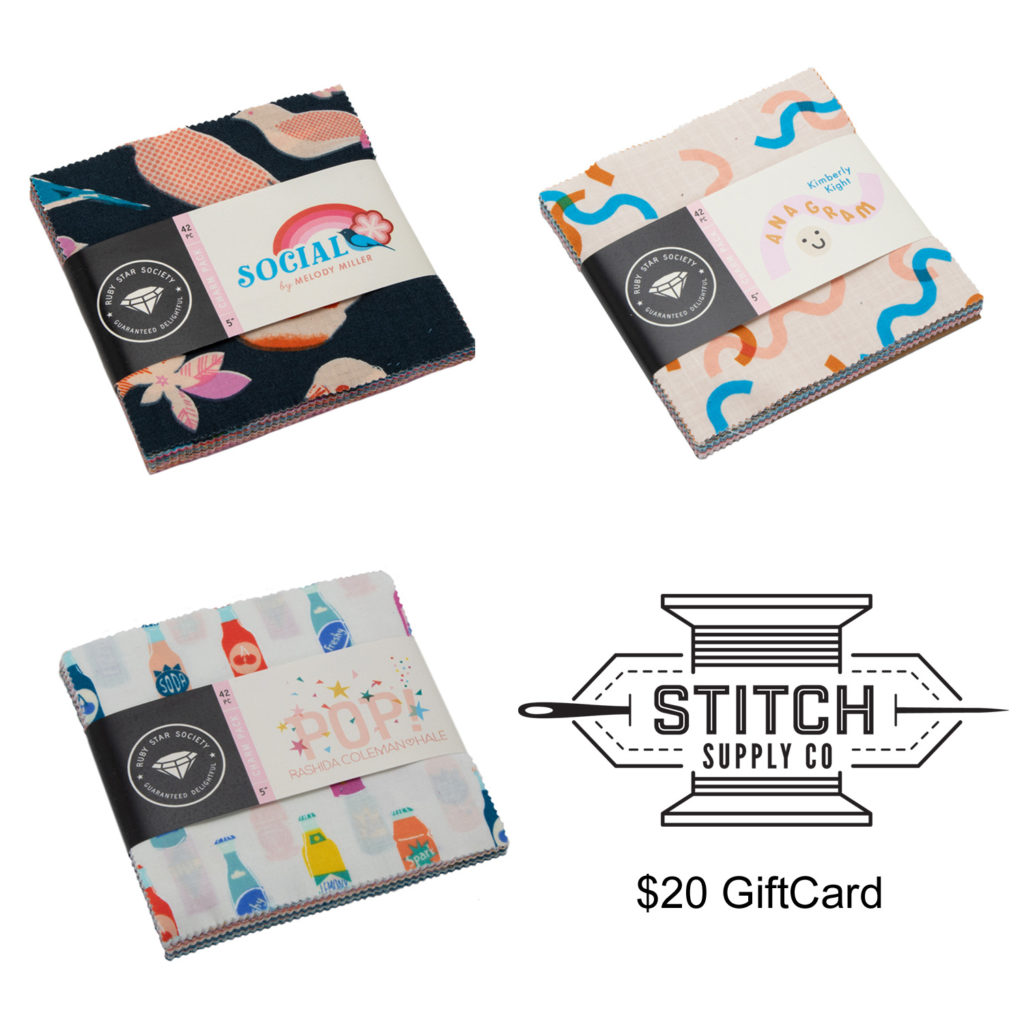
Okay guys! This week the give away on Instagram is share your favorite cutting method with a picture of cutting your echinacea blocks you can interpret this anyway you want. The prize is a $20 giftcard to Stitch Supply to use in their store online or if your lucky enough in person. Plus 3 ruby Star Society Charm packs I picked up when I was at Stitch Supply for a retreat last month. YAY! Check out Instgram for how to enter.
Echinacea Field Block Sew A long Week 1
Echinacea Field Block Sew A Long Sign up Post
Thanks so much for stopping by! See you on Instragram!

2 thoughts on “Echinacea Field Block SAL Week 2”