Learn how to sew an easy squishy soft ghost pillow using the Ghost Pillow Tutorial below.
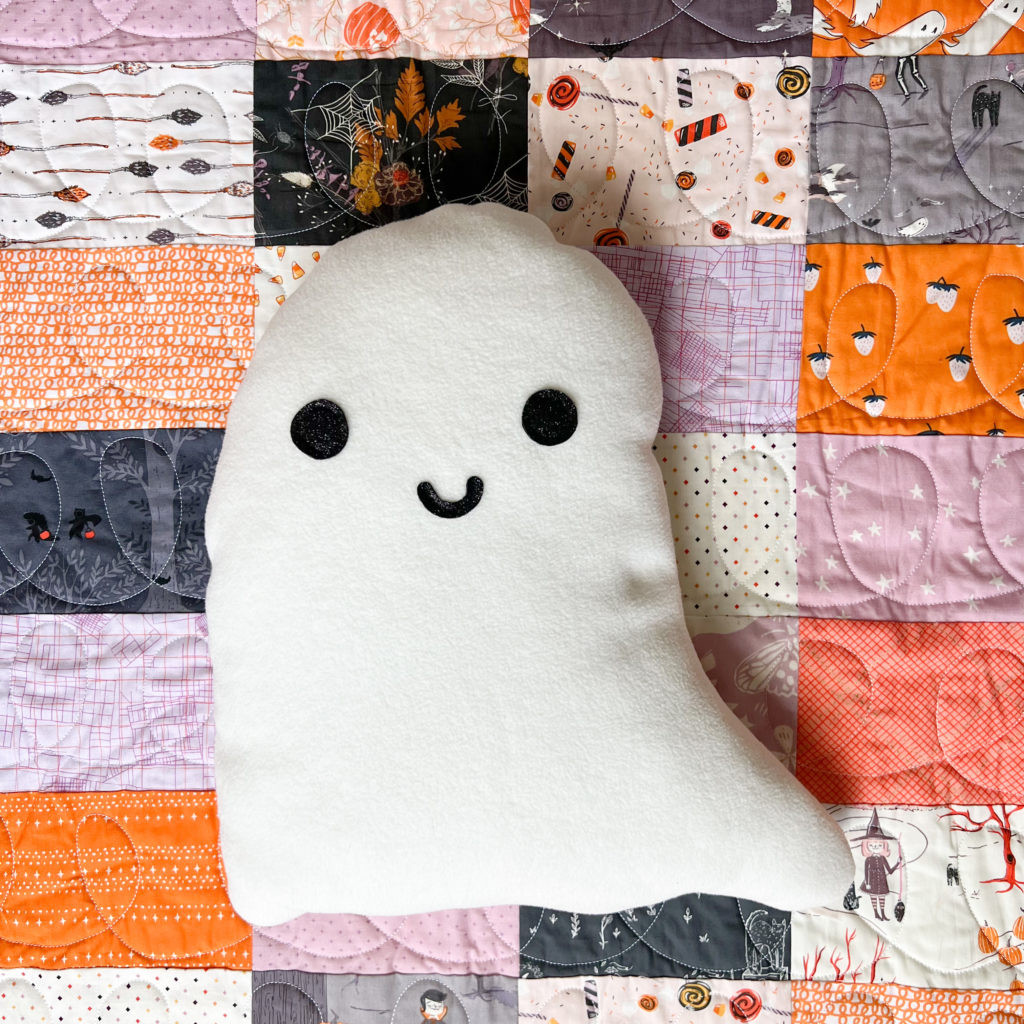
Follow the Ghost Pillow Tutorial below to make a soft squishy ghost pillow. Download a printable version of this tutorial, along with the pattern file below.
Printable woollypetals ghost pillow tutorial
Printable woollypetals ghost pillow pattern pieces
Note: None of the links below are affiliated. I like to share what I used so it’s easier to find things if you are not making from your stash.
Supplies:
Ghost pillow measures roughly 13” w x 15” tall.
1/2 yd of fabric (I used fluffy fleece like this one)
Tiny scraps of black felt (I used a glitter felt from Benzie Handmade)
Fiber fill (I used Pellon Perfect Loft)
Thread to match fabric, and eyes and mouth
Sewing Machine, scissors, printer etc.
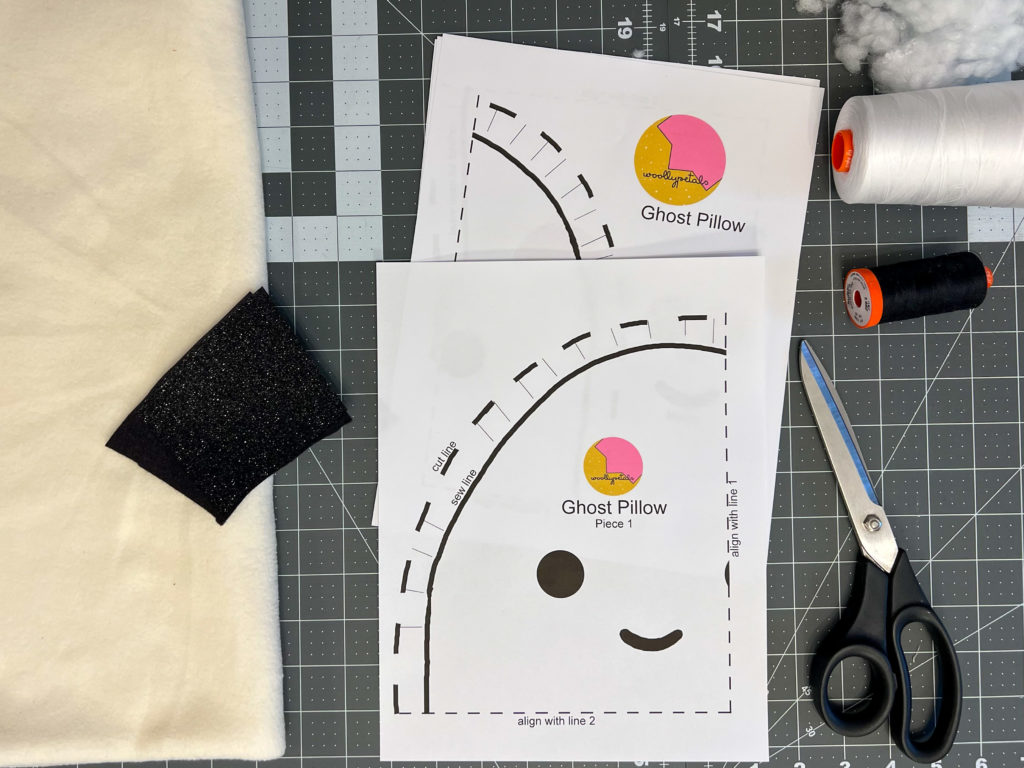
Pattern Assembly:
Download the Pattern Pieces file and print the 4 pages.
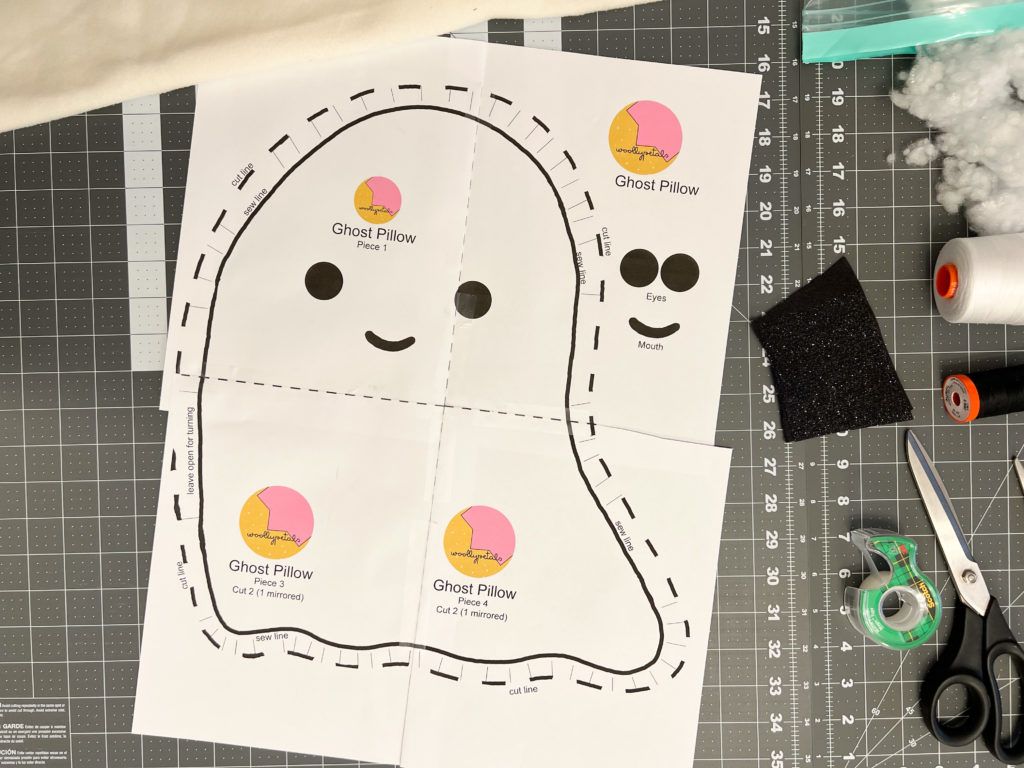
Tape the pages together by aligning the lines as stated on the pattern.
Cut out the pattern on the cut line.
Cut out the eyes and mouth pattern pieces as well.
Cutting:
Using assembled pattern Cut 2 Ghosts from fabric of choice. 1 Ghost should be in reverse or a mirror image.
Tip: I like to fold my fabric in half with right sides together and cut out both ghost pieces at once.
Cut 2 eyes and a mouth from black felt using separate pattern pieces.
Sewing:
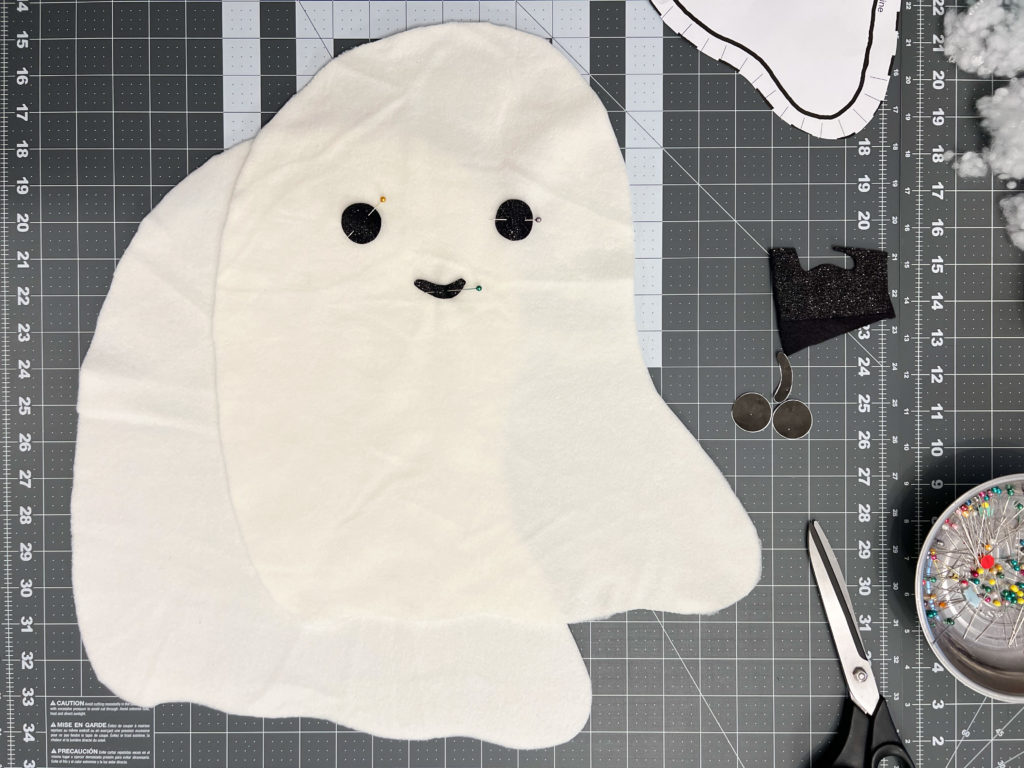
On the front of the ghost, lay the eyes and mouth where you would like them to be.
Tip: you can use the paper pattern as a guide.
Top stitch the eyes and mouth onto the ghost front, sewing slightly in from the edge with a standard straight stitch. Back stitch at the beginning and end.
Note: Because felt doesn’t fray you are able to straight stitch this material on. If you would like to use a cotton fabric, I would recommend ironing a stabilizer like SF101 on the back of the eyes and or mouth and using an applique stitch or a blanket stitch around the edge.
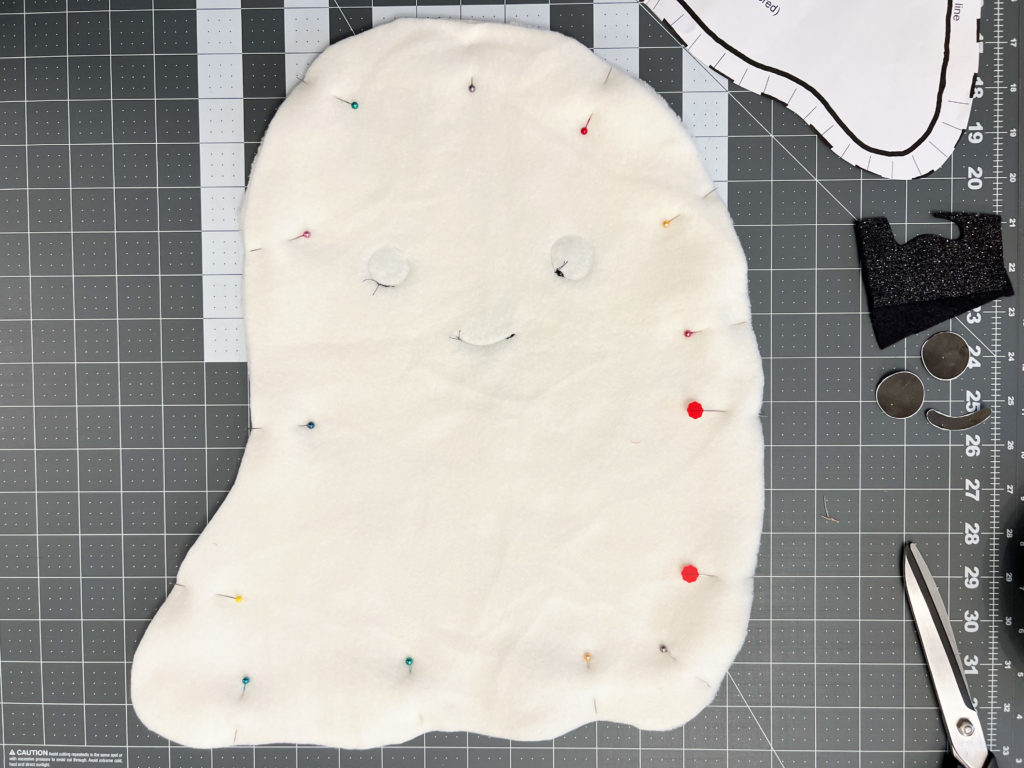
Once the face is stitched down align the ghost front and ghost back rights sides together.
Sew together with a ½” seam allowance around the outer edge leaving a 3”-4” opening on one side, as noted on pattern. Back stitch at the beginning and end so your stitches don’t unravel.
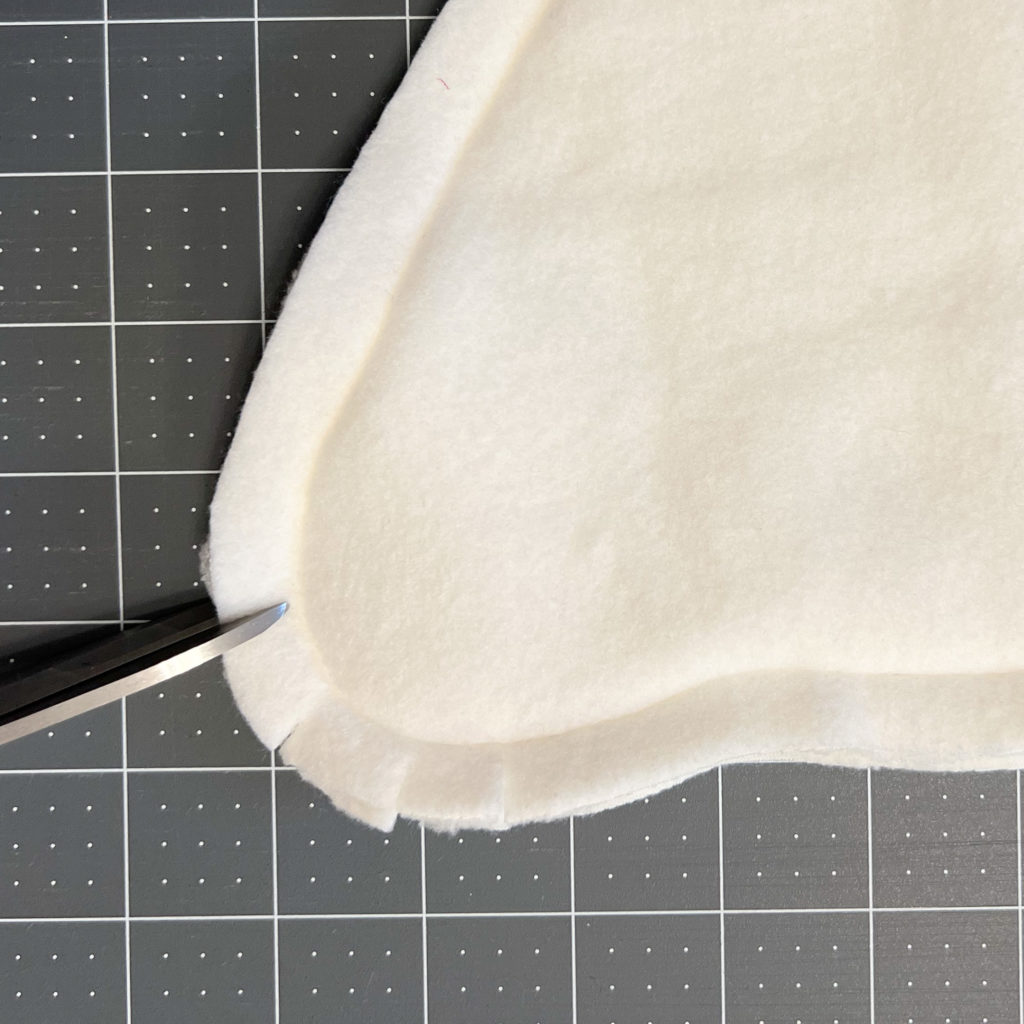
>>>>>>Before you turn your ghost right side out. Clip the curved seams. Take your scissors and clip little slits along the seam allowance on any curved section about every 1/2”-1” apart clipping through the seam allowance almost up to the actual seam but not touching it or clipping through the seam. If you are unsure where to clip look at the seam allowance on the pattern pieces, there are dashes in all the curved sections that show you approximately where to clip. This clipping will allow for the fabric to ease around the curves and give a more finished look once turned.
I highly recommend this step as it makes a big difference on your finished product.
Finishing:
Turn your ghost pillow right side out by pulling it through the opening left in one side. Smooth all the curves and seams out flat.
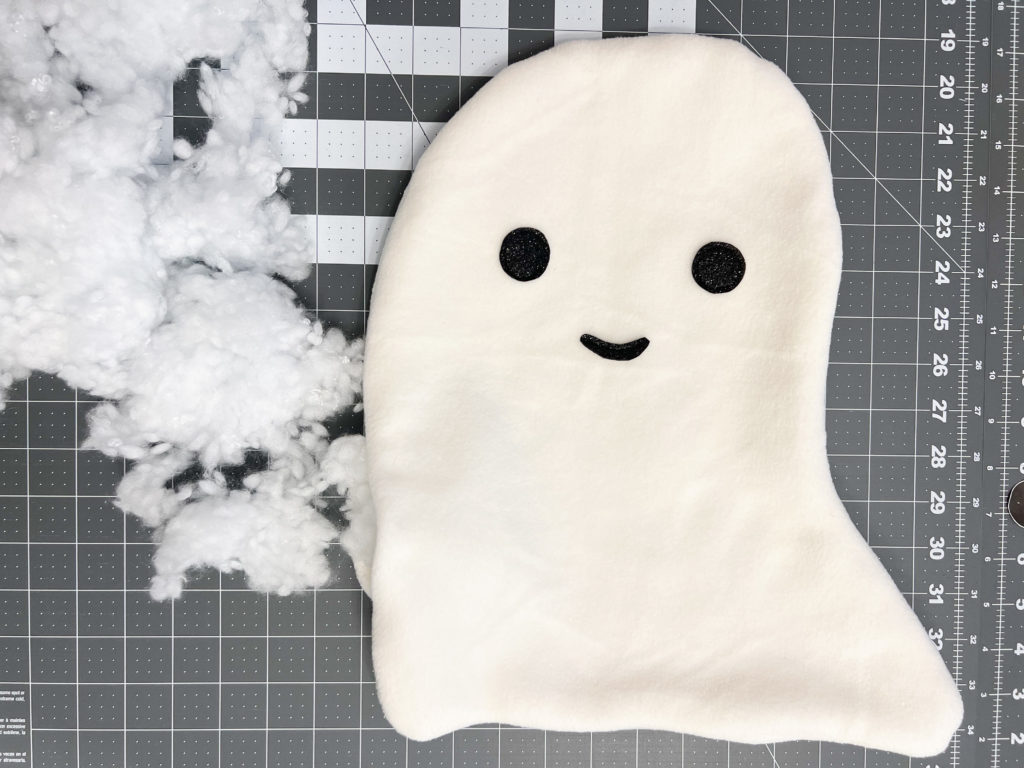
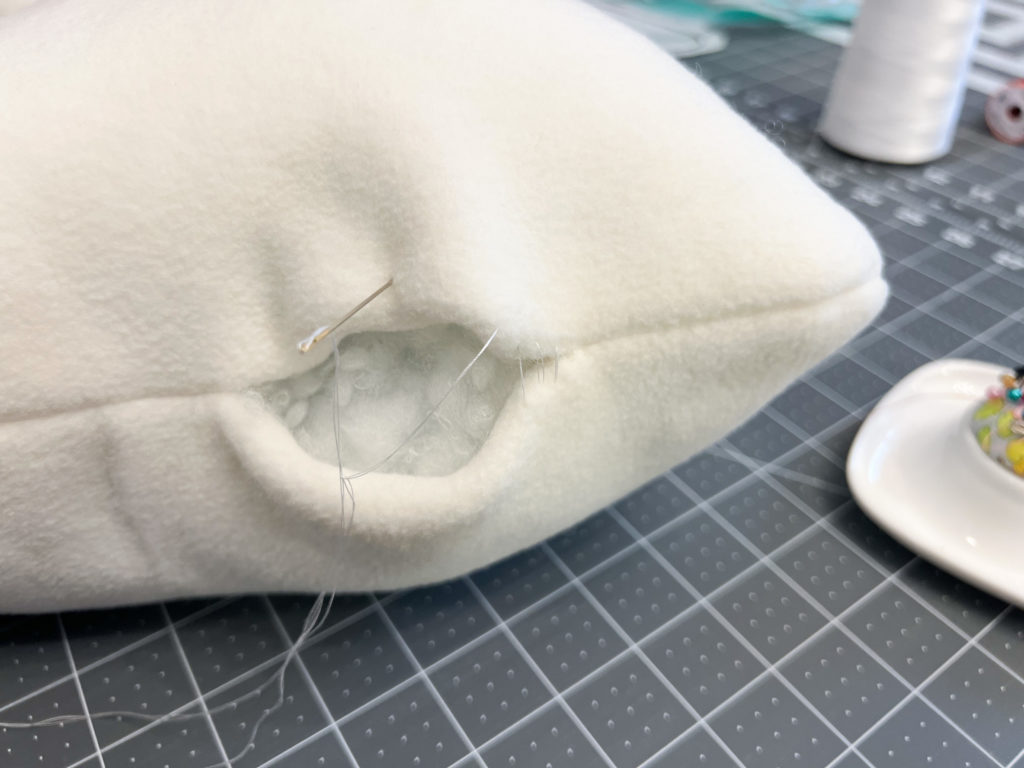
Stuff with fiber fill to desired softness. I like to make it plump while still being flatter like a pillow. Using matching thread and a needle, whip stitch that opening closed.
Cuddle your Ghost Pillow.
Fun Alternatives:
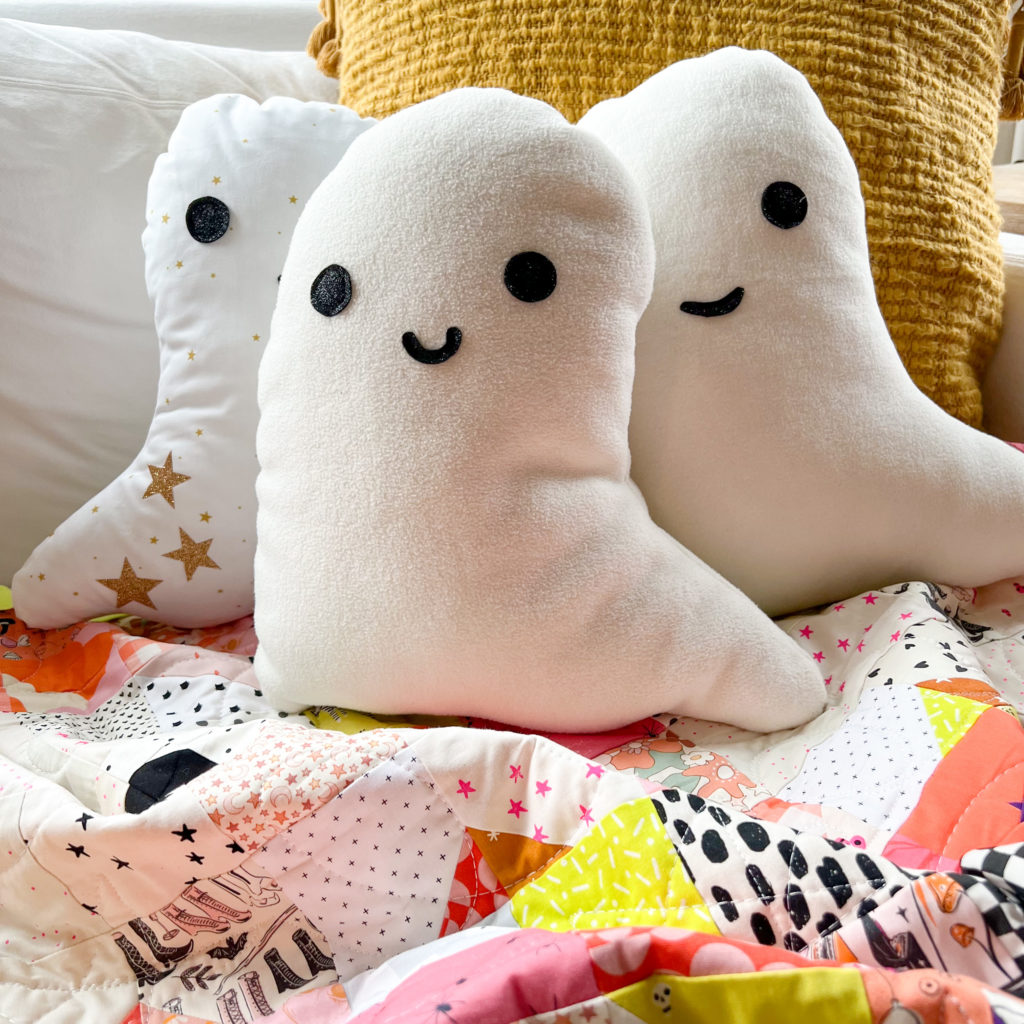
I used an iron on glitter and added that to the felt before I cut the eyes, I also used the same iron glitter in gold and added the stars to my cotton fabric ghost in the picture above. Google iron on glitter and you can find some. Or use glitter felt which you can get at Benzie Handmade, I linked it in the supply list. I purchased my iron on glitter at Benzie Handmade but they currently only appear to sell glitter felt.
You can use a quilting cotton, a faux fur, or any fabric you are comfortable with as the ghost body.
Extras
Corrine Sovey has a similar free pillow tutorial this year for a patchwork ghost pillow. Check hers out on the Bernina We All Sew blog and make a coordinating pair.
The star fabric ghost pillow in the last picture is my own fabric design called Starry Eyed, this color is caramel, available via Spoonflower. Check it out here including lots of other colors available. You can have this design printed on all the fabrics Spoonflower sells inclduing fleece or minky.
Happy Sewing! Please Please tag me and use the hastag #woollypetalstutorial if sharing on social media. It brings me such joy to see all the projects made from my patterns and tutorials.

You are so awesome! I don’t suppose I’ve truly read through
something like that before. So great to find another person with some genuine thoughts on this topic.
Seriously.. thank you for starting this up. This site is one thing that is needed on the internet, someone with a little originality!