It’s Week 4 – Sewing Quilt Blocks. This week we will sew the quilt blocks. Now that you have learned the Stitch’N’Flip method you can sew all your quilt blocks up.
Block Layout
To sew each block first you will layout the block in the right order using the diagrams on page 9 of the New Star Quilt Pattern. Or if you designed a custom quilt layout use your coloring sheet to layout each block.
Once the block is in the proper layout you are sewing the block together.
But remember if you have multiple block layouts for your quilt don’t forget to keep track of how many of each you are making. The cover quilt has two layouts.
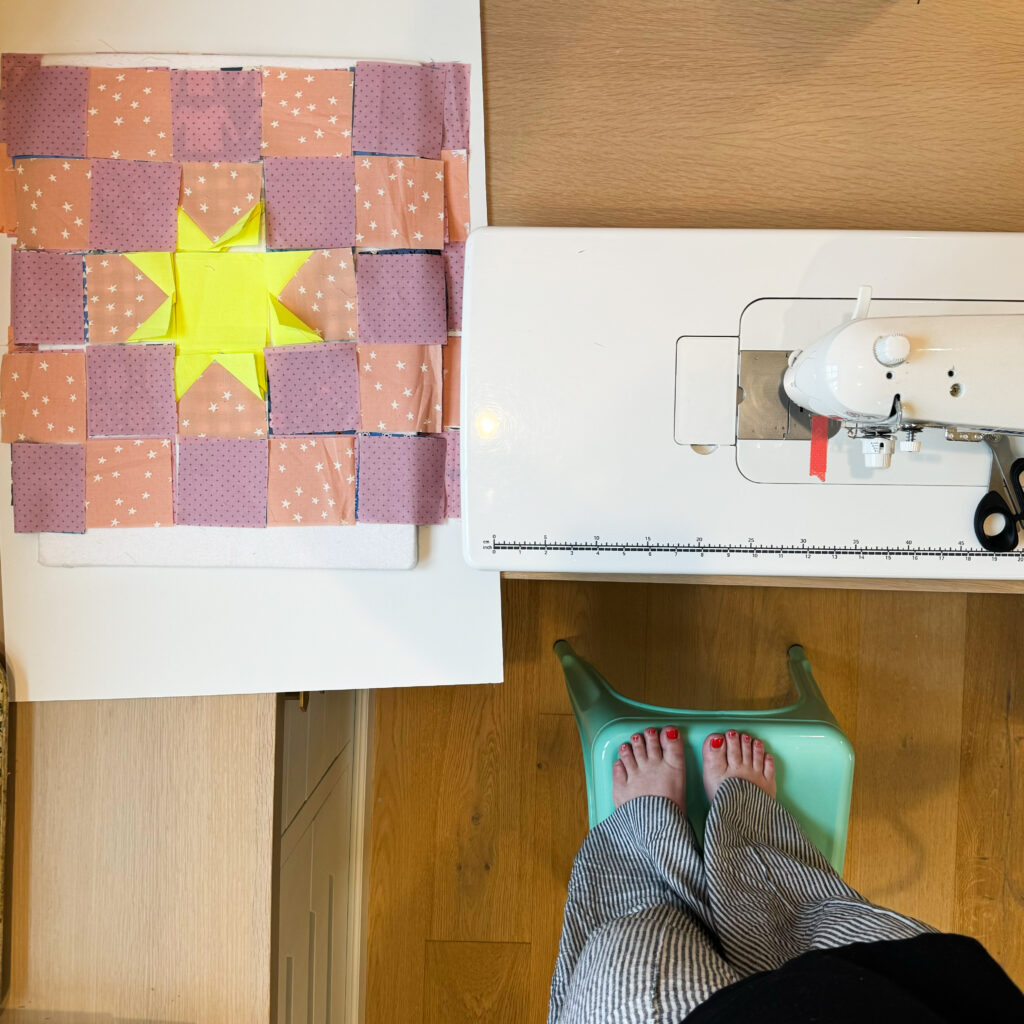
I like to use a flannel covered foam core board to layout my blocks at the cutting table or on a design board. I can then transfer the block to the foam core board and take it to the sewing machine without any issues. You can see the boards under my laid out block in the photo below.
Sewing a Block
Sewing quilt blocks together is all straight sewing after you lay out the block.
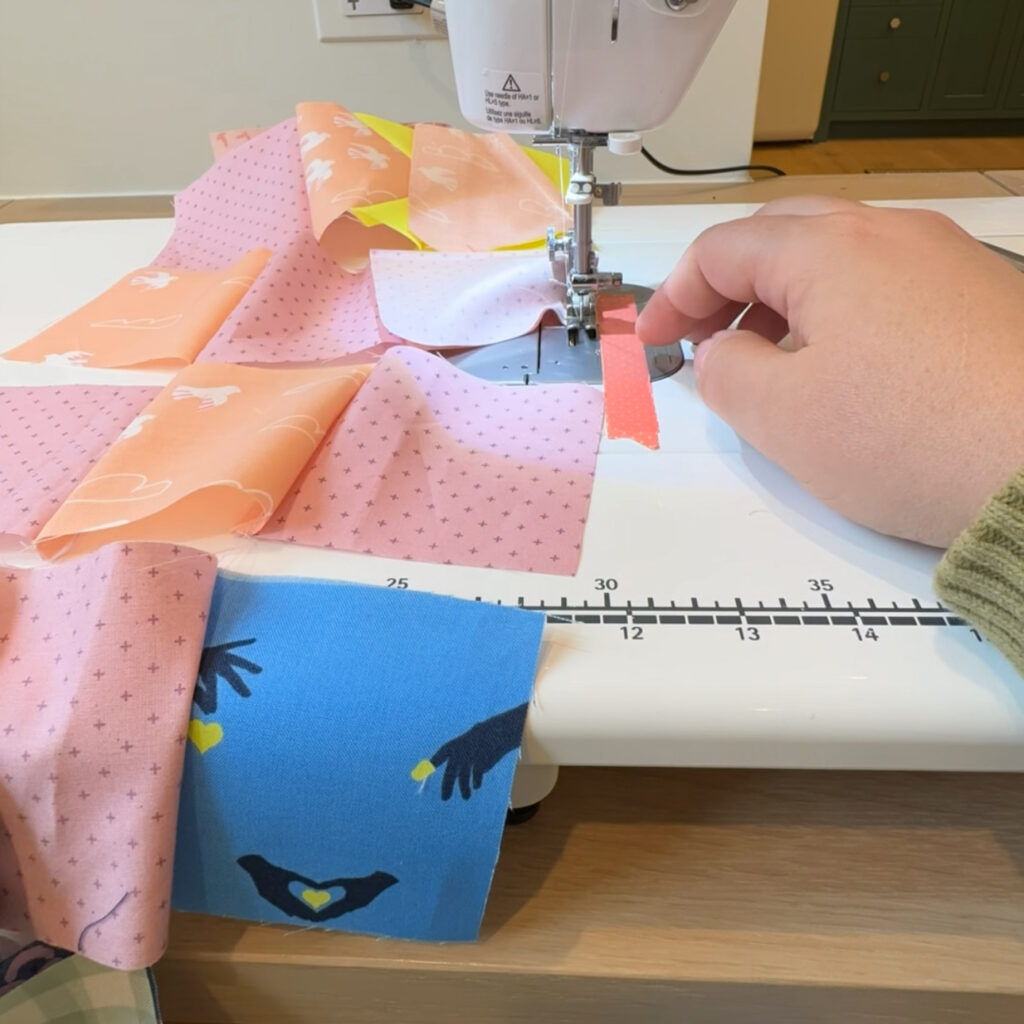
First you want to sew the rows together. Sewing one square to the next across each row in the block. Then you can press the row seams, each row pressed in the opposite direction of the rows next to it.
Next you will sew the rows together from the top down to the bottom row. Nesting the seams as they come together along the edge of the row. A nested seam is when one seam is press in one direction and the other seam is pressed in the opposite direction and they bump up next to each other where they intersect.
Once the whole block is sewn together you will press the seam connecting the rows all in one direction.
Don’t forget to press the two different styles of block layouts opposite so all the seams in the quilt nest nicely.
Chain Piecing / Web Piecing
Week 4 – Sewing Quilt Blocks bonus tip is chain piecing. You can chain piece each quilt block. Watch the YouTube video for the Chain piecing tip at the end of the piecing video.
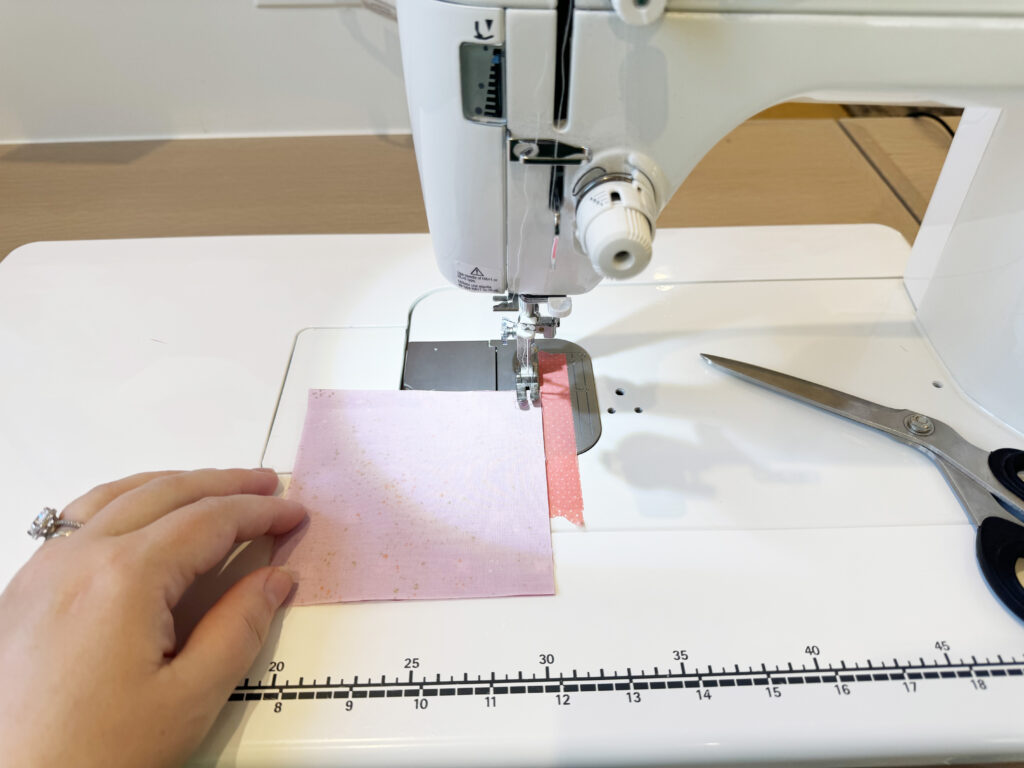
Chain piecing is a technique where you don’t cut the threads after you finish a seam and instead sew a stitch or two and then feed the next seam into the machine and continue sewing. It essentially omits the stopping and cutting threads portion of sewing a seam so it saves time and thread. You can chain piece a bunch of squares together, or even chain piece your HSTs.
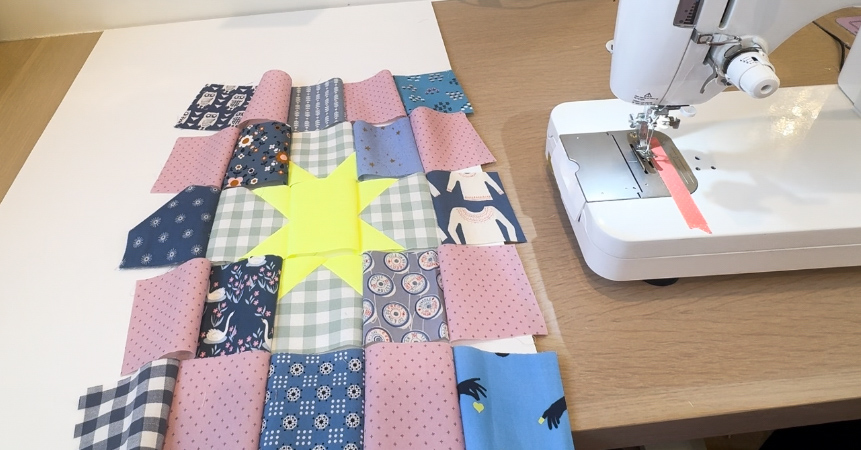
To web piece you are doing the chain piecing for the first two pieces of each row of the whole block. Then you continue by sewing on the third square in each row to what you have already sewn. Again with the 4th square, and then the 5th square. So your whole block of 25 squares is pieced in 5 rows, and those rows are connected by a stitch or two at the seams. You can then sew the rows together without clipping them apart.
Week 4 Homework
Your Homework for Week 4 – Sewing Quilt Blocks is to sew all 16 quilt blocks. Watch the Videos on Youtube.
NSBQC Week 4 – Sewing Quilt Blocks
NSBQC Week 4 – Sewing Blocks: Chain Piecing
New Star Beginner Quilt Course Landing Page
Community and Questions
I hope you have enjoyed Week 4 – Sewing Quilt Blocks for the New Star Beginner Quilt Course. Check out @woollypetals posts on Instagram for the New Star Beginner Quilt Course, leave your IG name and when you started the course and make friends with anyone else who has commented. This is a great way to find friends who are just starting out in the quilting world.
Have questions? Need answers right away? I do respond to questions on these posts but if you need an answer asap please reach out via email or Instagram. I am Instagram the most and would be happy to answer any questions you message me there. Typically I hop into email and respond to questions within a day or two.
Thanks so much for starting your quilting journey with woollypetals and the New Star Quilt Course.

