Yay! It’s Week 5, when we are going to learn about Quilt Top Assembly + Border. By now you have all your quilt blocks sewn together from Week 4 and you are ready to lay them out in order and sew together a quilt top. After all the blocks are sewn together we will sew the HST borders and attach them.
Quilt Layout
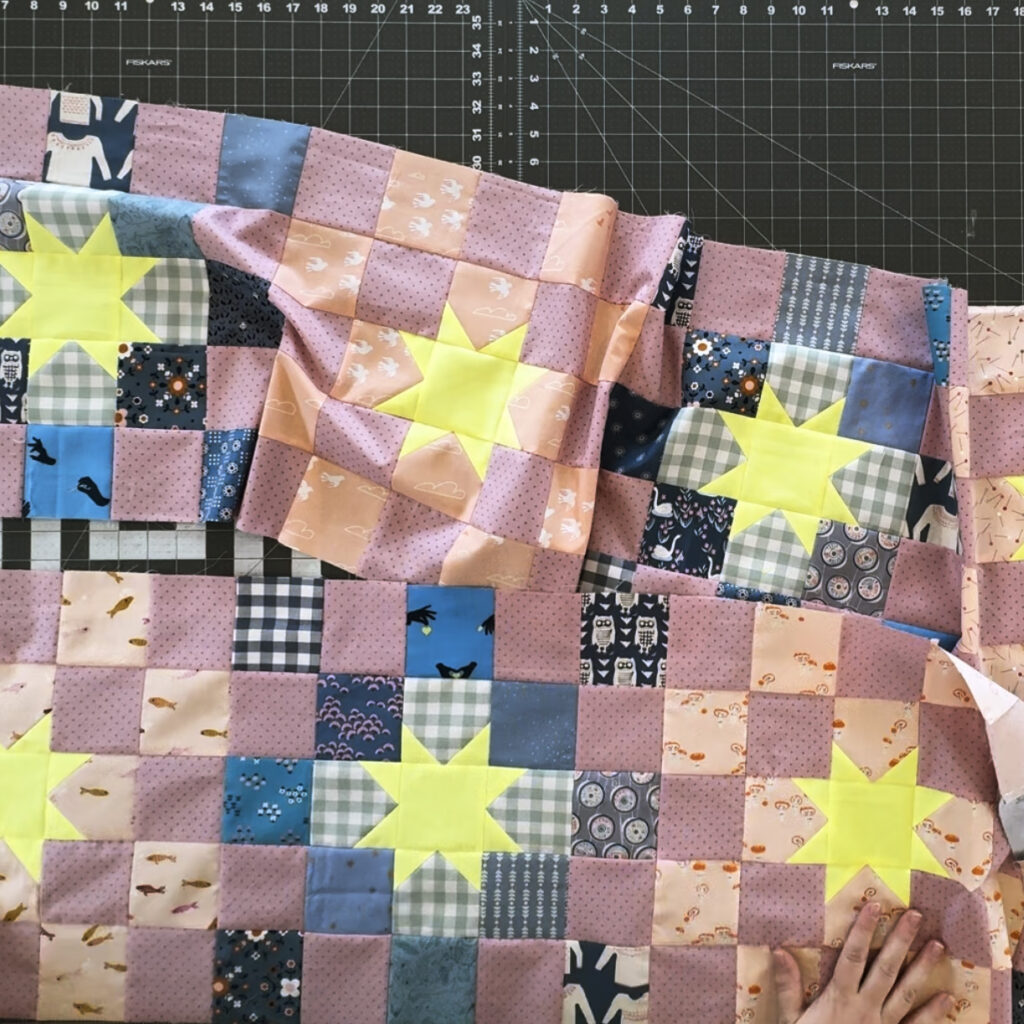
Maybe you have been keeping track of where each block goes, or maybe you have been sewing up blocks at random. Either way lay all the New Star quilt blocks out in a 4 blocks tall by 4 blocks wide layout. Remember to alternate the blocks with different layouts in the full quilt top layout so that you achieve the overall design of the New Star Quilt.
Have fun and play around with this. Even if you have sewn the blocks for specific places you may end up deciding you want to swap a few and that’s okay. For the New Star quilts I have made with scrappy colors I have sewn the blocks up in the layout I need for each color. But just kind of tried to place the scrappy fabrics randomly. So I get to play around with the blocks in the layout so everything flows well.

Assemble Rows
With the layout decided you get to sew together the blocks into rows. And then sew the rows to each other. I like to make sure to back stitch any blocks along the outer edge of the quilt as I am sewing. This helps that outer edge stay intact after sewing.
Sometimes those outer edge seams get more stress with wind, or pulling, or hanging than the rest of the quilt and without a backstitch the stitches can start to come apart.
Once all your blocks are sewn together iron the Quilt Top thus far. Vertical block seams nested and horizontal row seams all in the same direction. Now the quilt top is ready for Borders.

Borders
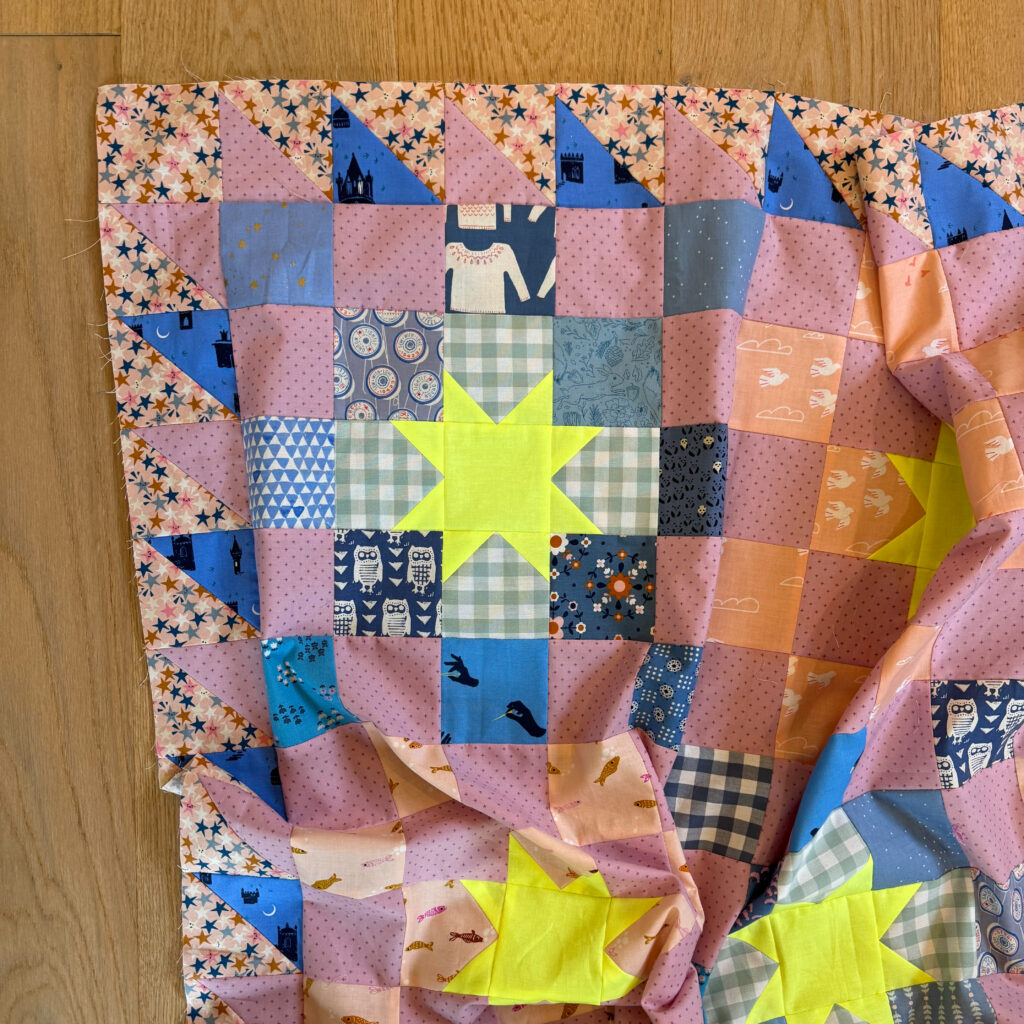
The borders are made with HSTs and four corner squares. If you haven’t already made all the HSTs do that now. If you are getting confident at making HSTs you may want to try the Any amount of HST in any size at one time method. But don’t worry if not. You can also chain piece sew the two at a time HSTs. Just like I demonstrated chain piecing a block you can do the same method for sewing HSTs. Sew the first seam on the side of the marked line on one HST, then feed the next HST to sew the first of the next HST and sew on. Cut them all apart and sew the second seam. Or leave them chained together and sew the second seam. Which is easier.
Layout the borders following the layout on Page 16 of the New Star Quilt Pattern. Once the four borders are sewn together, pin the ends of a border Right Sides Together with the matching ends of the quilt top. Then add a pin in the middle section once or twice to hold the two pieces together. Sew together nesting the seams along the seam. Repeat process with other three borders.

Additional Border Info
So you have your Quilt Top + Border Assembly for the New Star Quilt done. I just wanted to touch base on a different kind of border. Not in the New Star Quilt Pattern. But it is a good thing to know for any quilt that sews a long piece of fabric, border or strip between blocks.
Whenever you are cutting and sewing a long strip of fabric to fit along an edge of a quilt or between a row of blocks in a quilt, it is good to remember a couple things to get a nice fitting strip of fabric. Sometimes single fabric border or strips can be wavy, this is due to cutting a longer than need strip of fabric. Then sewing that fabric strip along the edge of a quilt until both edges are all sewn. And then cutting the fabric strip short to match the length of the top edge. While this seams simple and easy it will almost always result in a wavy or unruly edge. What you want to do is actually measure the length of quilt edge in inches. Cut the fabric strip to the exact size. Pin along the edge at each end, and a few times in the middle with the fabric distributed evenly across. Then sew the fabric strip to the quilt top to result in a nice smooth border.
Week 5 -Homework
Your Homework for Week 5 – Quilt Top + Border Assembly is to sew your quilt top together. Watch the Videos on Youtube. And if you think you need to practice straight seams. Don’t forget the Victory Lap: a quick stitch around the perimeter of the quilt about 1/8″ in from the edge.
NSBQC Week 5 – Quilt Top Assembly
New Star Beginner Quilt Course Landing Page
Community
I hope you have enjoyed Week 5 – Quilt Top + Border Assembly for the New Star Beginner Quilt Course. Check out @woollypetals posts on Instagram for the New Star Beginner Quilt Course, leave your IG name and when you started the course and make friends with anyone else who has commented. This is a great way to find friends who are just starting out in the quilting world.
Have questions? Need answers right away? I do respond to questions on these posts but if you need an answer asap please reach out via email or Instagram. I am Instagram the most and would be happy to answer any questions you message me there. Typically I hop into email and respond to questions within a day or two.
Thanks so much for starting your quilting journey with woollypetals and the New Star Quilt Course.

