Let’s talk mini quilt Labels. It is really great to have a logo on your Mini Quilt for the Woollypetals Mini Quilt Swap. So I am sharing a few things to make it easy to make Woollypetals Mini Quilt Swap Labels.
What to Include on a Label
Your Name/Instgram (whichever you prefer)
The person you are making for (Name or Instagram name)
The swap name and year : Woollypetals Mini Quilt Swap 2023
Additional info like which quilt pattern you used would also be fun. The most important info being your name and the swap name/year.
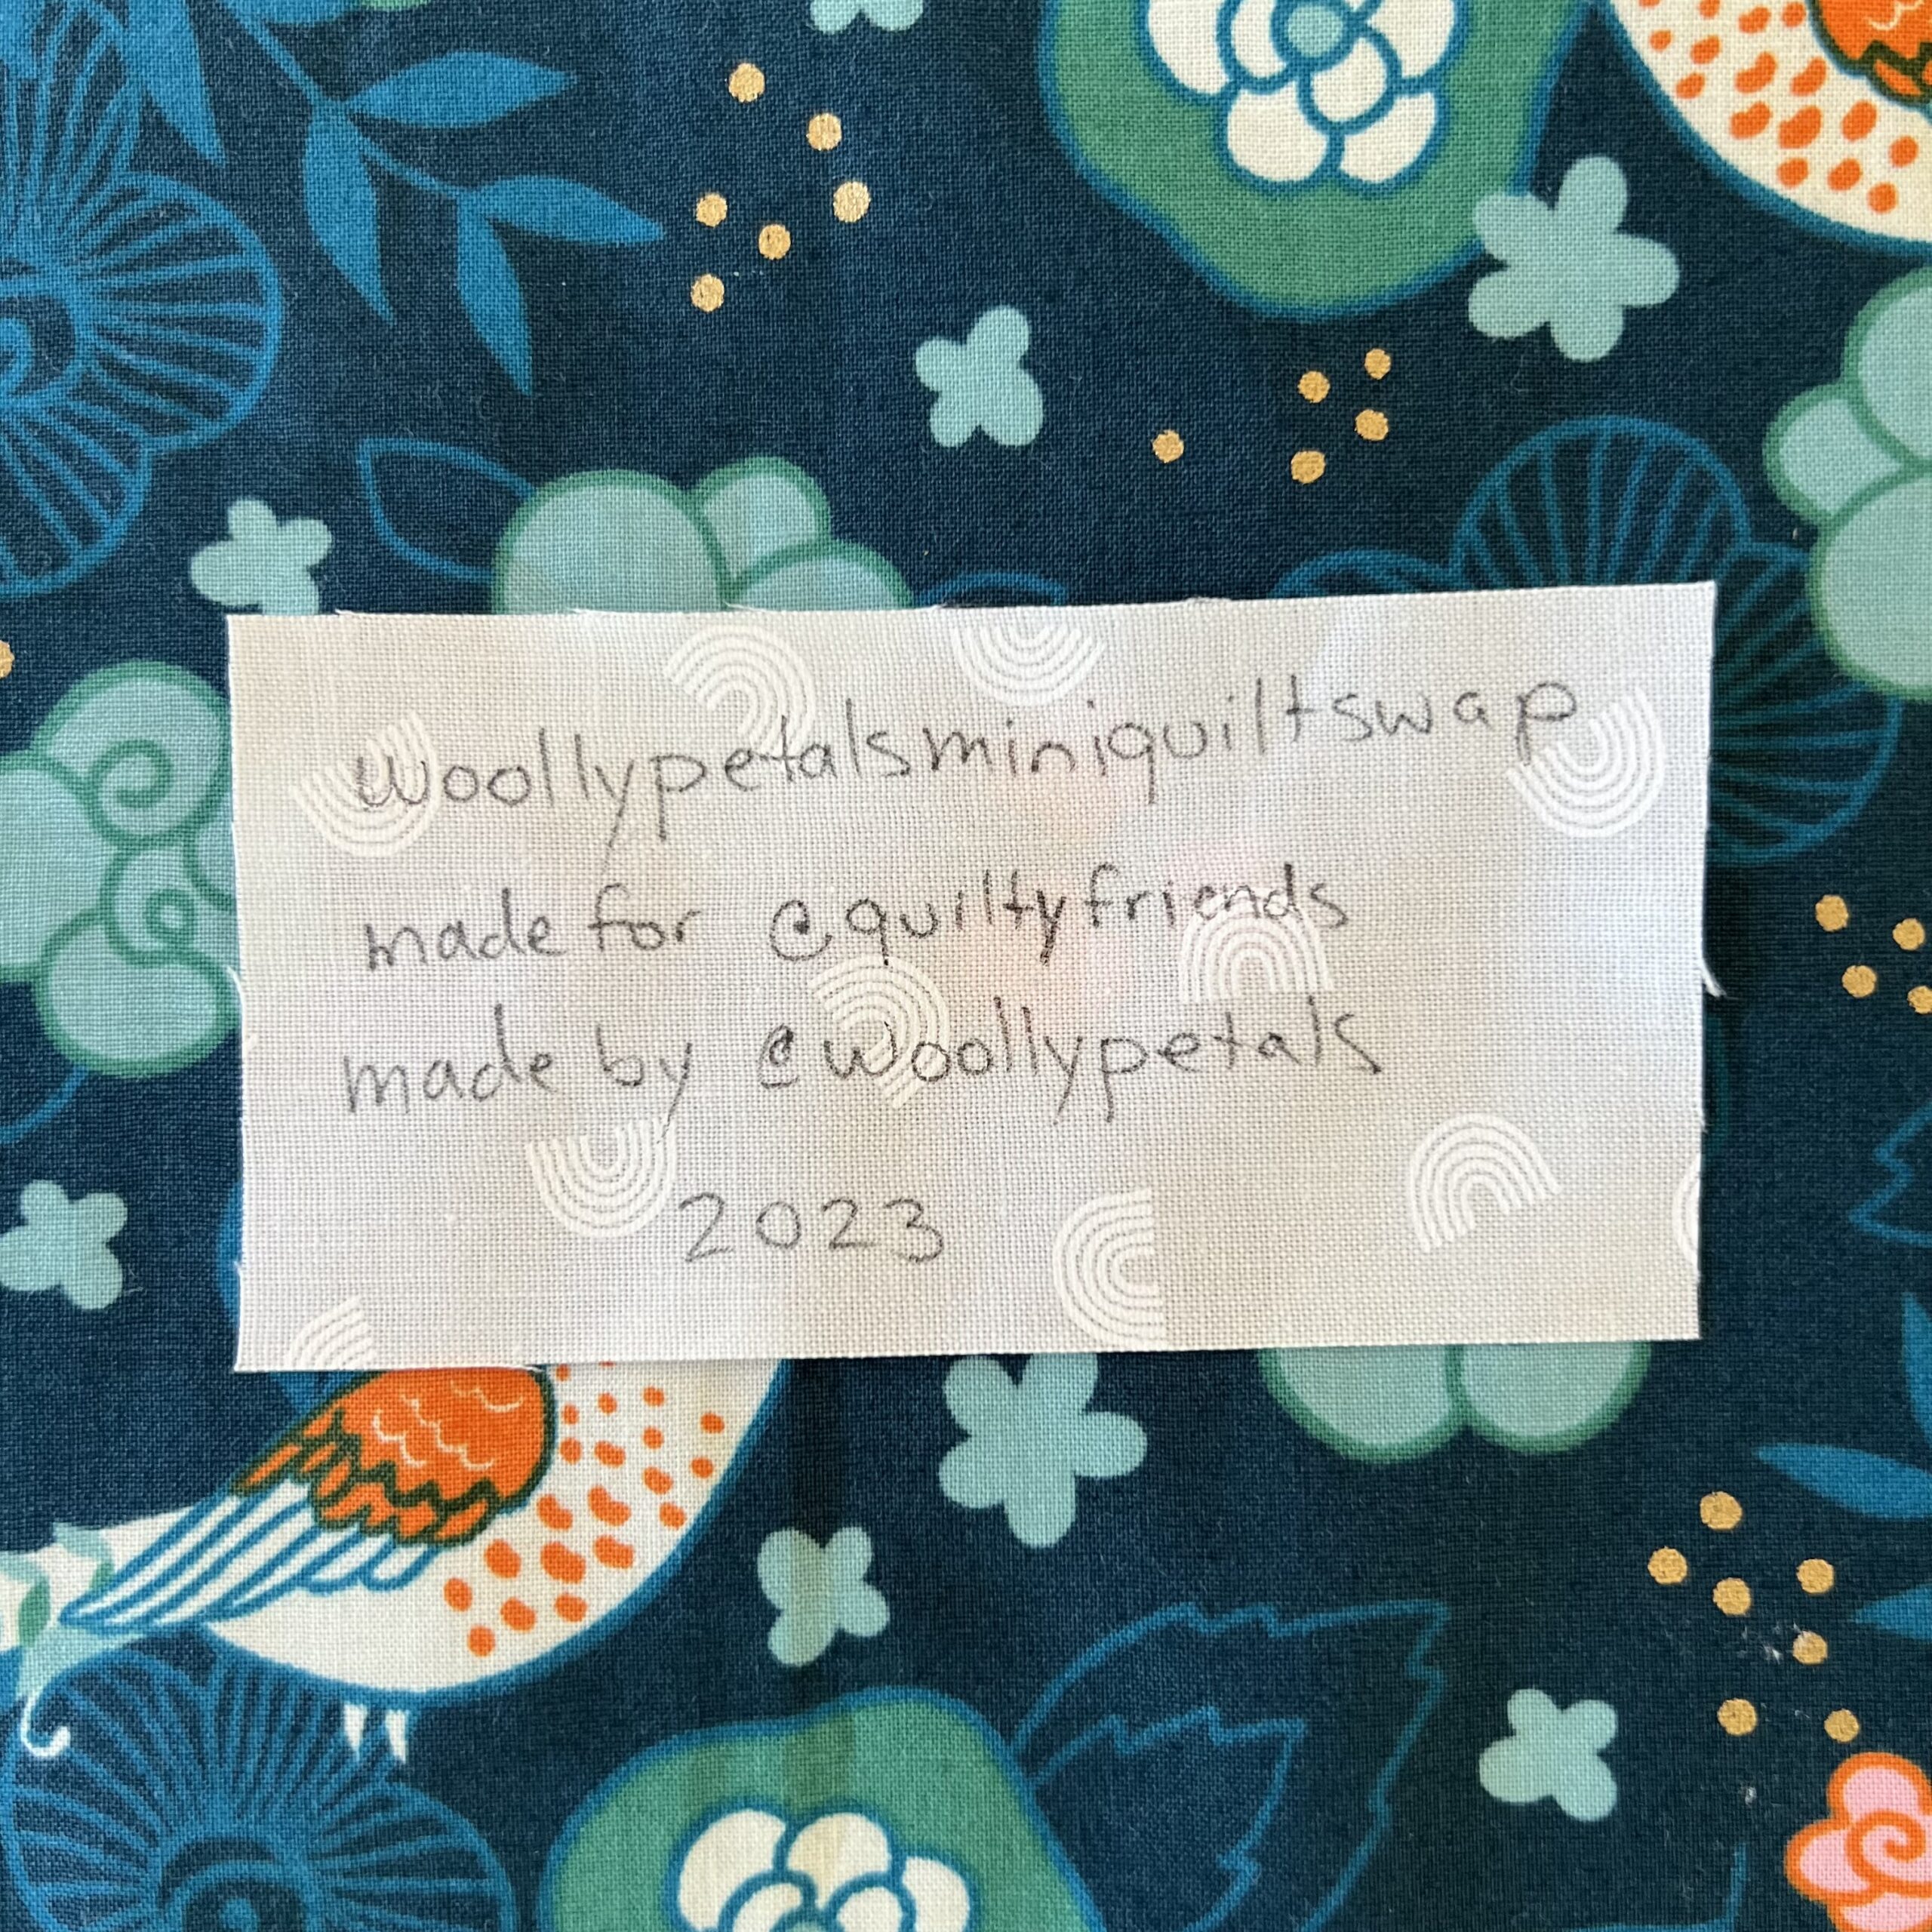
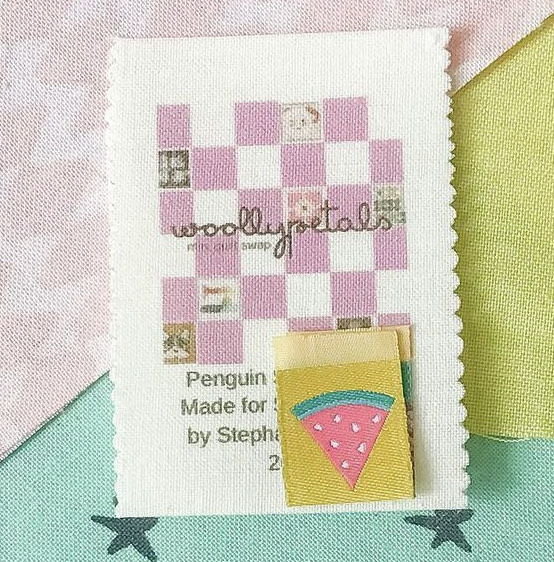
The label shown below was written with a Pigma Micron Fine Point Marker. See below for a link to this marker.
Woollypetals Mini Quilt Swap Logo
I am making some files available for the Woollypetals Mini Quilt Swap Labels. There are several options. So download which file works best for you.
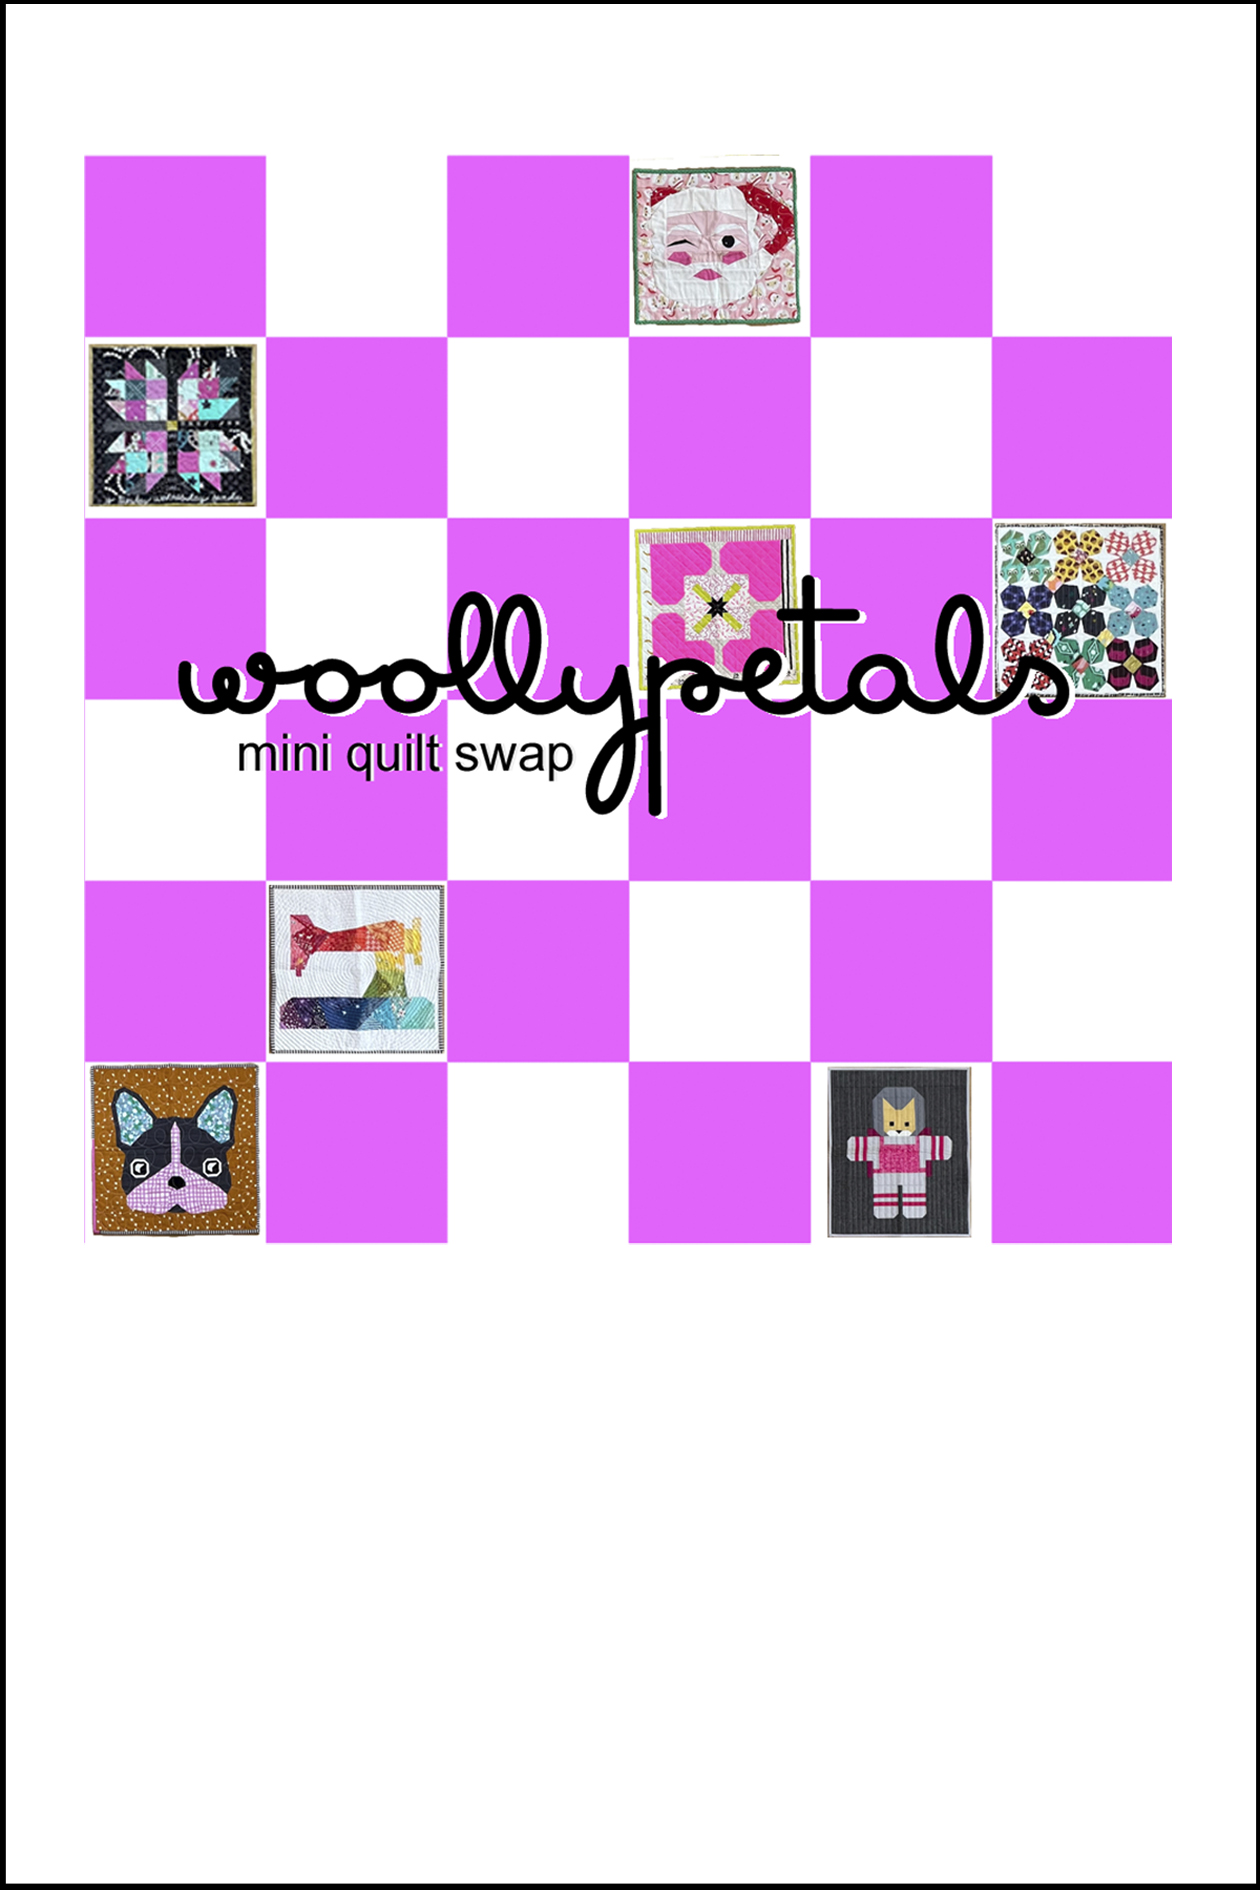
Here’s the First one 8.5″ x 11″, standard paper size, with 4 logos. Two logos big and two logos small. One of each size with a box around it. Also one of each size with no box. Prints without the black border around the outer edge. Download link at bottom of post.

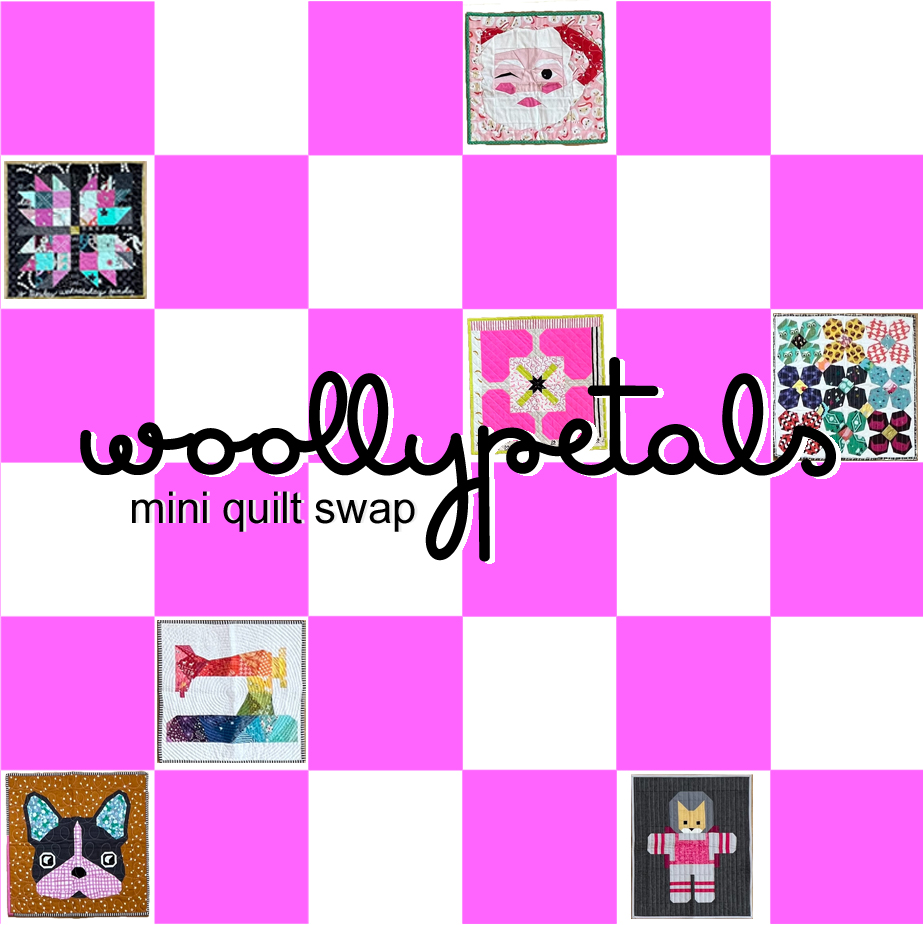
And the other option is a 4″x6″ image with the logo as shown below. Prints without the black border.
The last is just the logo itself to print however you need.
Okay here are links to each image in my Google Drive. Download whichever ones you need to make your own label. I can’t wait to see them!
Check out @stephkthomas on Instagram to see the logo she made using computer printer paper and the woollypetals mini quilt swap logo.
This is the updated version of the printer paper she used. June Tailors Computer Printer Paper. I’m sure you can find it at multiple sources and also use another brand.
Another option for making a Label
Another option for making a label is to use a fabric writing pen or marker and write out your logo on a solid piece of Quilting Cotton. Just write what you would like to say and then heat set your marker with an iron. Since Mini Quilts don’t typically get washed you will have no problems with fade. But I have heard from several people they don’t have problems with this method of washed quilts as well.
Recommended Markers:
Pigma Micron Fine Point Marker
Finishing your Label and Sewing it on your Mini Quilt
There are a couple ways to finish your Label. You can cut the edges with pinking shears or zig zag/serge the edges and top stitch on the back. If I am stitching the label on by machine I like to do this prior to quilting and stitch it only to the backing.
You can hand stitch it on after quilting with a whip stitch or fun embroidery thread and stitches. Just make sure to not go through the front of the mini.
Another option is to add the corners to the back for hanging and write or stitch your label onto that corner piece. See tutorial in the Star Petals Mini Quilt pattern all swappers were gifted or the pattern will be available in my etsy shop as of August 1st, 2023.
An additional way to finish your label is to have finished edges and top stitch or hand stitch it down. You can achieve finished edges by pillowcasing (personal terminology) your label and stitching it on. Pillowcasing is when you sew your label right sides together with another piece of fabric the same size around all edges, leaving an opening for turning. Once you turn your label right sides out, poke out the corners and iron to get a nice crisp square/rectangle. You can close up the turning hole when you stitch the label down. This way gives you finished sides but also is thicker with two pieces of fabric.
To achieve the finished edge without pillowcasing you can do that by turning under the edges 1/4″ with an iron and stitching it down.
I hope this as given you a some ideas and advice on how to make a label for your mini quilt or any quilt/project. You can of course use your own labels if you have some printed as well.
Thanks so much for stopping by!