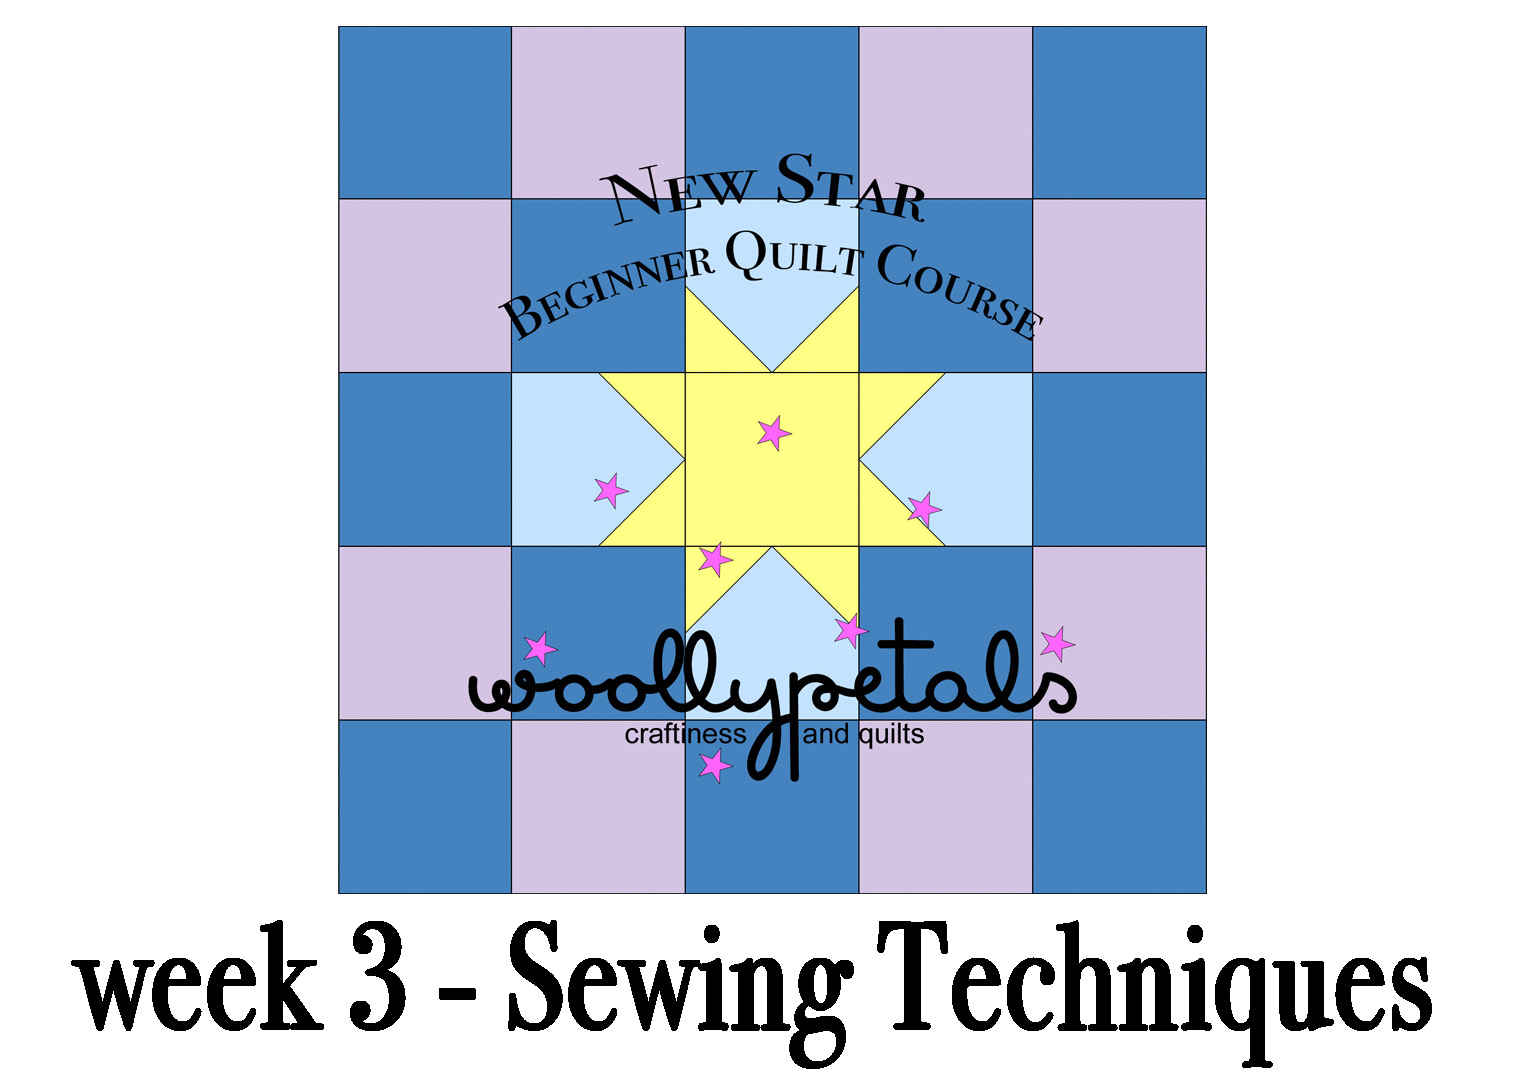
It’s Week 3 – HST and Stitch’N’Flip sewing techniques for the NSBQC I am going to share more in depth the sewing techniques for the the New Star Quilt Pattern.
The first method in the New Star Quilt Pattern is the Stitch’N’Flip Method to make the points of the stars. And the other method in the New Star Pattern is making two HST at one time for the border. Other than those two methods you are going to do all straight sewing.
Stitch’N’Flip Method
In the New Star Quilt Pattern the Stitch’n’Flip method is what is used to meet the star points. This method is used a lot in quilting. It is a great technique to learn at the beginning of your quilting journey.
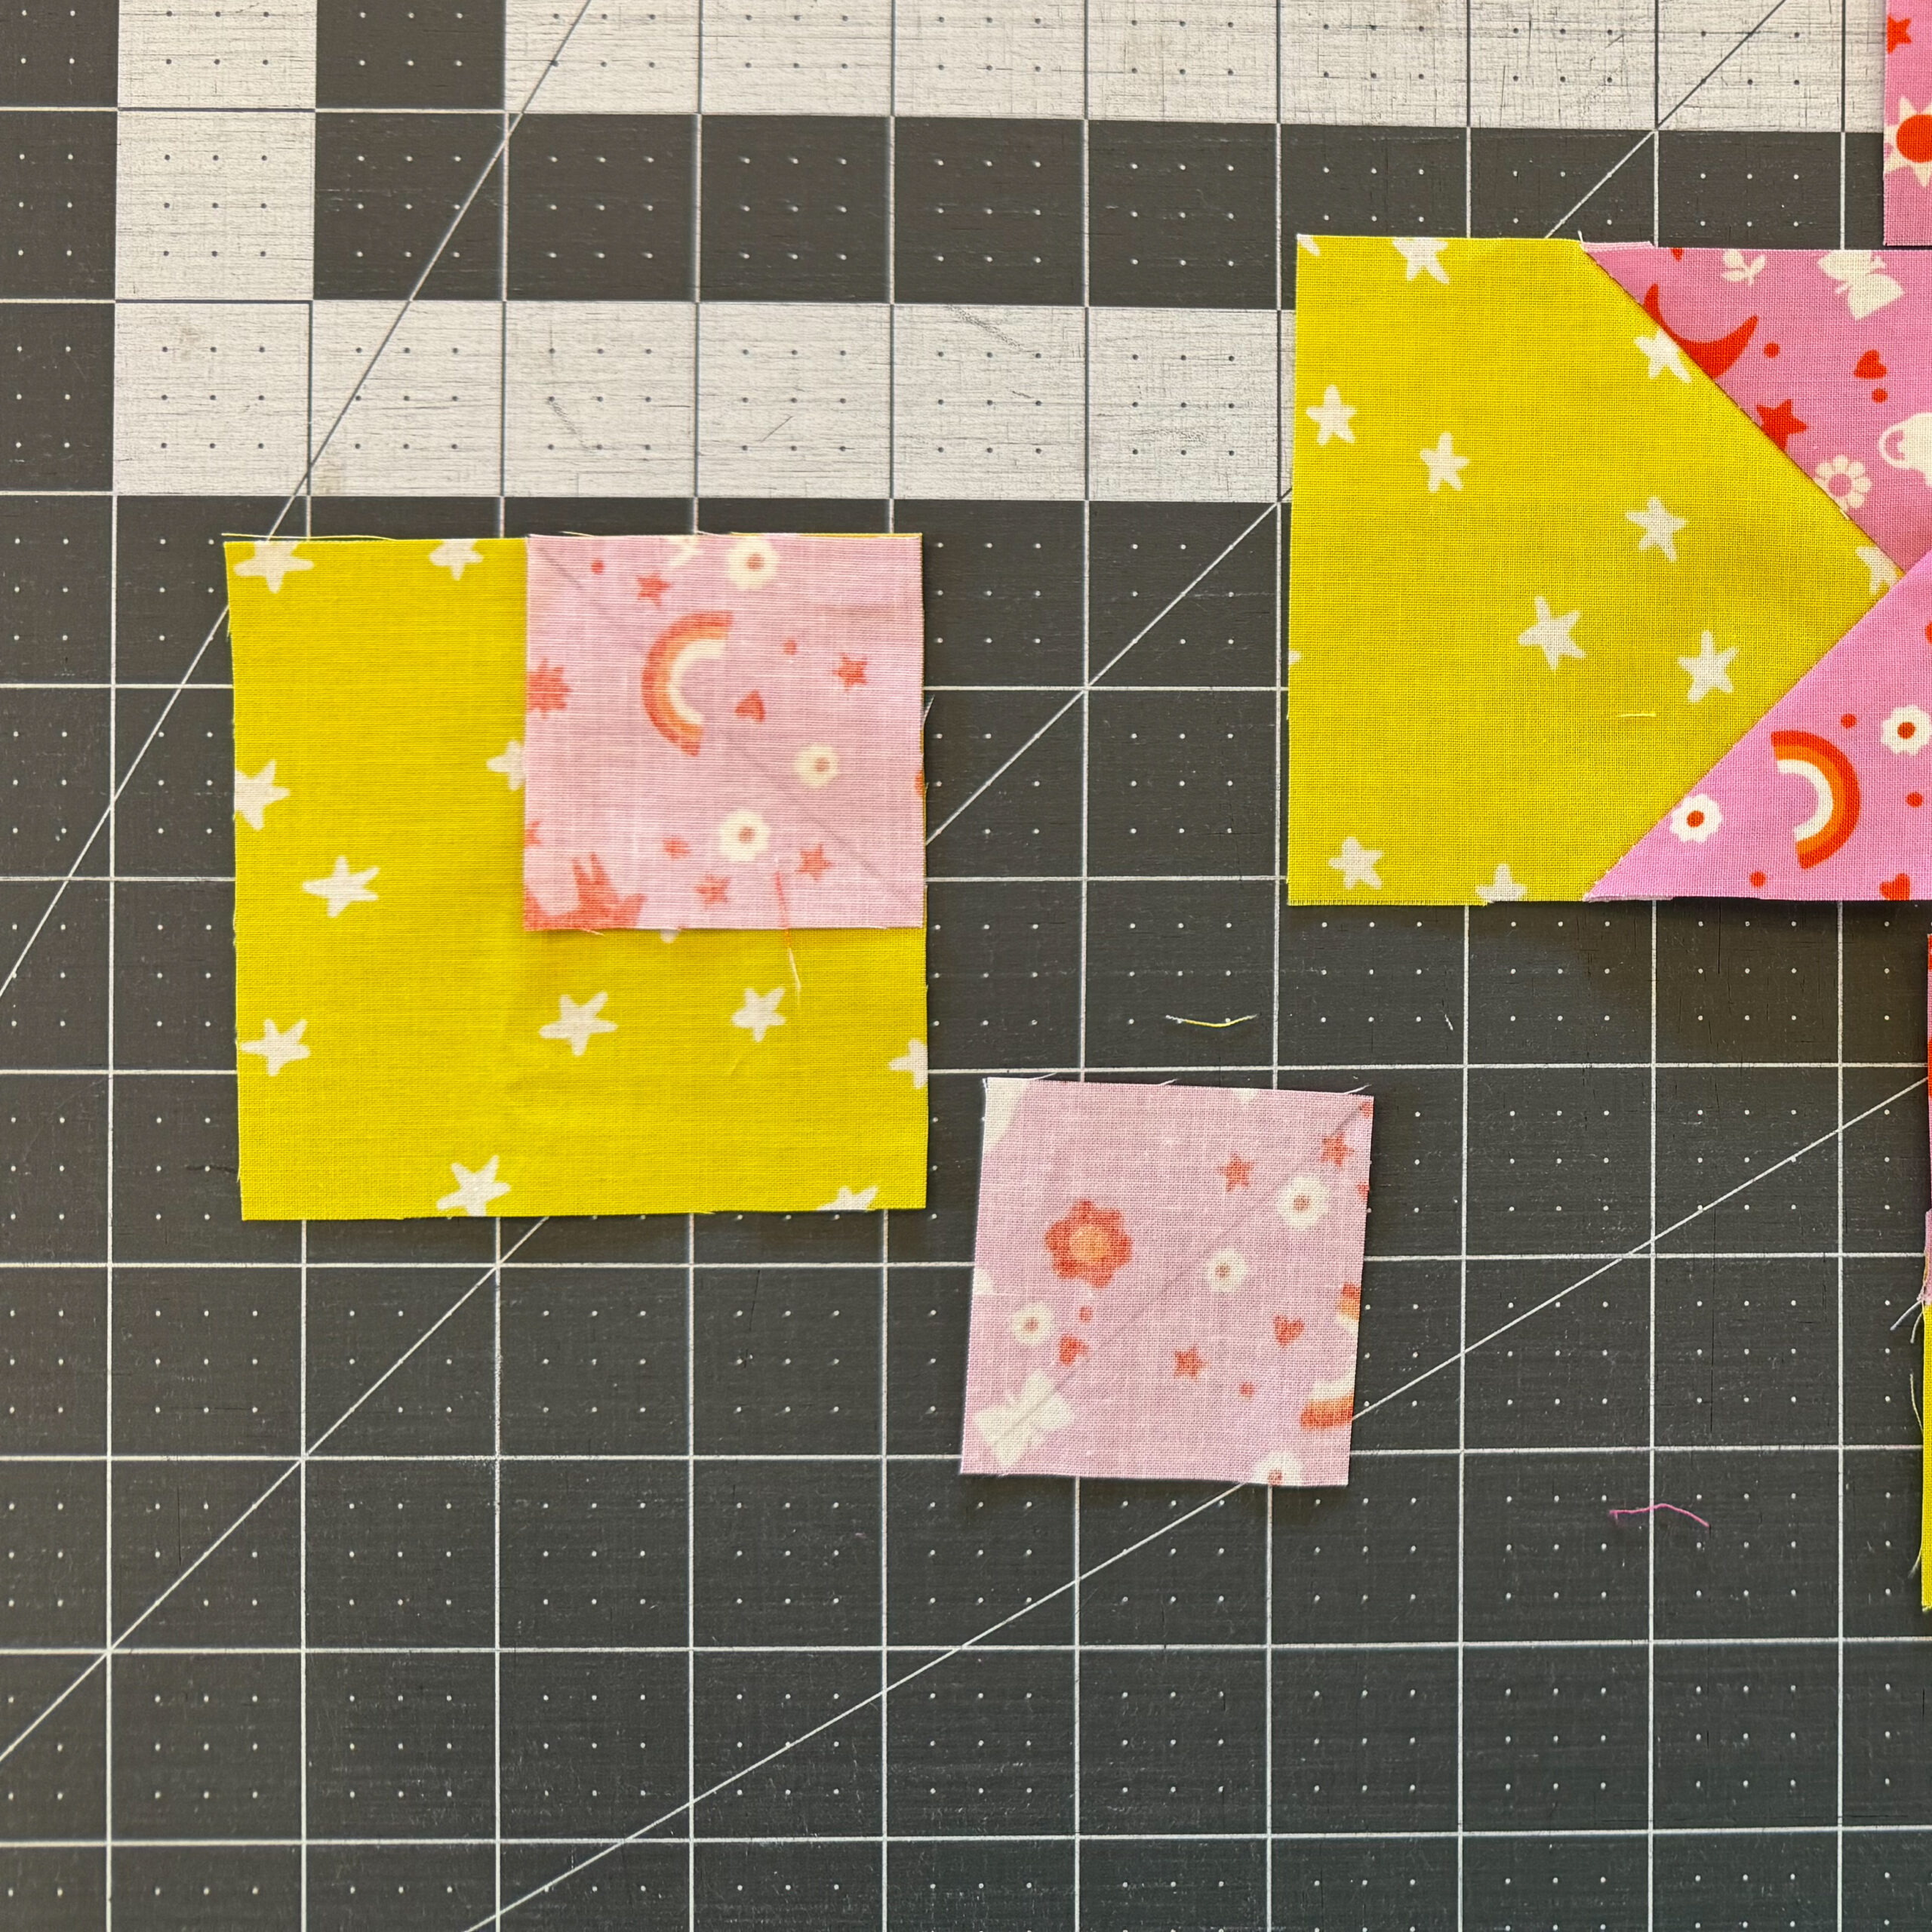
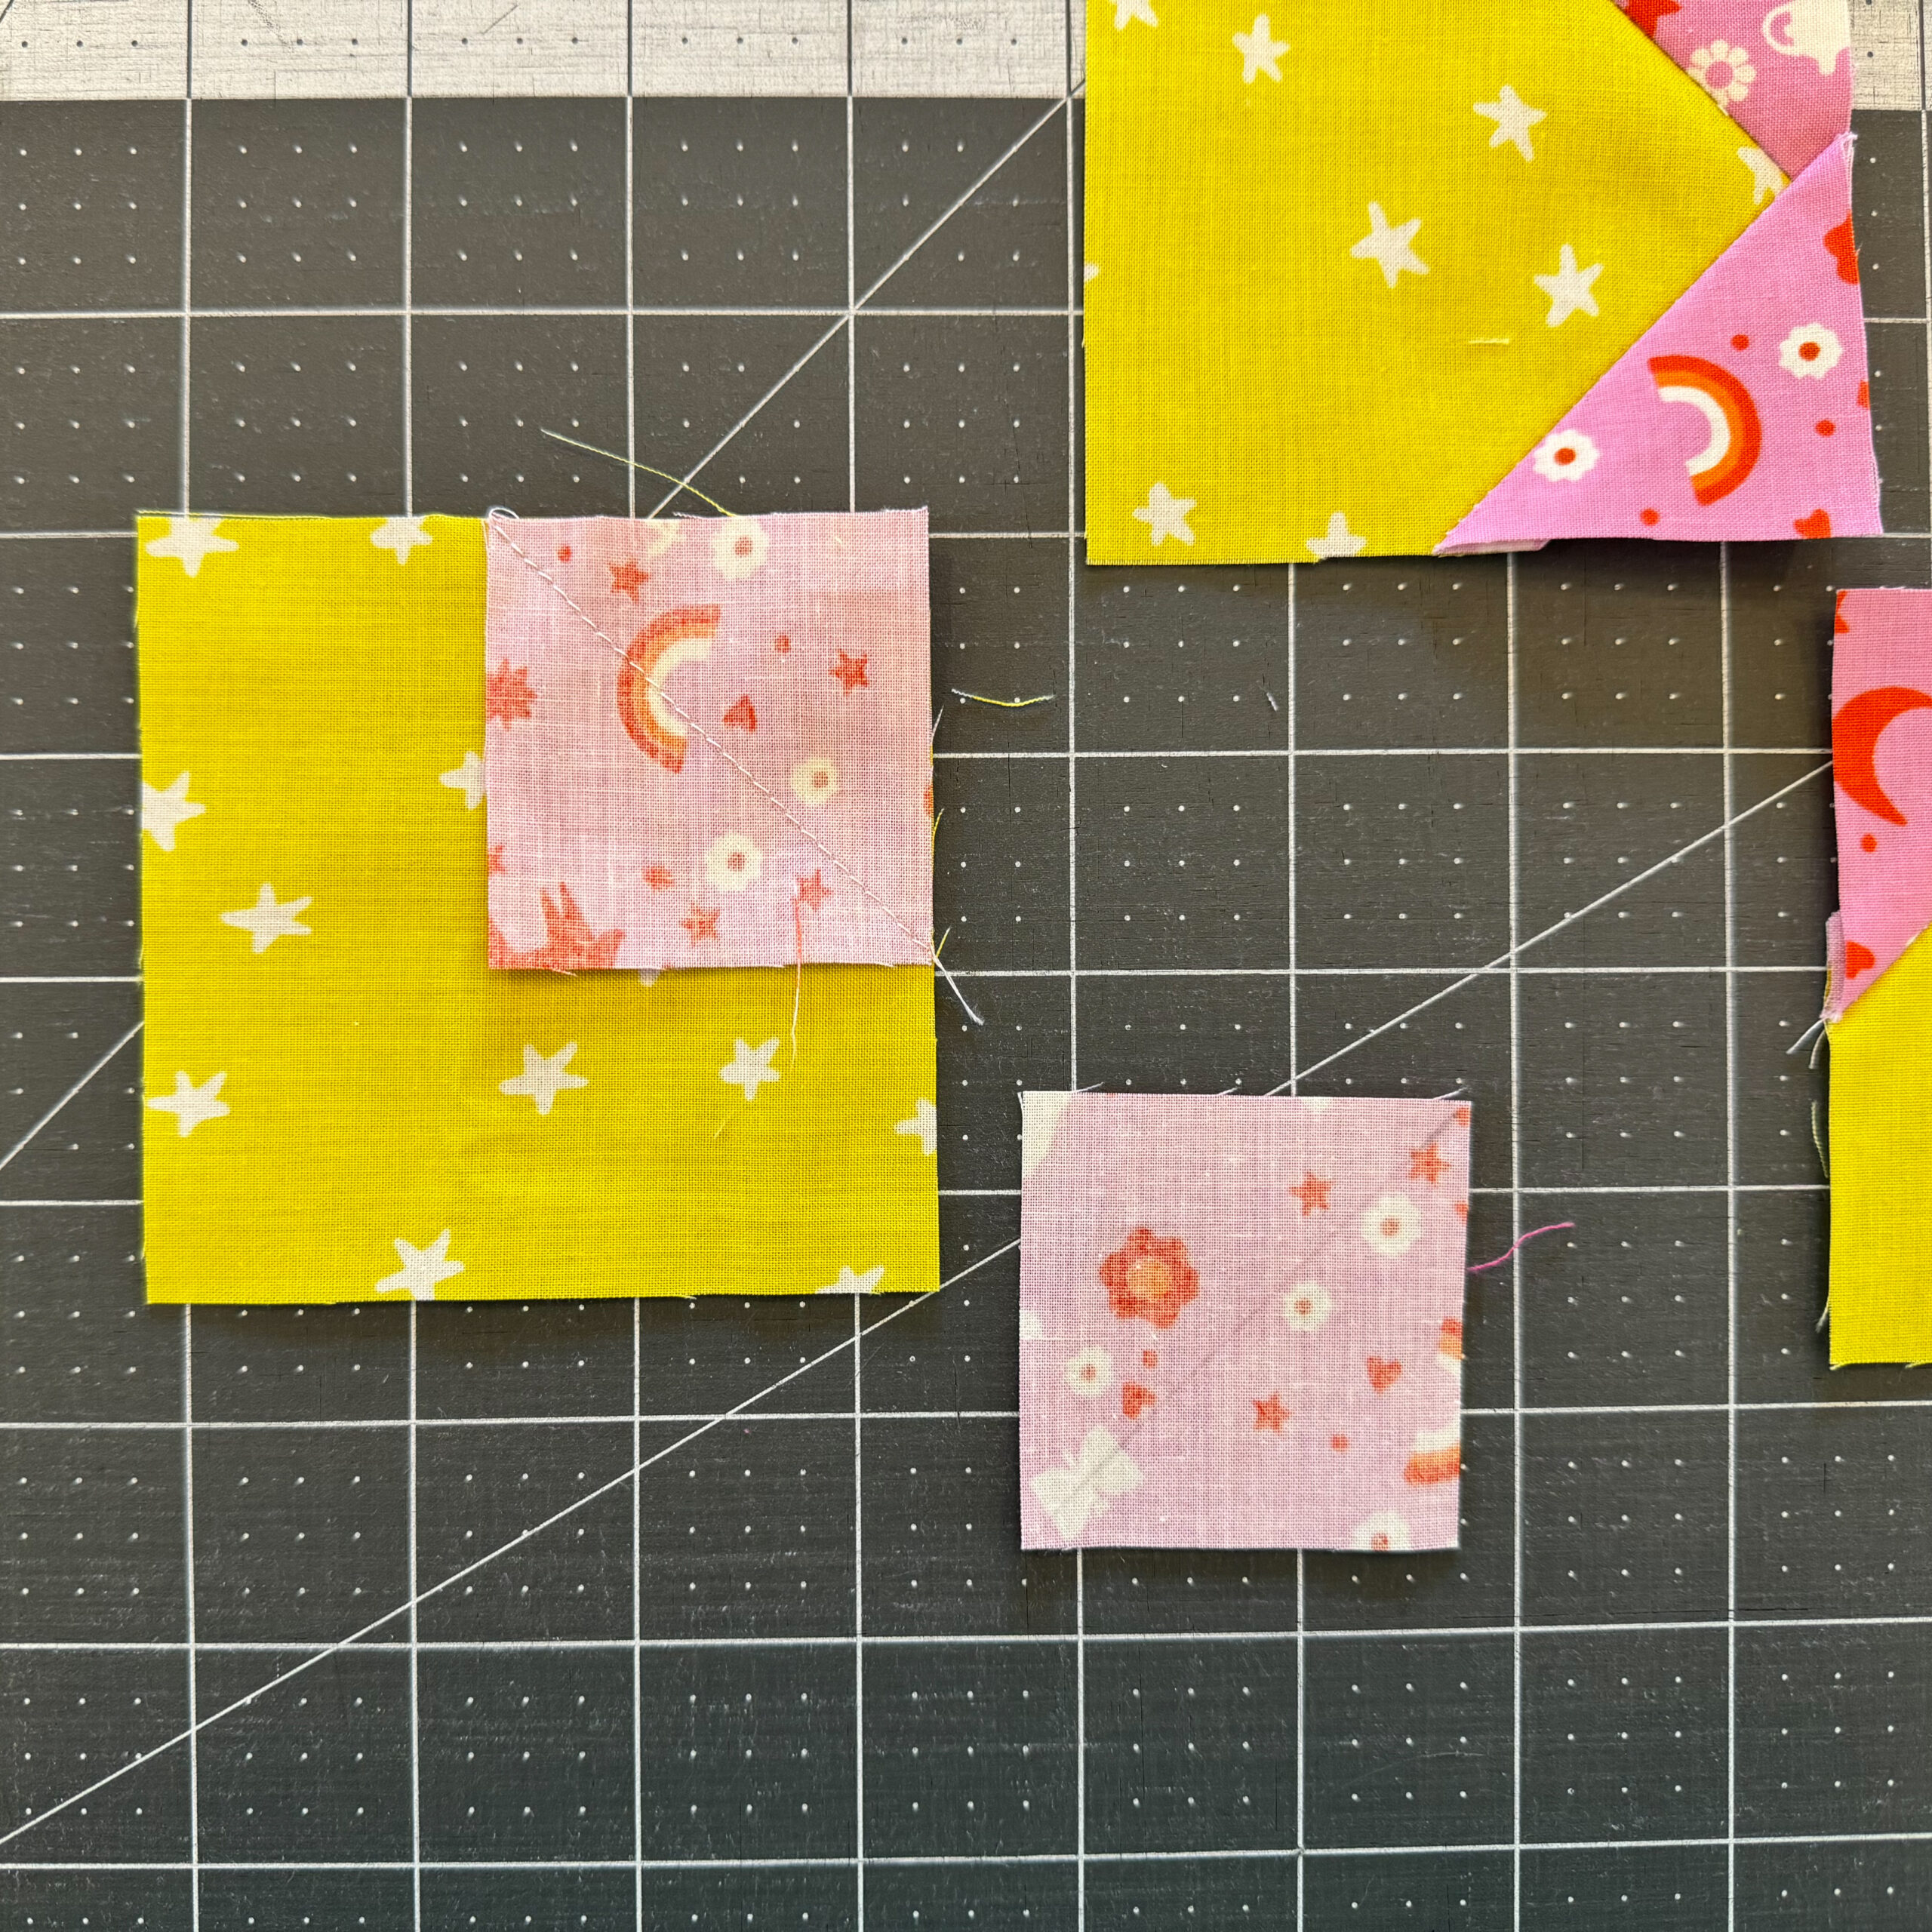
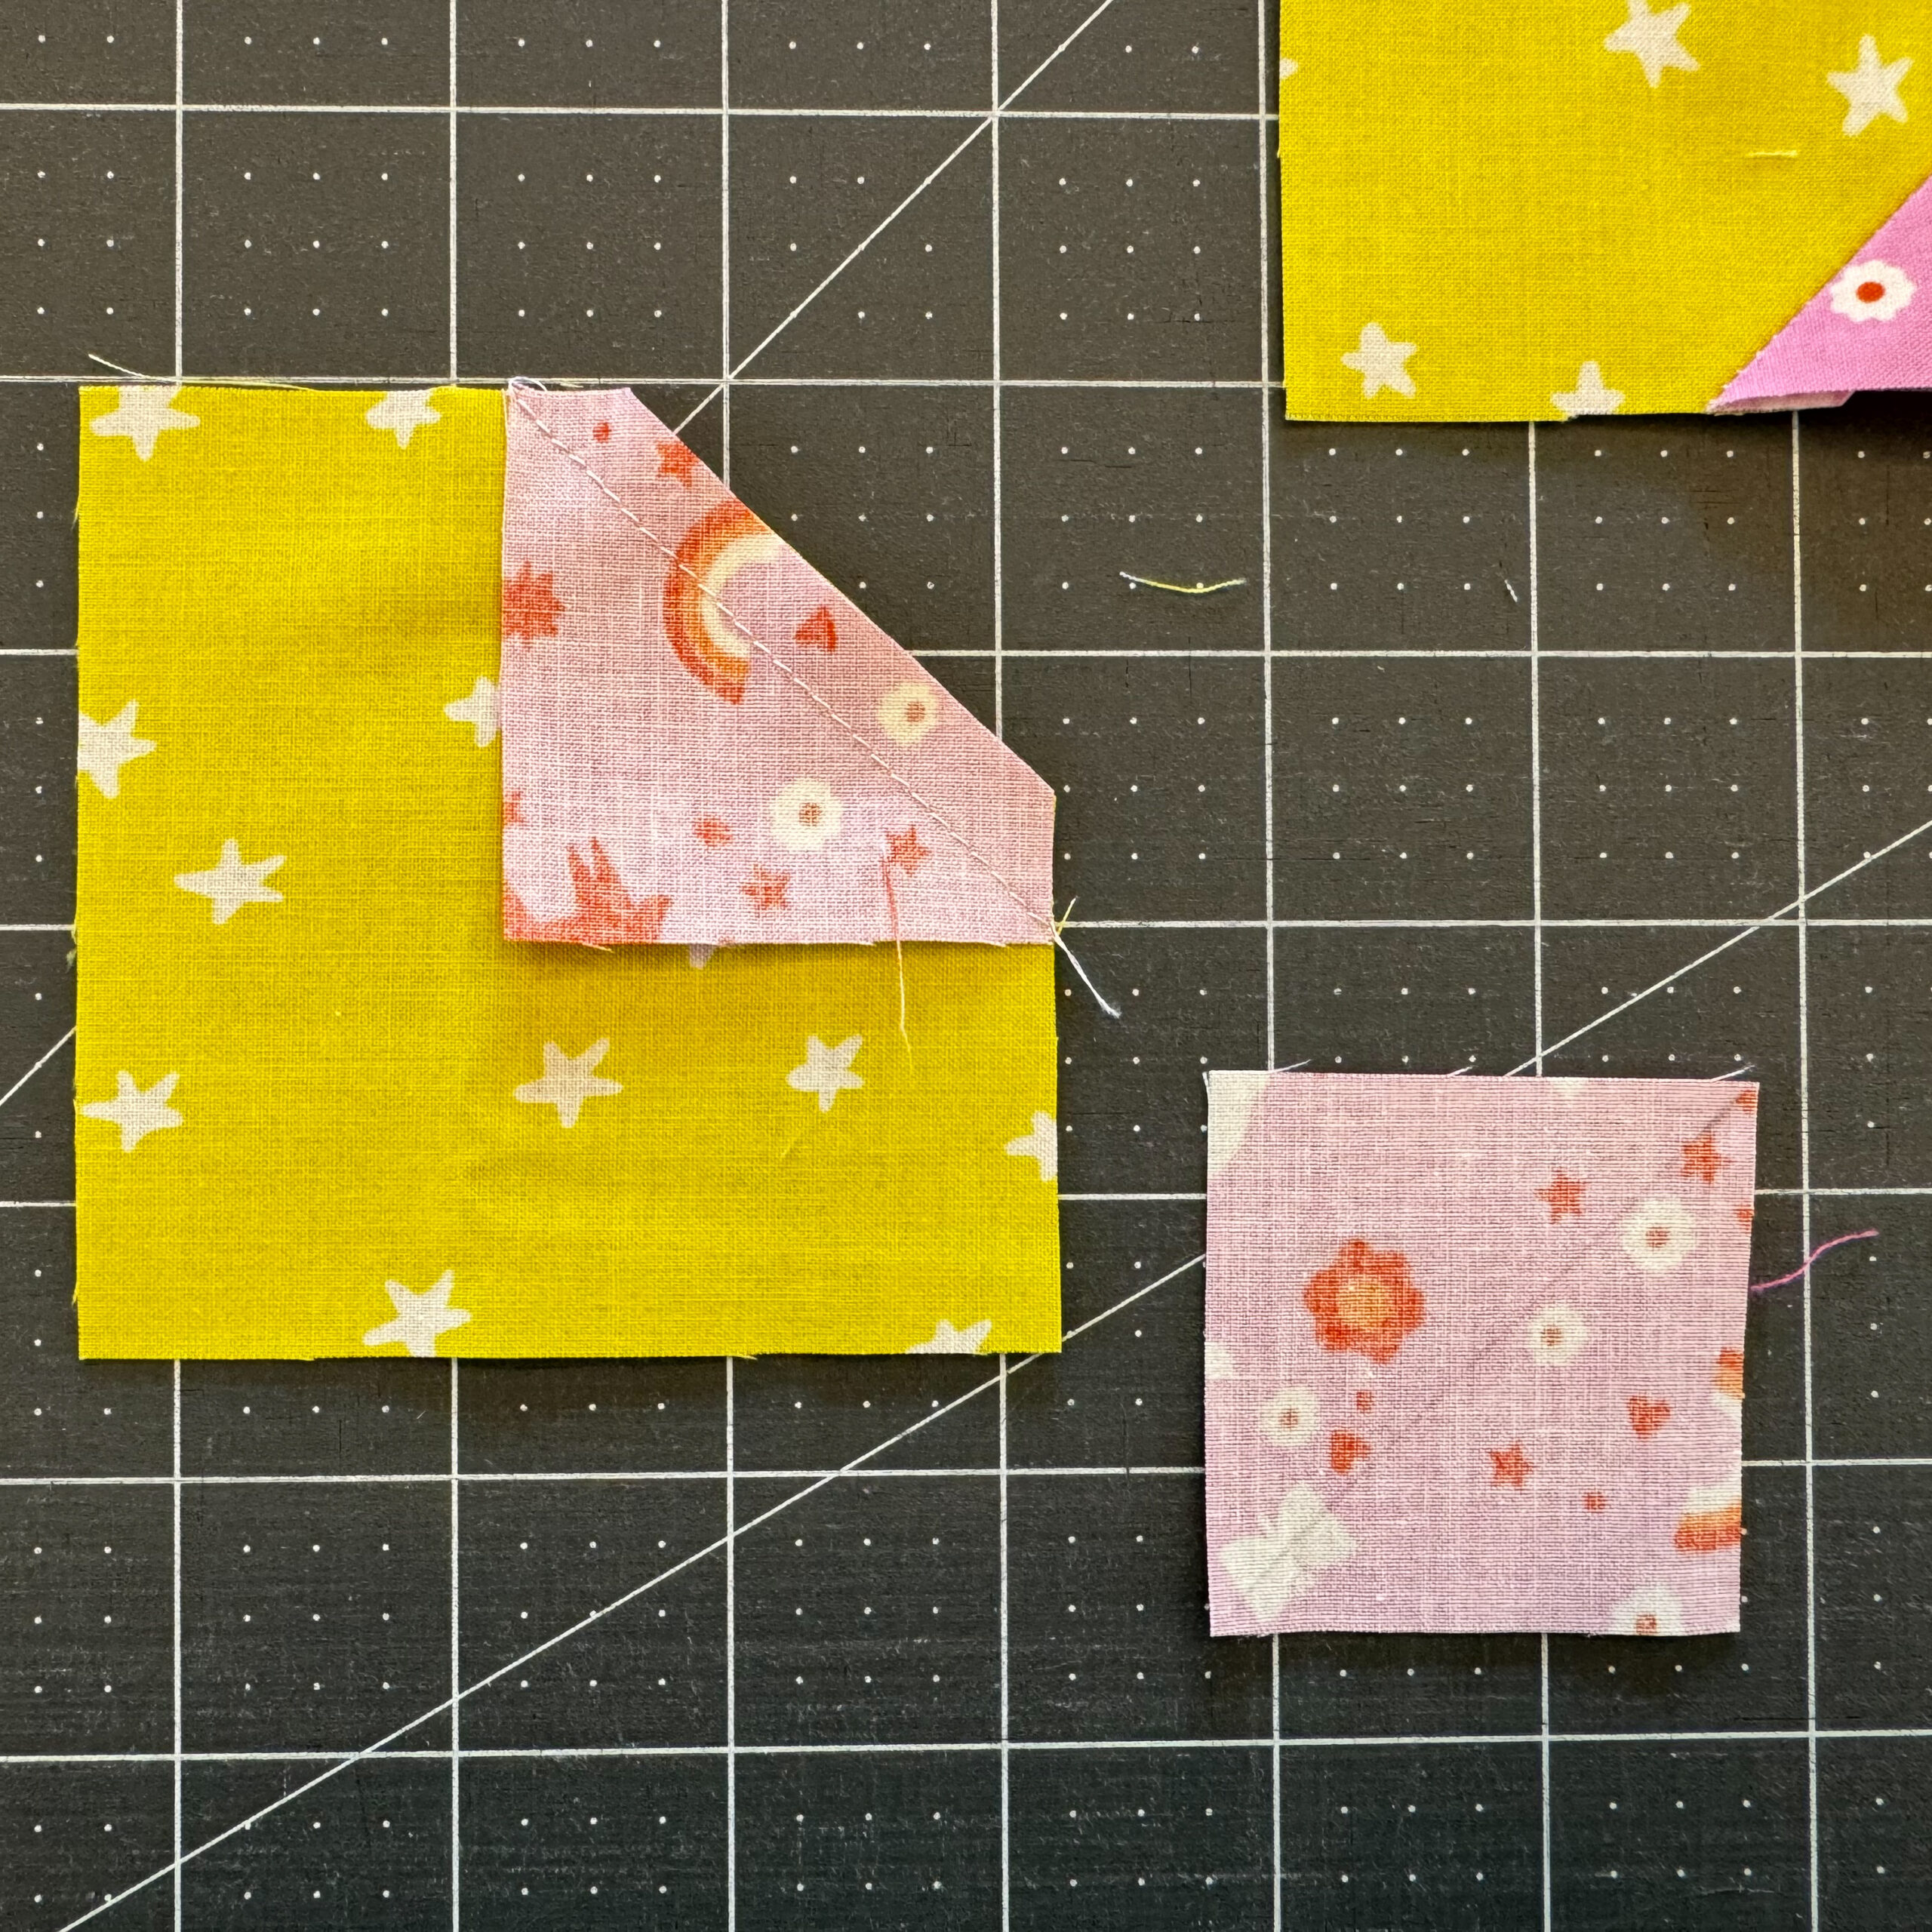
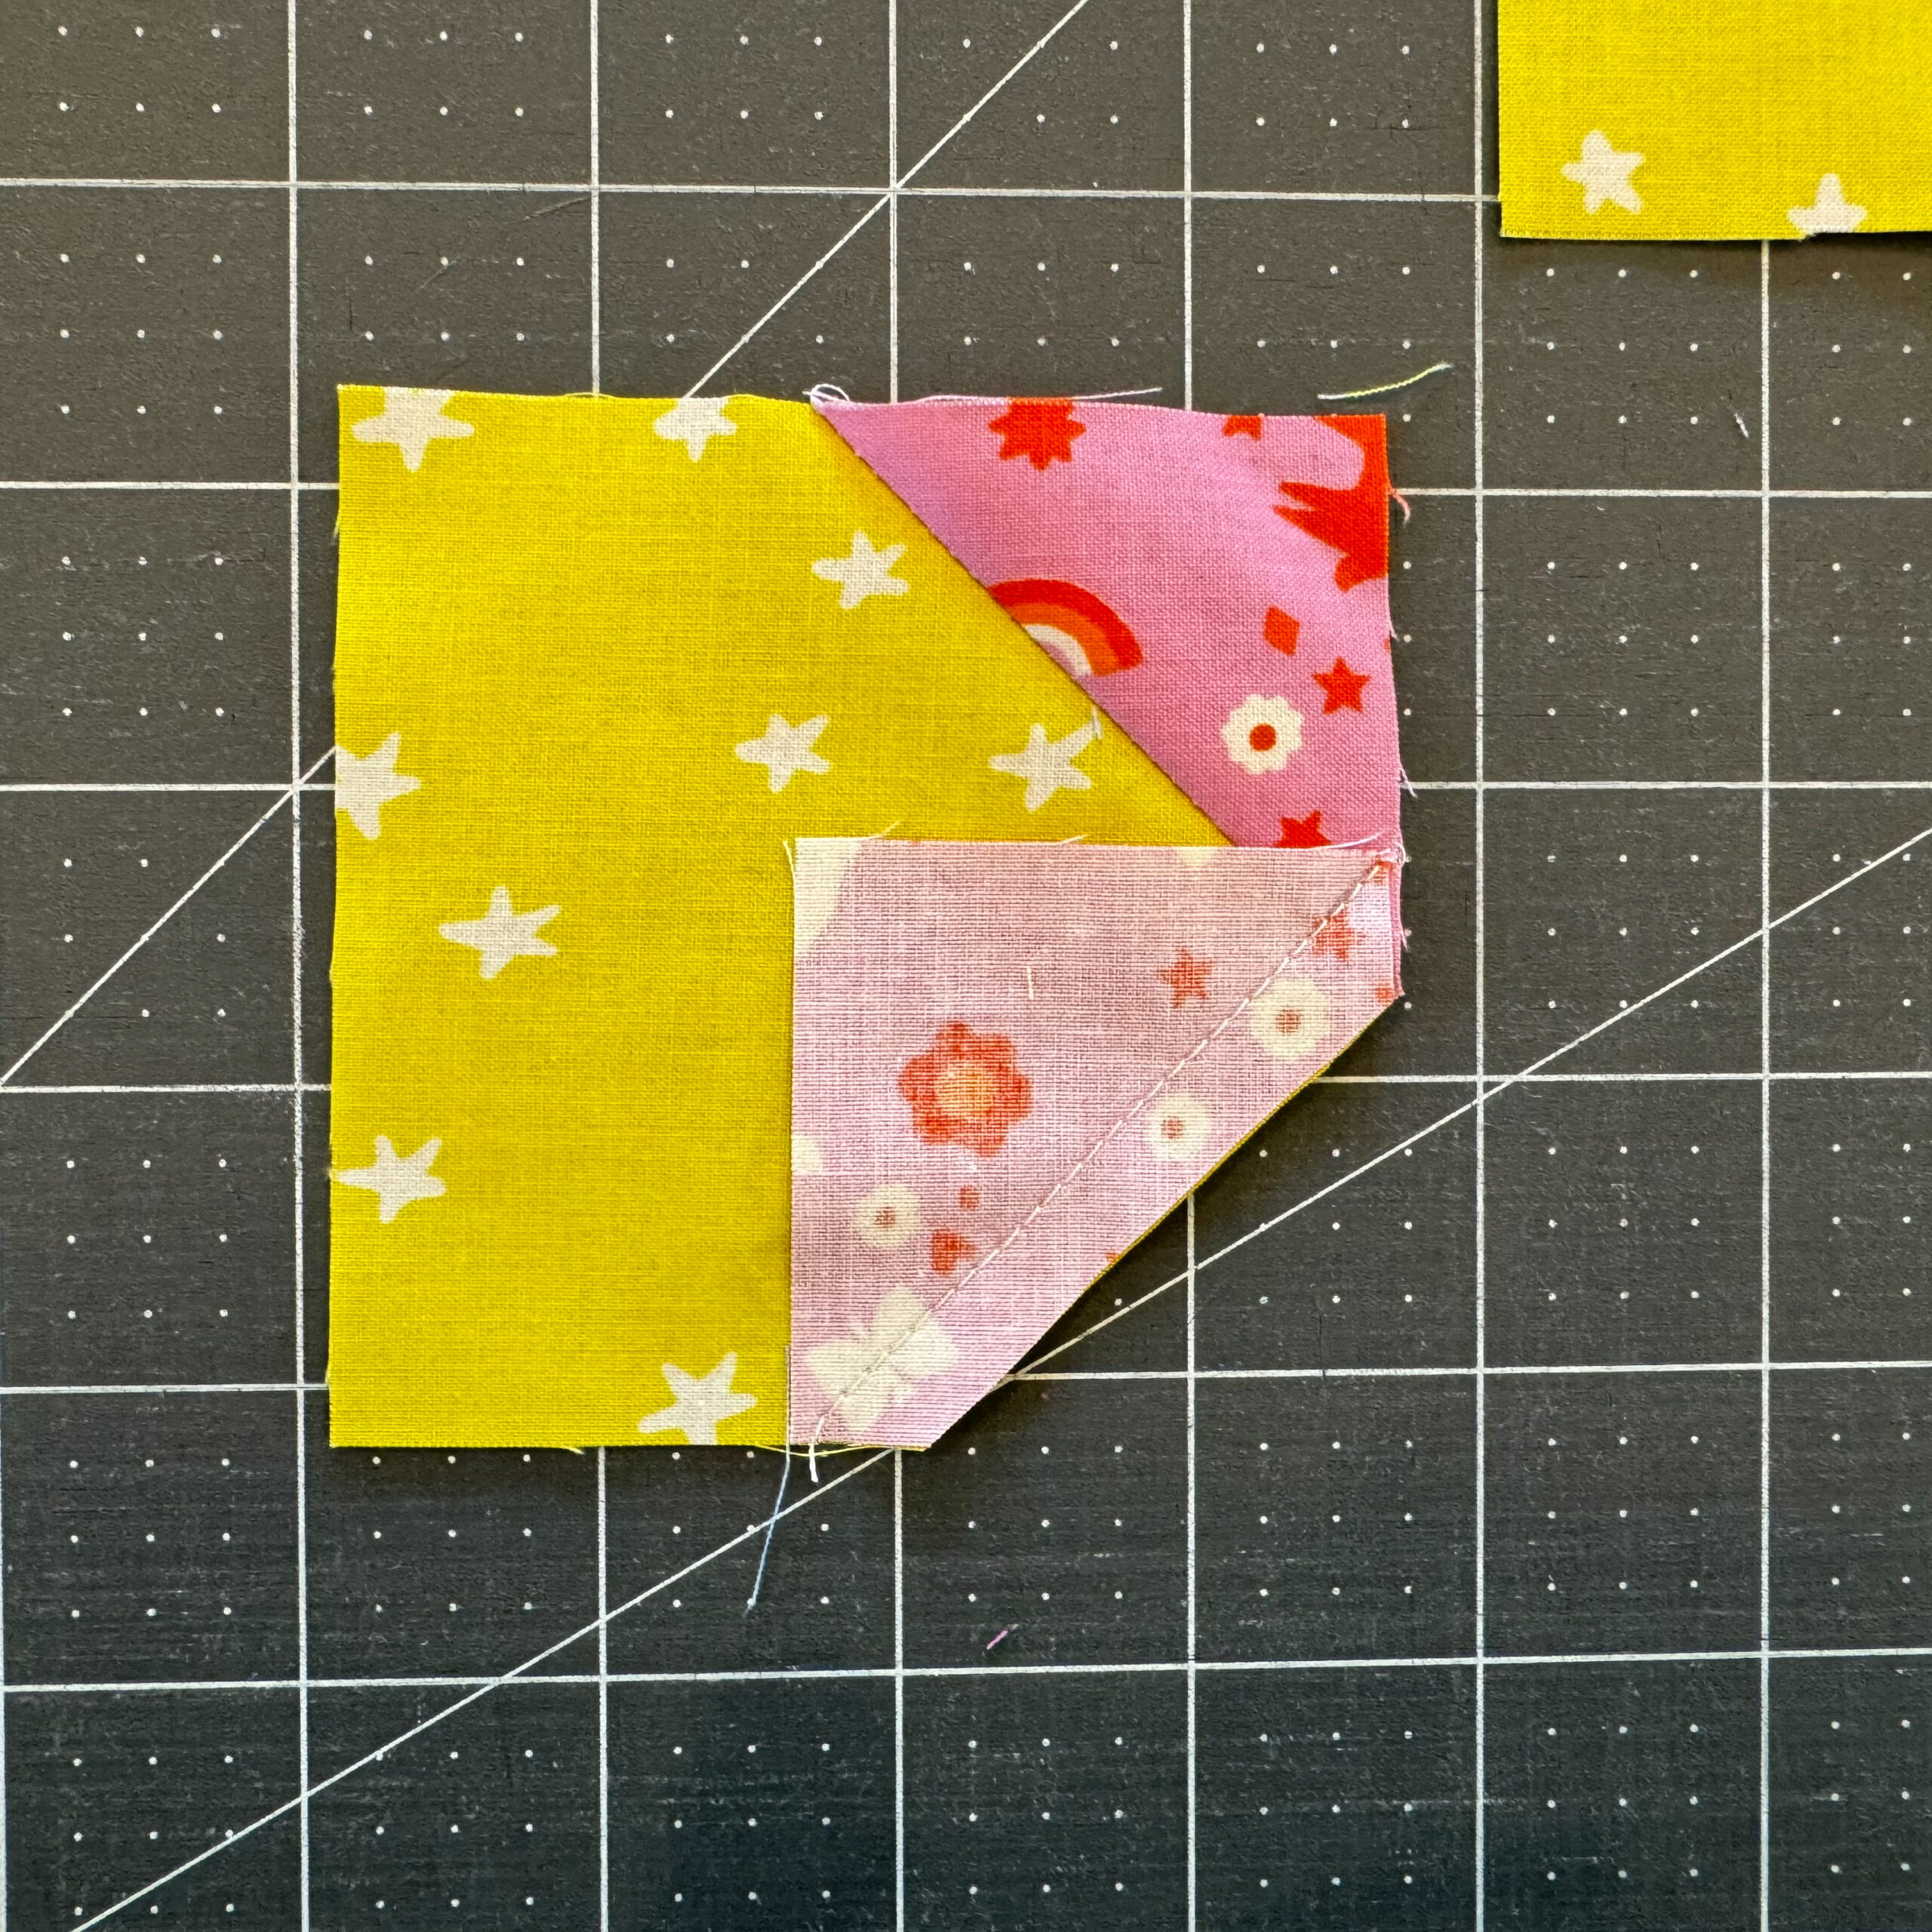
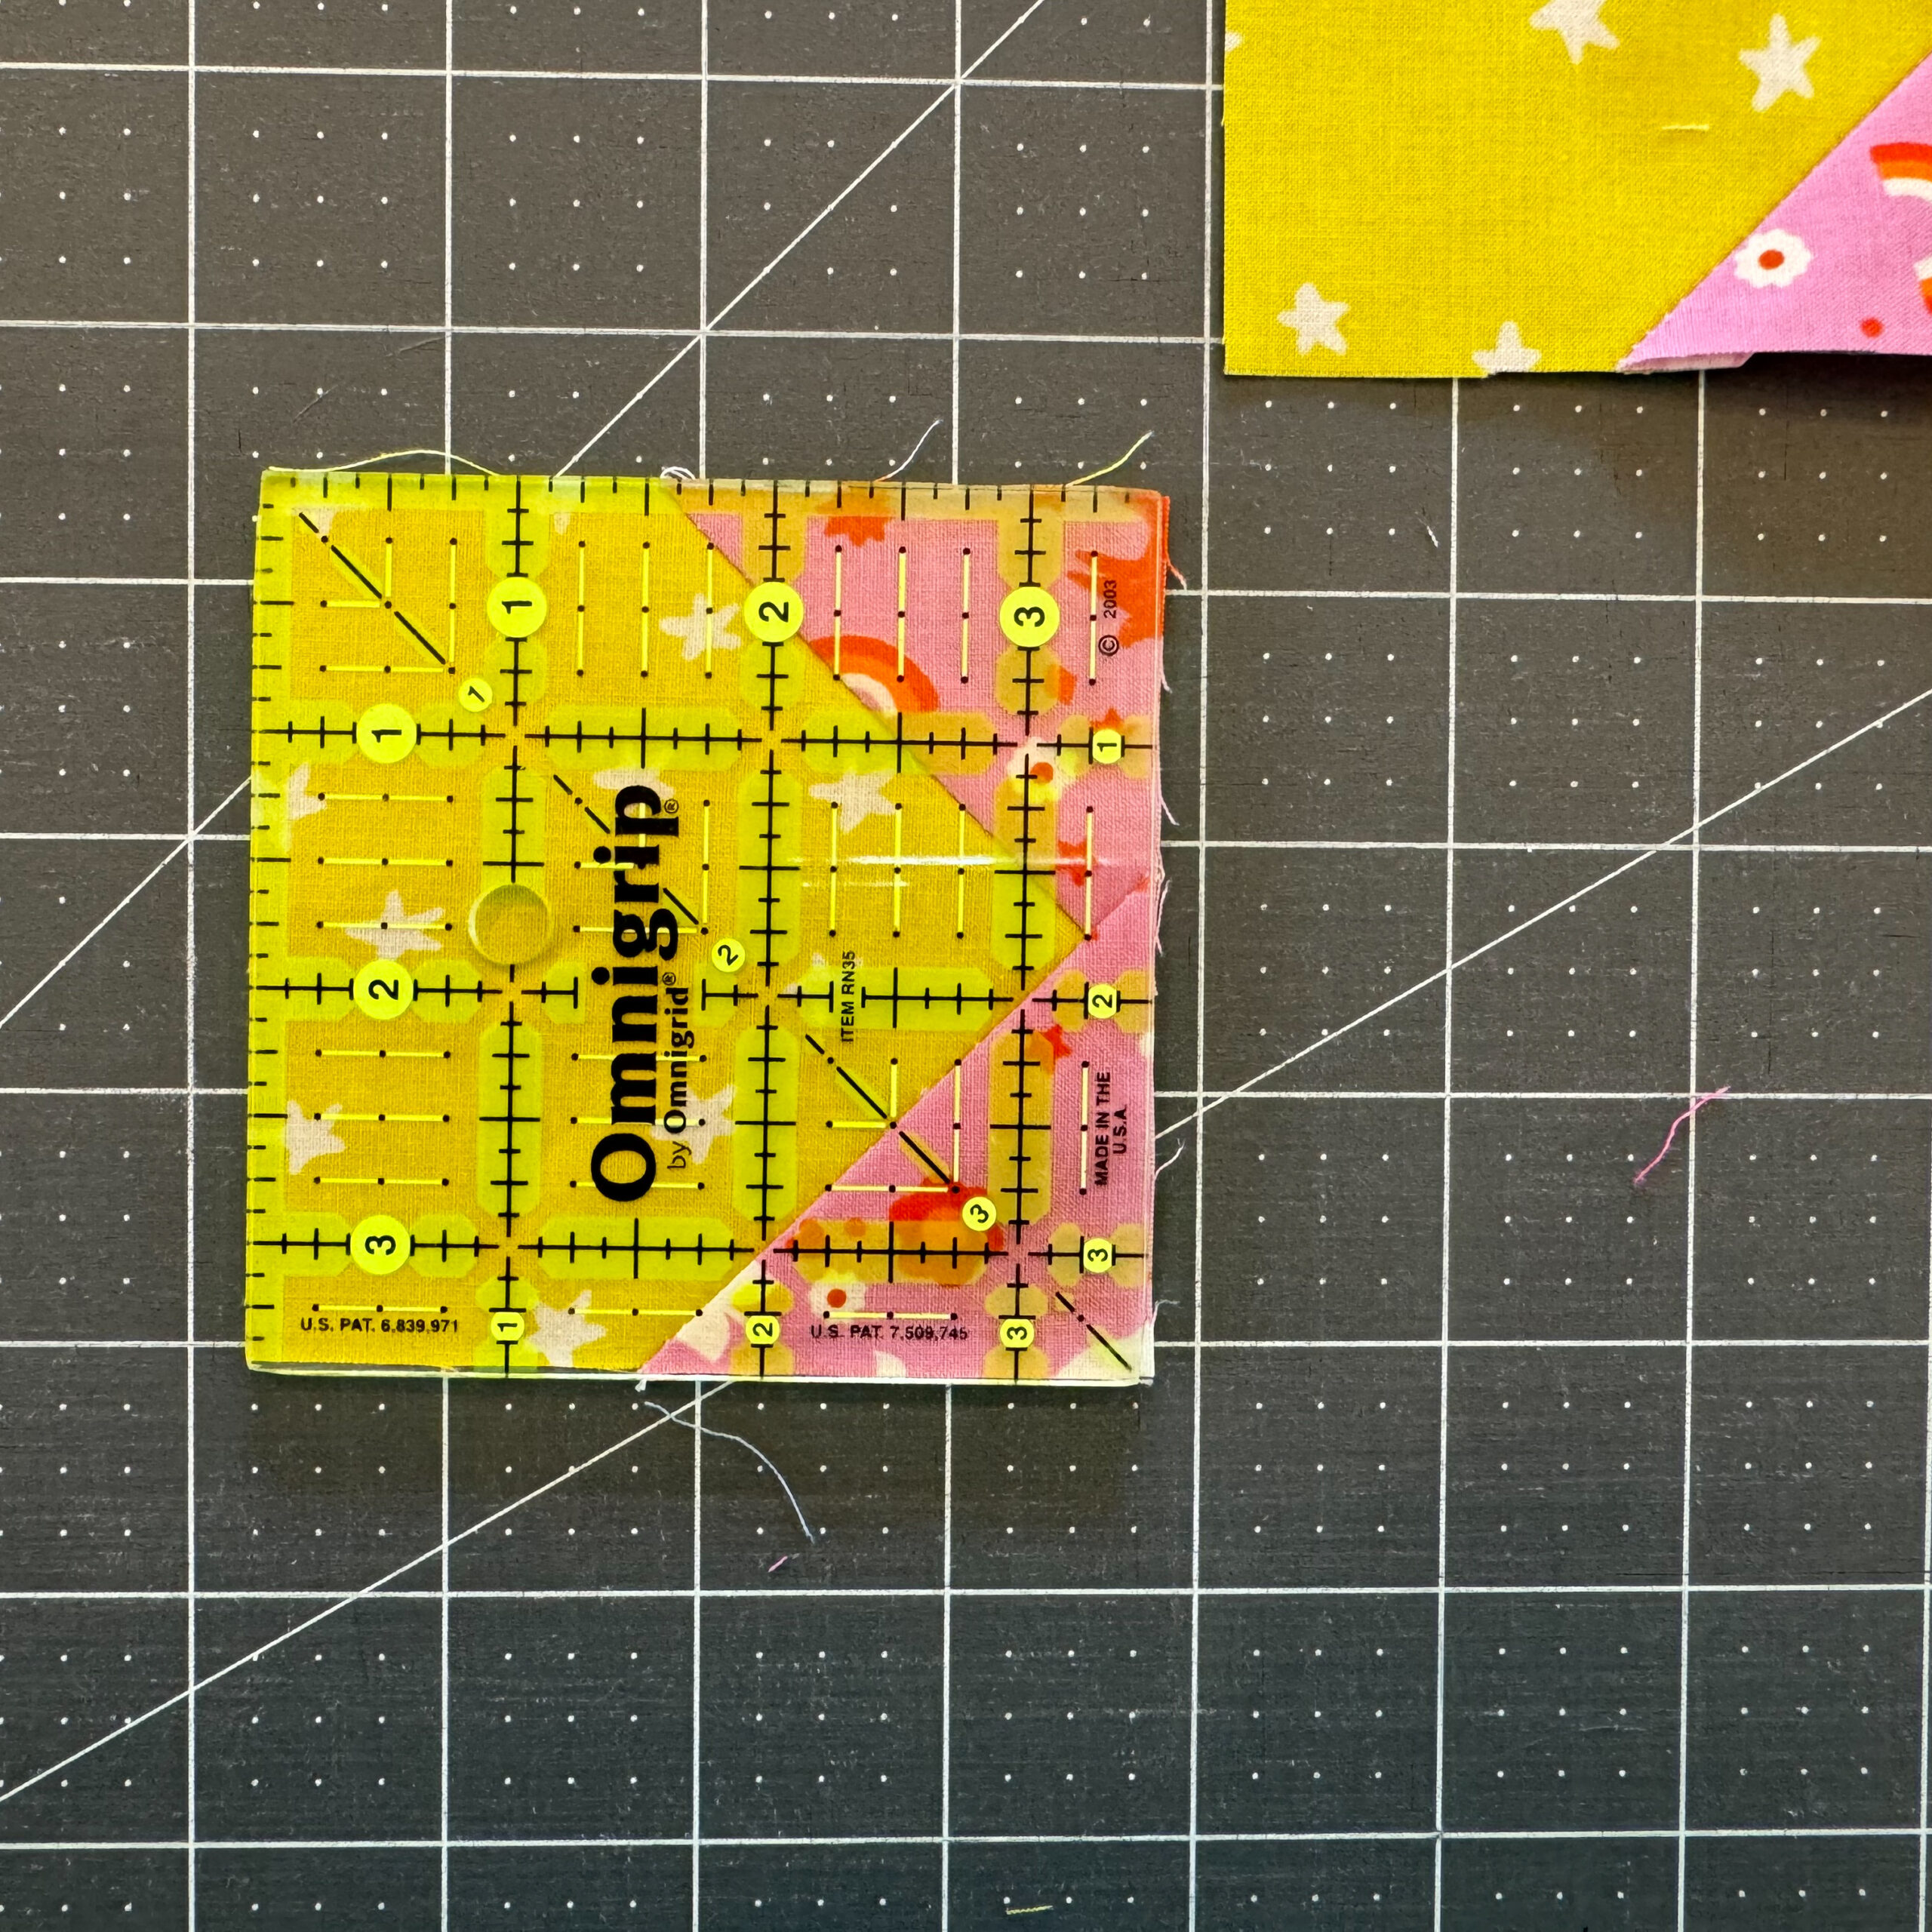
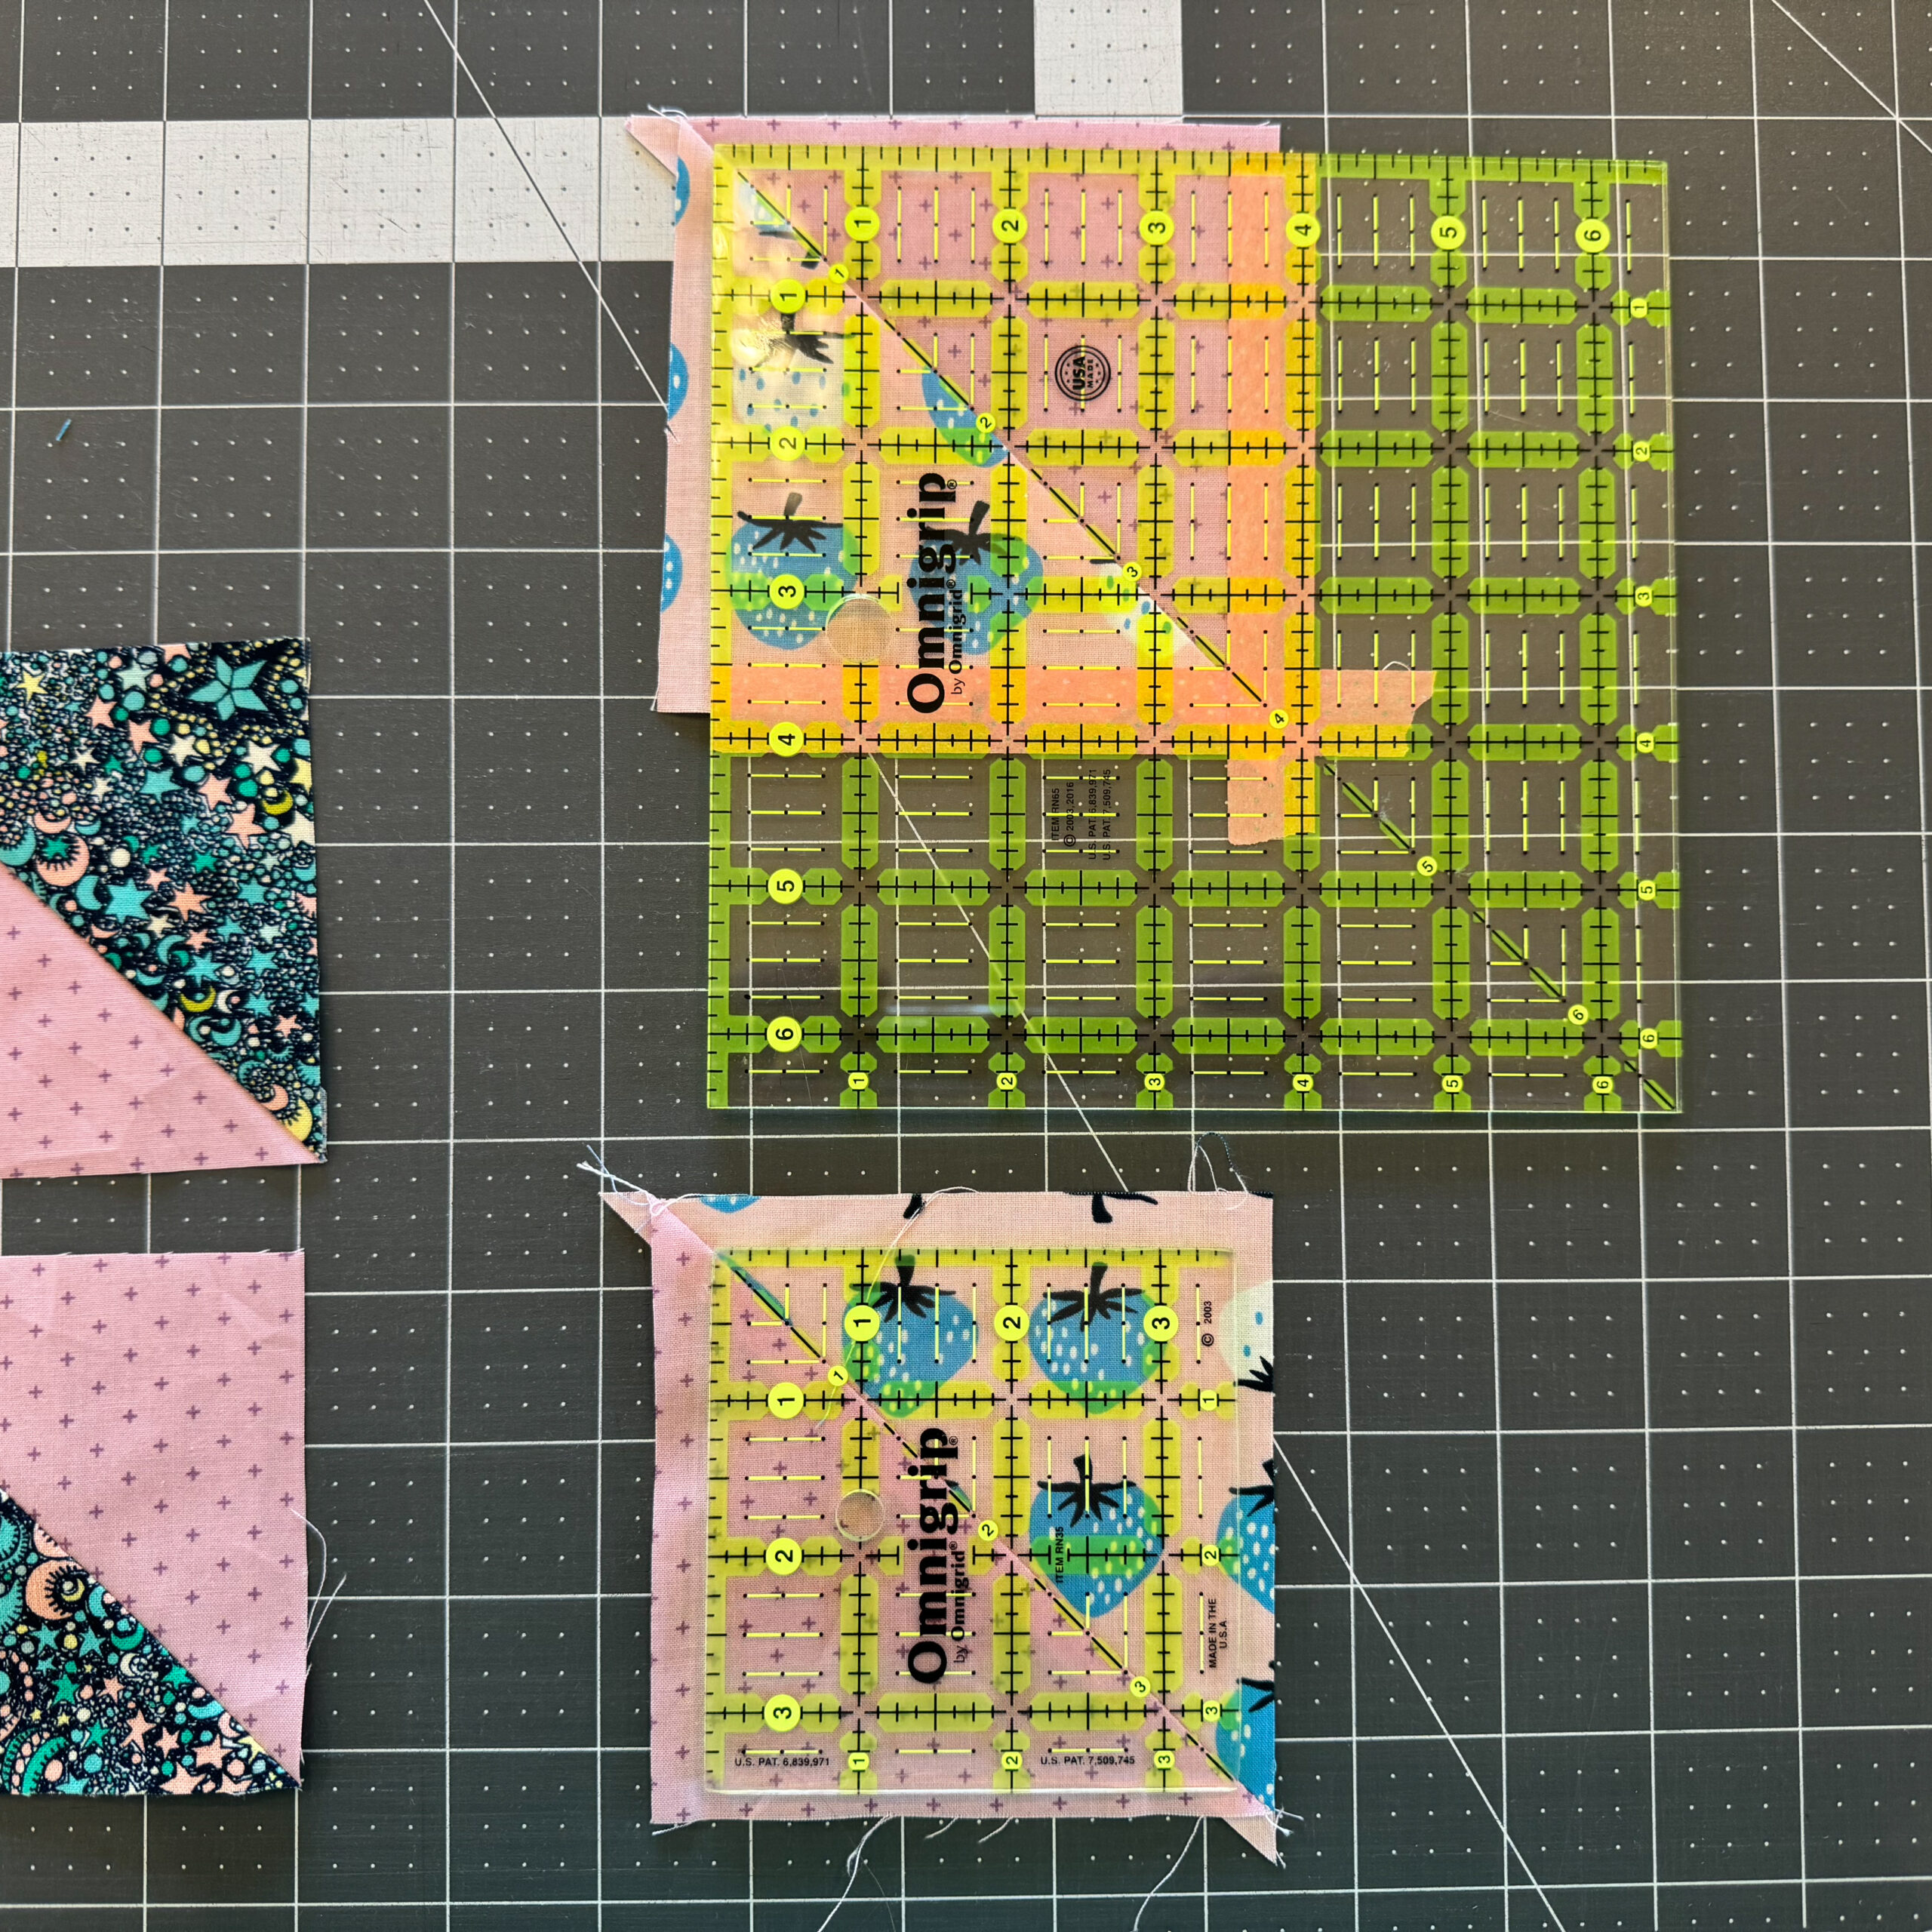
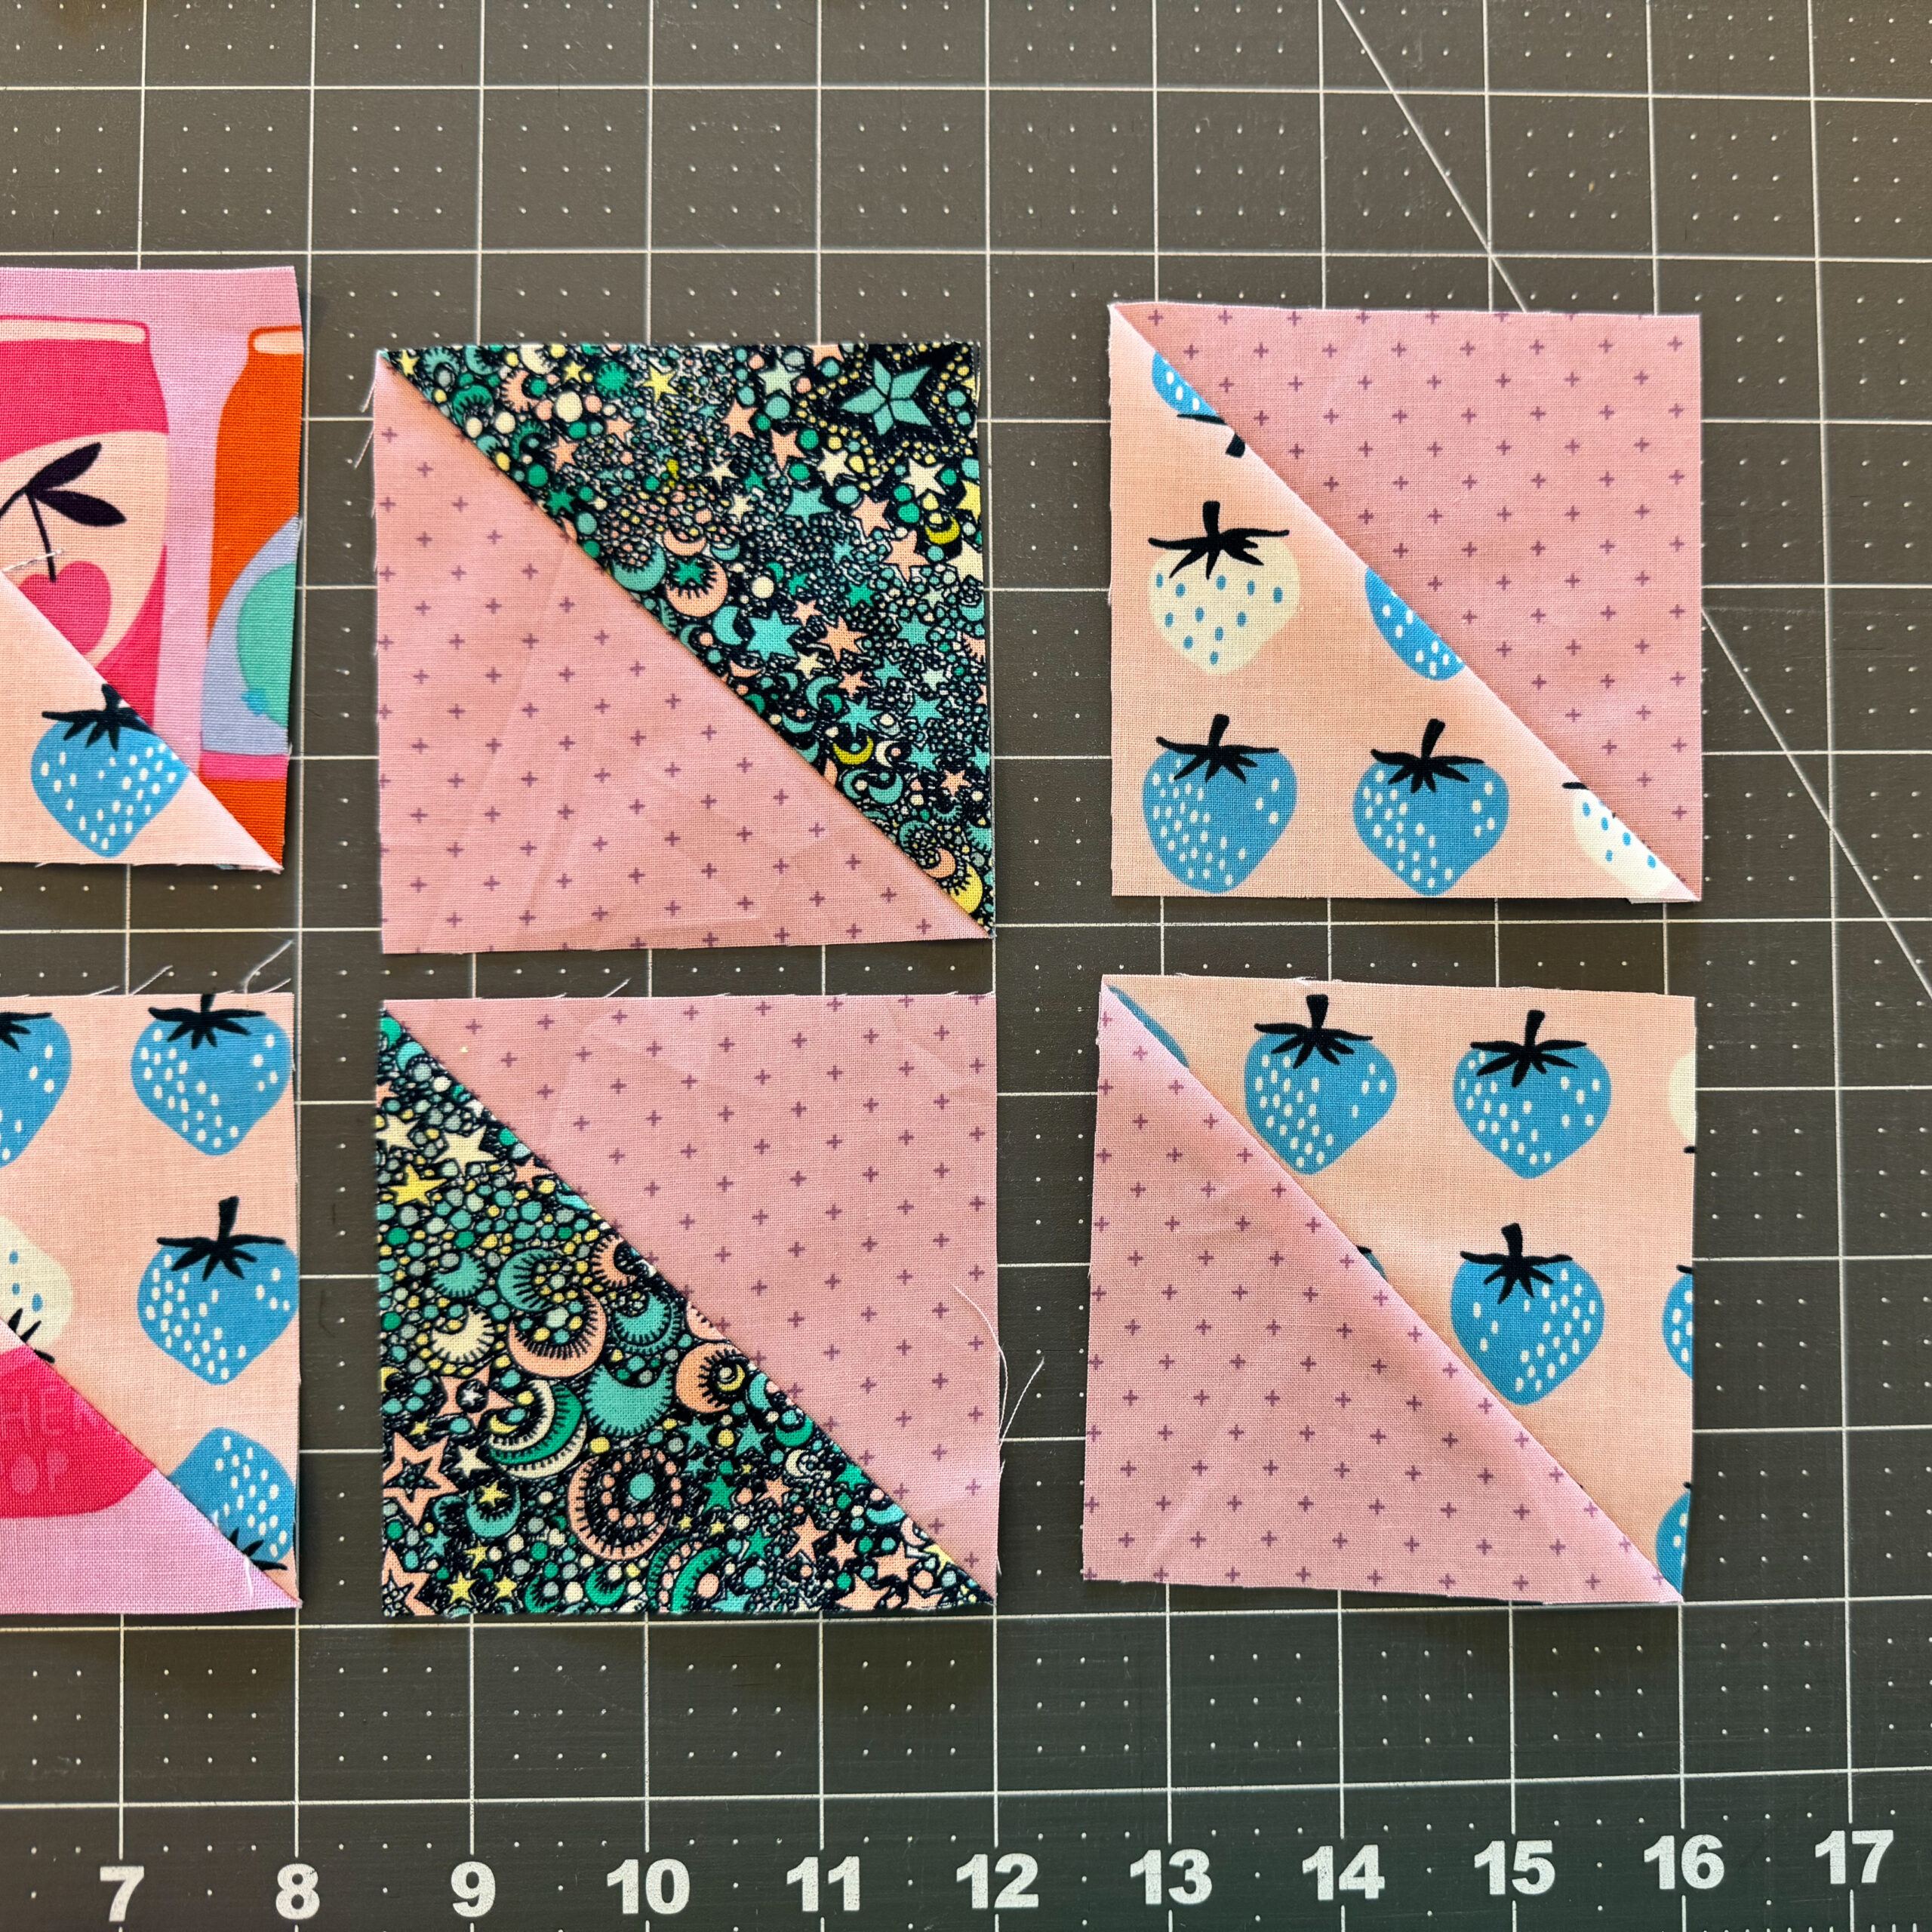
To Stitch’N’Flip you will use a large square and small square. You will mark a diagonal line on the wrong side of the smaller square corner to corner. This is a good spot to pay attention to directional fabric if you want. I explain that a little in the pattern with a diagram as well as in the videos. You will lay the small square right sides together in the correct corner of the larger square with the diagonal line crossing the corner. Then you will sew along that marked line to make a seam. You don’t need to backstitch. Once the seam is sewn you will cut away the point of both squares, 1/4″ away from the seam, toward the point. Then you will flip open the small square to fill in the space you cut off to achieve the Stitch’N’Flip corner.
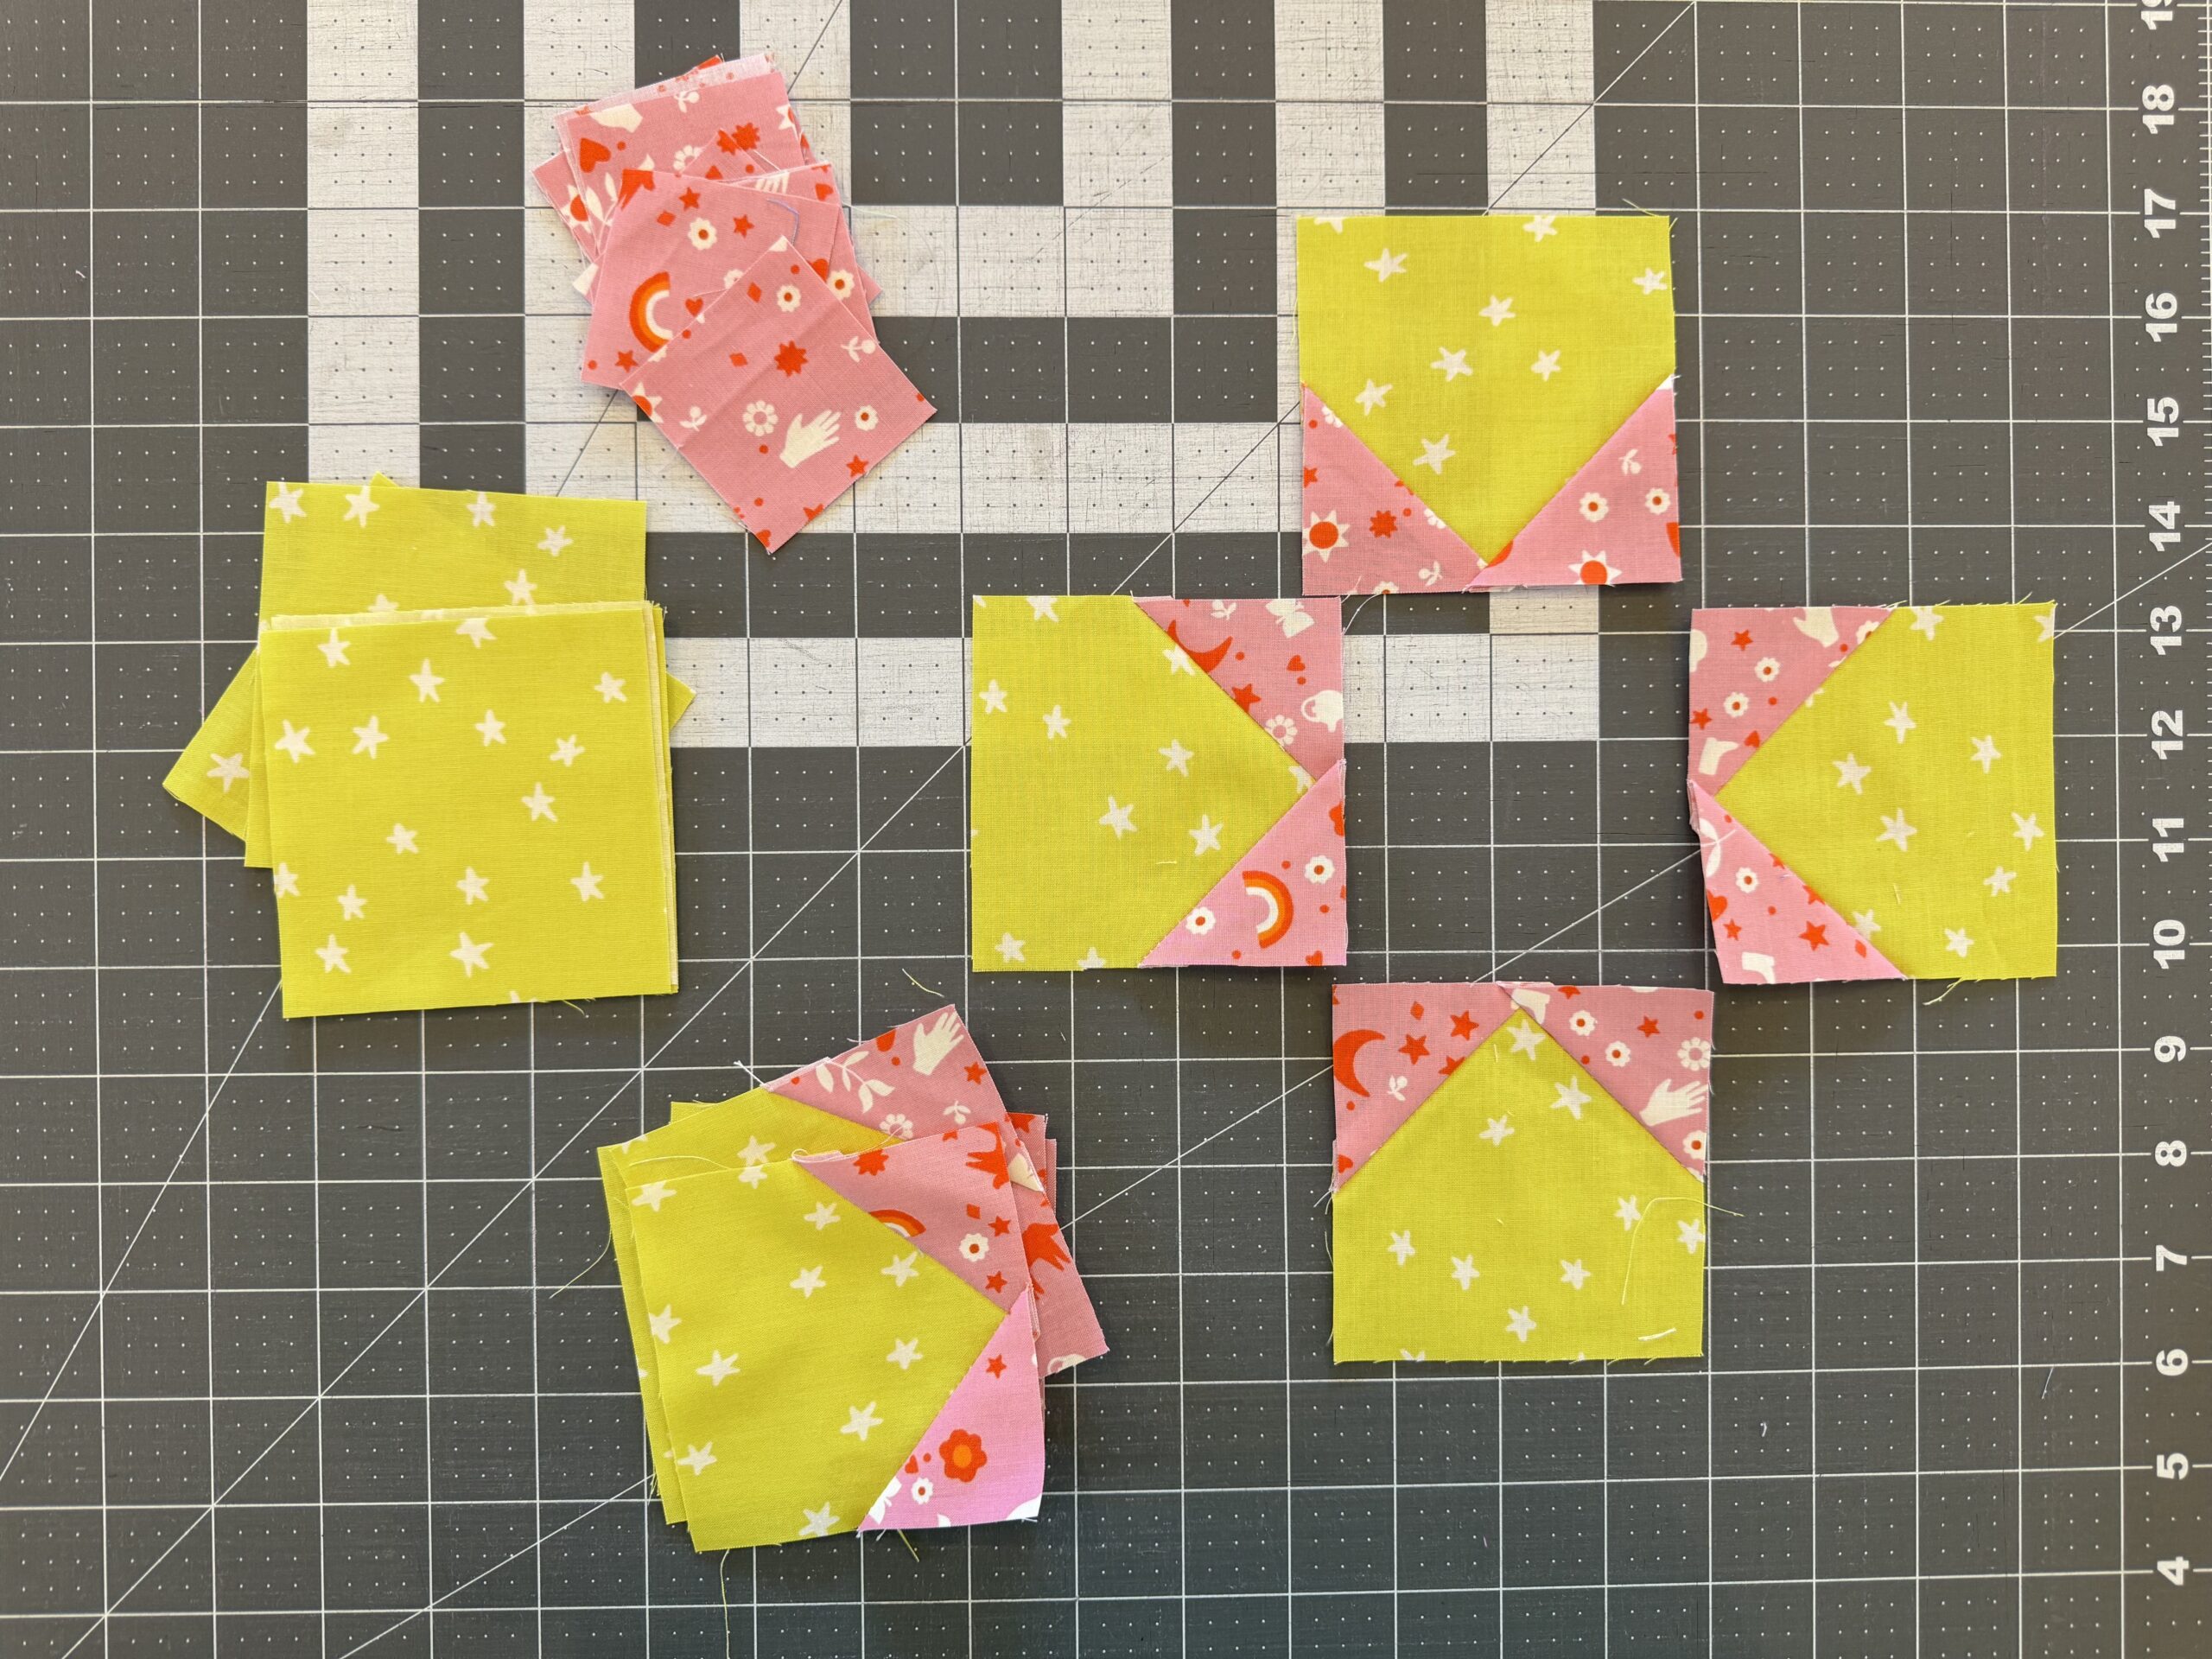
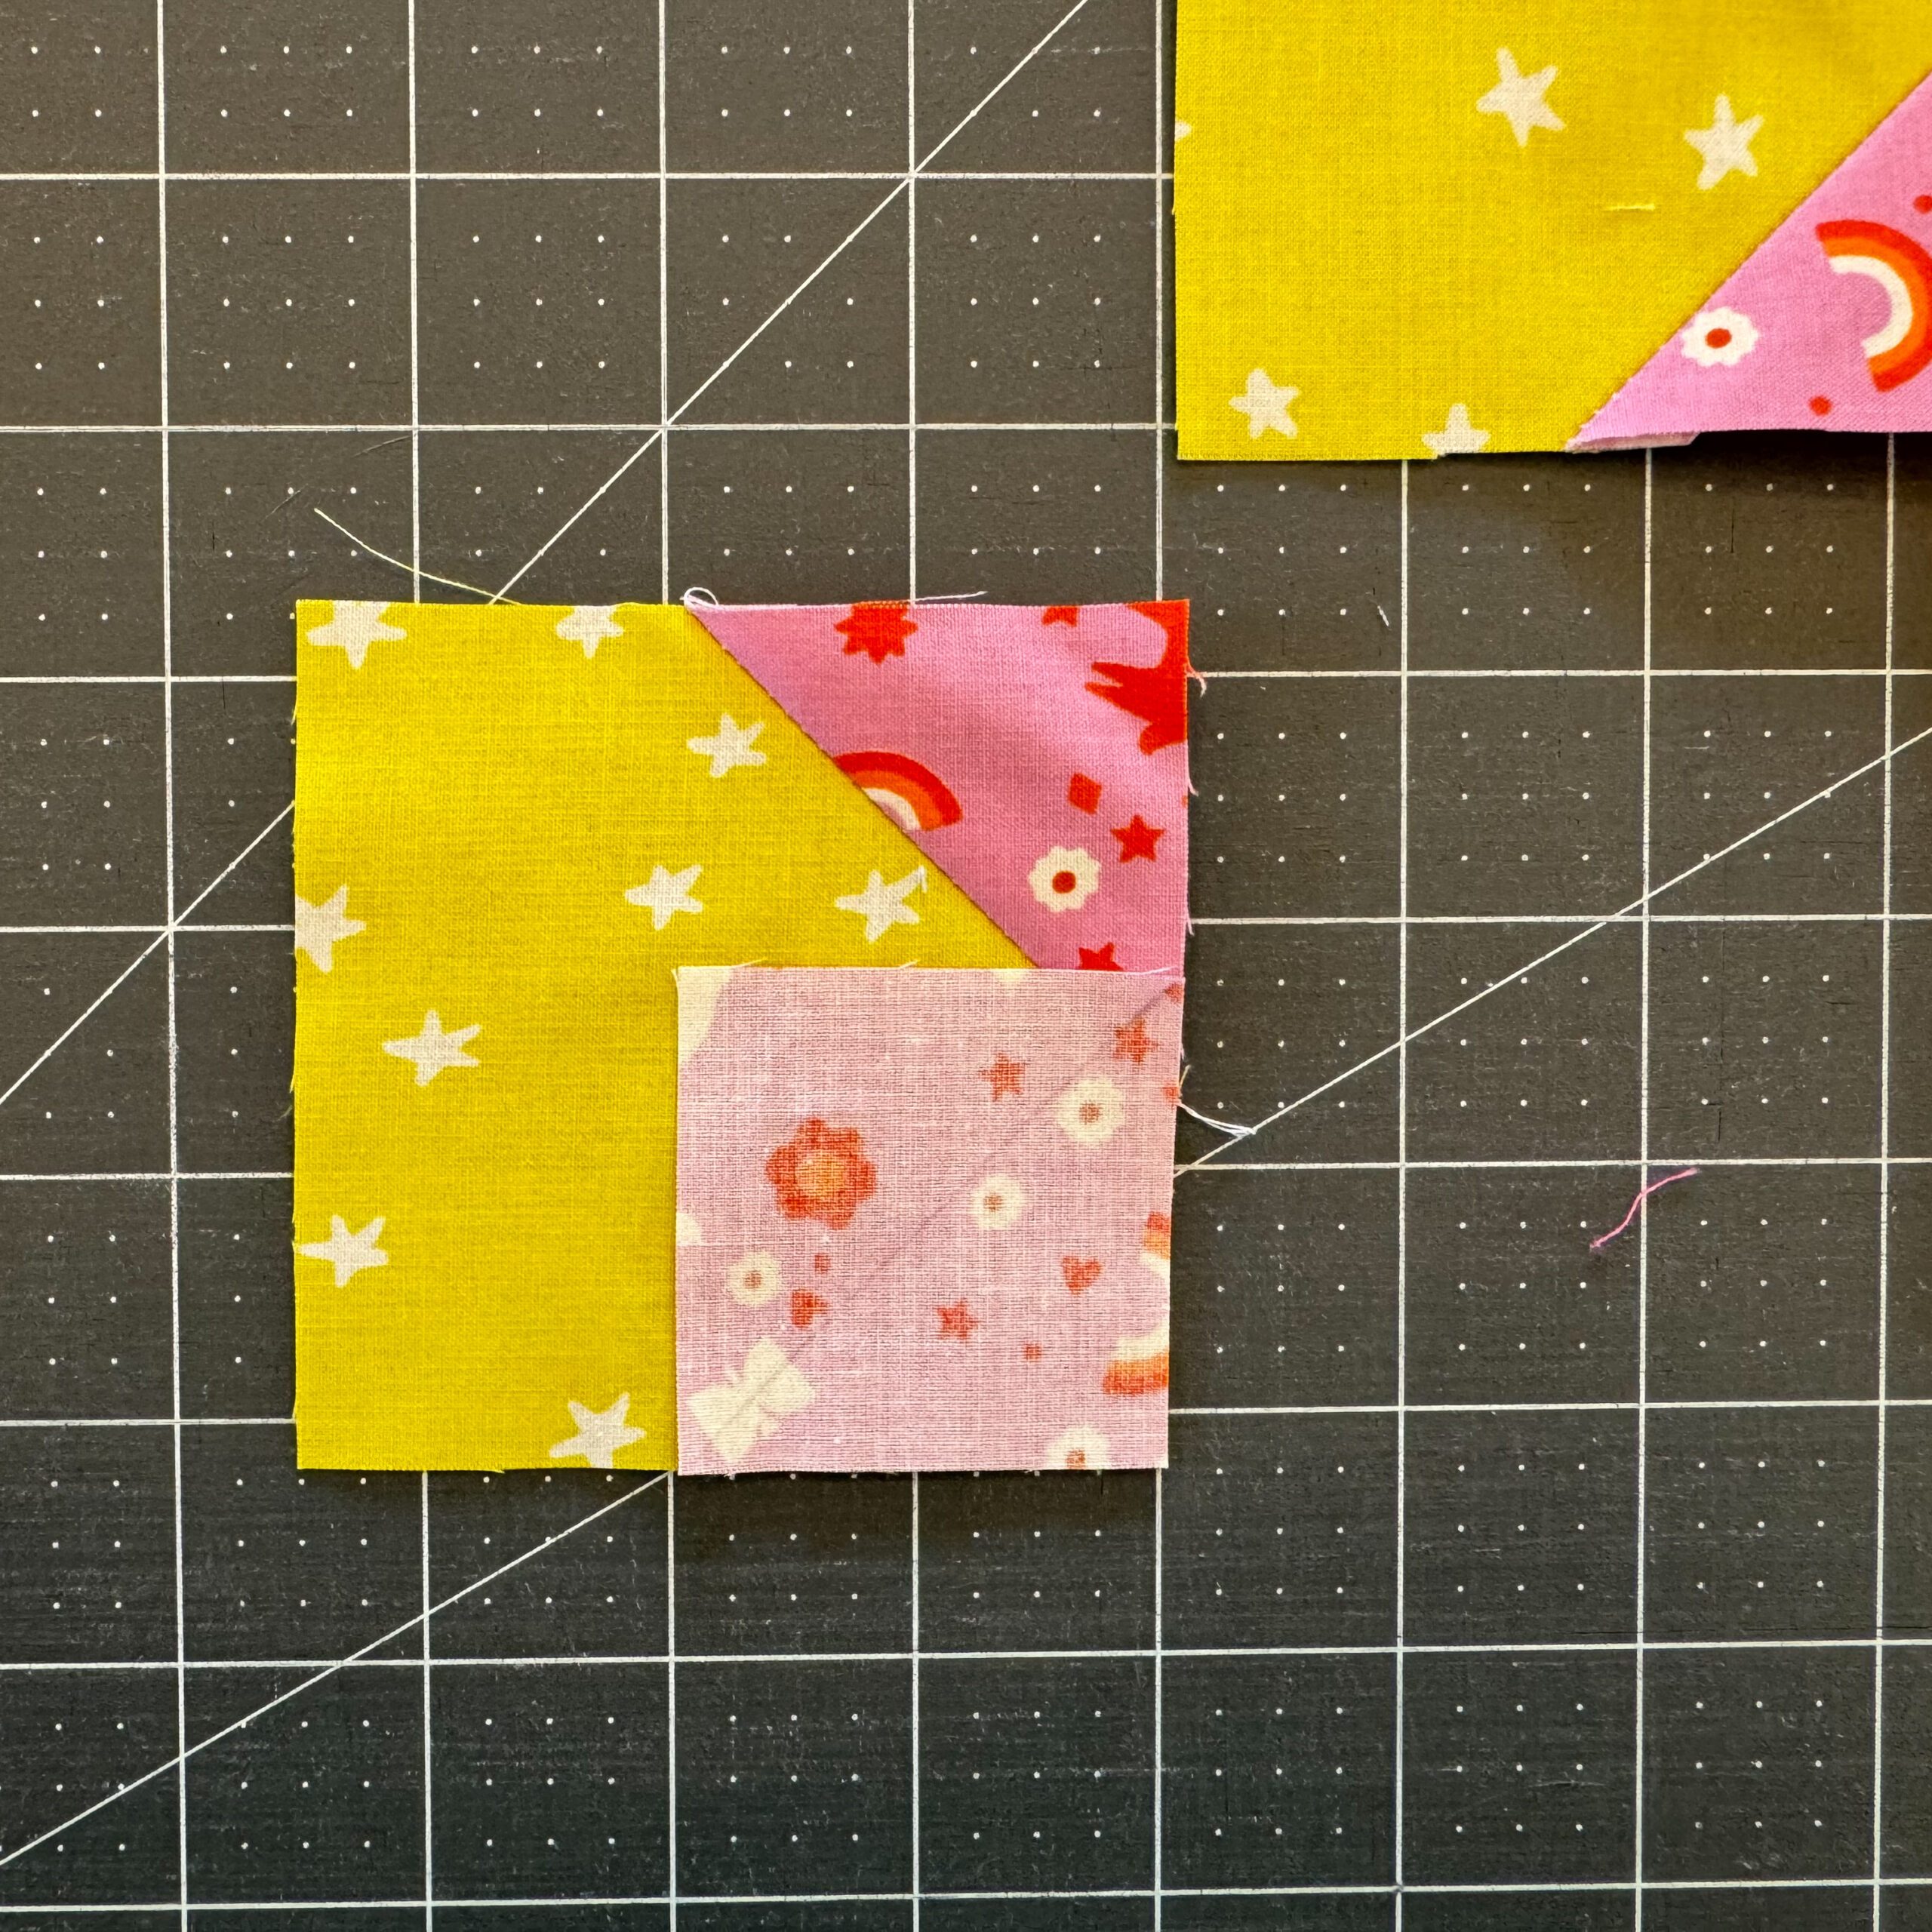
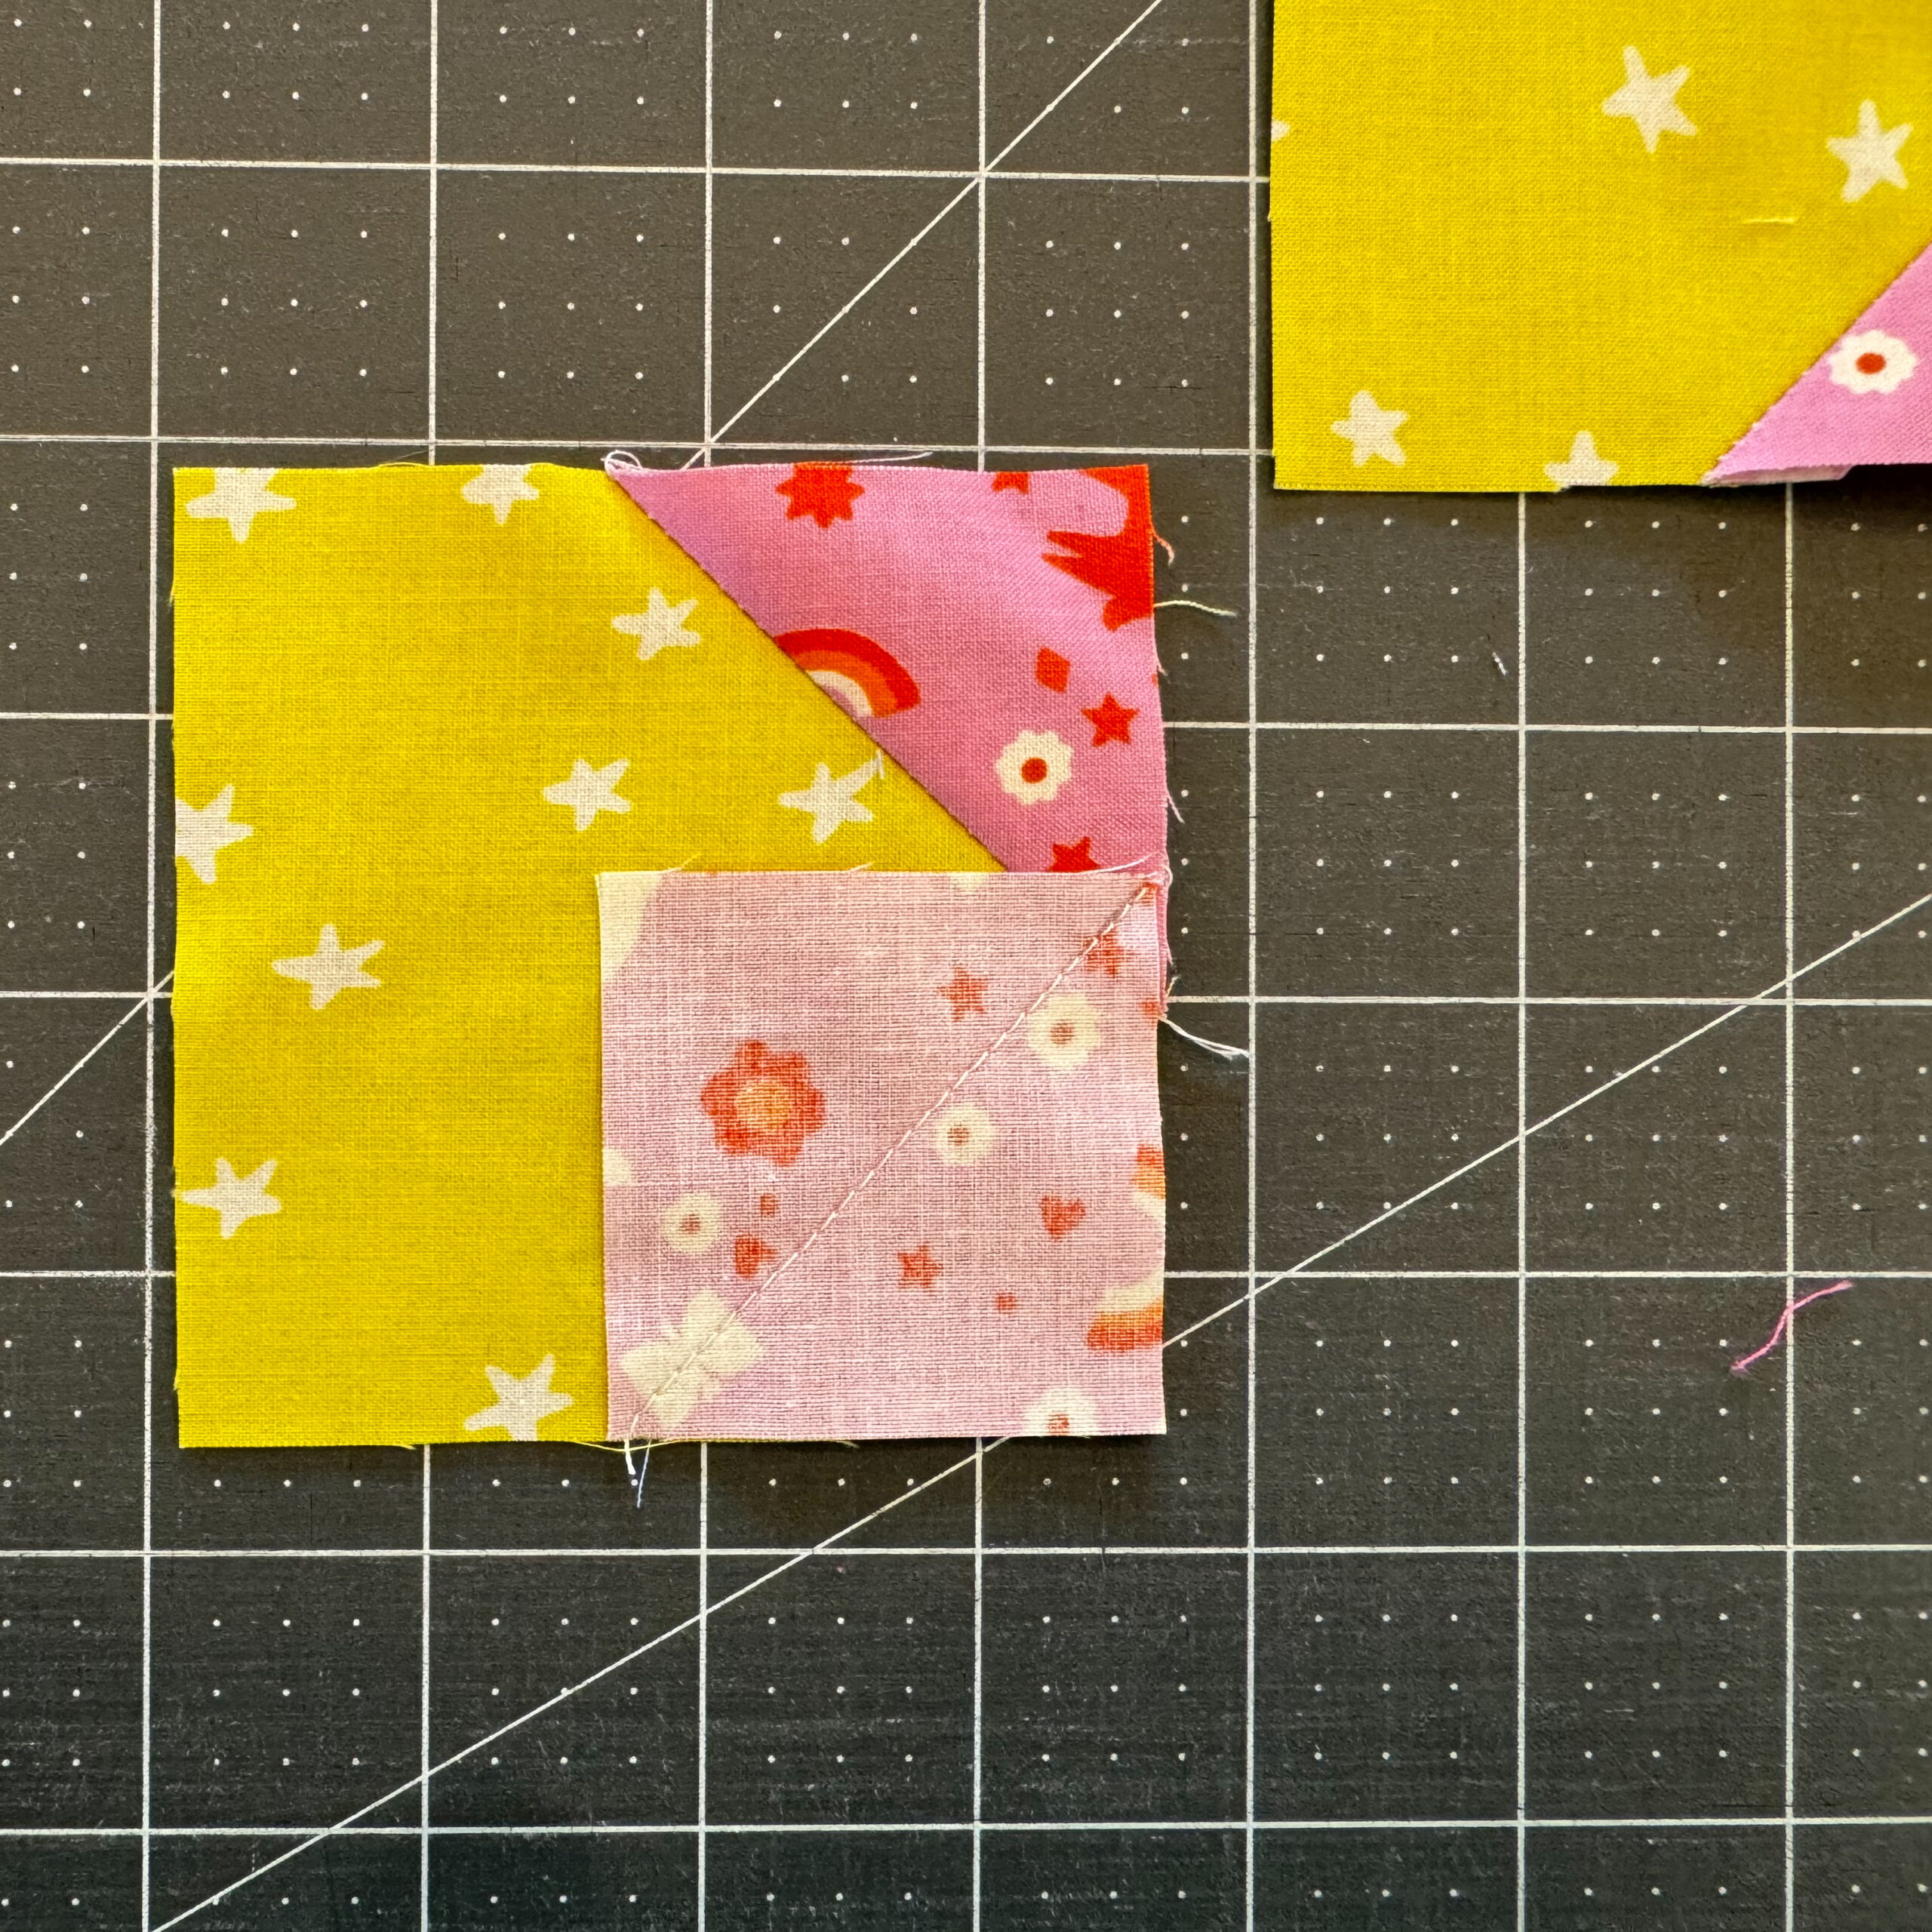
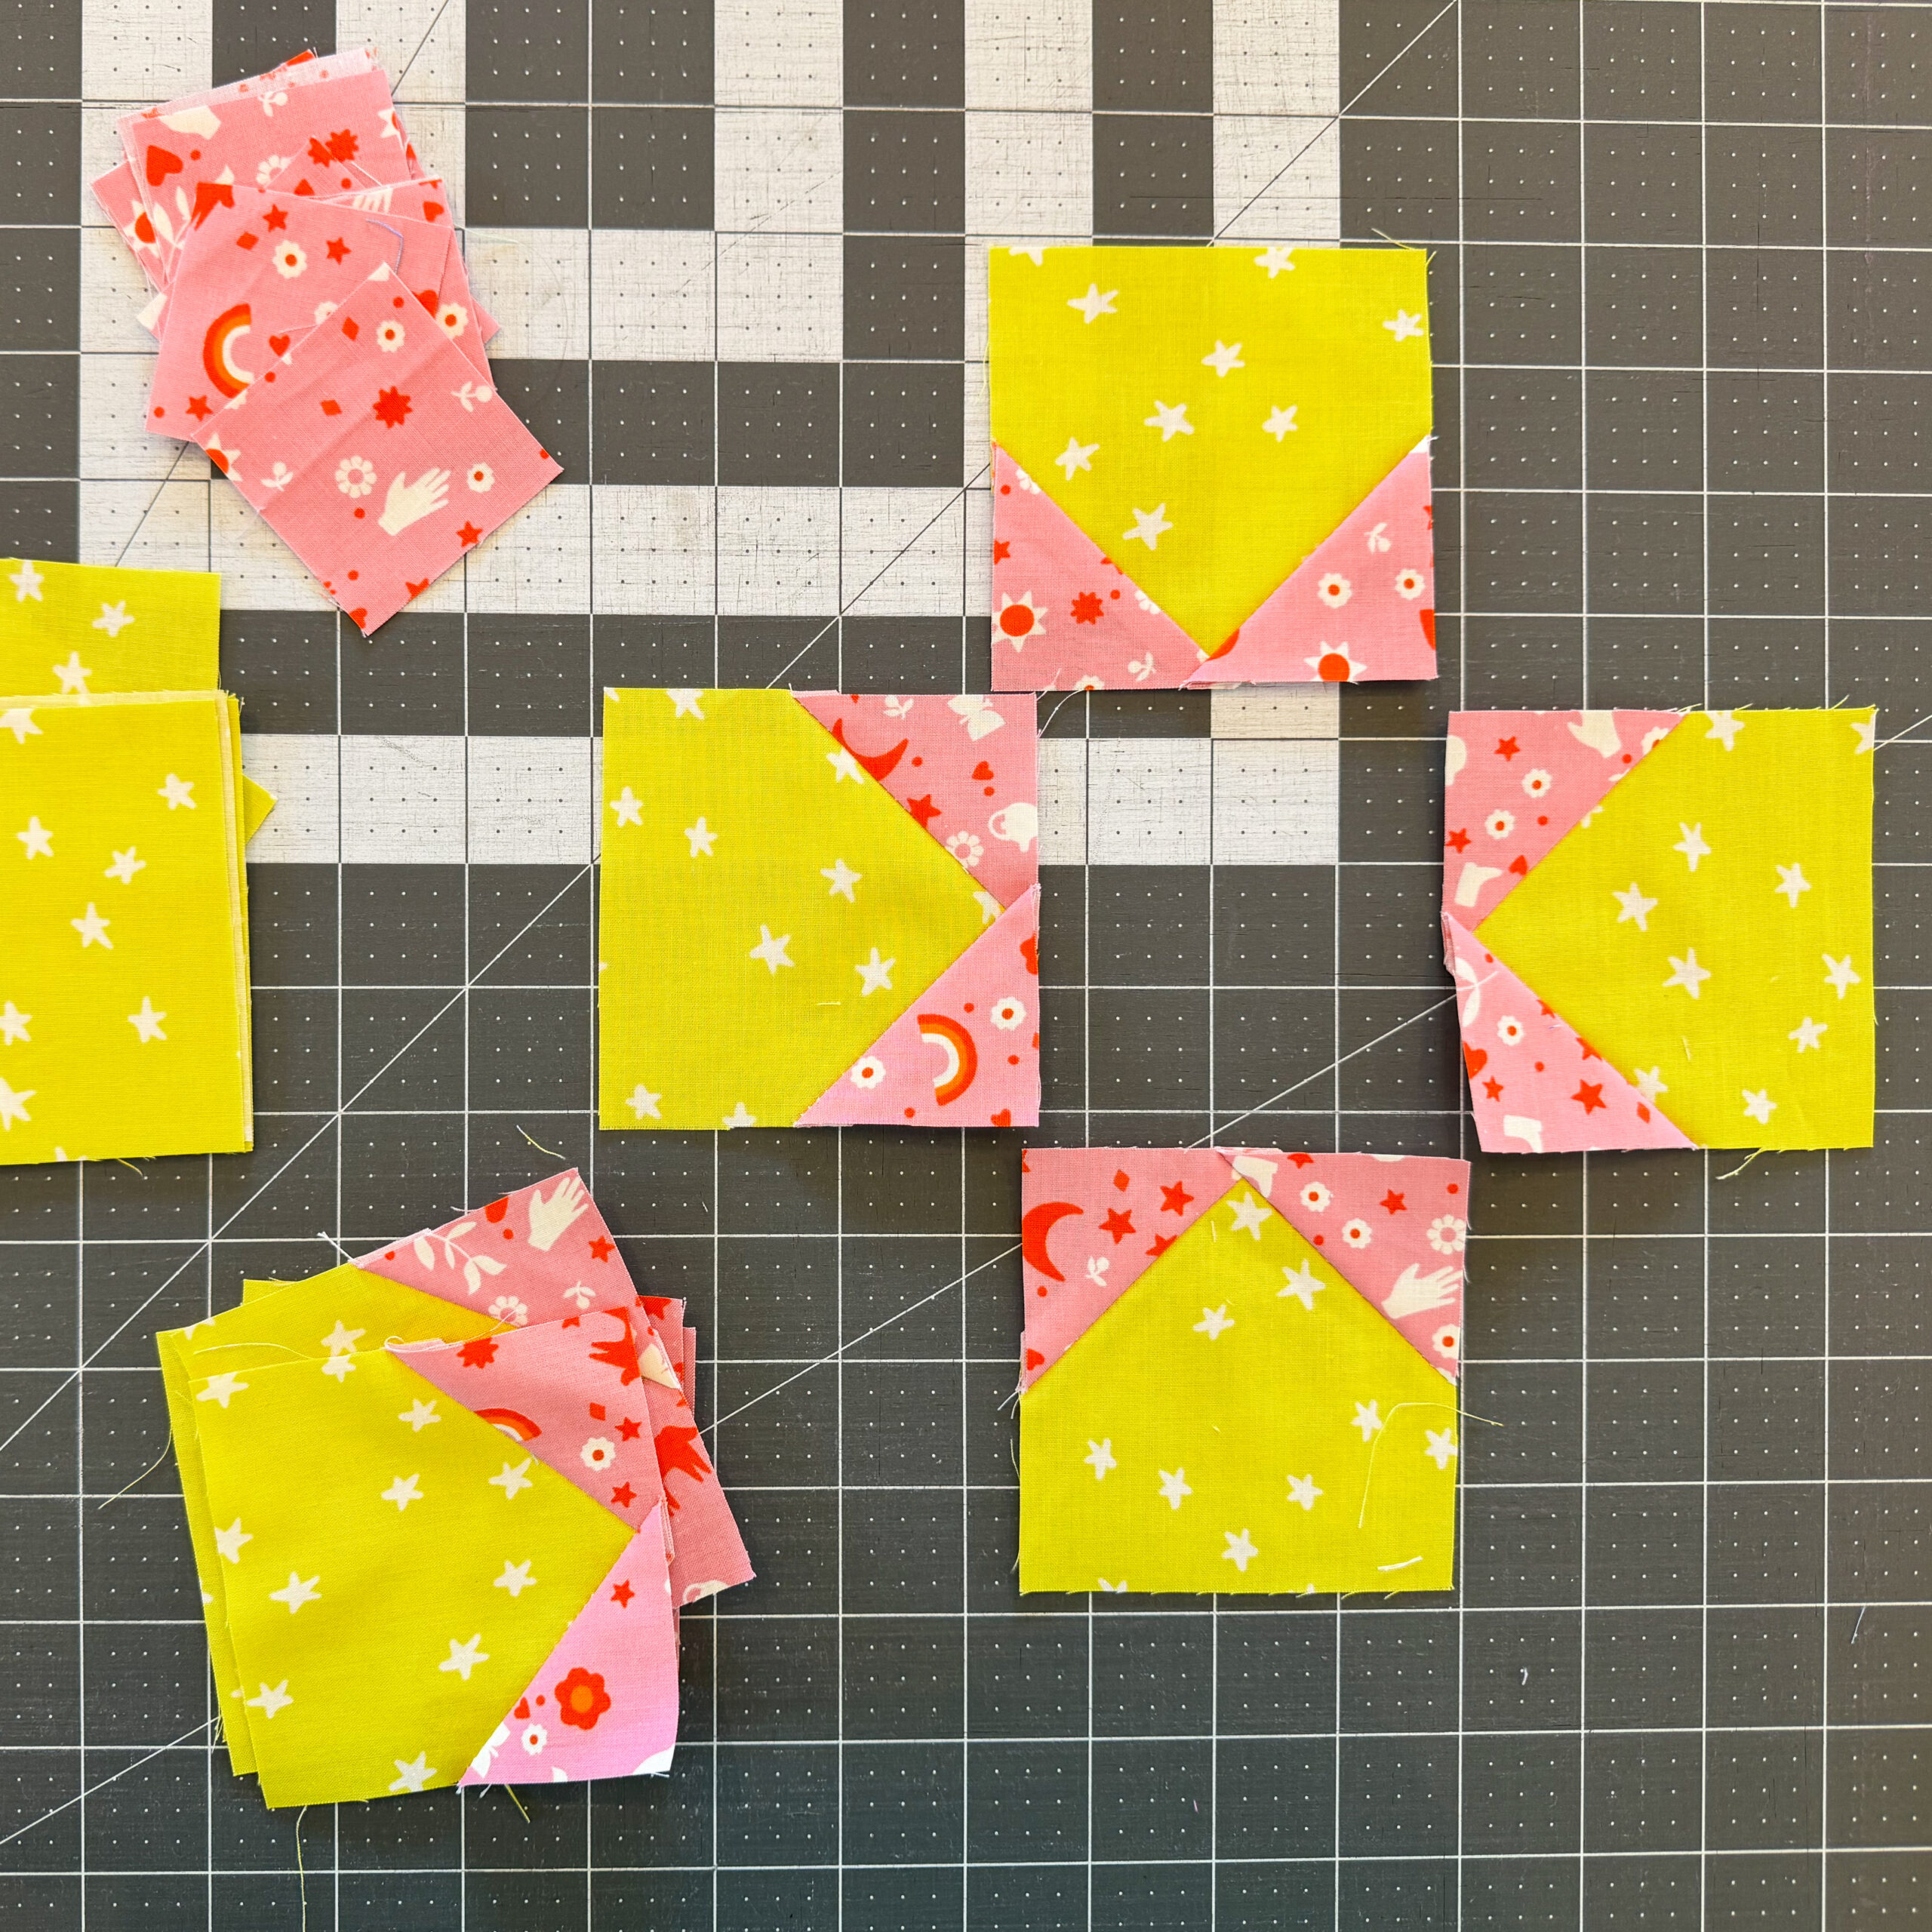
To make the Star Points you will need to do a second Stitch’N’Flip corner next to the first one. So both points are on one the same square for one side of a star in the New Star Quilt Pattern. Those two points will overlap in the middle about 1/4″.
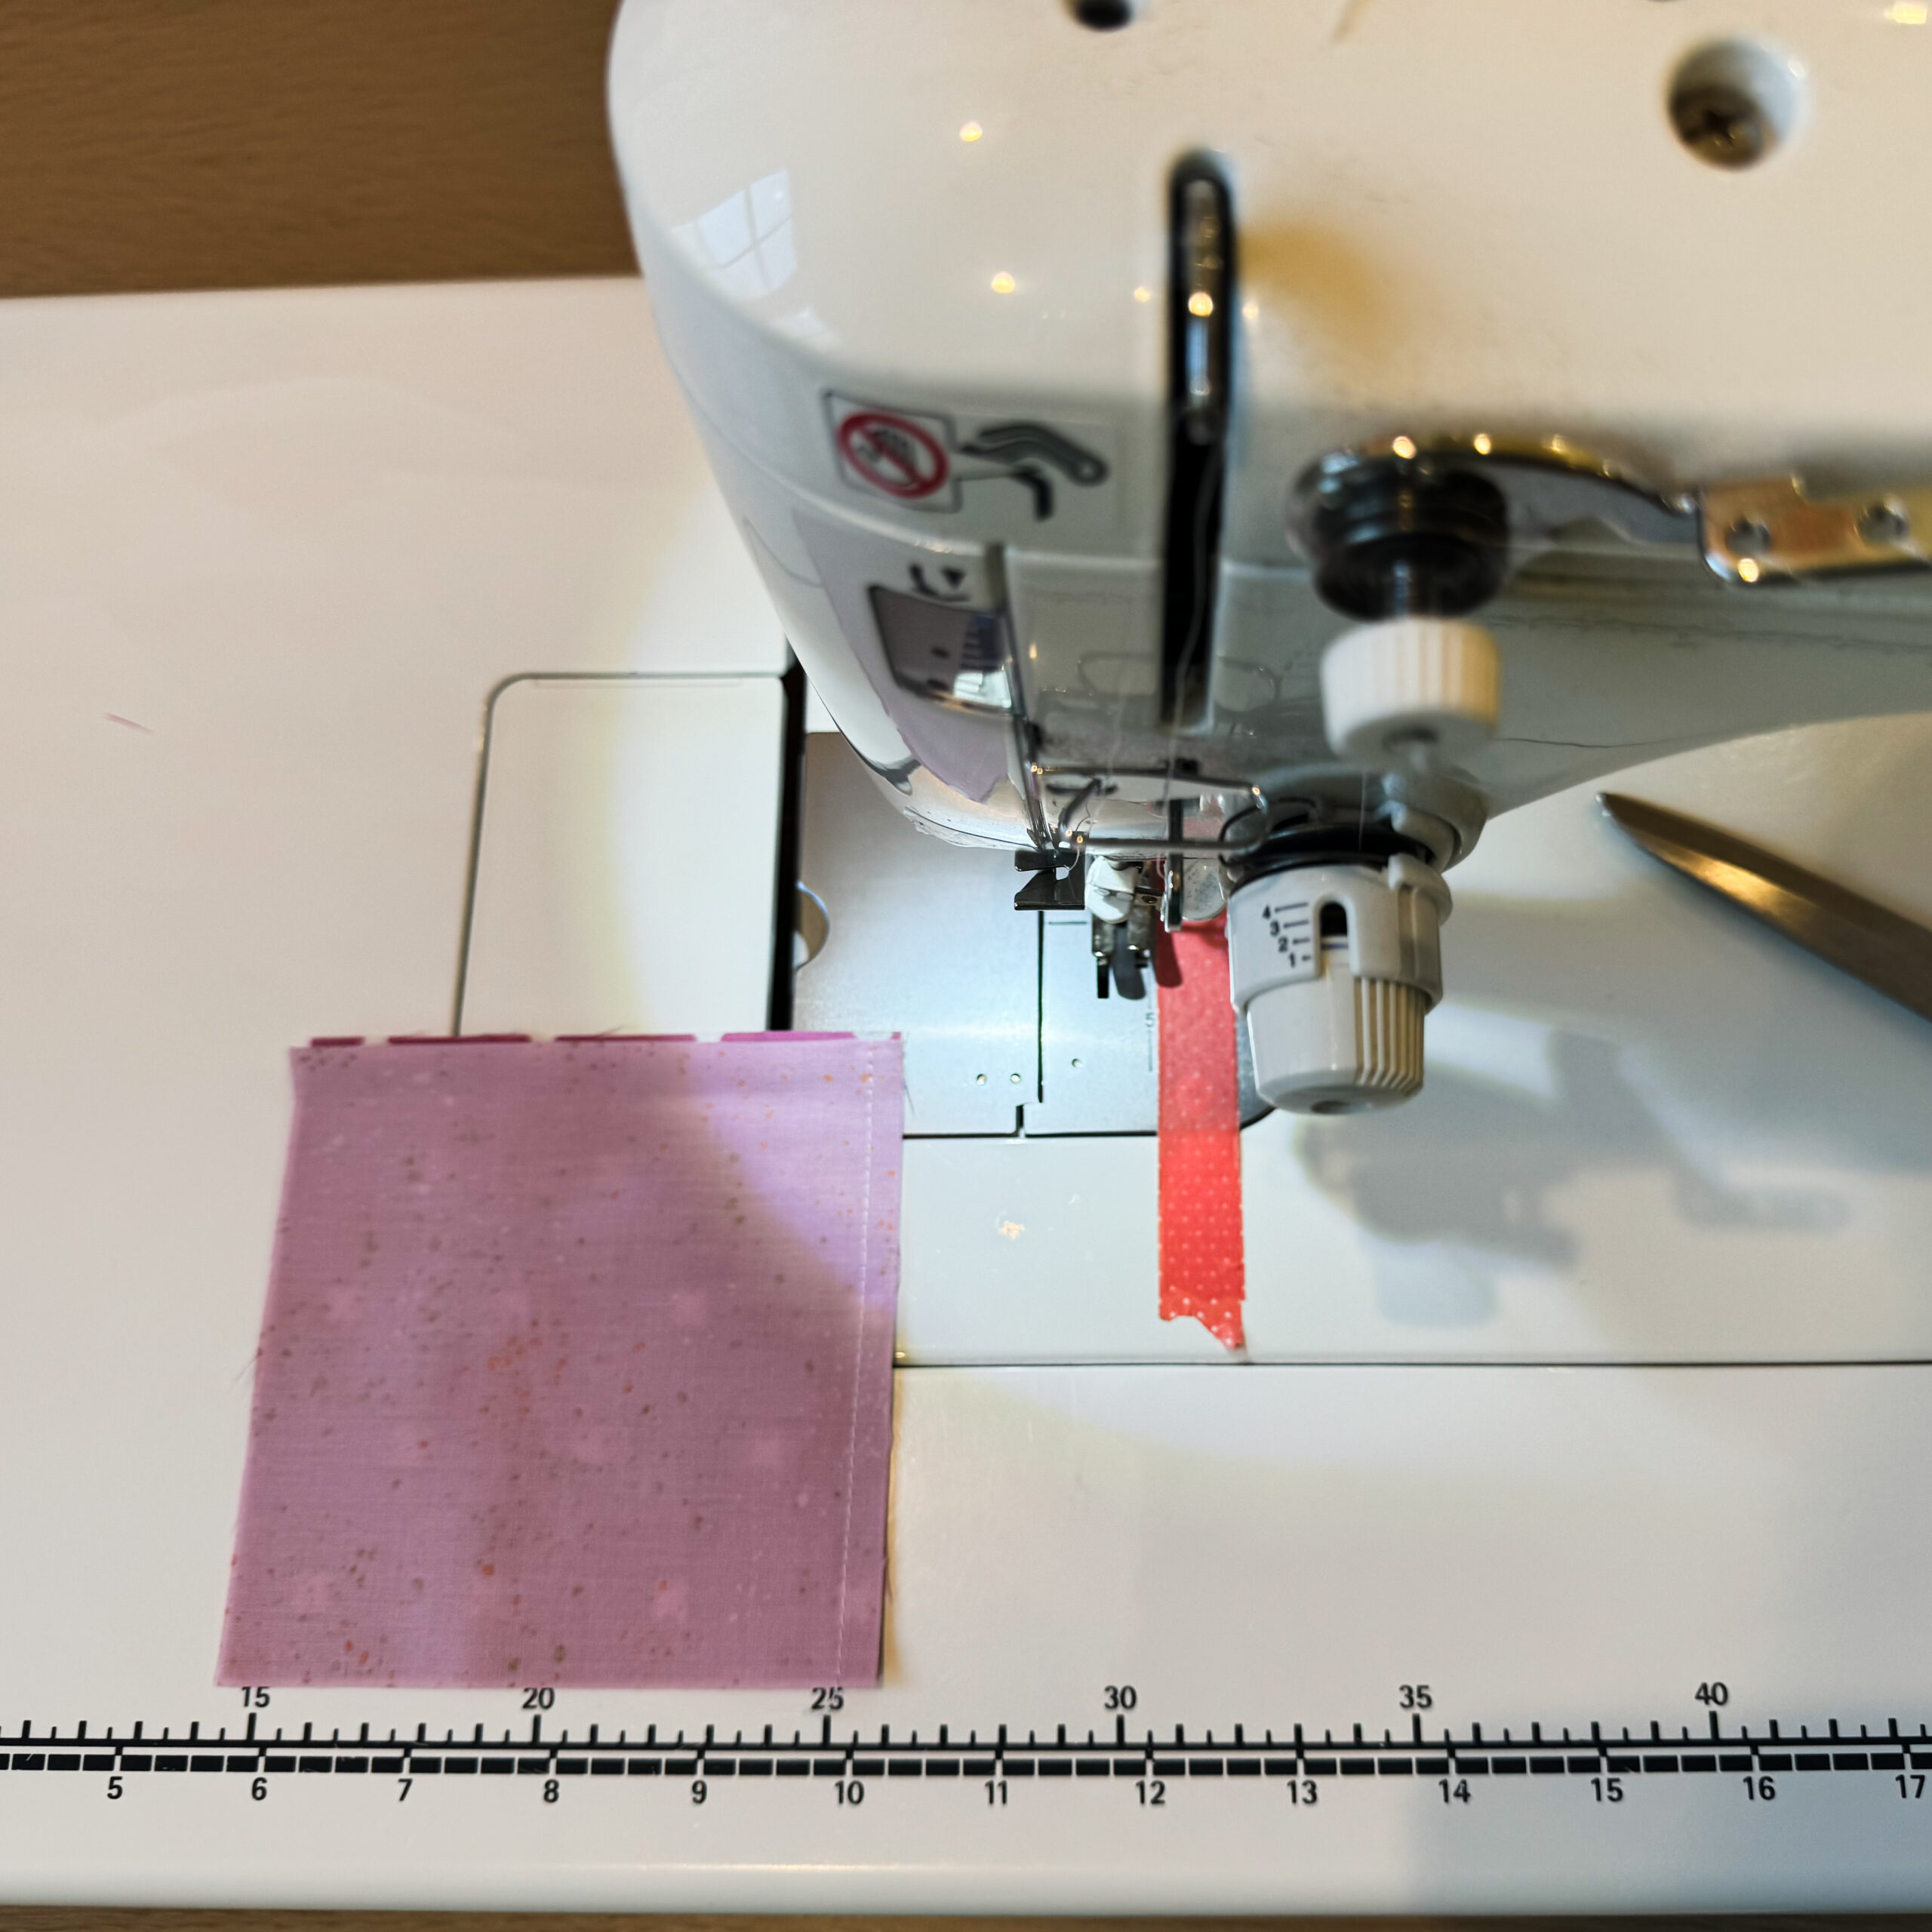
See the photos below to explain these steps and watch the YouTube Video.
New Star Quilt Pattern Stitch’N’Flip
I share this step at the beginning of the sewing instructions in the New Star Pattern and share how many squares to add the Stitch’N’Flip corners for the whole quilt, which you can do all at once.
Or how I love to sew them. Is by laying out one block at a time, sewing the Stitch’N’Flip corners on that block and then sew the block up. Or set the block aside laid out to sew all the blocks at once in week 4. I find it helpful do do this per block so you make sure the fabric is in the right spot. As well as making all the directional fabric (If you used some) oriented the correct way. Maybe even try a little of each method and see what works for you.
HSTs
Let’s continue with our HST and Stitch’N’Flip sewing techniques moving on to the HST technique. The New Star Quilt has the option to add an HST border and for the course we are sewing the Cover Quilt with the border. So you will need to make some HSTS. The addition of the border is towards the end of the pattern. But I wanted to share the technique this week so you can learn all the techniques at once. And maybe even make a few HSTs every day or week leading up to adding the borders.
What is an HST? HST stands for Half Square Triangle. It’s the technique of sewing two squares together on the diagonal and then cutting them apart to make squares that are half one fabric and half a second fabric on the diagonal.
You can make 1 HST at a time, 2 HSTs at a time, and really as I recently researched and shared, you can make as many at one time as you want. Last week I shared a video on the “How to make any amount in any size method.” I shared during cutting week because if you wanted to try that method you would have to cut your fabric differently.
In the pattern I share two at a time as that is the most common method and the easiest to learn.
How to Make HSTs
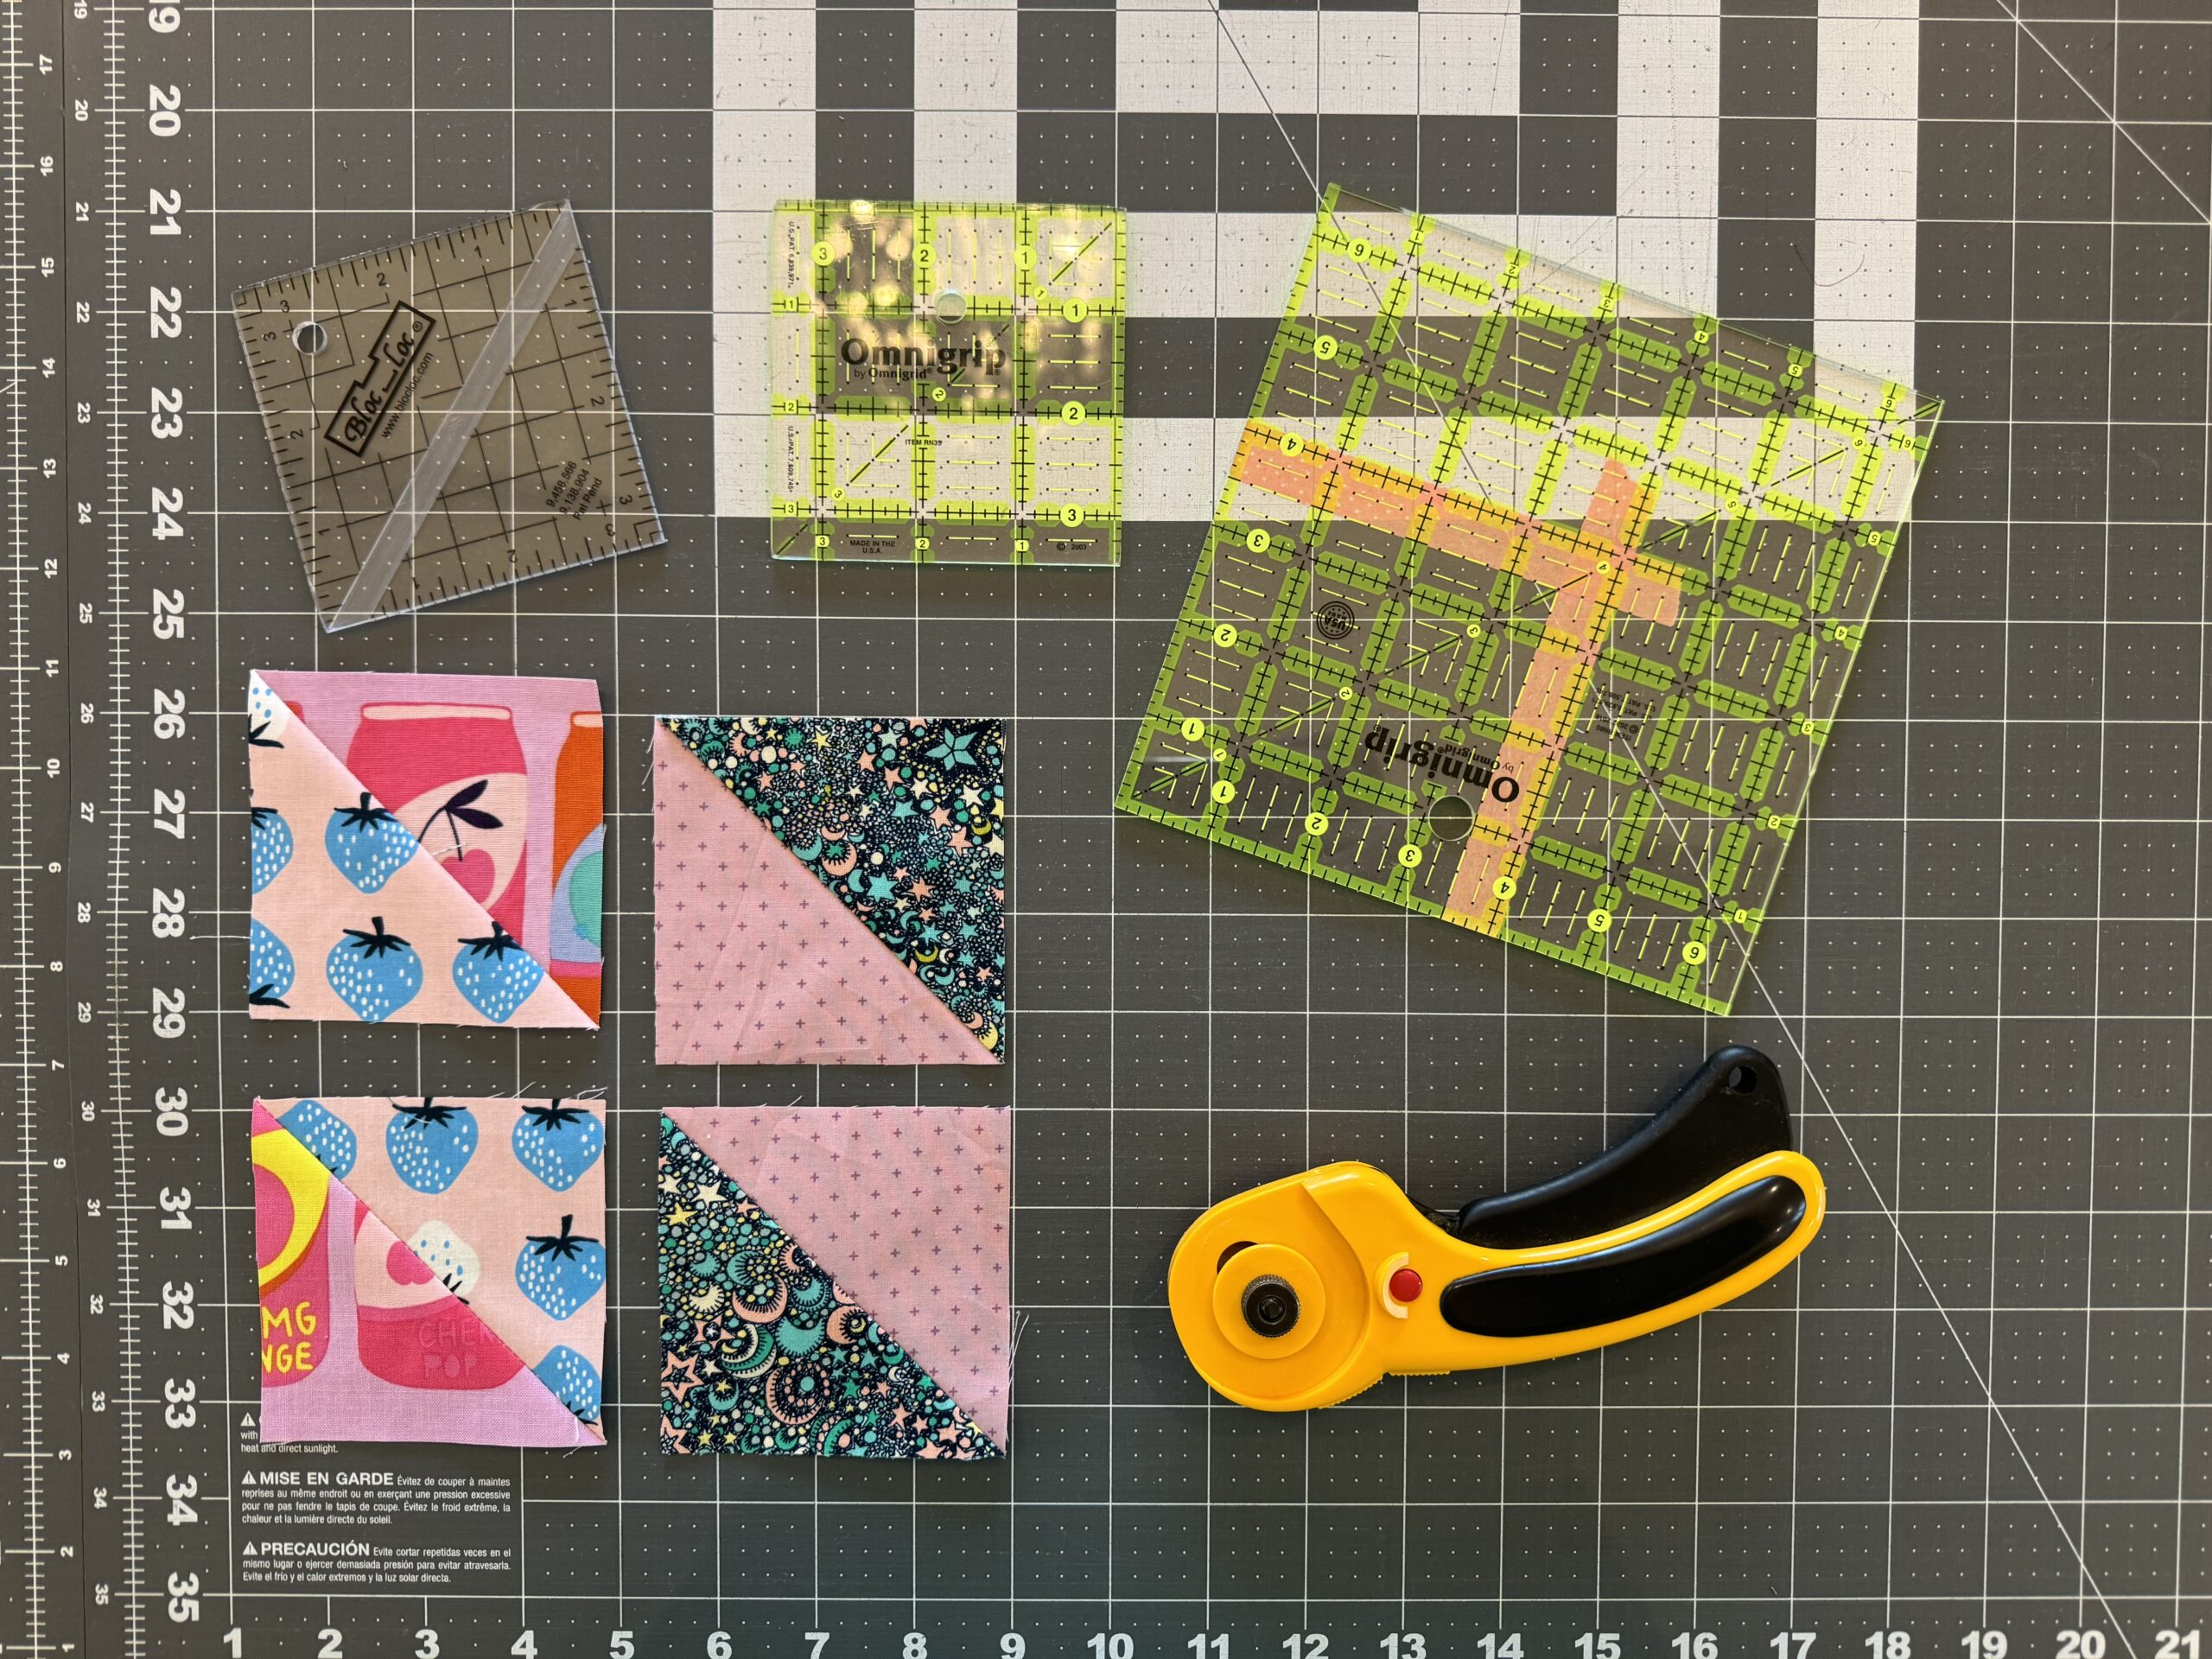
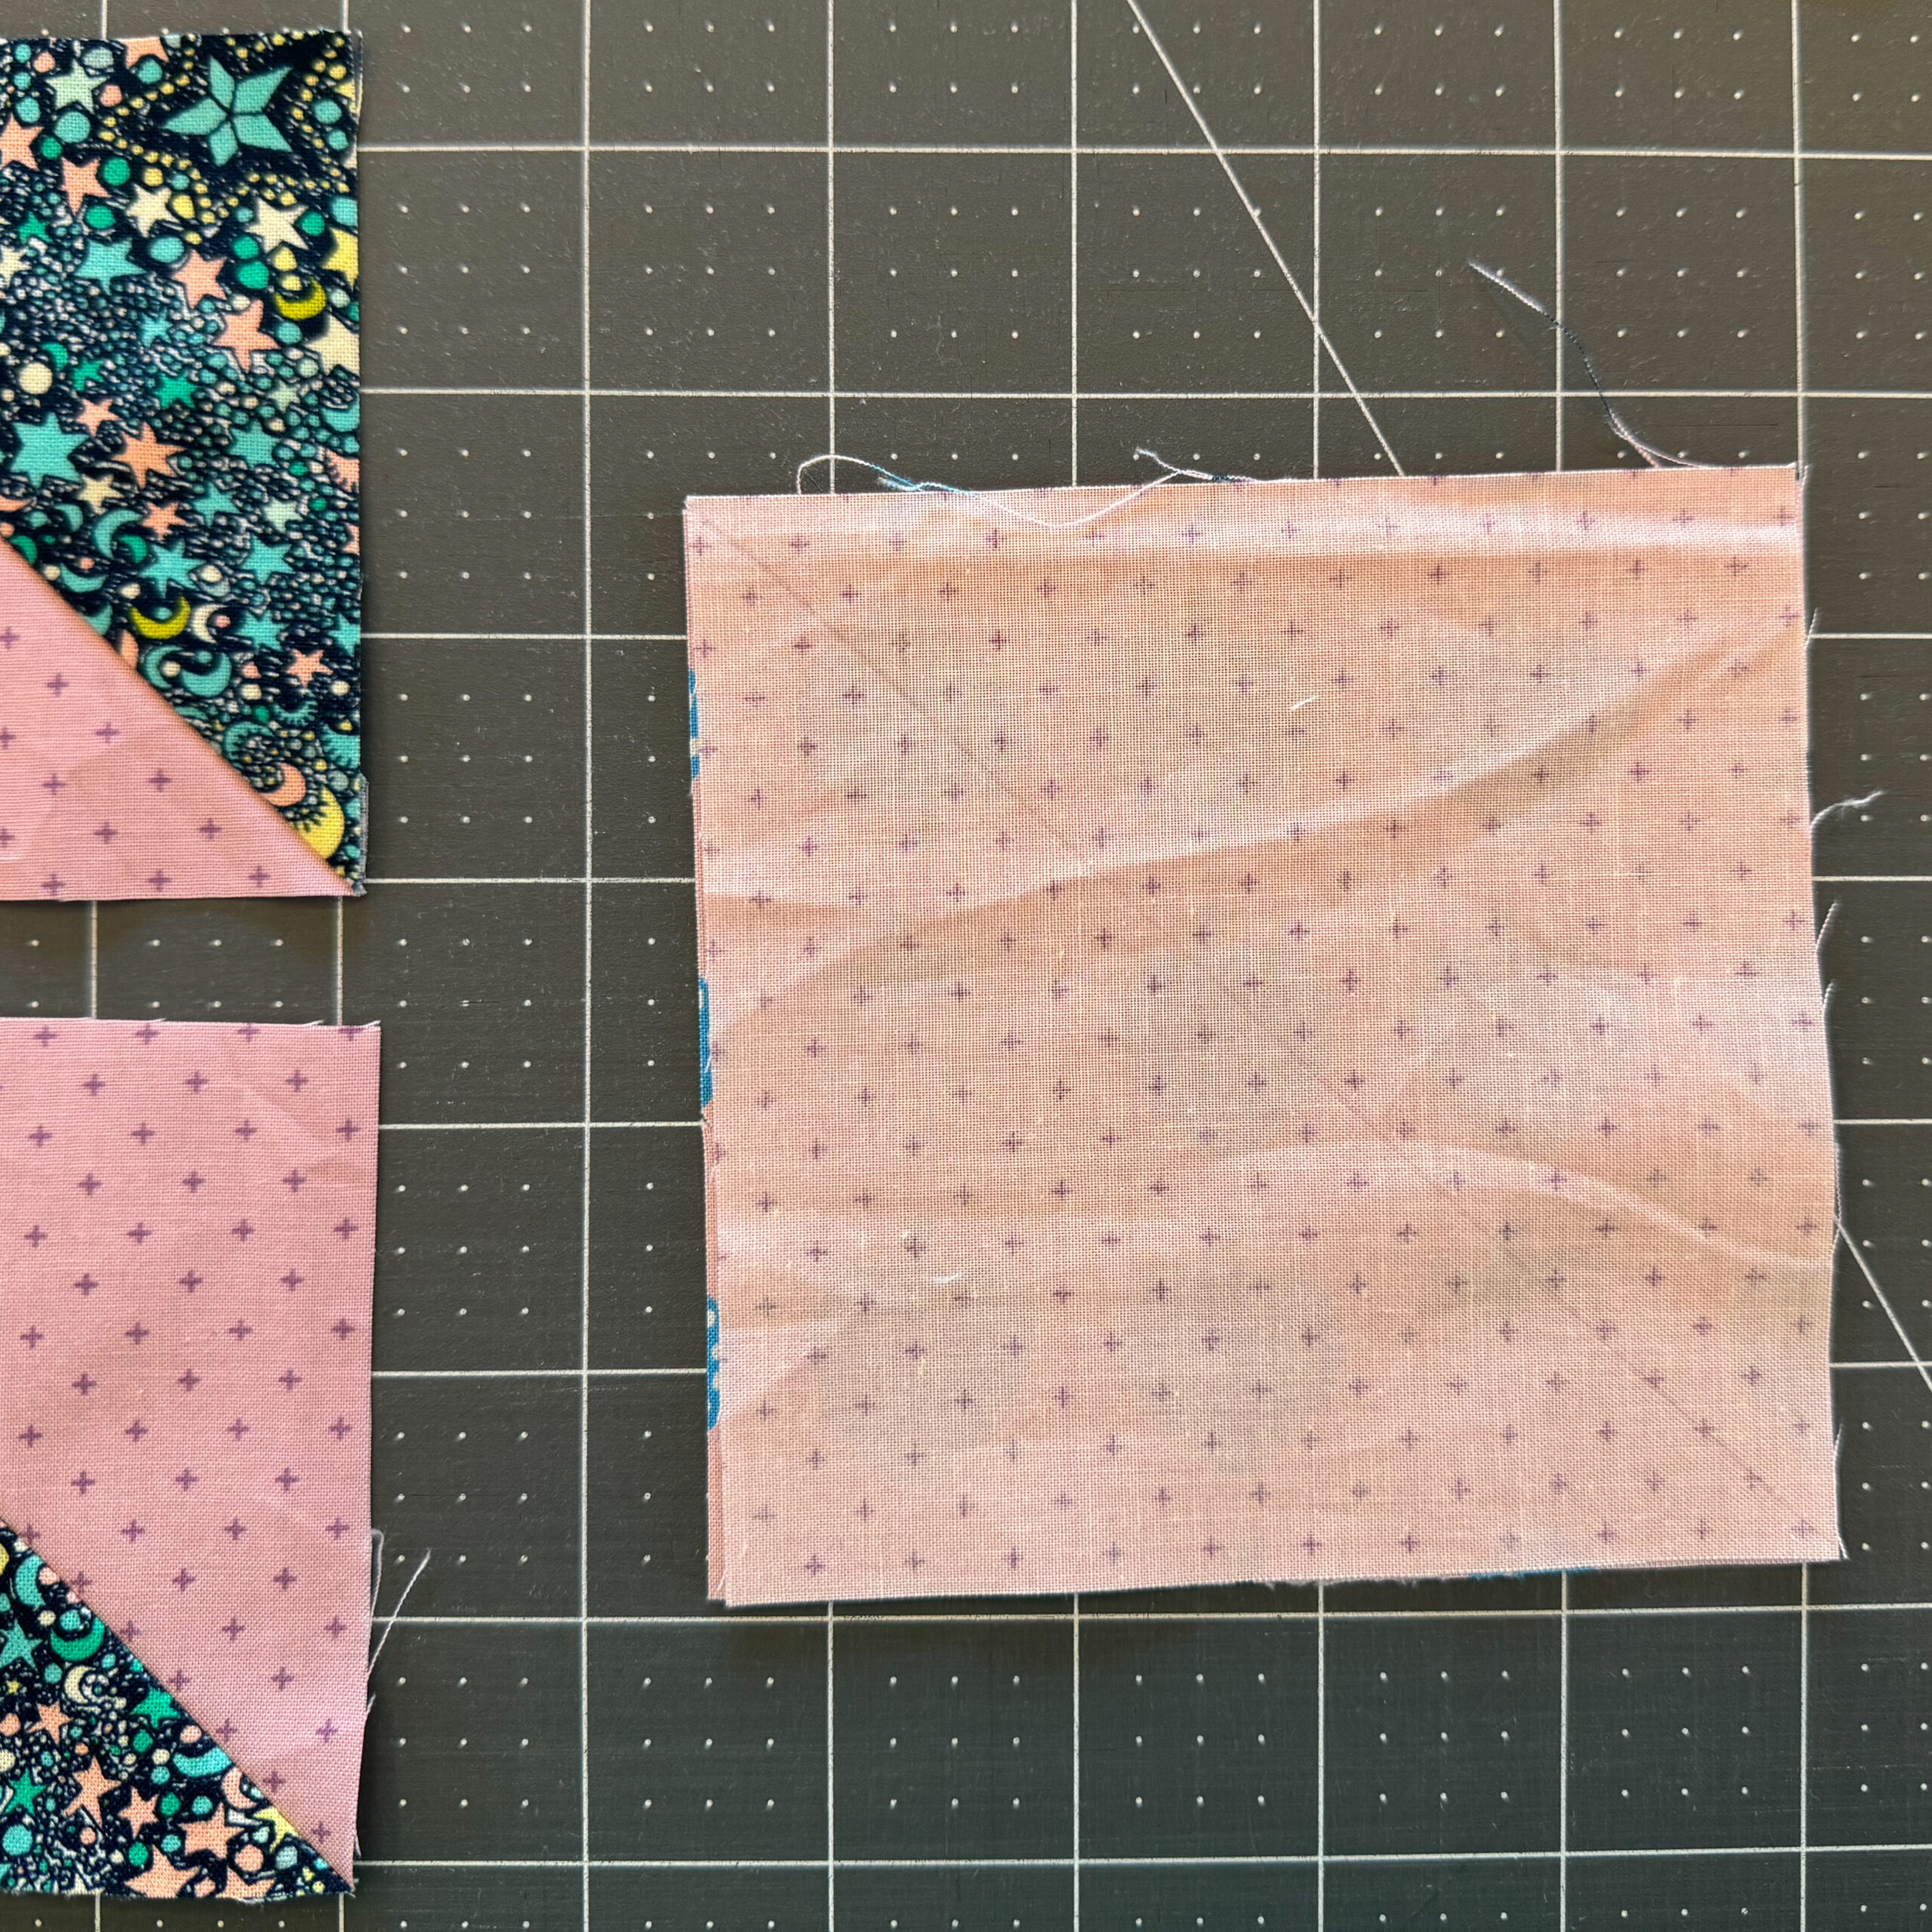
For 1 at a time HSTs and 2 at a time HSTs you start the same way. You take a same size square of two different fabrics and place them right sides together. Then you mark a diagonal line along the back of one. Now is where the technique changes.
To make one at a time HSTs. You would sew directly on top of the marked line. Then cut away 1/4″ to one side of the sewn line. Press the fabrics open and you have one HST. Typically you will need to trim this down to the exact size you are sewing with.
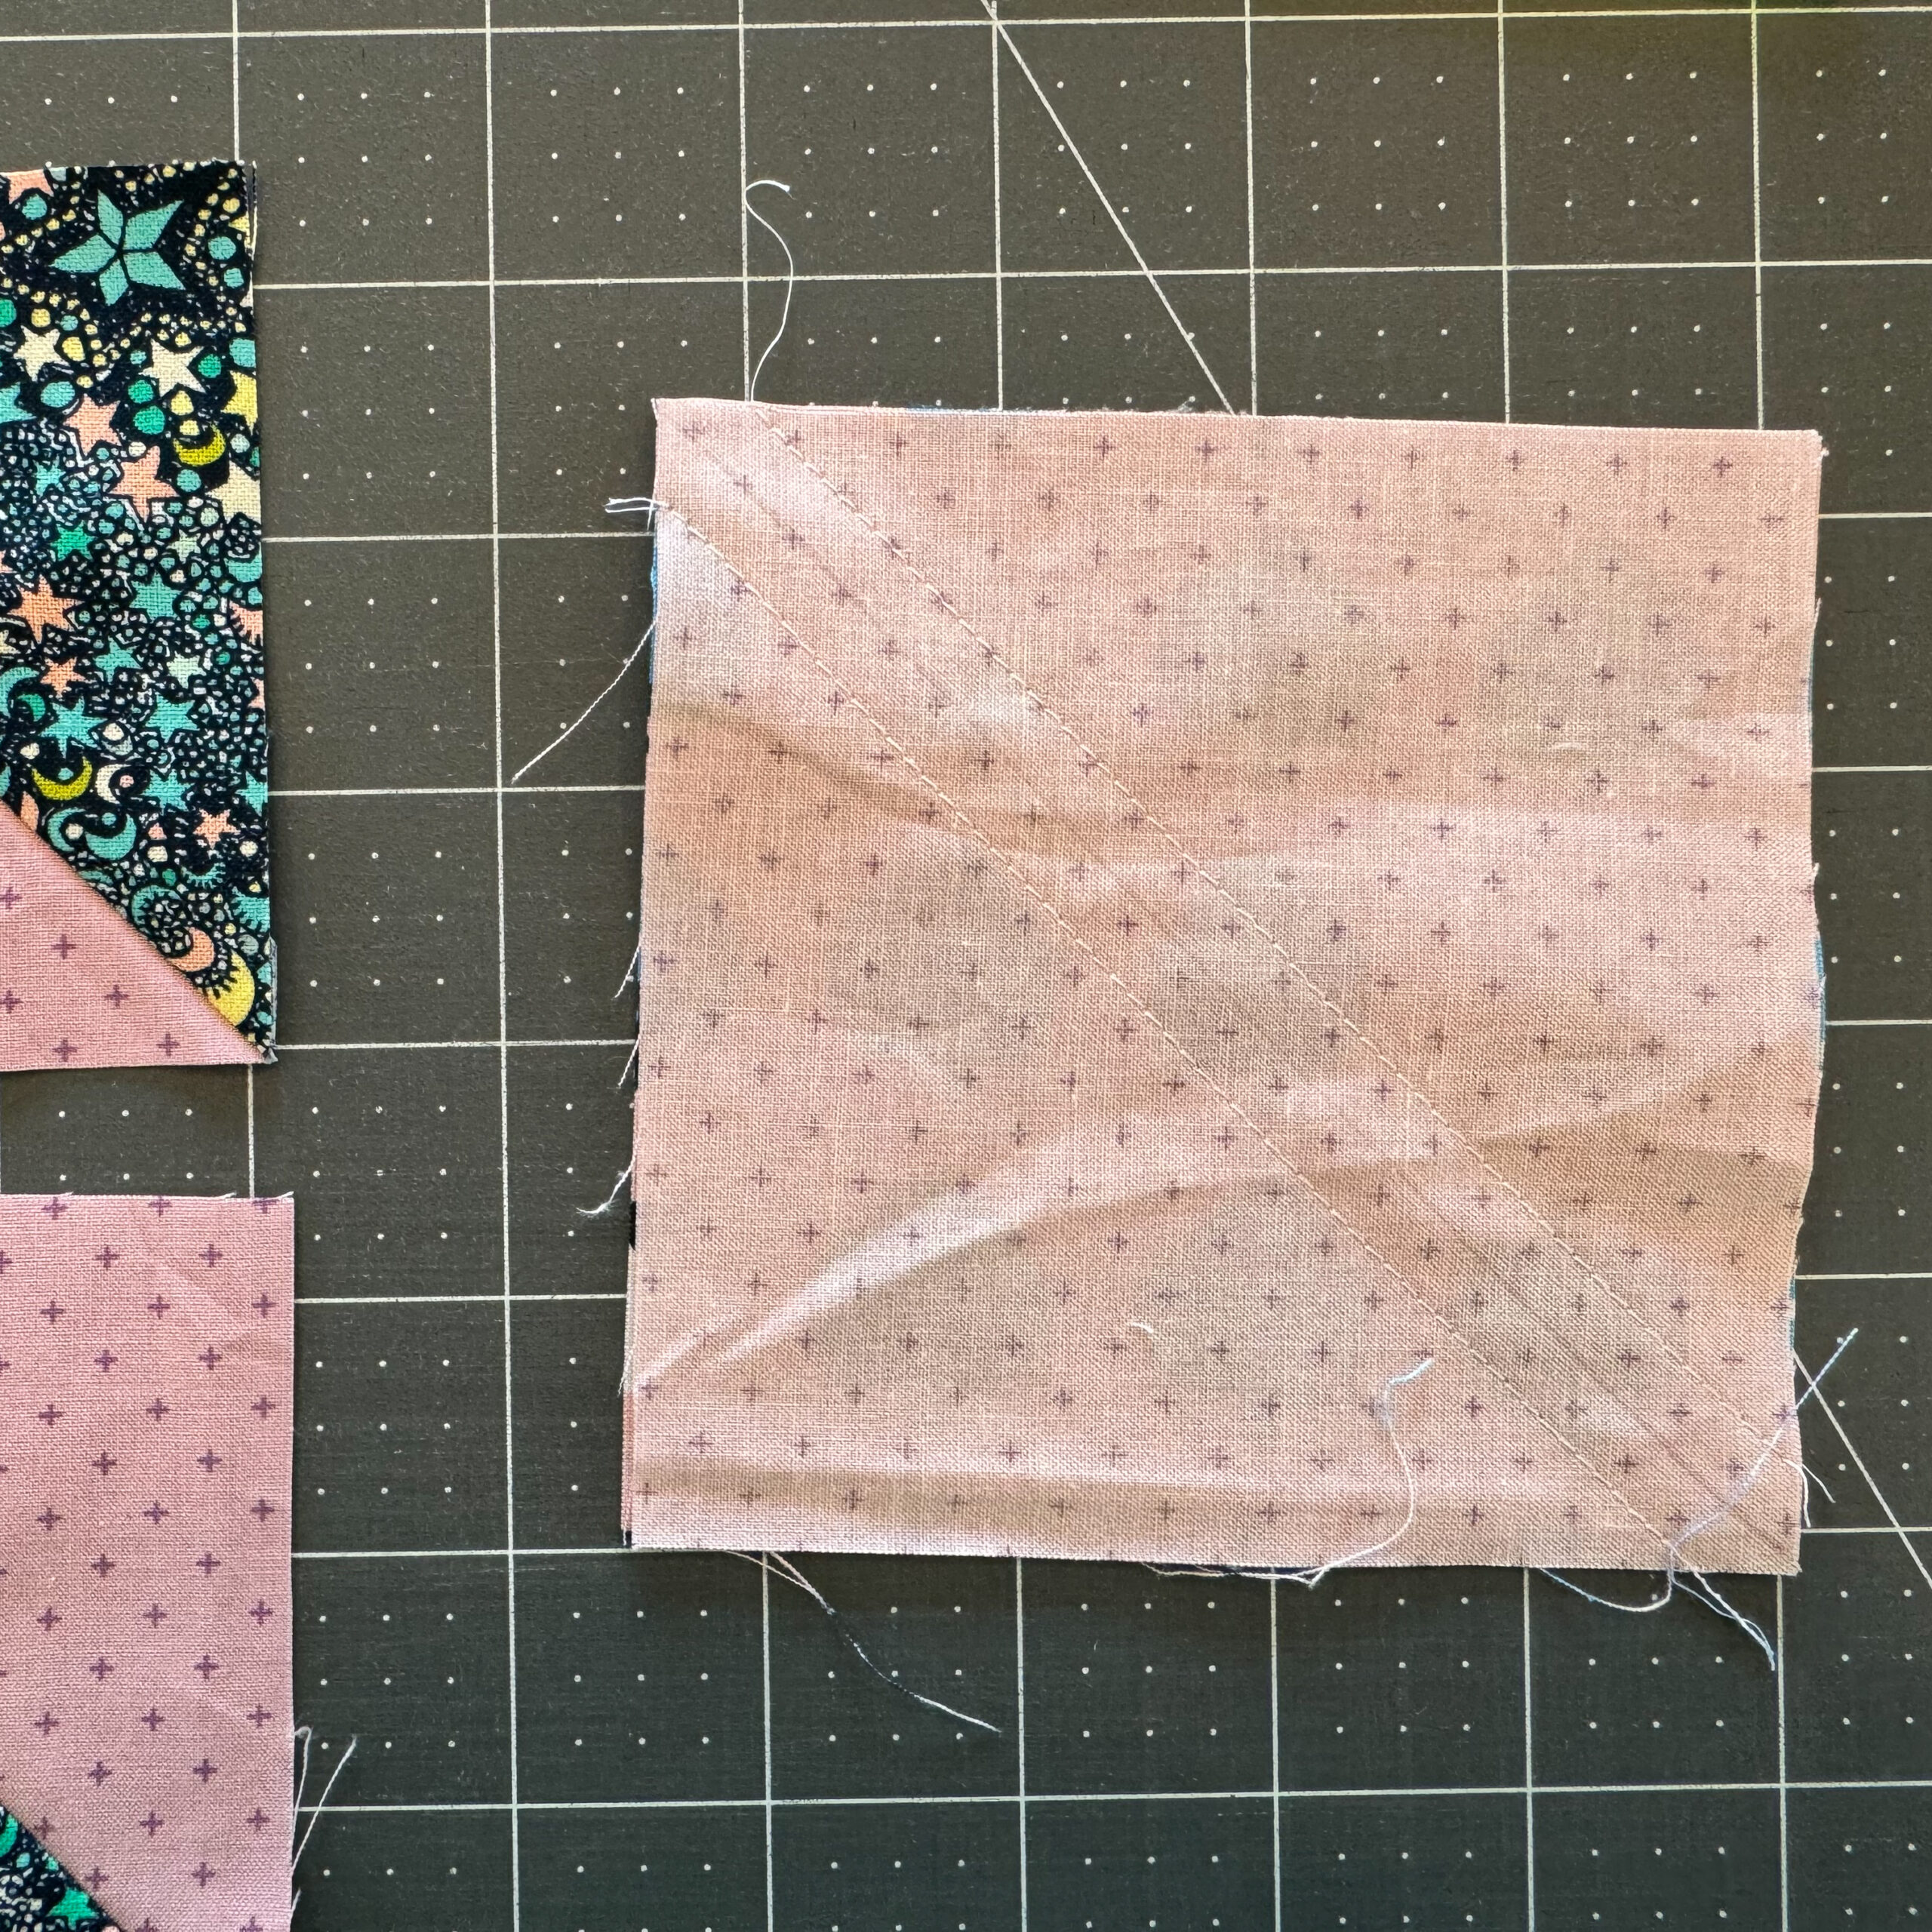
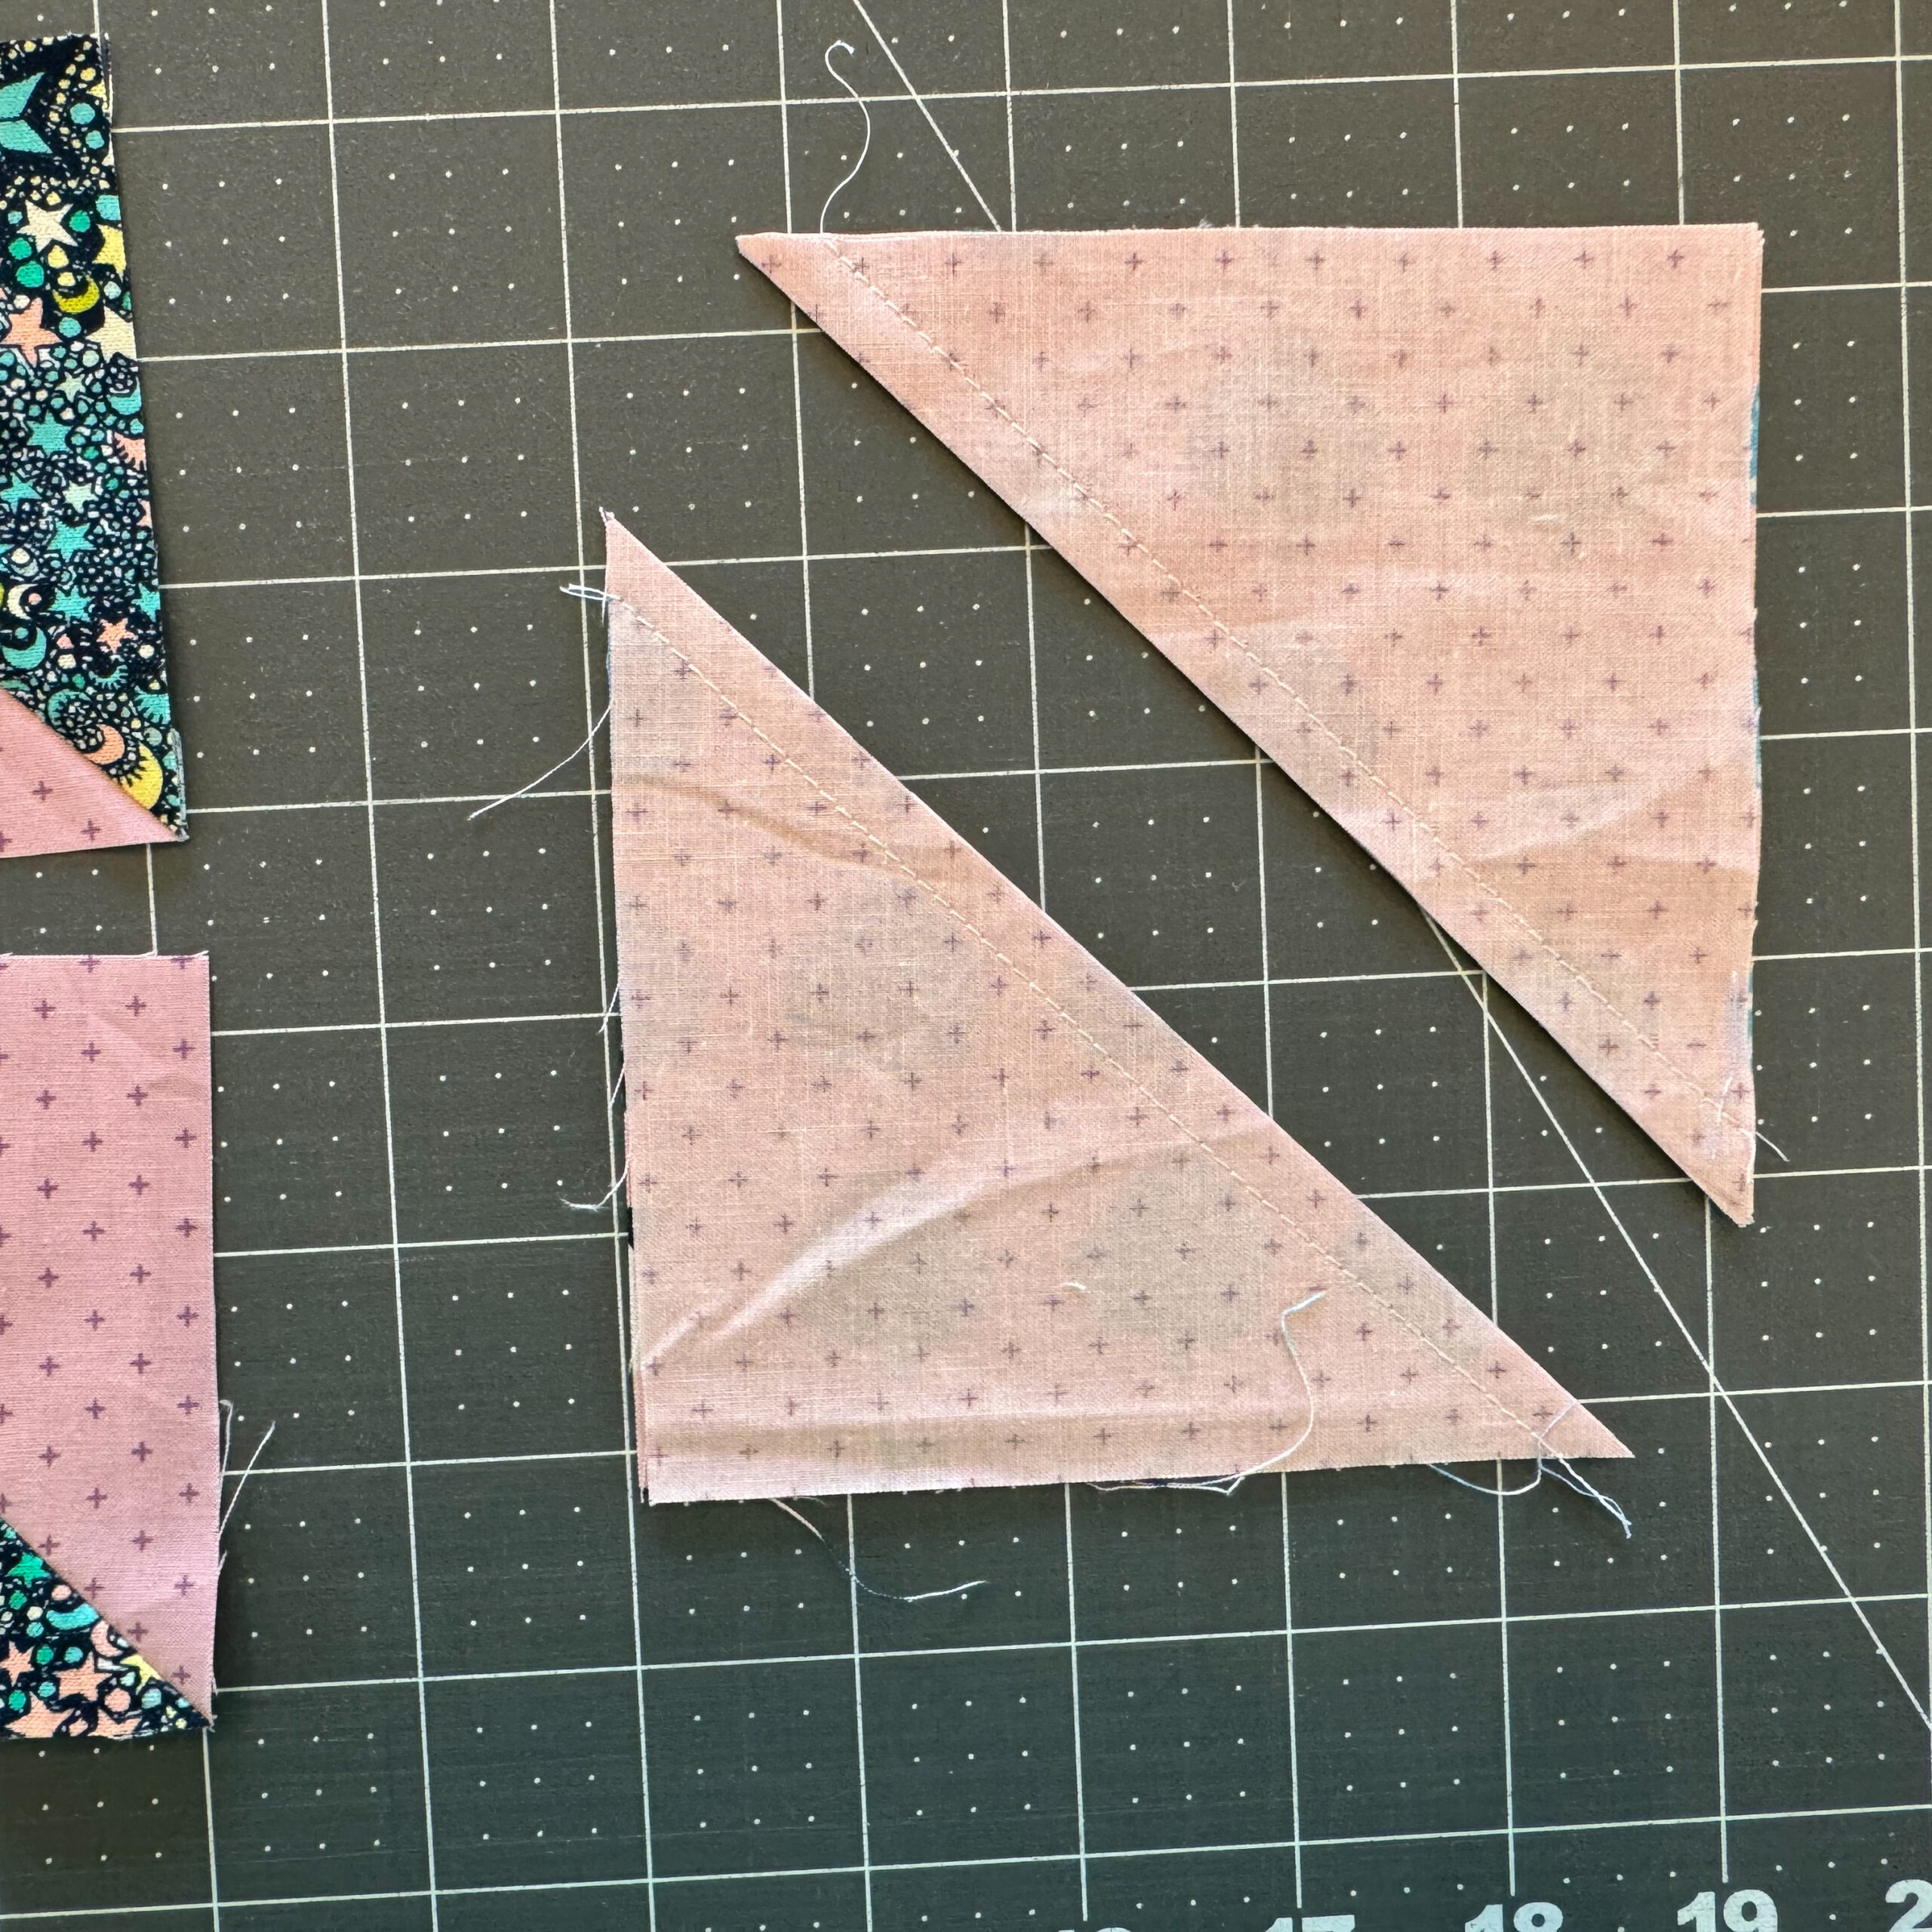
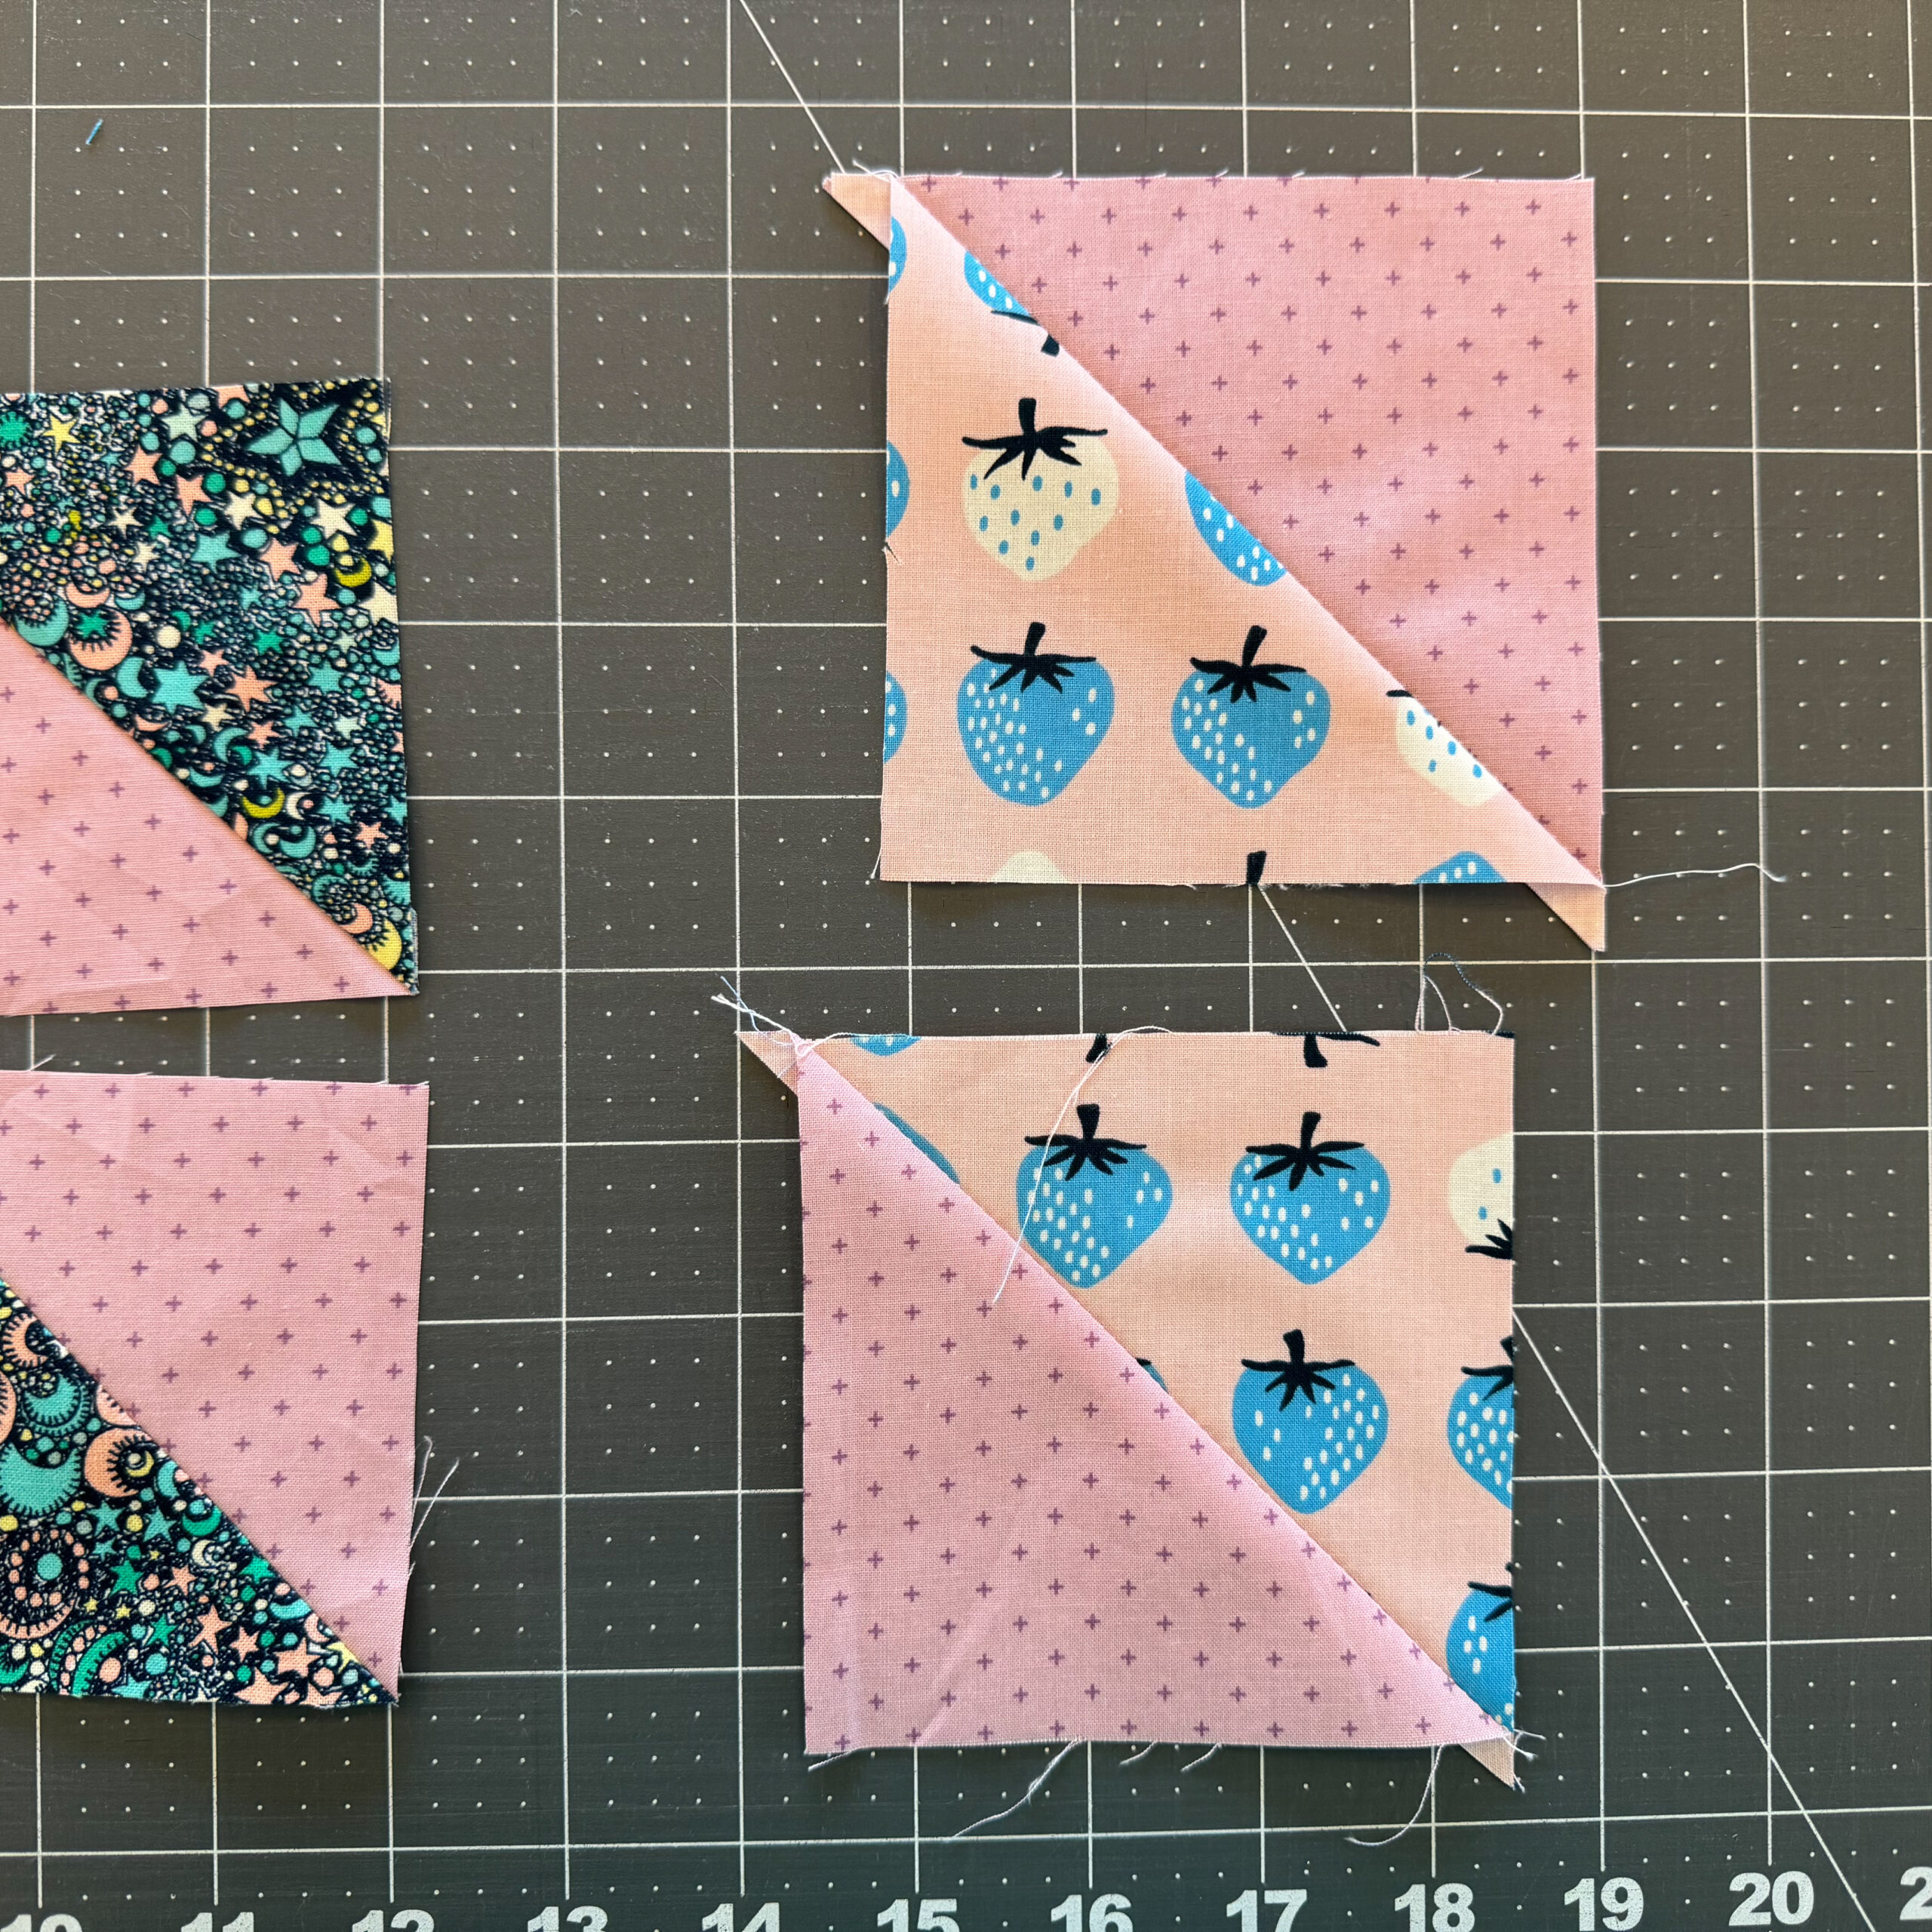
To make two at a time HSTs like the New Star quilt pattern. You would sew 1/4″ to each side of the marked line. Then cut apart directly on the marked line. You will open both sides up and press the fabric. Revealing two HSTs. If you used directional fabric those two HSTs will be opposites of each other. If the fabric is non directional you can flip this HSTs any direction and they will look the same. Youtube Video.
Making A lot of HSTs at ONE Time
If you try out the method in the pattern and feel confident, check out the Post and YouTube video to make a Bunch of HSTs at one time. The New Star Pattern needs 80 HSTs for the border and if following the cover quilt layout you will need 40 of Background and 1 color, and 40 of background and different color. So more than two at a time is faster.
For the any amount at a time you cut the fabric differently than two at a time. So if you have already cut out your fabric for the HSTs continue with the two at time. Maybe trying chain piecing. And save the bonus technique for another project.
Straight Sewing Technique Info
Since we have learned the HST and Stitch’N’Flip sewing techniques let’s talk about straight sewing. Straight sewing??? What that’s sew easy. Well it is and it isn’t. Let’s get into it.
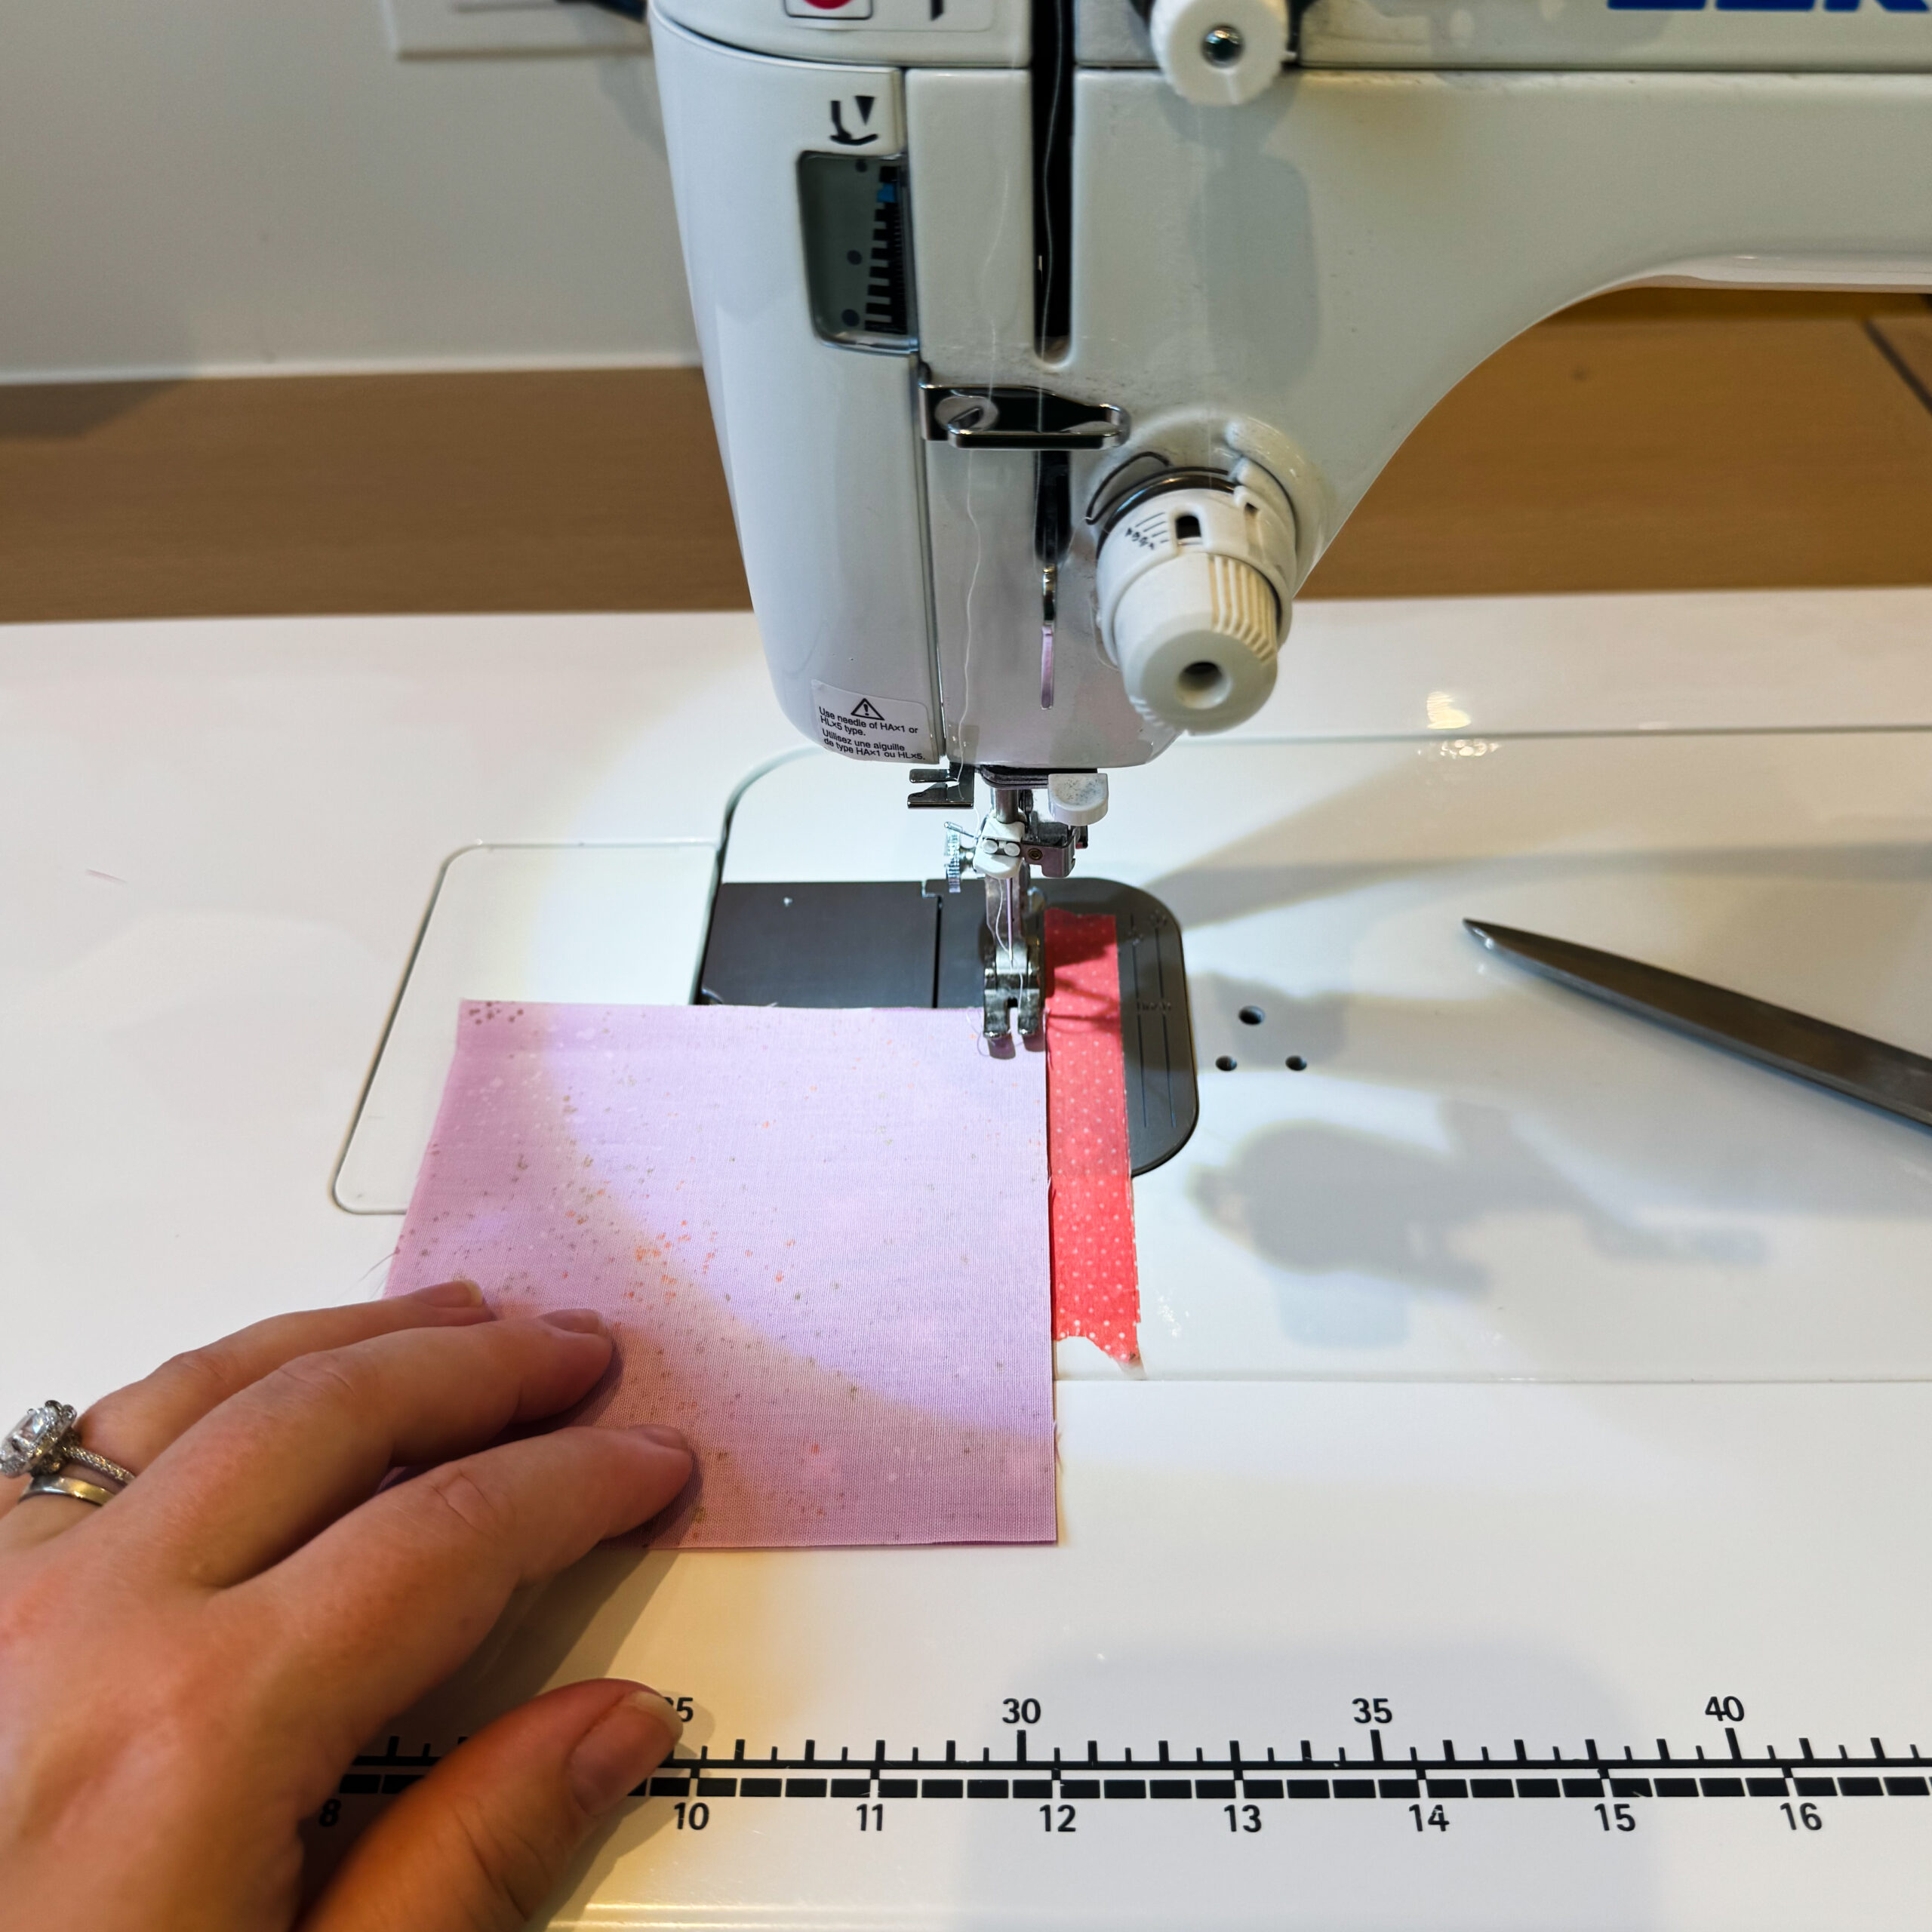
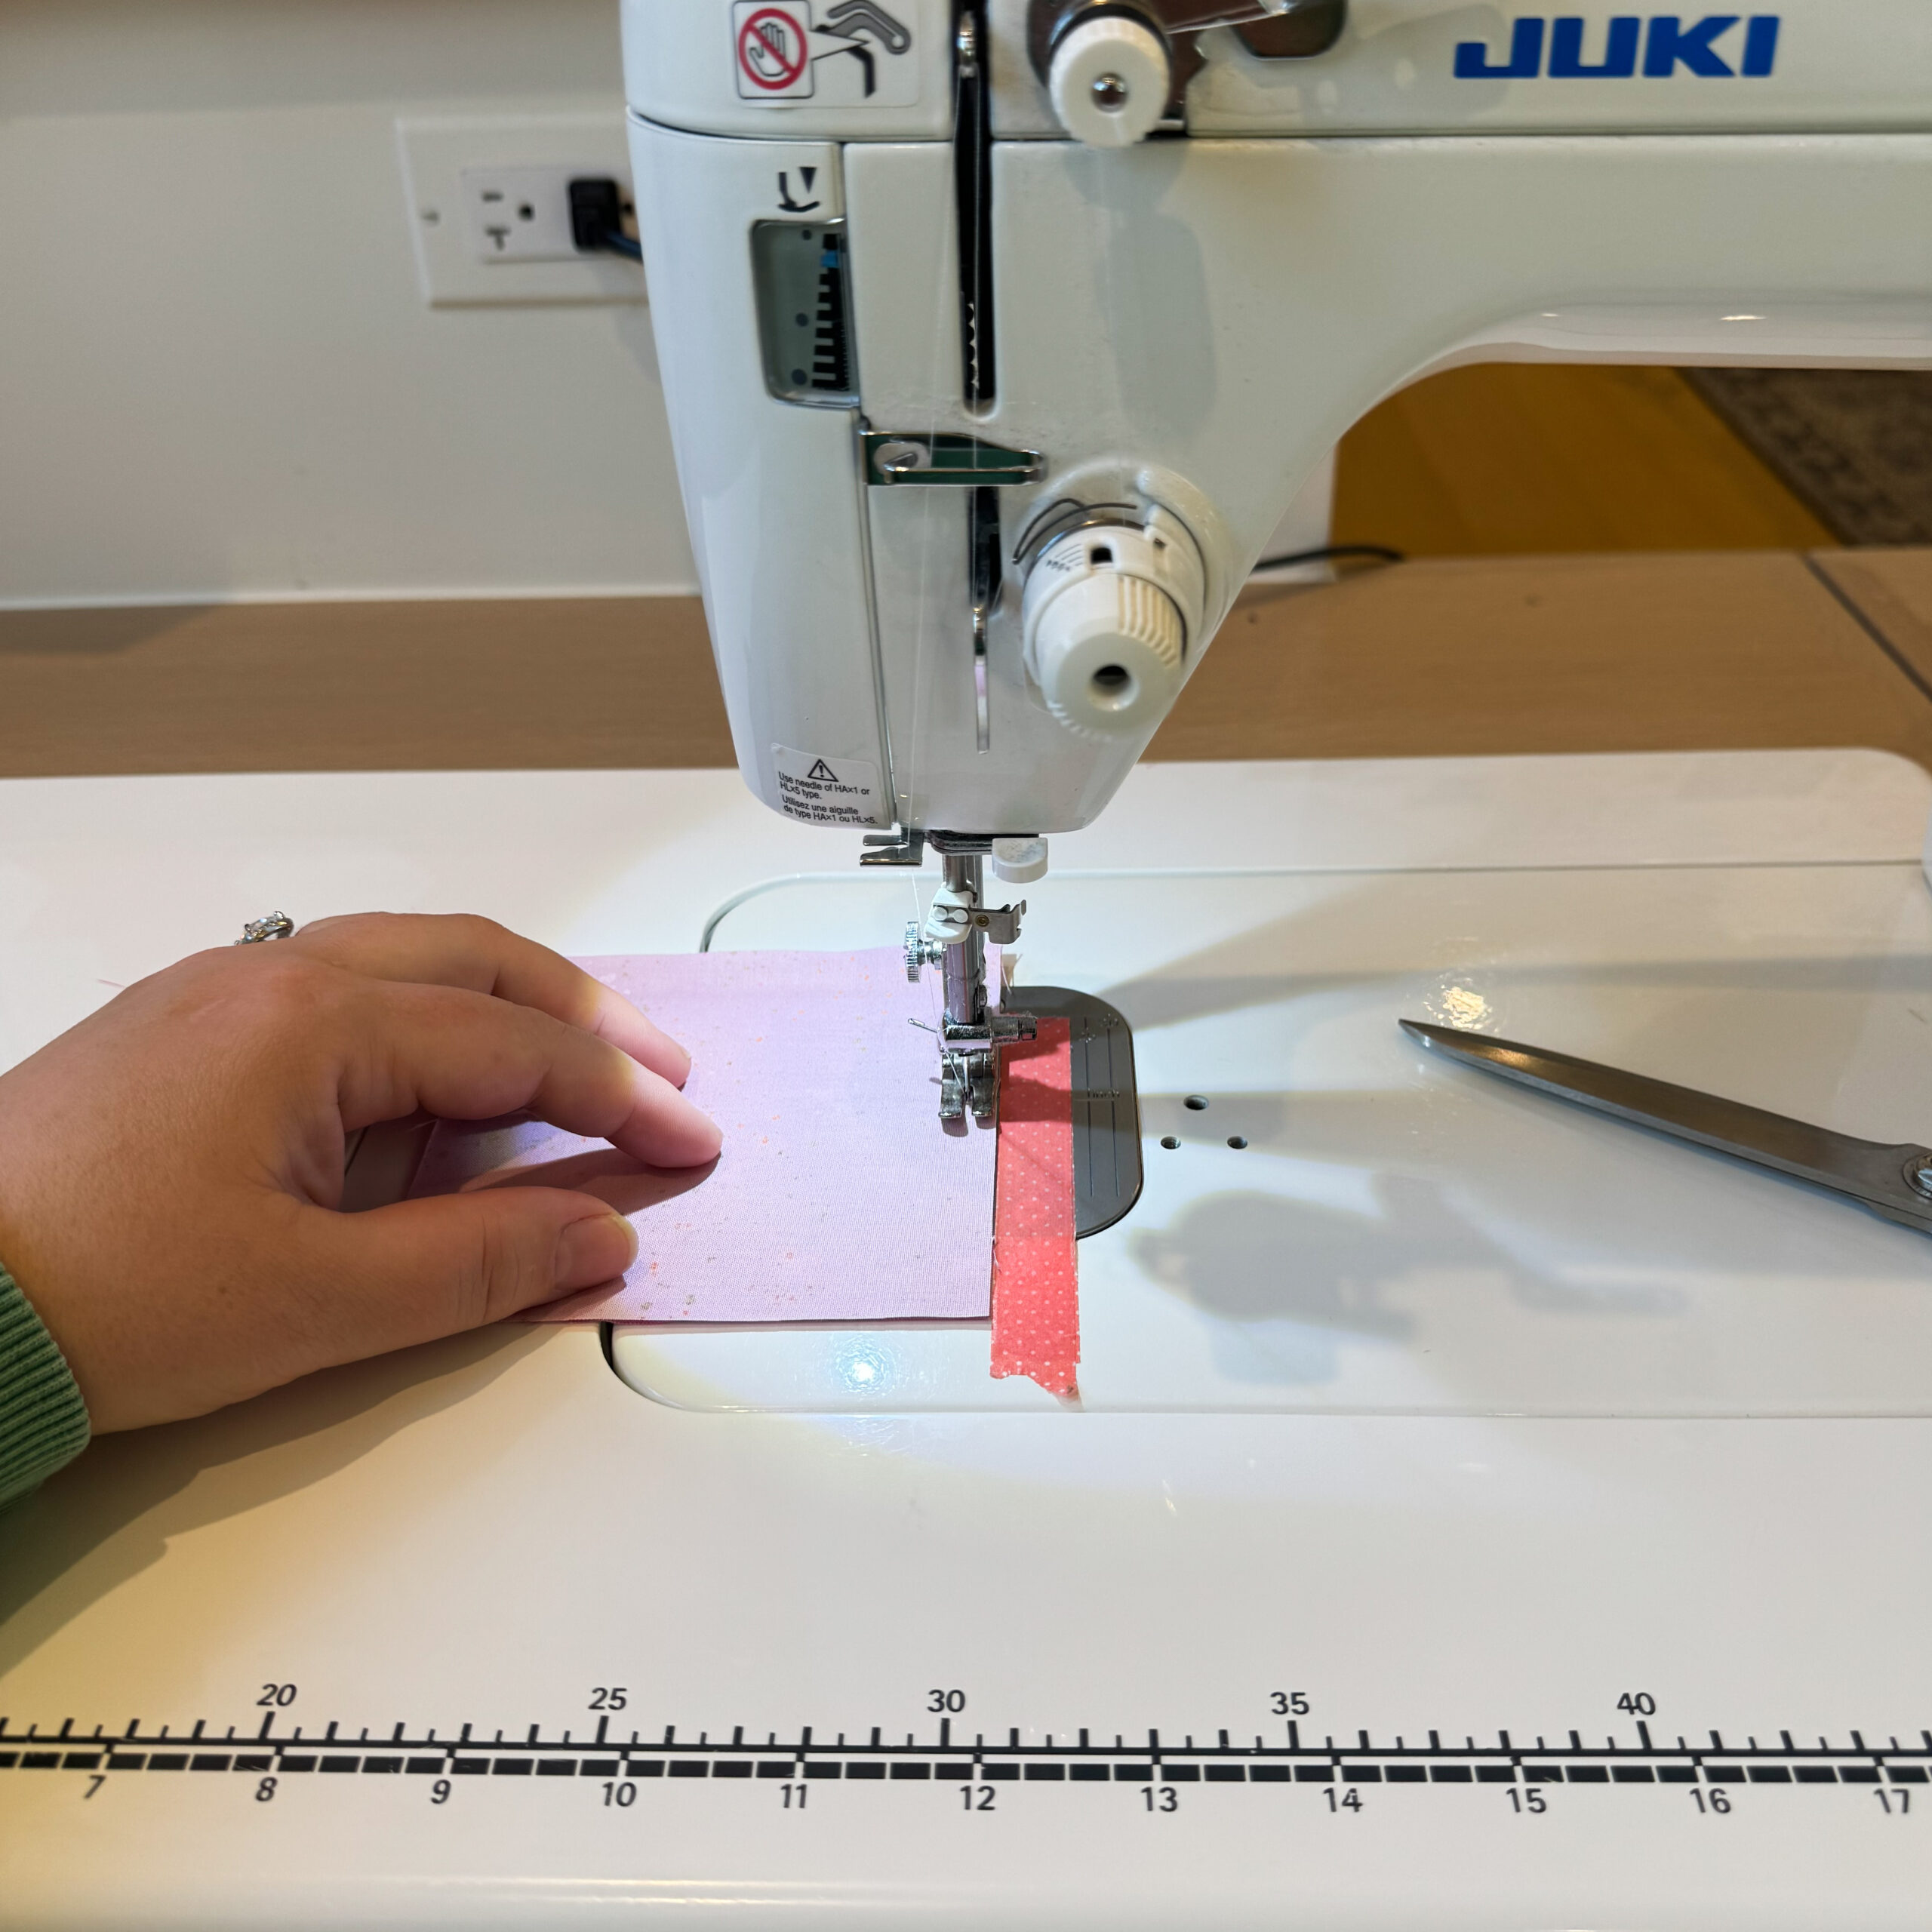
Straight sewing is really very simple but can take some practice. We tend to want to fight with our sewing machine a little and guide, push or pull, our fabric through too much. When really we should let the machine do the work and pull the fabric through as it sews, using the feed dogs. You can see them on the surface of the sewing machine under the presser foot. They are little skinny ridges that move the fabric through the machine as it sews. And if the machine is doing its job it’s going to keep the fabric pretty straight while sewing.
Alas sometimes machines can get off in their timing, clogged with lint, or are older and don’t work as well and they don’t guide perfectly. That’s where you come in. In general you want to keep a very light hand on your fabrics as the machine sews. This way you can help the fabric stay straight. Also occasional stopping may be required to realign your fabric edges. When you stop your machine mid seam just put your needle in the needle down position and adjust the fabric moving straight through the machine after you have realigned the edges.
Straight Sewing Practice
A great thing to do is practice straight sewing. You can do this by drawing straight lines with a ruler on paper and sew on top of the lines on paper and see how your machine does. If it feeds straight or not. You will want to change the needle after you do this, since sewing through paper dulls the needles. Just like cutting paper with fabric scissors dulls the blade.
You can also cut long strips of fabric and sew along the edges practicing keeping your edges aligned. Or you can literally jump in and sew the squares for the quilt together. But next week. ;)
The HST and Stitch’n flip method are great because you are sewing on top of a marked line or right next to one. Those line help keep you straight. But when you move into straight sewing pieces together it is best to keep as accurate a 1/4″ seam allowance as possible and as straight a seam as possible. This all take practice. You can do it.
Week 3 Homework
Your Homework for Week 3 – HST and Stitch’N’Flip Sewing Techniques is to try those two methods. Watch the Videos on Youtube. And if you think you need to practice straight seams.
NSBQC Week 3 – Stitch’N’Flip Video
Woollypetals HST Tutorial – Any Amount and Any Size HST at one time
Community and Questions
I hope you have enjoyed Week 3 – HST and Stitch’N’Flip Sewing Techinques for the New Star Beginner Quilt Course. Check out @woollypetals posts on Instagram for the New Star Beginner Quilt Course, leave your IG name and when you started the course and make friends with anyone else who has commented. This is a great way to find friends who are just starting out in the quilting world.
Have questions? Need answers right away? I do respond to questions on these posts but if you need an answer asap please reach out via email or Instagram. I am Instagram the most and would be happy to answer any questions you message me there. Typically I hop into email and respond to questions within a day or two.
Thanks so much for starting your quilting journey with woollypetals and the New Star Quilt Course.