
What is a scant 1/4″ seam allowance? Well I am going to explain what it is and why sometimes it is necessary for piecing a quilt block.
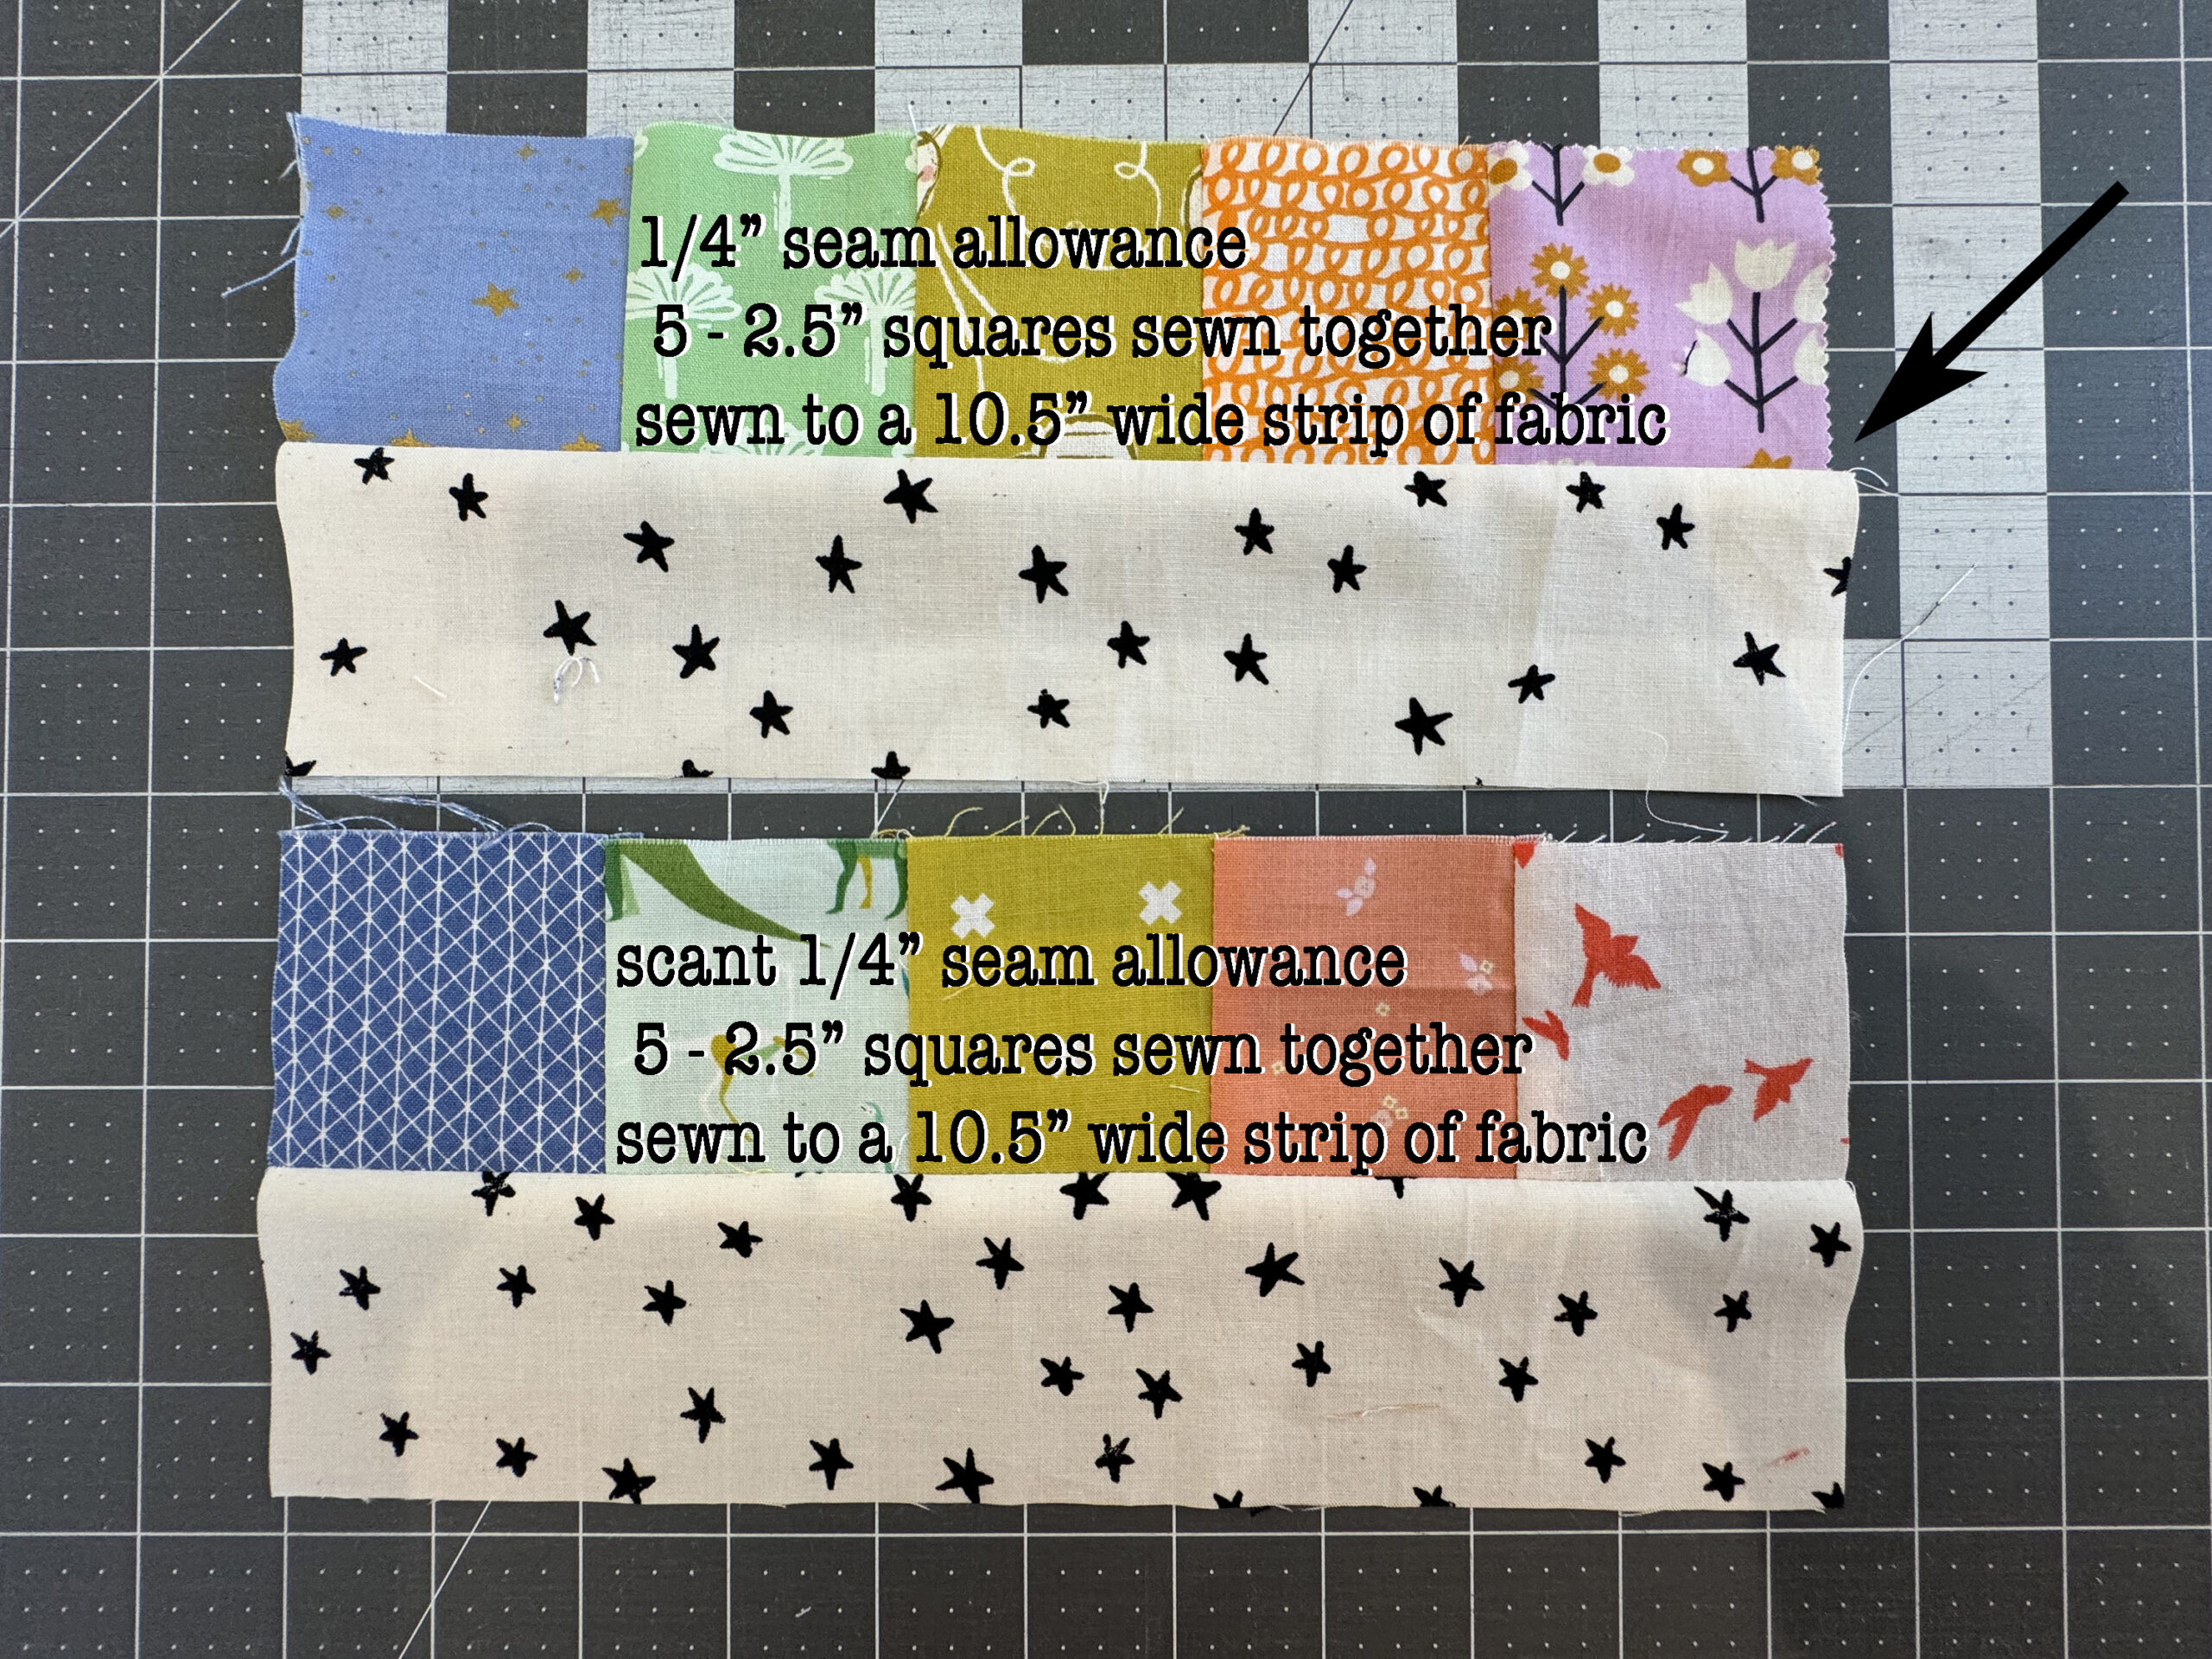
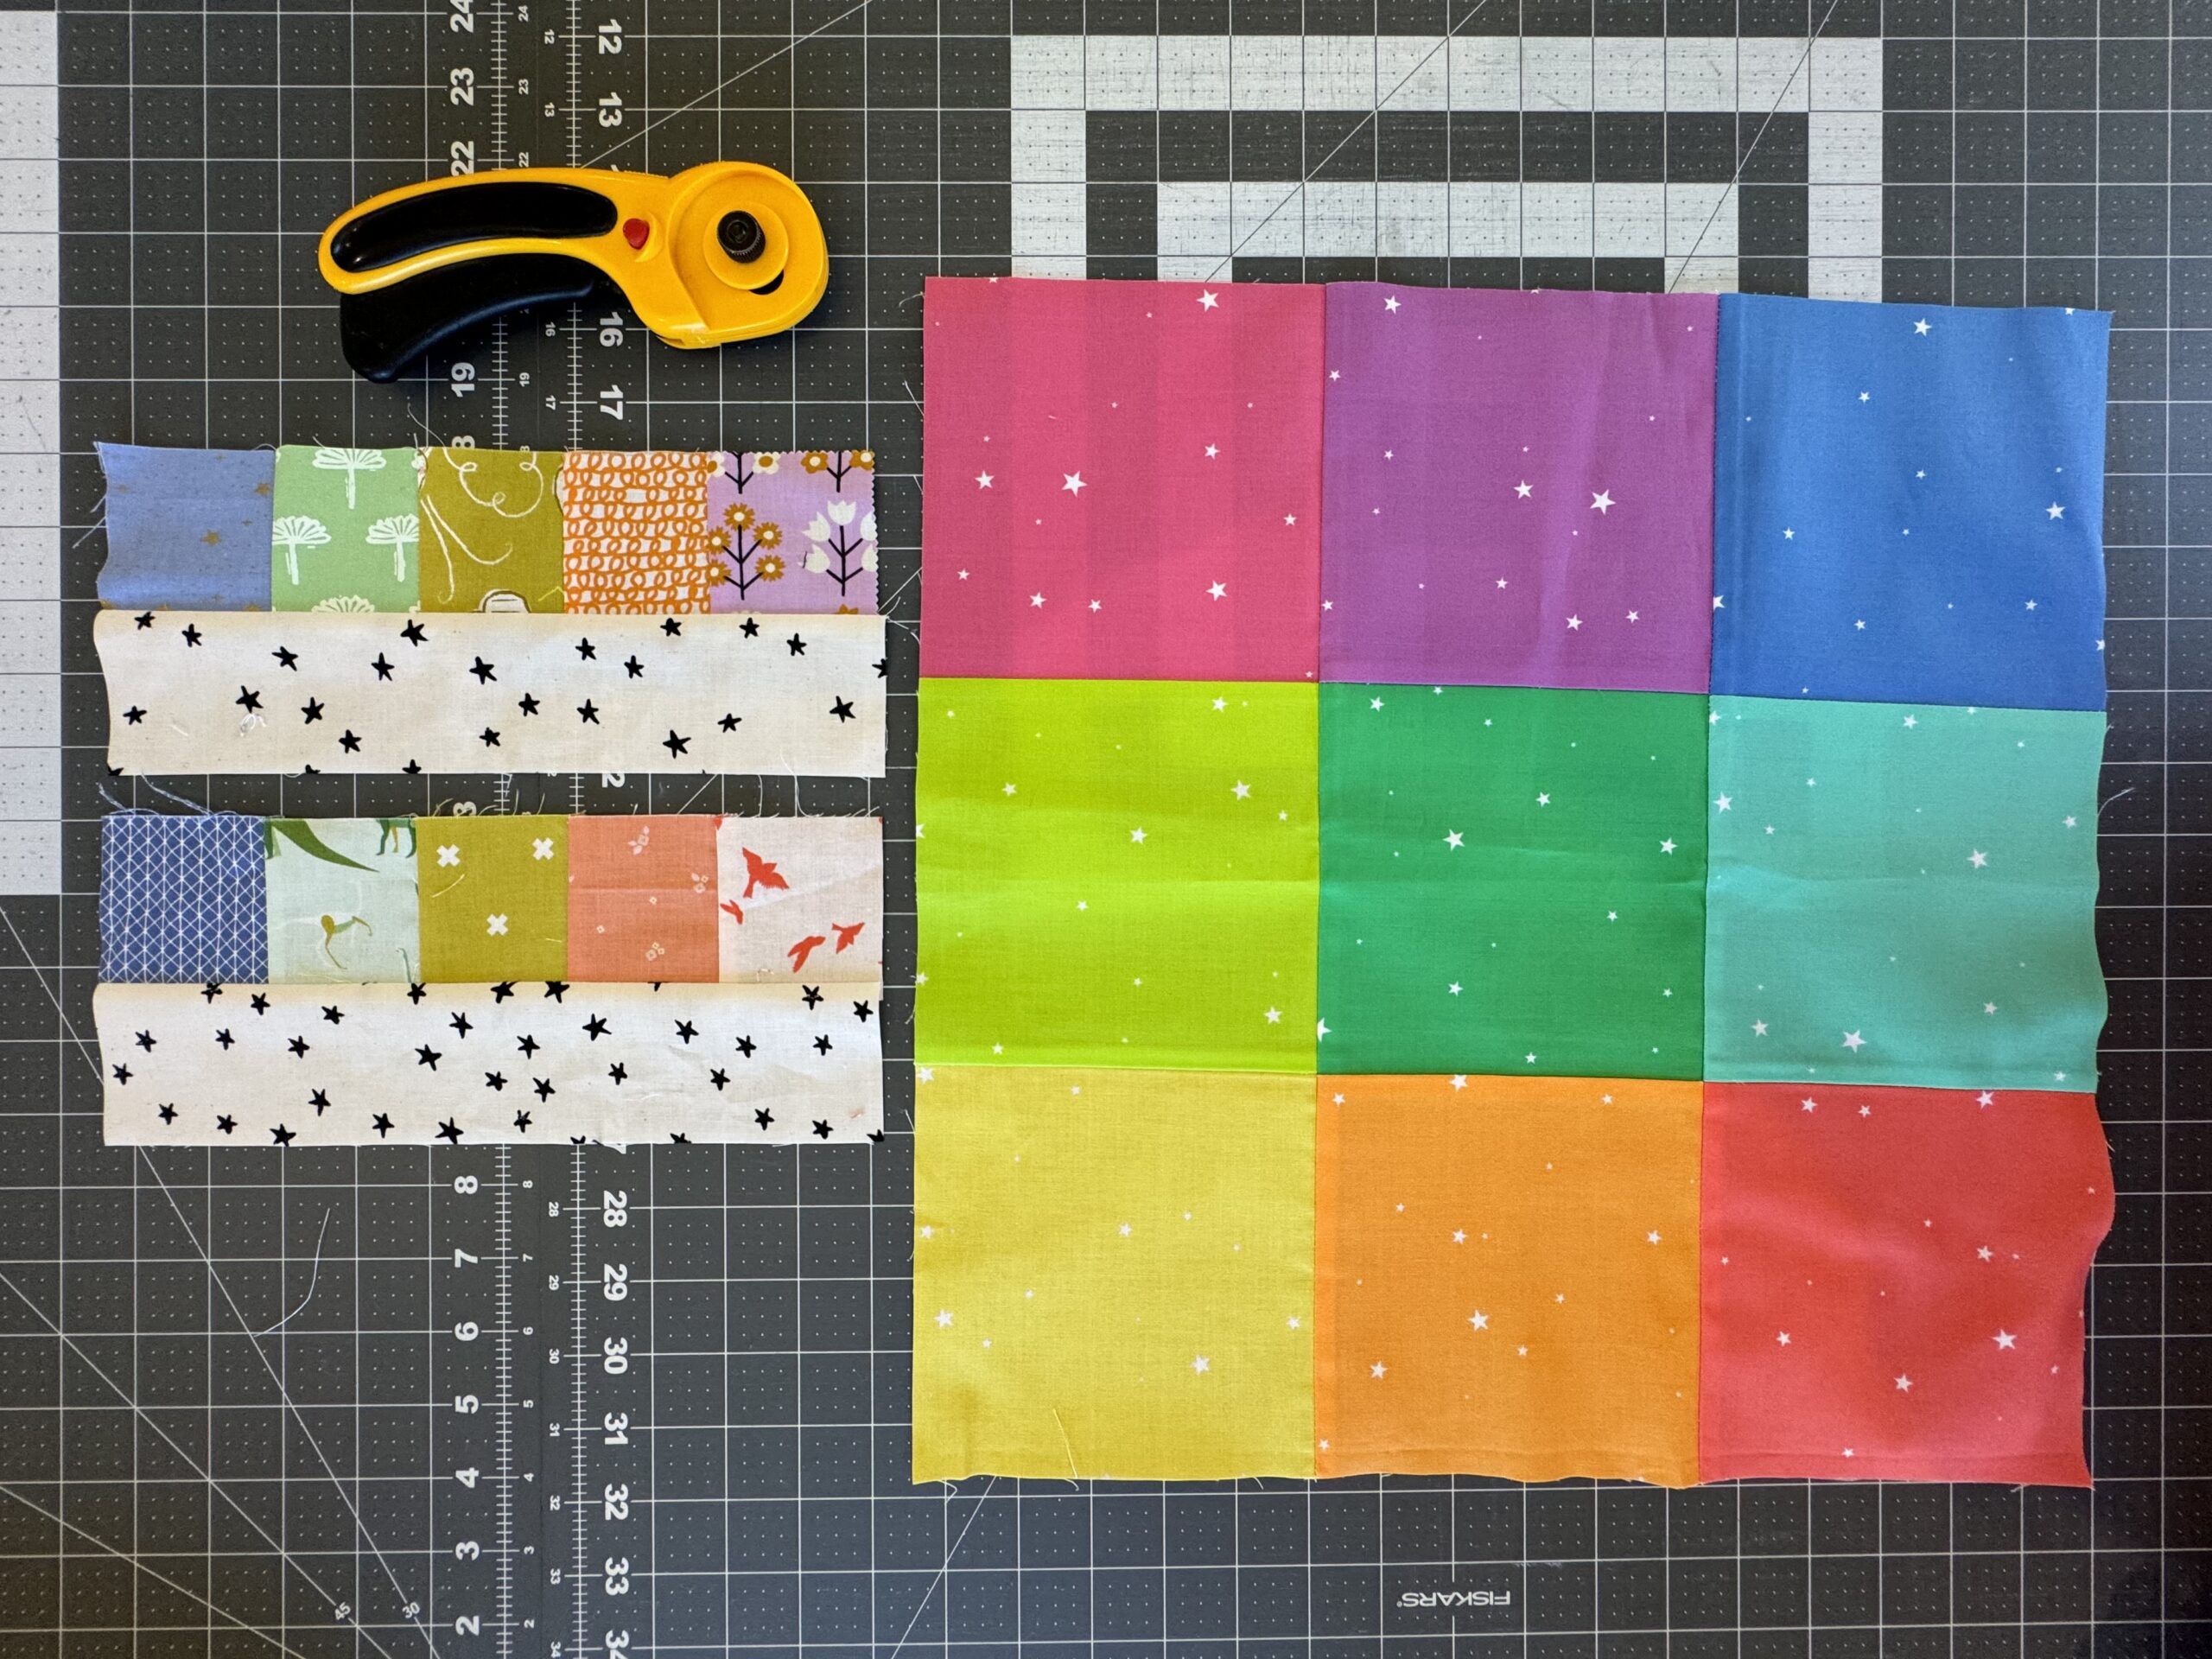
Above you can see the image of 2 sets of 5 squares sewn together. Each of those square is cut to 2.5″ and once sewn they should measure 10.5″ wide. Each of those sets of squares is sewn to a starry piece of fabric that measures 10.5″ wide.
The top one is sewn with a standard 1/4″ seam allowance. Then the bottom one is sewn with a scant 1/4″ seam allowance. You can see that the 1/4″ seam allowance strip doesn’t reach end to end. While the scant 1/4″ seam allowance strip fits perfectly. Let’s dive into why?
A 1/4″ seam allowance is almost always recommended in quilt patterns right? So why would you ever need to use a scant 1/4″? A 1/4″ seam allowance is when the stitches of the seam are 1/4″ away from the edge of the fabric. Sometimes when you sew several pieces together and then have to sew those pieces to a longer piece, you might notice that pieces don’t quite meet at the end. Or you have to stretch a little more than needed to make the ends of pieces meet. That’s because the thread and the fold of the seam take away from your fabric pieces.
This doesn’t matter in a lot of cases. Like when you are sewing all the same size pieces together. As long as the seam allowance is the consistent it can vary from 1/4″ and all the pieces will align because they are all identical in size. But when you are working on a block that has a lot of different size pieces the issue can come into play.
A scant 1/4″ seam allowance is when the stitches are 1-2 thread widths less than a 1/4″. It’s a very minimal shift. Just enough to account for the seam and fold of the seam allowance.
Options
Sometimes when we have a strip of quilt pieces not match the piece it’s being sewn to, we tend to stretch one or the other to fit if it’s close. Unfortunately this can distort one or both of the pieces and over time can distort the whole block. It often results in a block smaller than the pattern says it should be. So be careful if you choose to stretch your fabrics to meet, it is not always the best choice.
Sometimes we end up trimming a piece down here and there, but that tends to worsen the issue and makes more and more pieces not align.
Occasionally you don’t notice anything wonky until the end of sewing a block. When putting borders on and they are too long. When measuring the block and realizing it’s 1/8″-3/8″ smaller than it should be. Or even having different size blocks that should all be the same size.
The best option is to reduce your seam allowance. By using a scant 1/4″ seam allowance you are counteracting the fabric taken up by the seam and ironing by reducing the seam size.
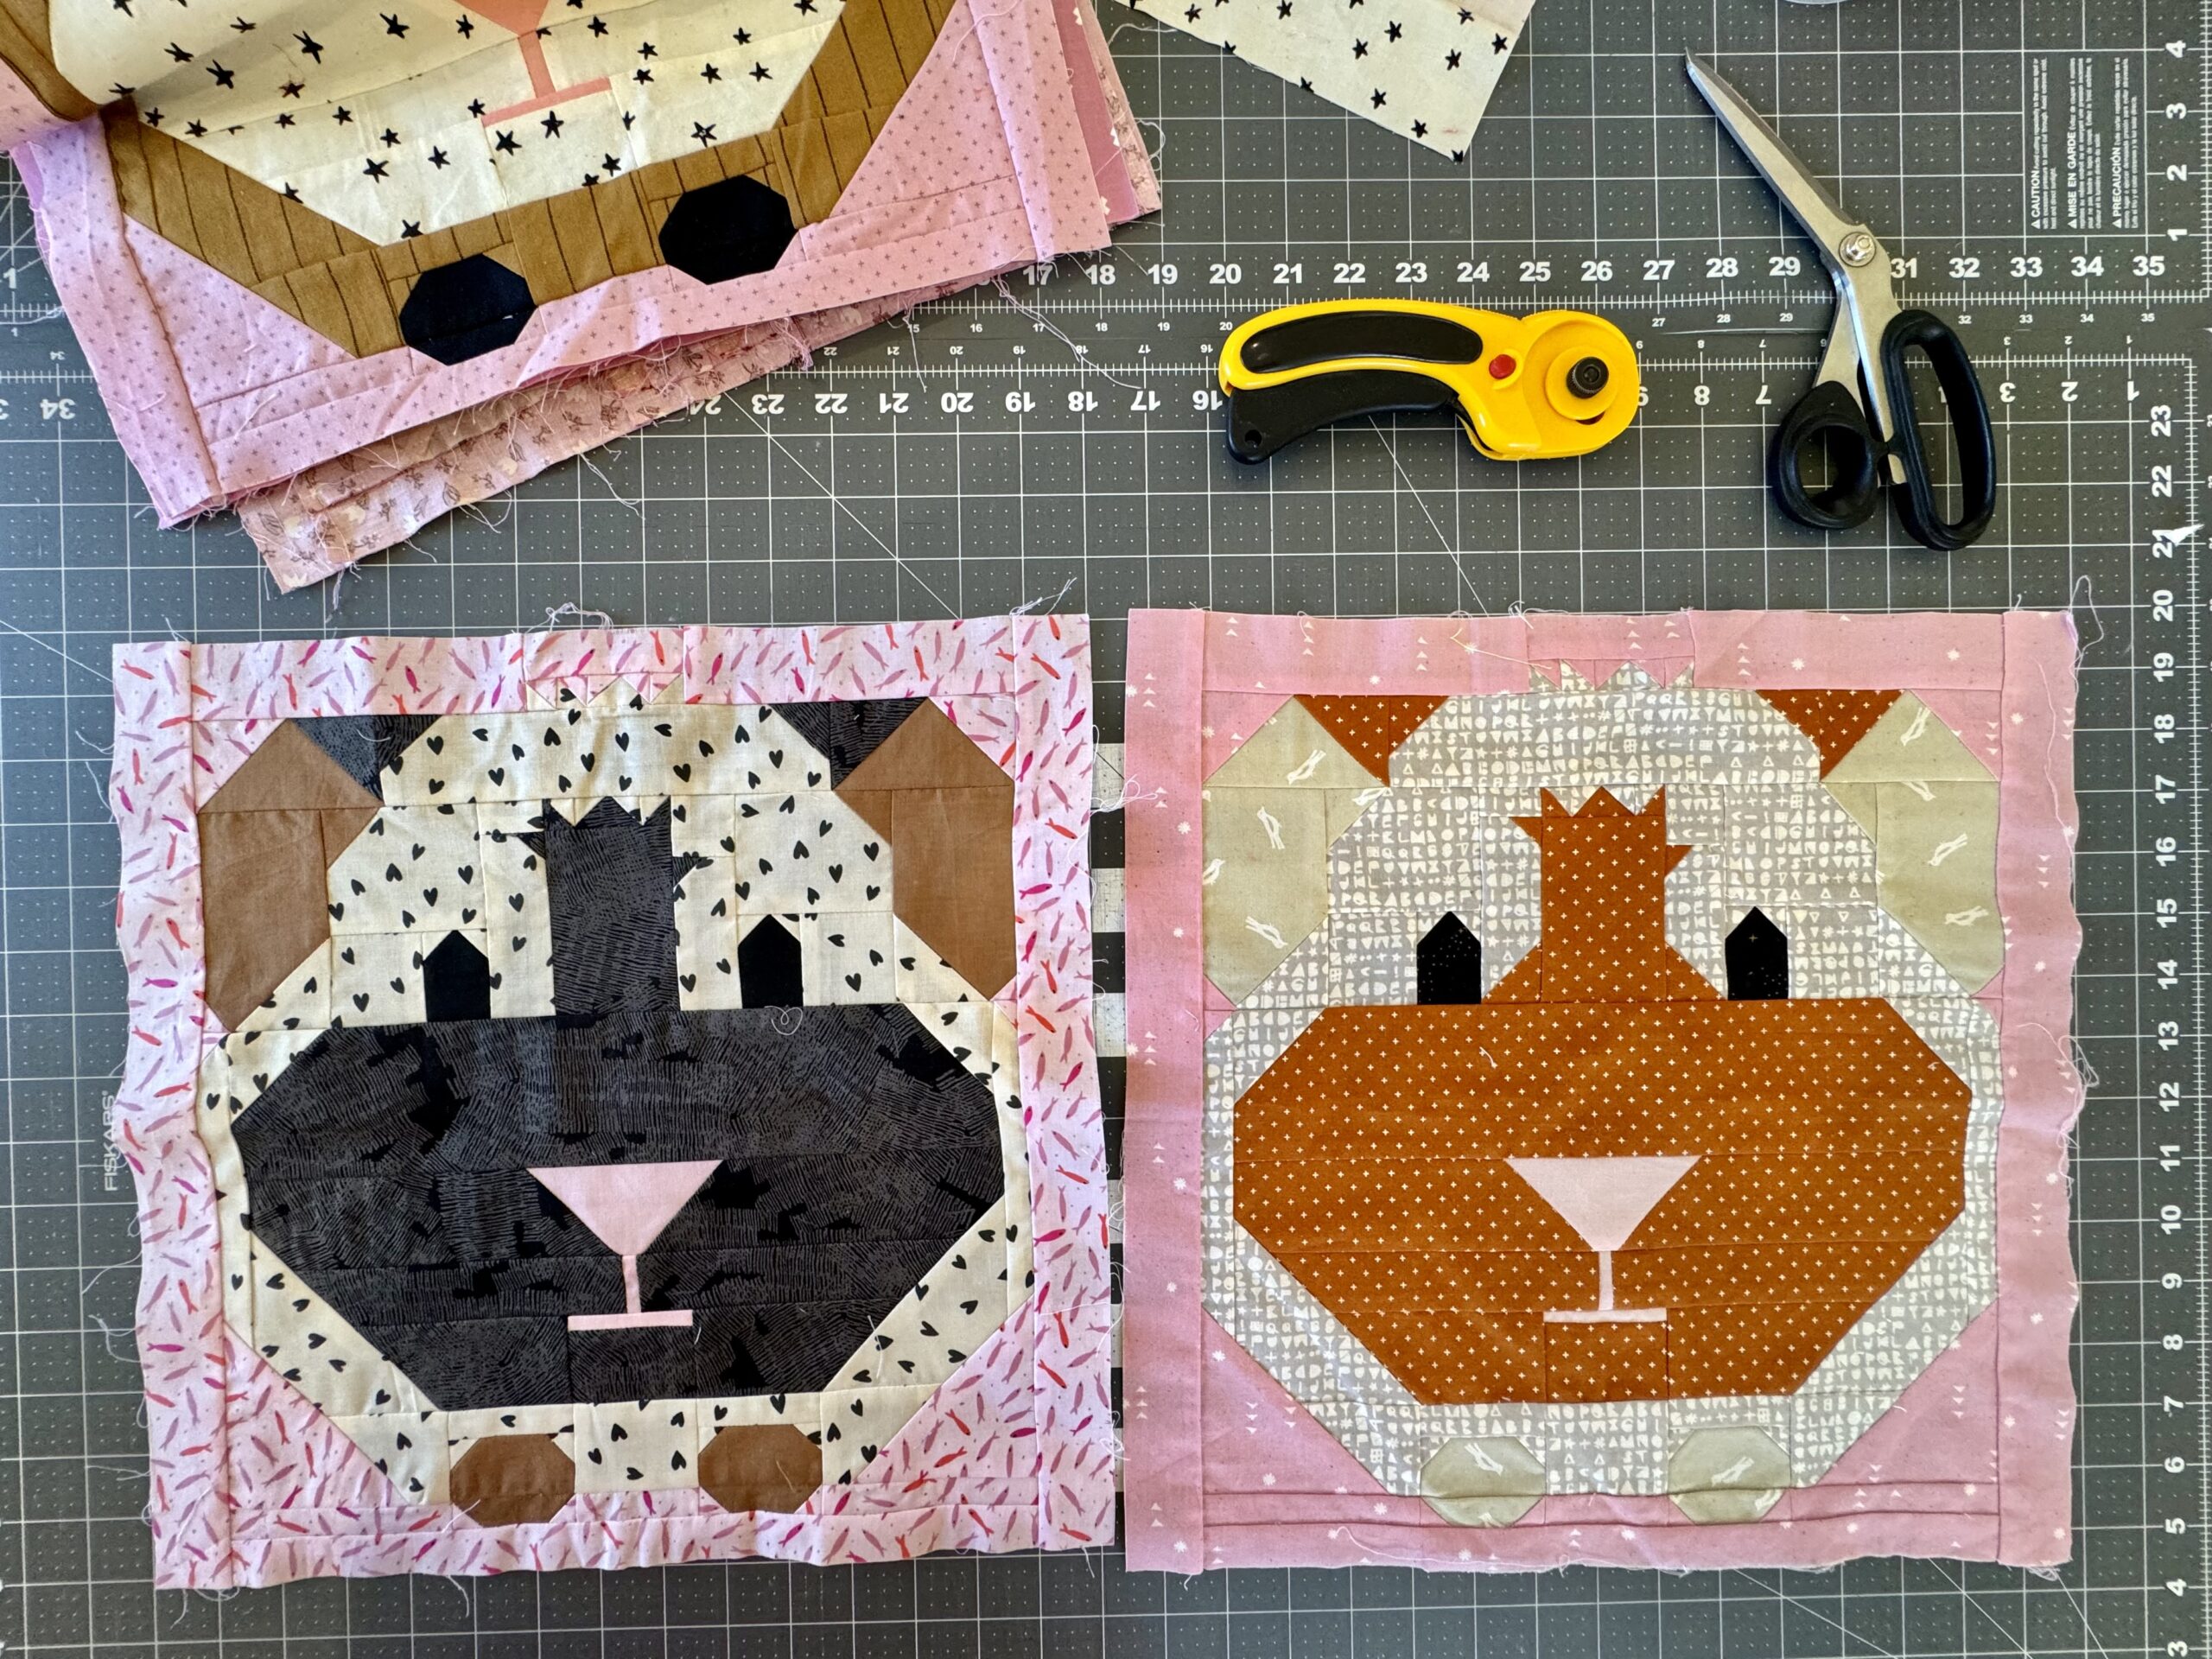
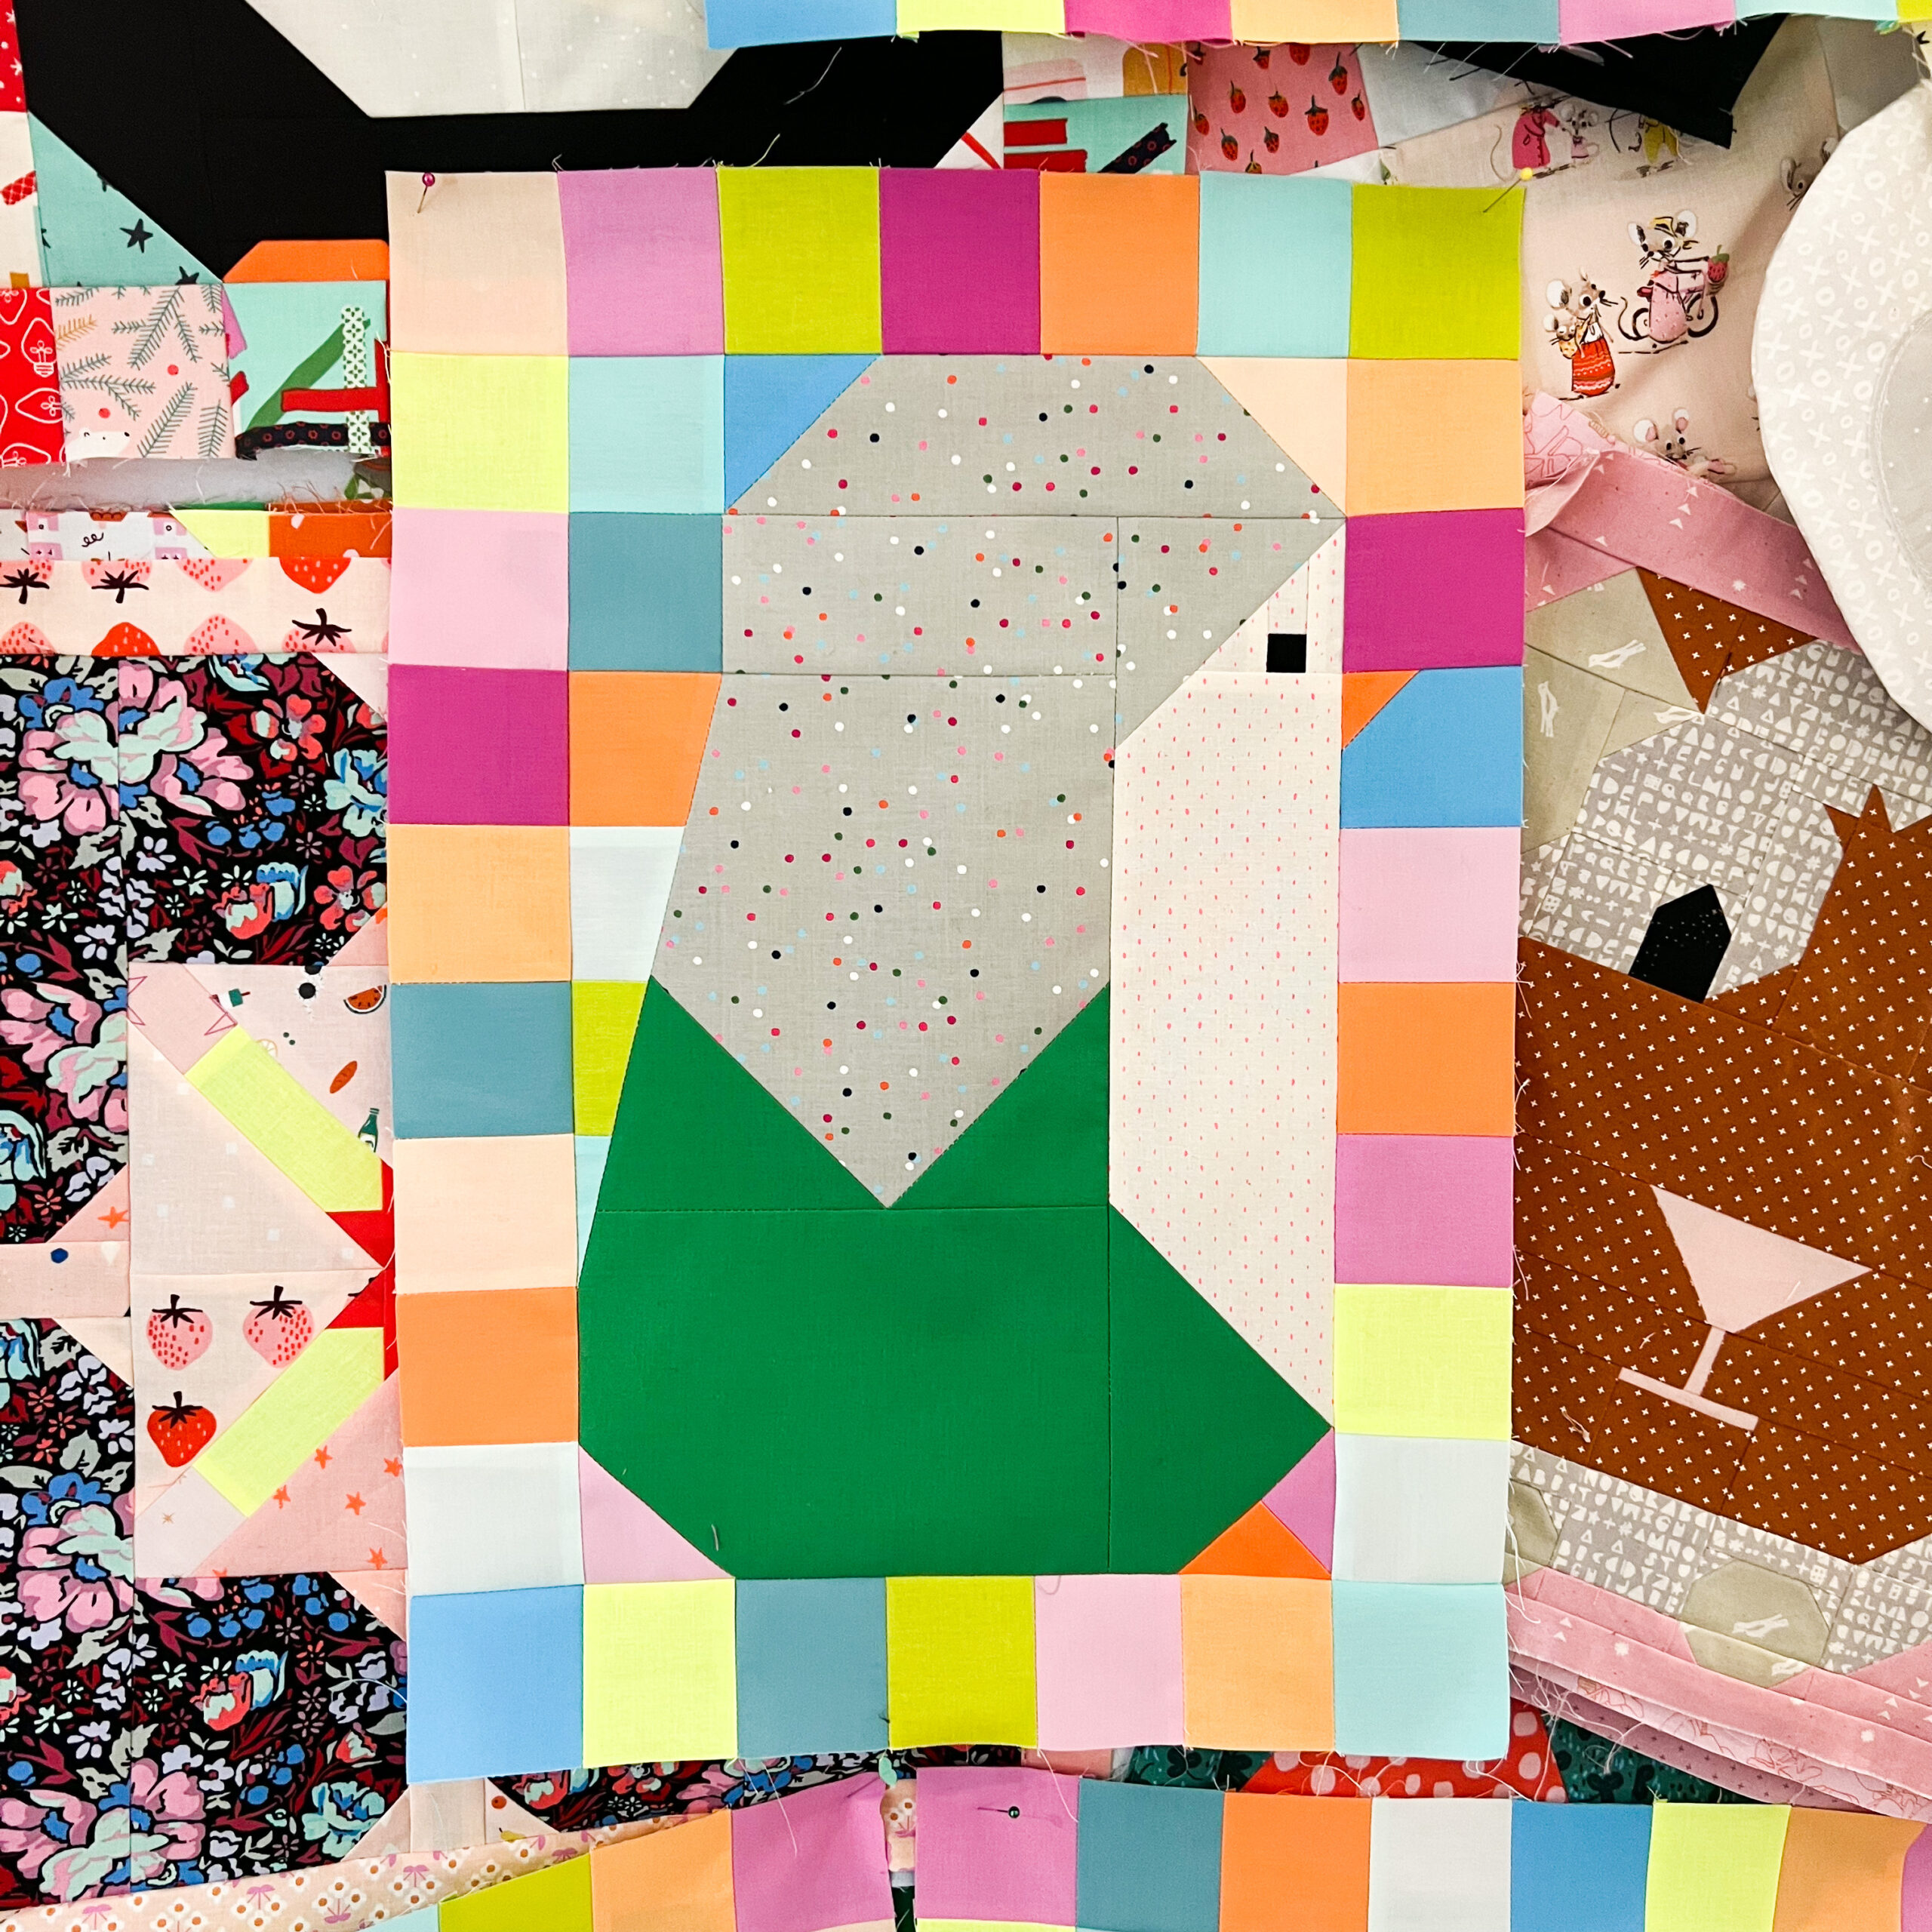
A perfect example of two blocks that aren’t quite the same size. The It’s all Guinea Be Okay quilt block on the left ended up 1/4″+ smaller than the one on the right. Plus it’s rather wonky with more wavy edges. The one on the right was with a smaller seam allowance, and isn’t quite perfect either, but it is not wavy (contrary to the image) and is almost exactly the size the pattern calls for. Get the It’s All Guinea Be Okay Pattern here.
How to achieve a Scant 1/4″ seam
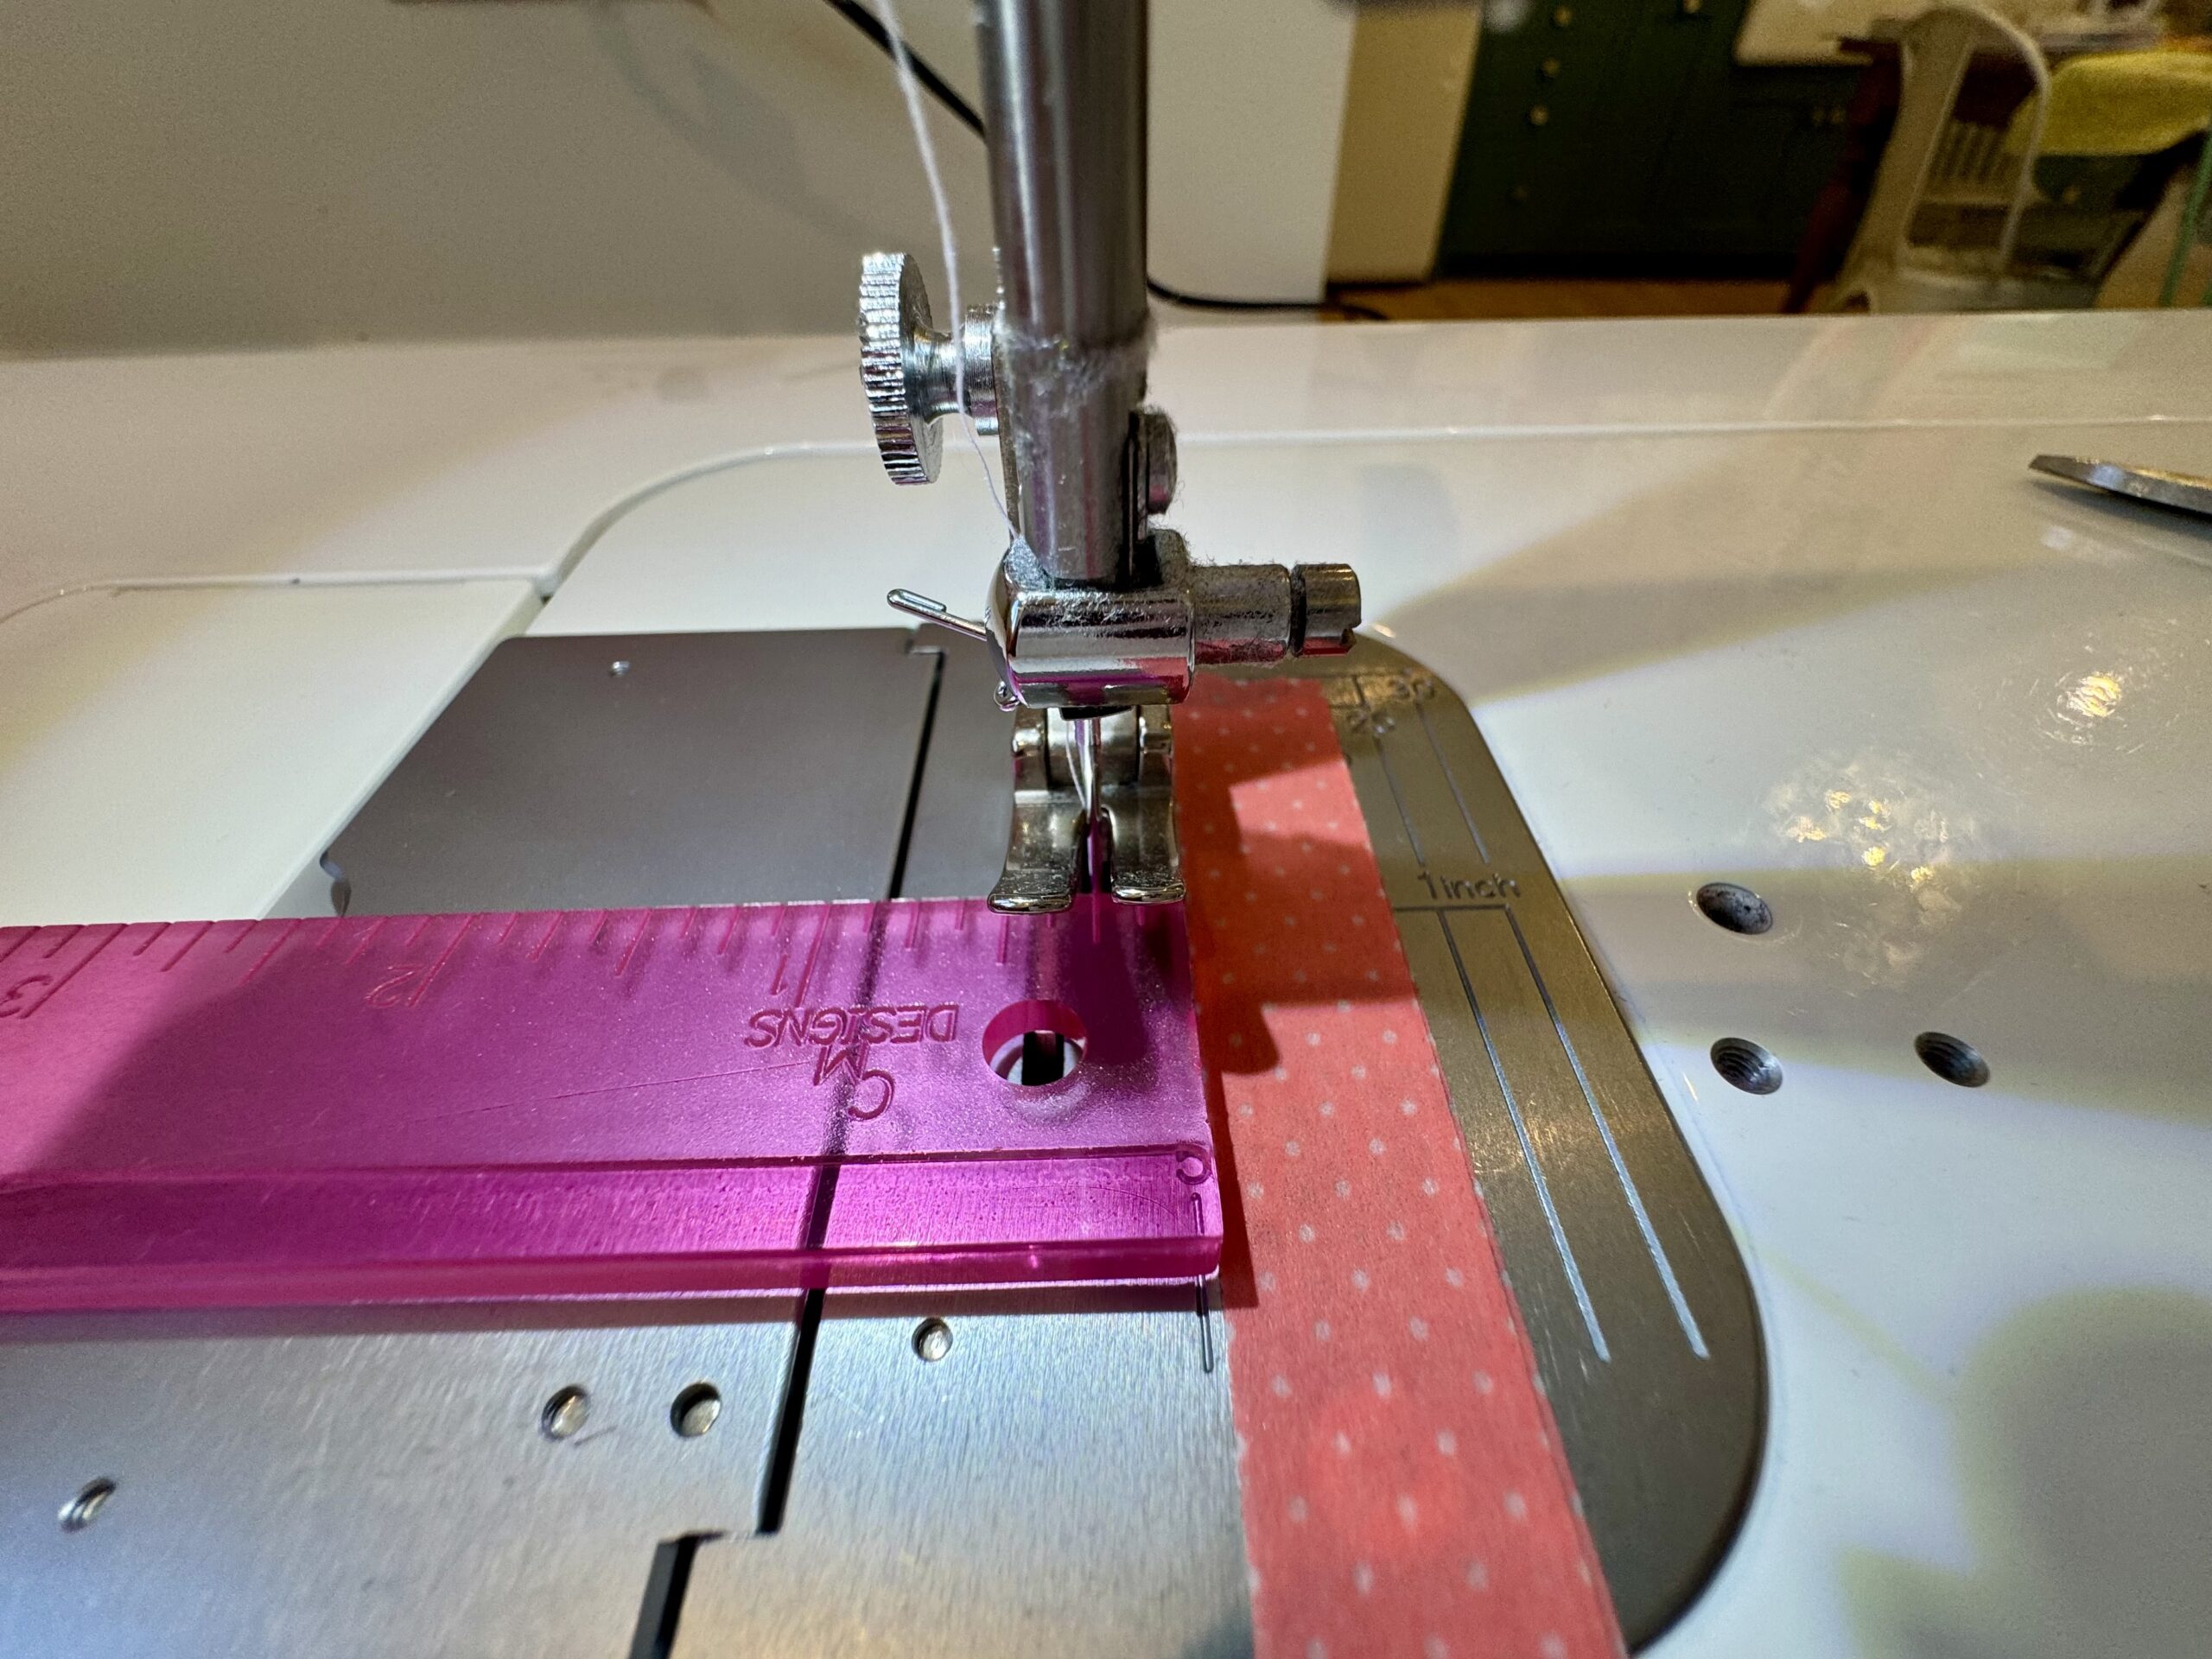
To achieve a scant 1/4″ seam allowance you will have to find the 1/4″ seam allowance on your machine first. You may have a mark on your machine that shows 1/4″. Or maybe you use a 1/4″ Presser Foot with or without a guide. Ideally you will measure from the needle when it’s in the down position and then mark on the machine the 1/4″. I like to use washi tape to mark the line. To figure out the scant quarter inch you will mark a threads, maybe two, width closer to your needle. You can use washi tape again here, or use a seam guide that magnetizes or screws to your machine. Or if you machine has the ability to move the needle side to side by tiny increments, usually with a button. I would do that. Find the location it is a perfect scant 1/4″ for our sewing and then note it for whenever you need it.
Try it out
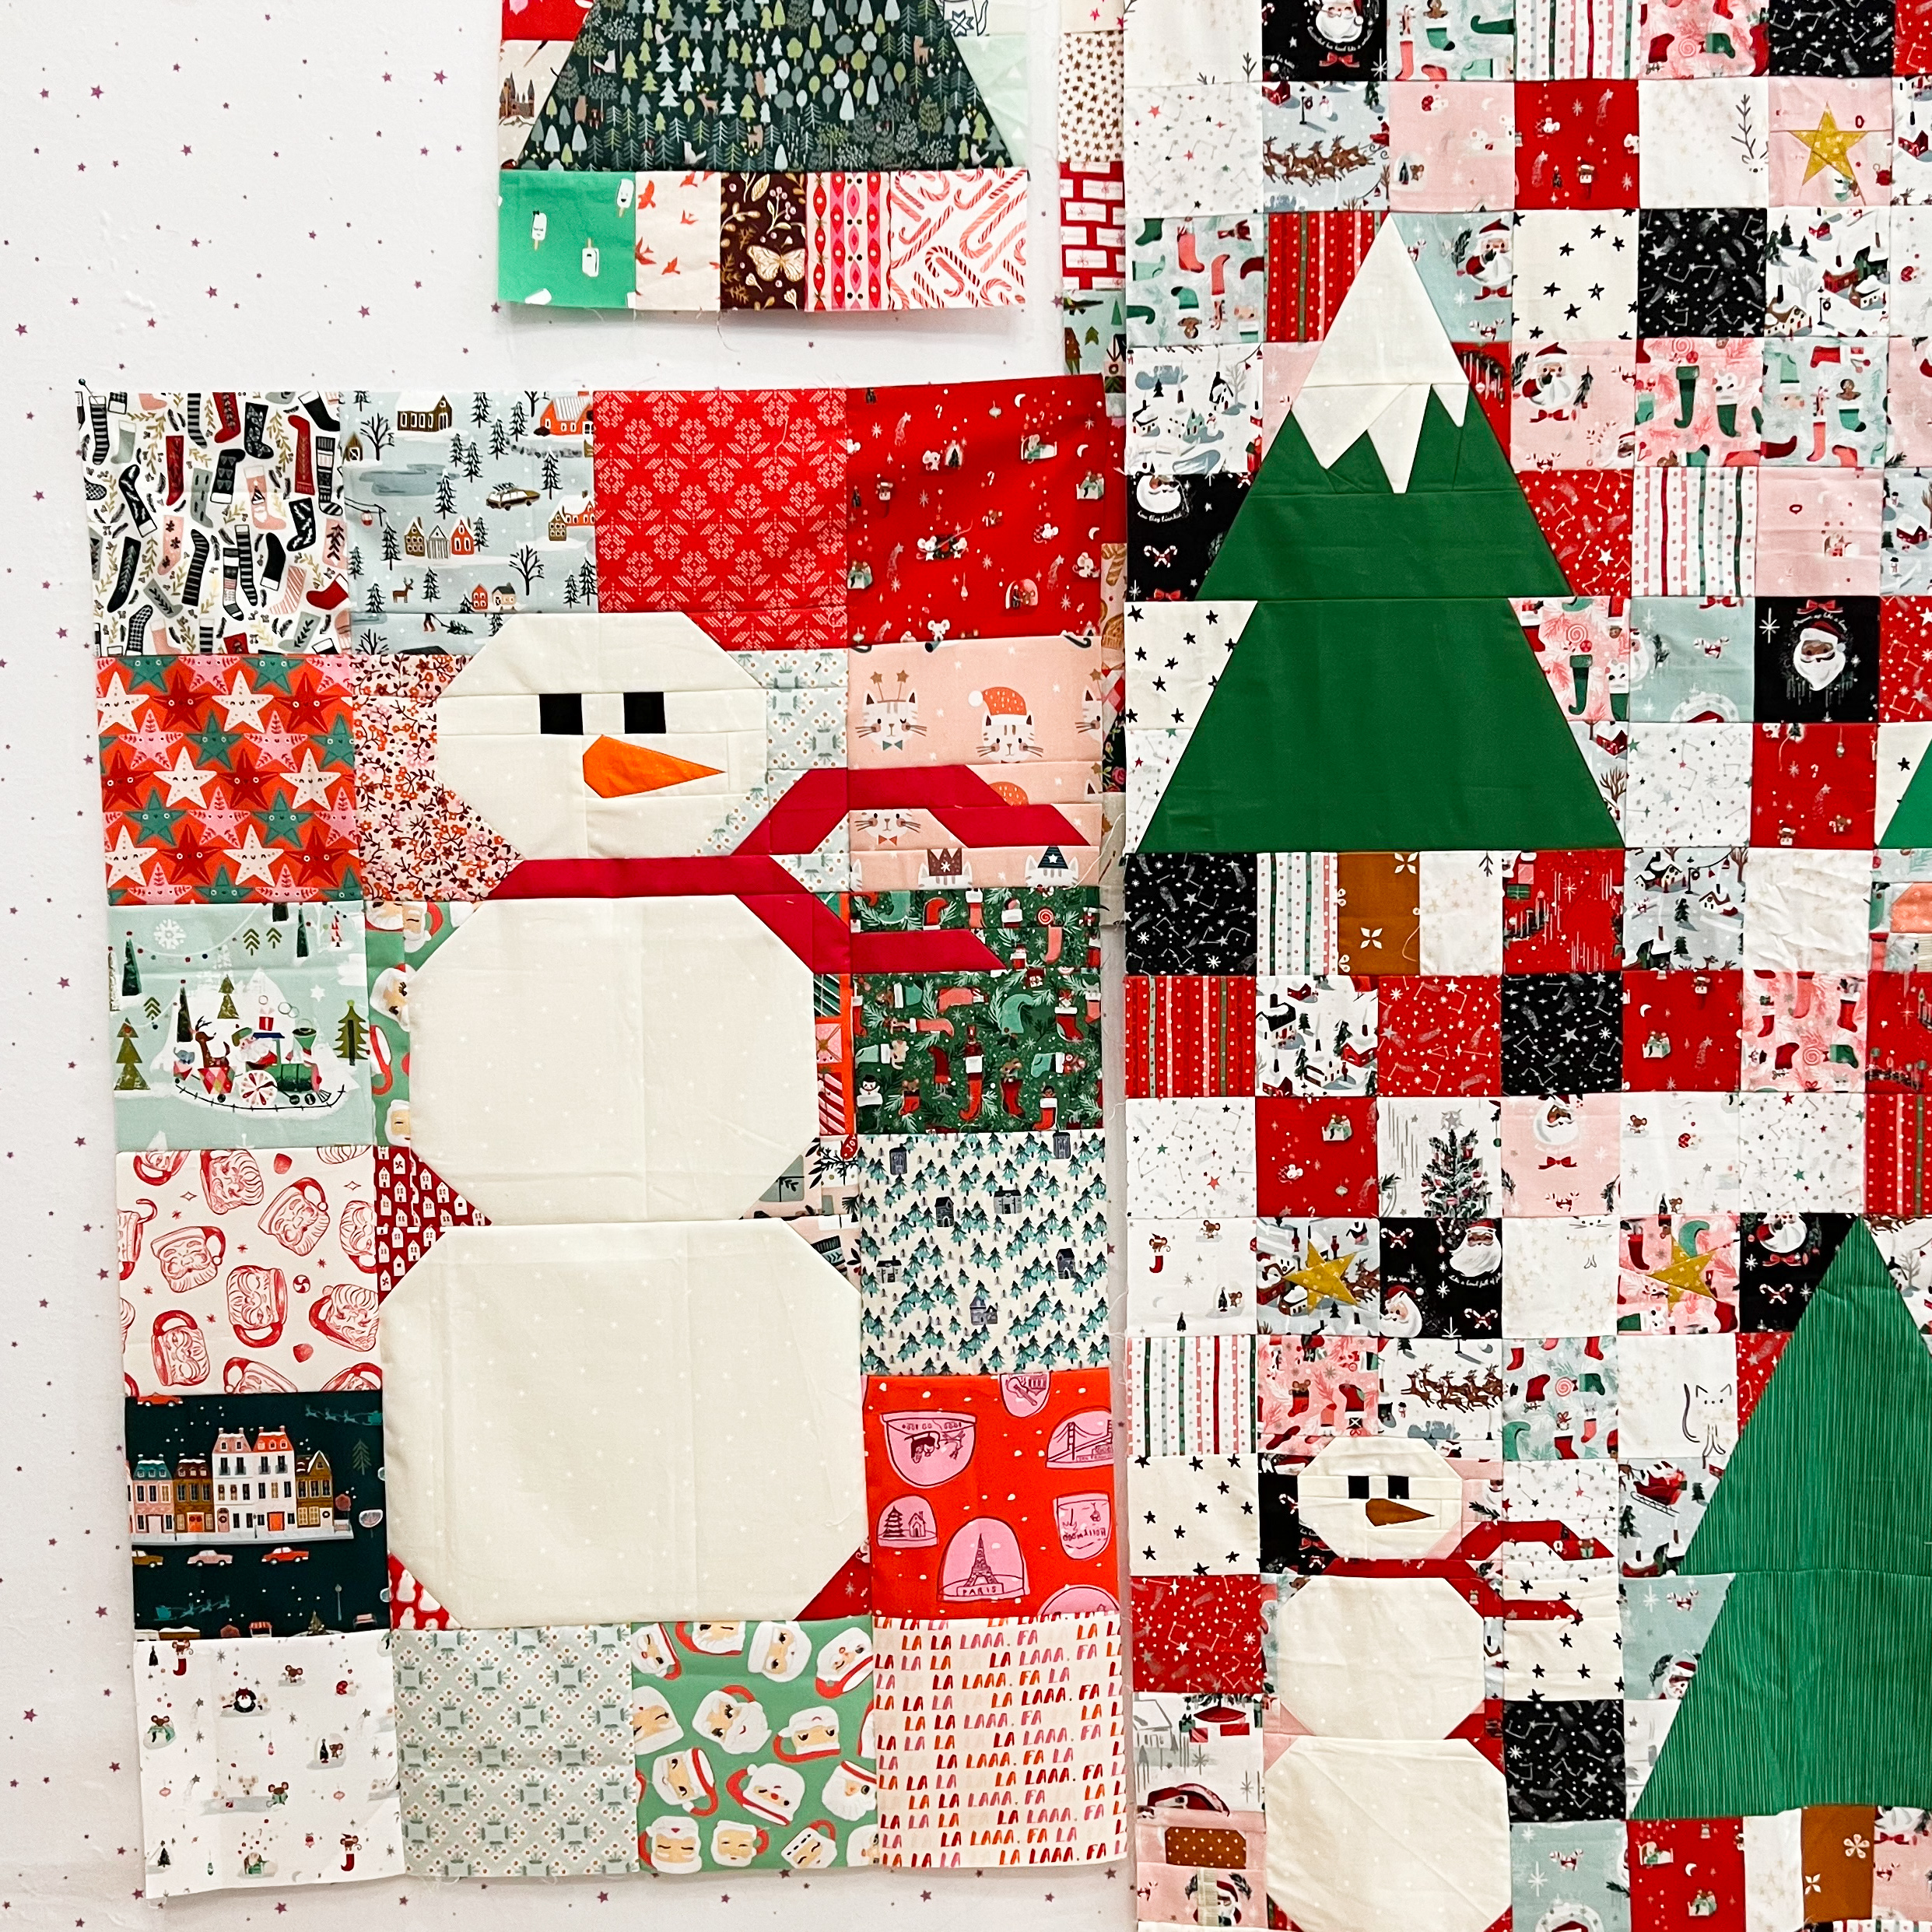
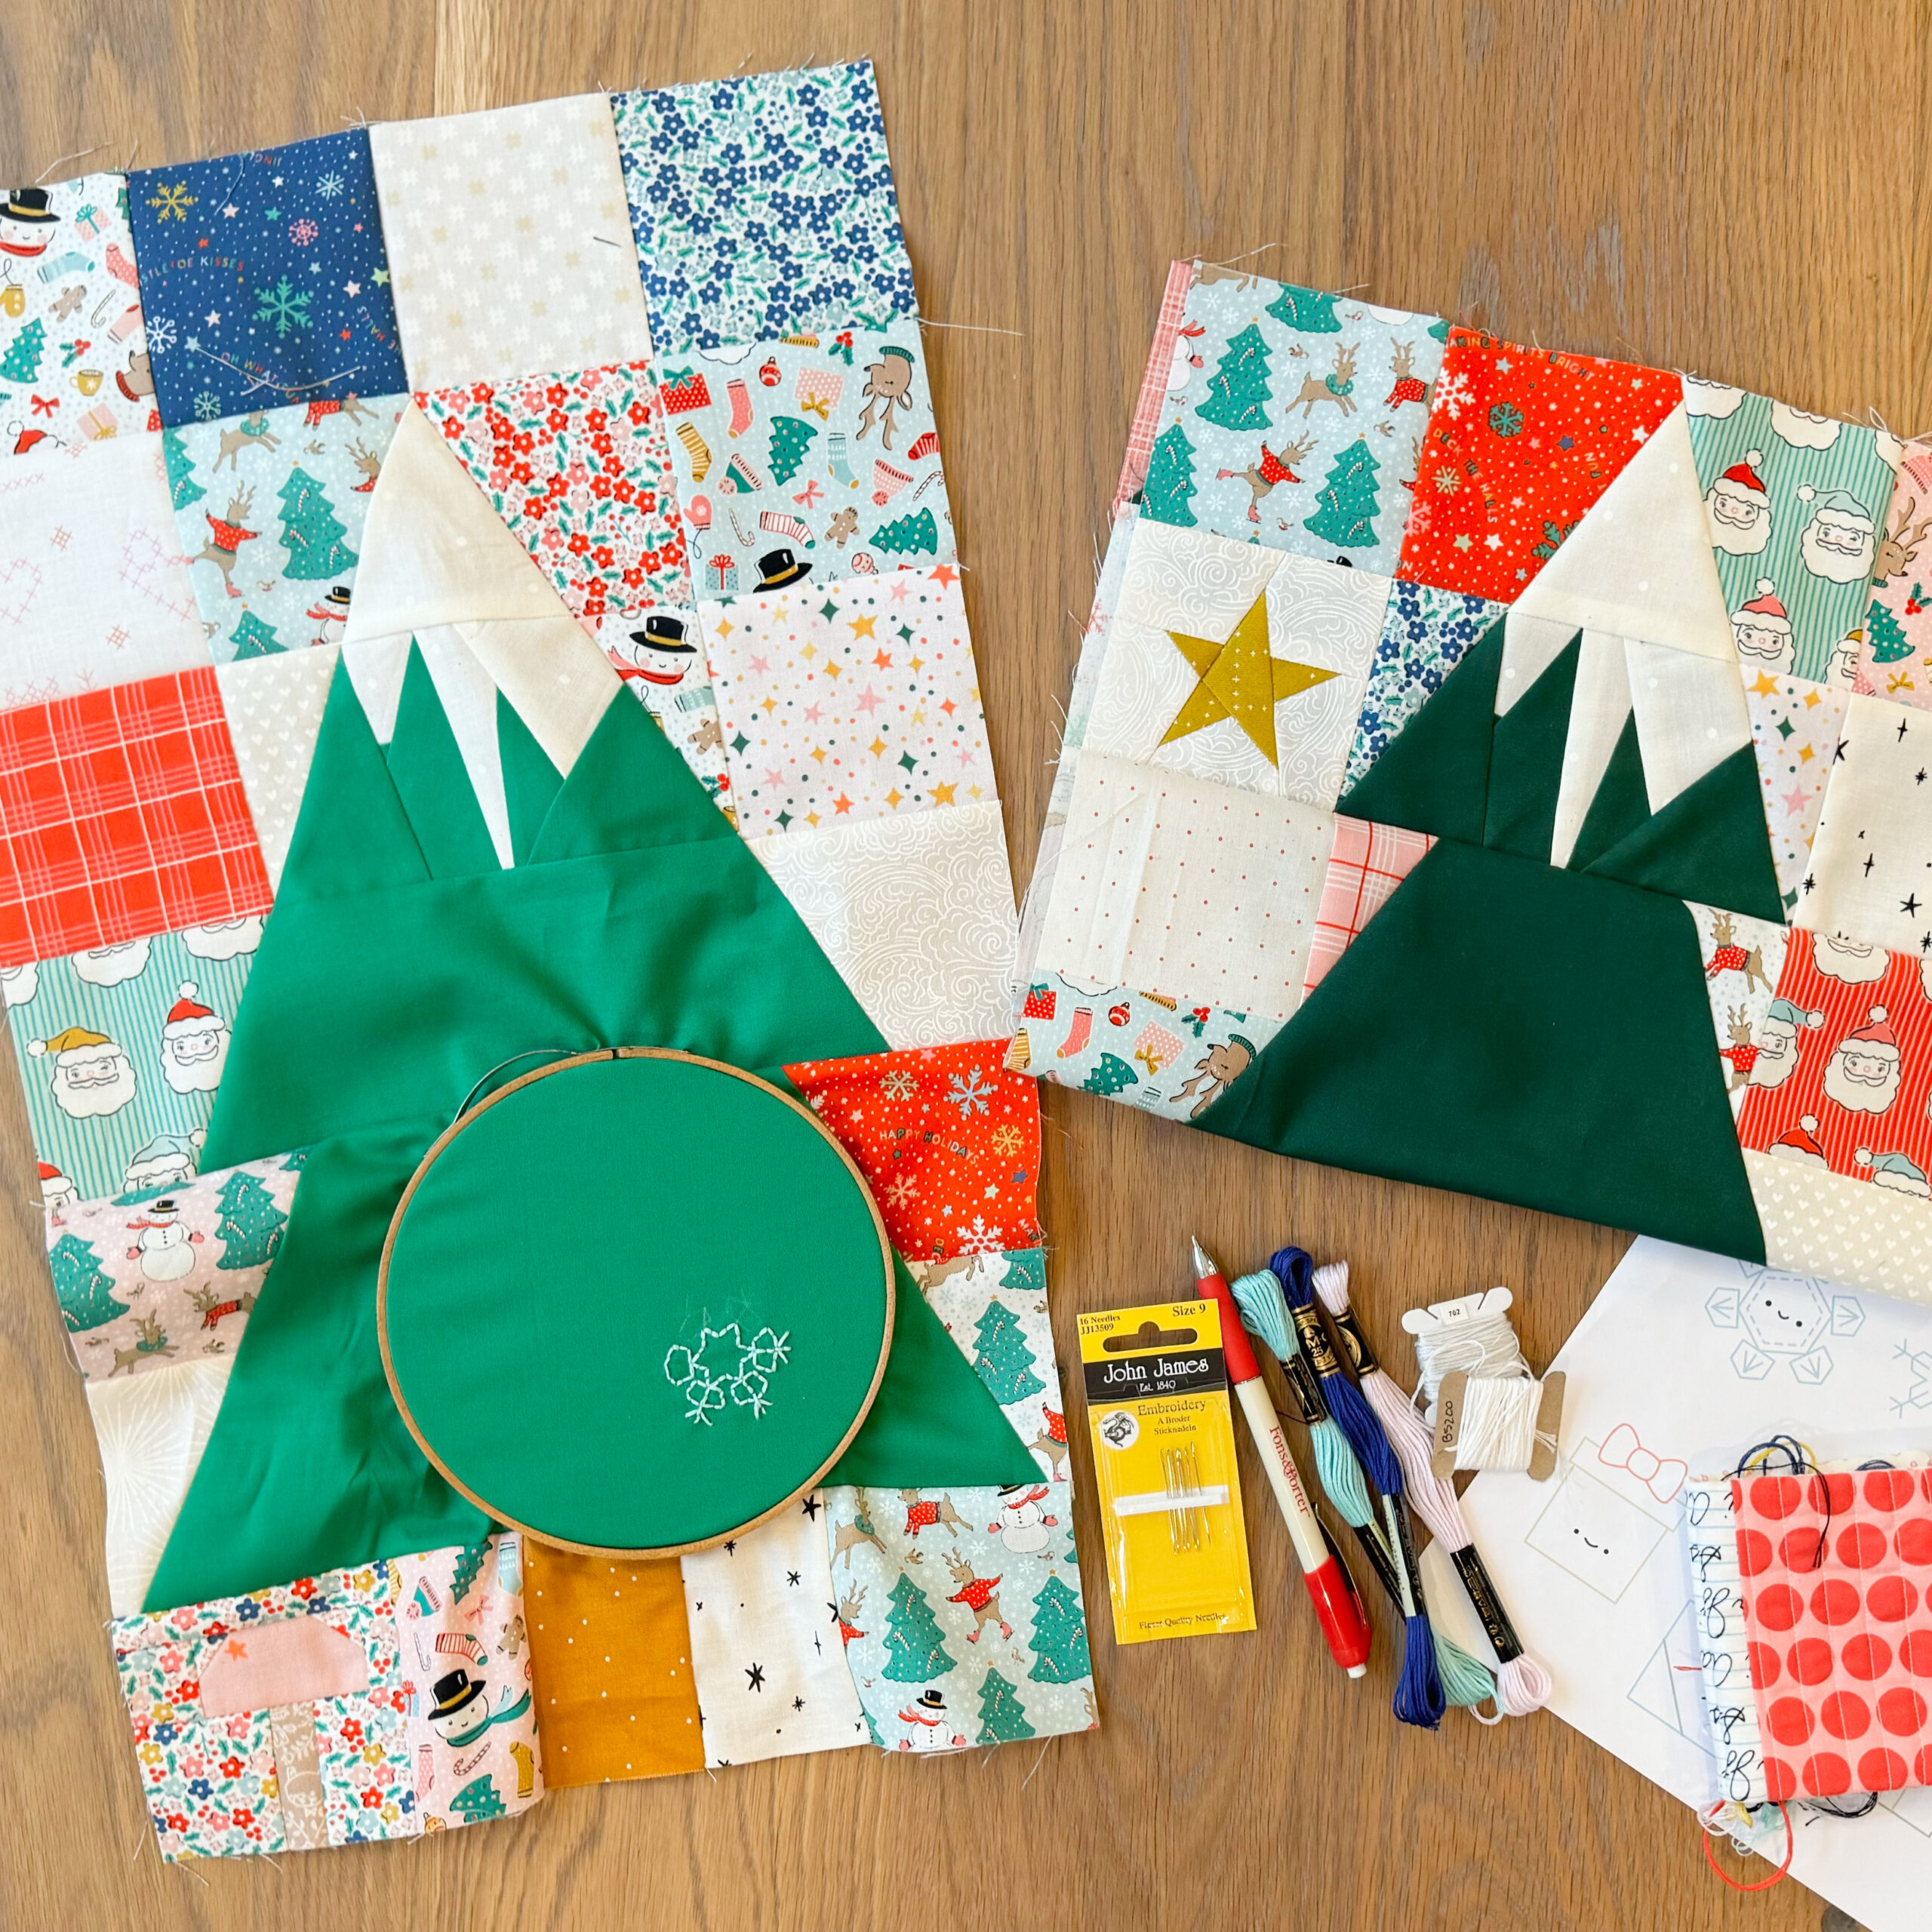
A few of my quilt patterns that you can practice your scant 1/4″ seam allowance on are, from left to right, Do you want to Sew a Snowman, Penguin Social, and Enchanted Forest. You can click on any of those to go to my shop to purchase.
Okay now that you know why a Scant 1/4″ seam allowance is needed sometimes. You can try it out and have no fear! I hope. I am firmly in the camp of done is better than perfect and we all make our own rules in quilting. BUT, I also really think working on our skills and improving with practice and time is good to strive for.
This info is meant to help you understand why a Scant 1/4″ seam is necessary. NOT to make you feel bad for not using it. :) I do hope you try though. It is really not hard and makes a world of difference.
Thanks so much for stopping by!