
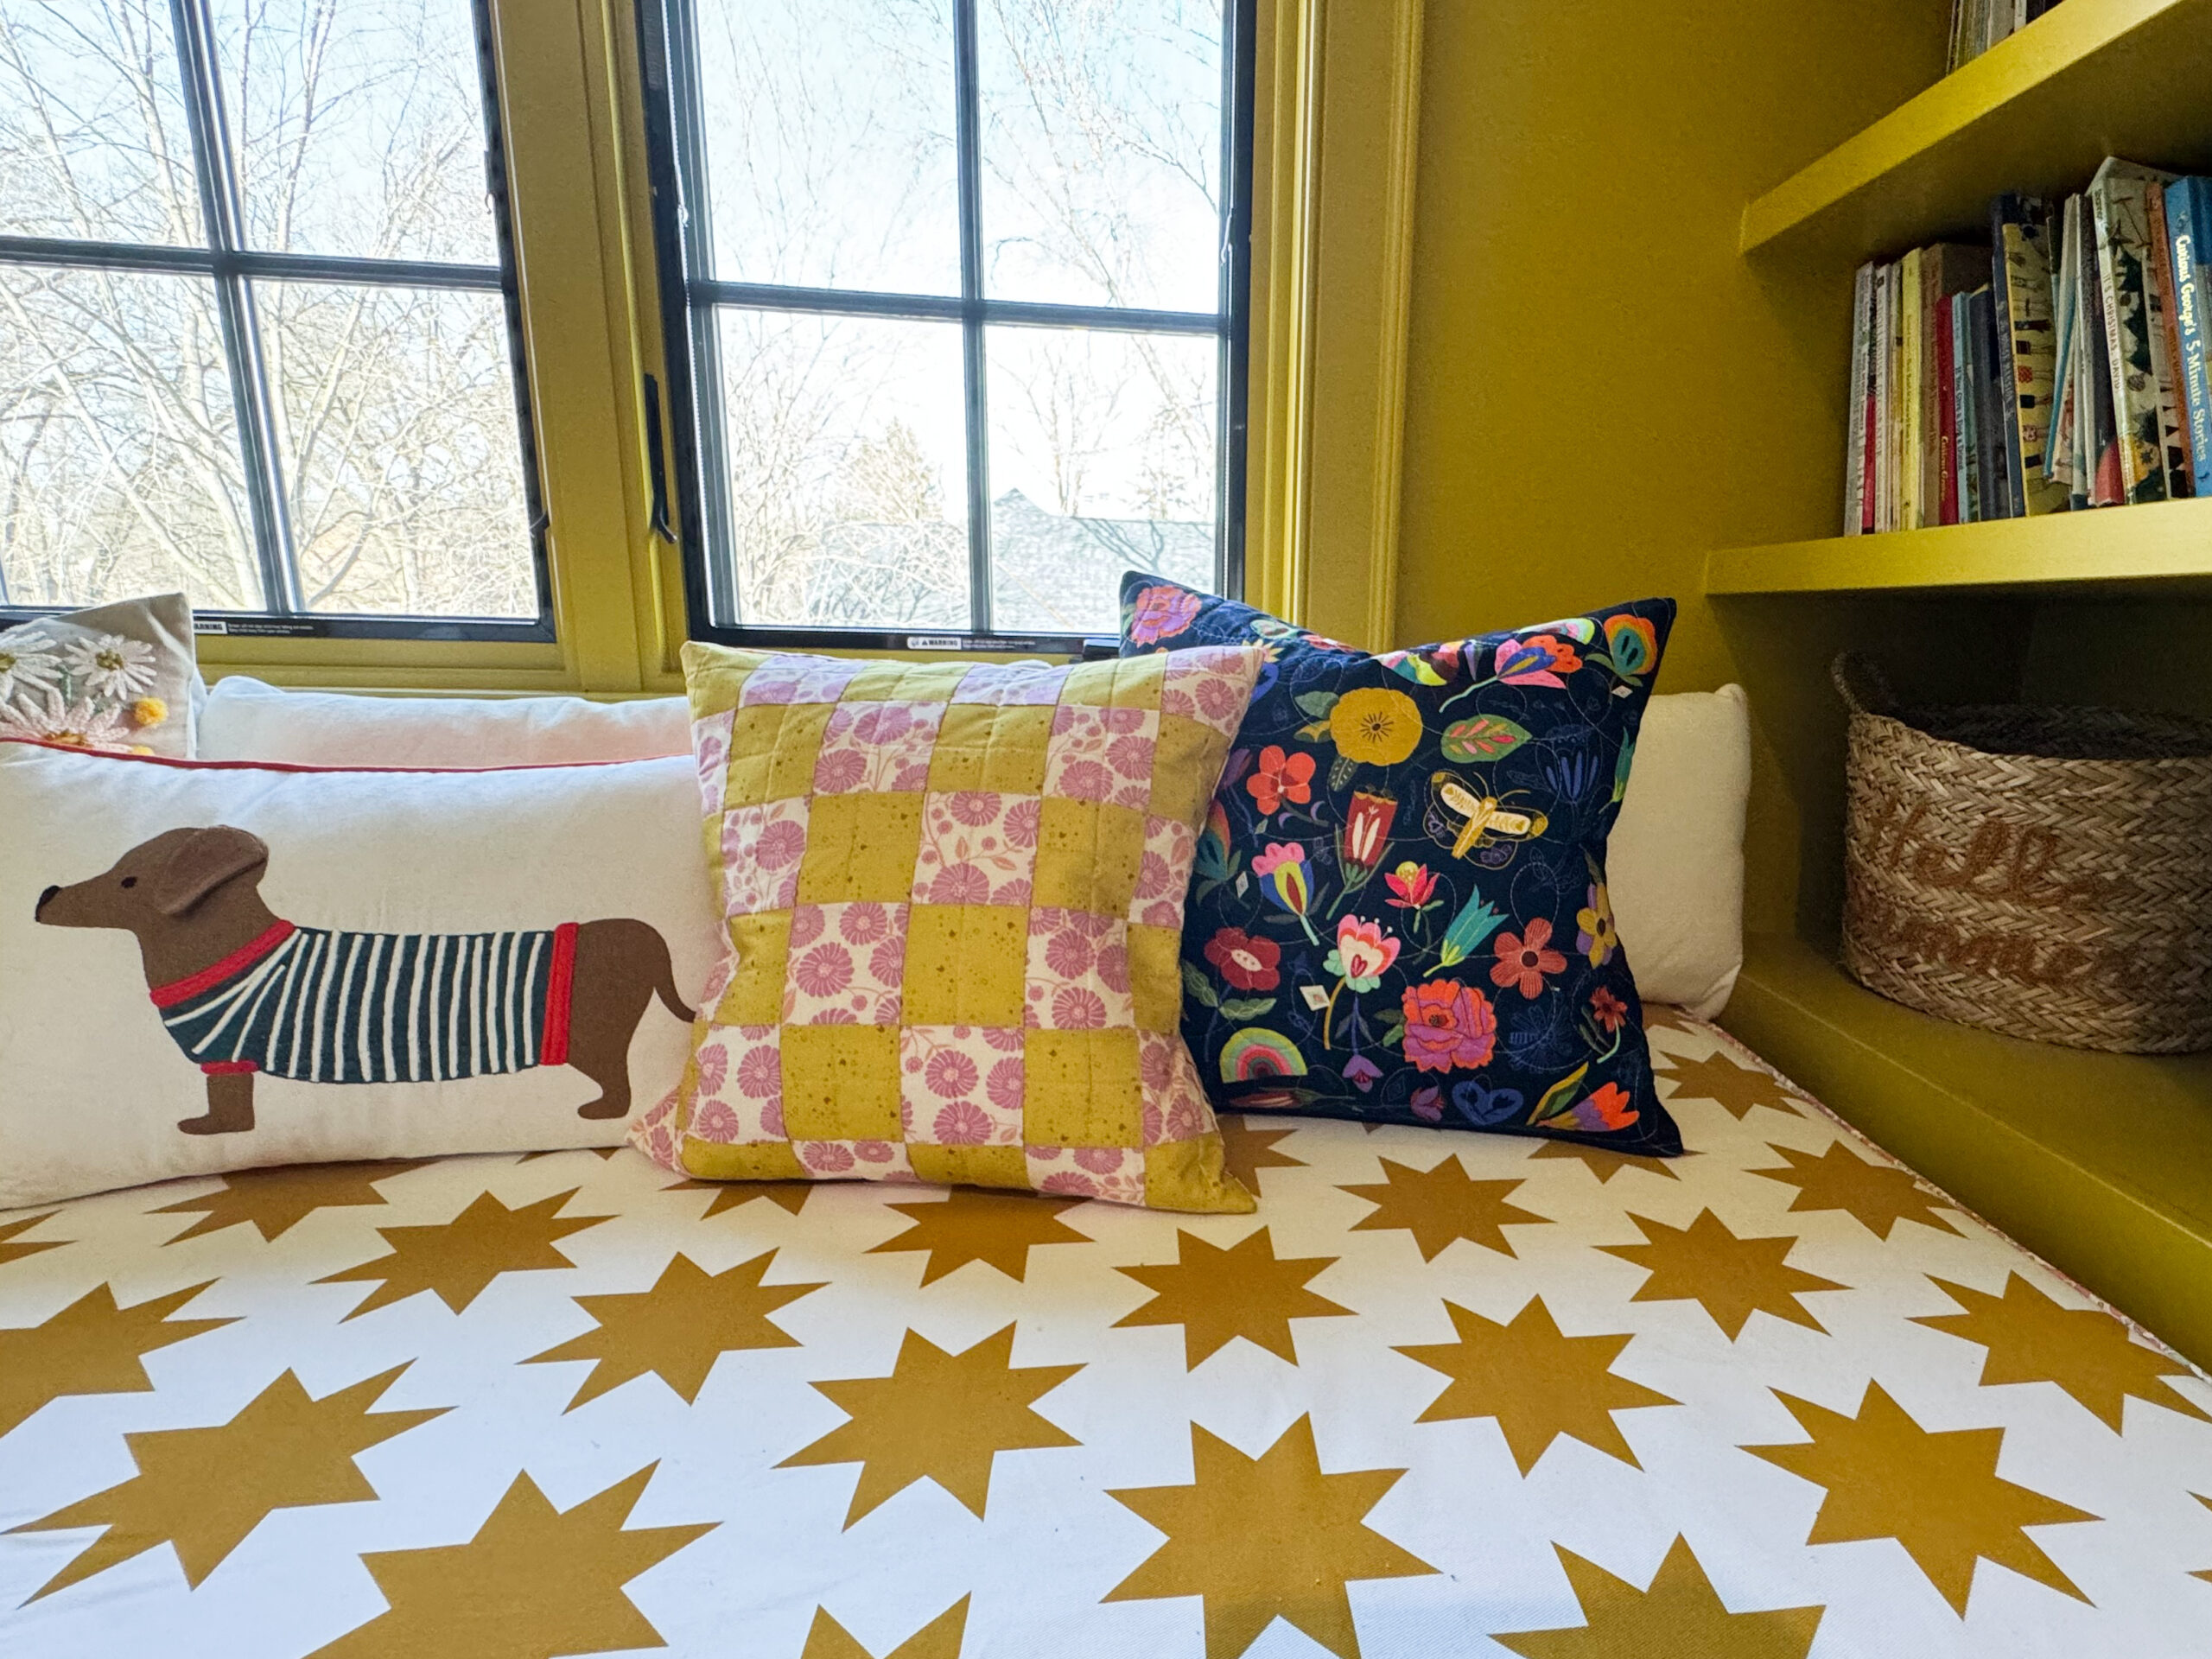
Today I am sharing a Free Downloadable Checkered Pillow Tutorial. In the tutorial I share how to make a simple two fabric checkerboard 18″ square pillow cover with an envelope back closure in the Tutorial. In this post I share a little bit about how to use a zipper too.
<<<<< woollypetals Free Checkered Pillow Tutorial Downloadable Pattern >>>>>
What’s in the Tutorial
This free download is written just like my quilt patterns. It is a great introductory project to quilting. In the Free Checkered Pillow Tutorial Download I share all the details with diagrams to easily make a two fabric checkered pillow front. Then how to quilt it, and sew it into a Pillow Cover with an envelope back.
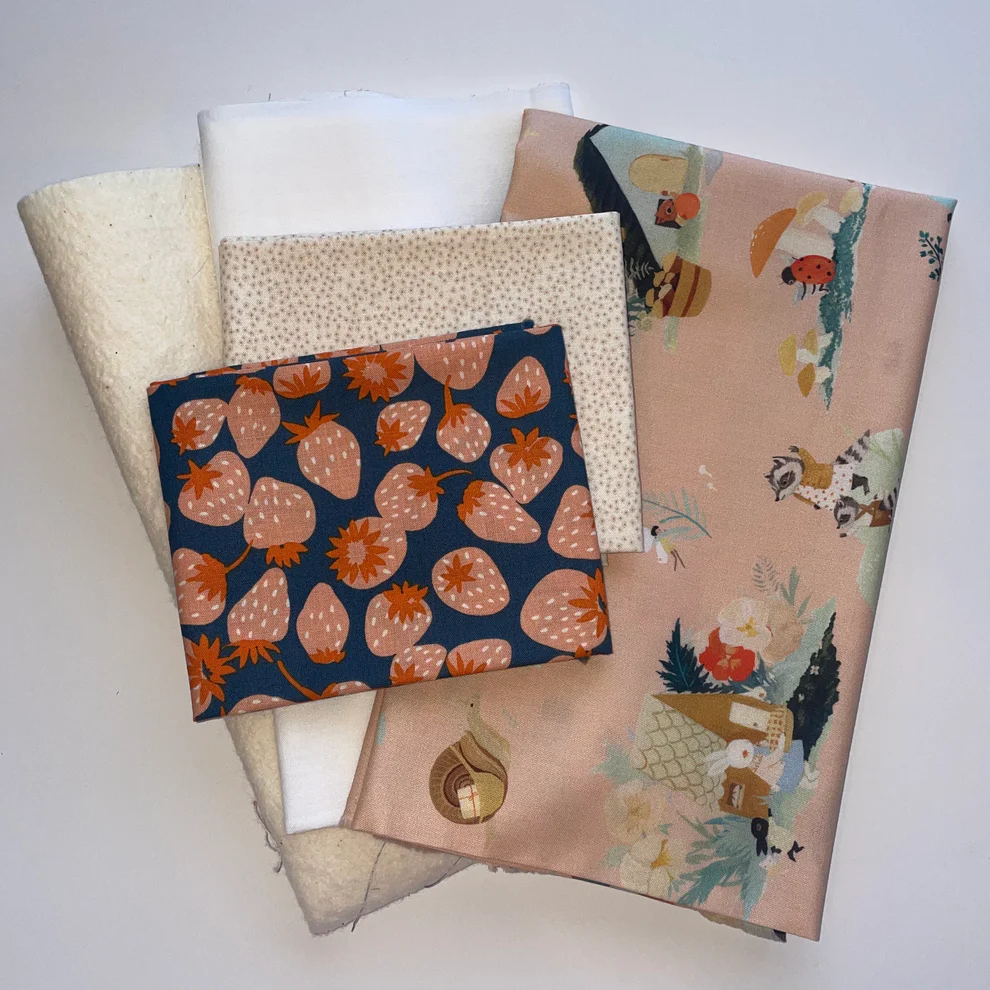
Sewing the checkered pattern is easy and a great chance to practice your beginner sewing skills. The pattern uses 2 fat quarters for the front of non-directional fabric. The non directional fabric is due to how you sew the fabric together and then cut out strips, and some of the strips are flipped upside down. So a non-directional is the best option this checkered pillow front. The tutorial calls for an additional 1/2 yard of fabric for the back of the pillow as well as a piece of muslin (or any quilting fabric for the inside back of the pillow front) and a piece of batting.
Linked within the Free Checkered Pillow Tutorial is a Youtube video where I walk you through each step. Check that out at the link here as well.
<<<<< woollypetals Free Checkered Pillow Tutorial Companion Youtube Video >>>>>
Pillow Fabric Kits
Like I mentioned above you don’t need much fabric for this project.
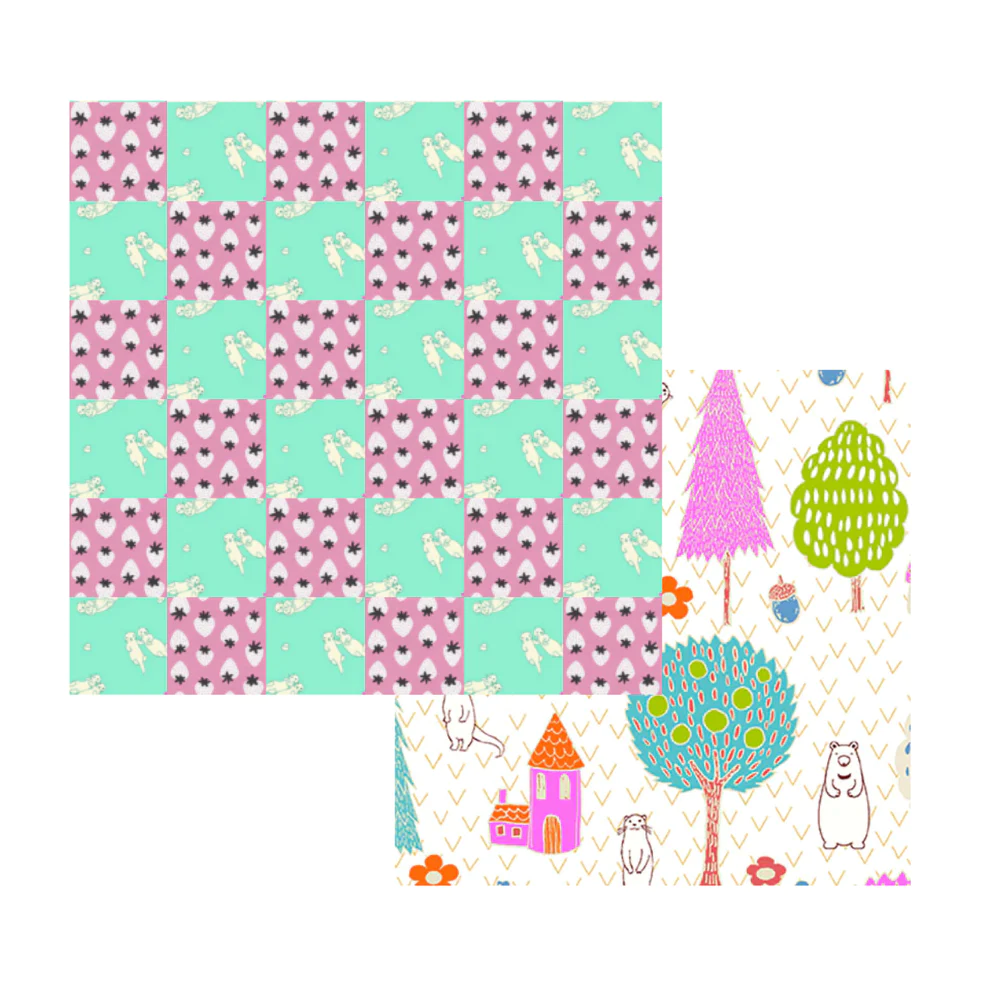
Check out some great Checkered Pillow Kits my friend Kristen of Kristens Craft Room has put together.
<<<<< Kristen’s Craft Room Checkered Pillow Kits >>>>>
Below are a couple of the many Kits Kristen has made. A mock up of two kits and then the actual fabrics for the first mock up.

Pillow Forms
Pillow Forms are the other thing you will have to purchase. I prefer to use feather down pillow forms for all my pillows instead of stuffing the pillow directly with poly stuffing. Why? Poly Stuffing tends to lose its shape over time. But also it doesn’t have as nice of a shape as a down pillow. If you like to swap out pillows frequently we all know how much room those stuffed pillows take up. With pillow forms you can store the covers in a much more compact space and use the one pillow form over and over again.
Choosing the size of your pillow form is key. The rule of thumb is to use a 1″-2″ larger pillow form than the pillow cover. For the checkered 18″ pillow cover I recommend using a 20″ pillow form. I have linked my favorite pillow form pillow along with a few others.
Favorite Pillow Form: I love these IKEA 20″ pillow forms they are really reasonably priced at $7 each and are good quality. IKEA has a couple other sizes in that same pillow form. They are called FJADRAR and are all down. They are other none down options so just make sure you get the down ones. Unless of course you have an allergy to down.
Amazon has some nice pillow forms as well. I have purchase these before as they have a wide range of sizes. Note they are pricer than IKEA but the price is for two forms, and they have a wide range of sizes.
You can often purchase Pillow forms from local designers, home stores, and high end Decor stores like Pottery Barn and Crate and Barrel.
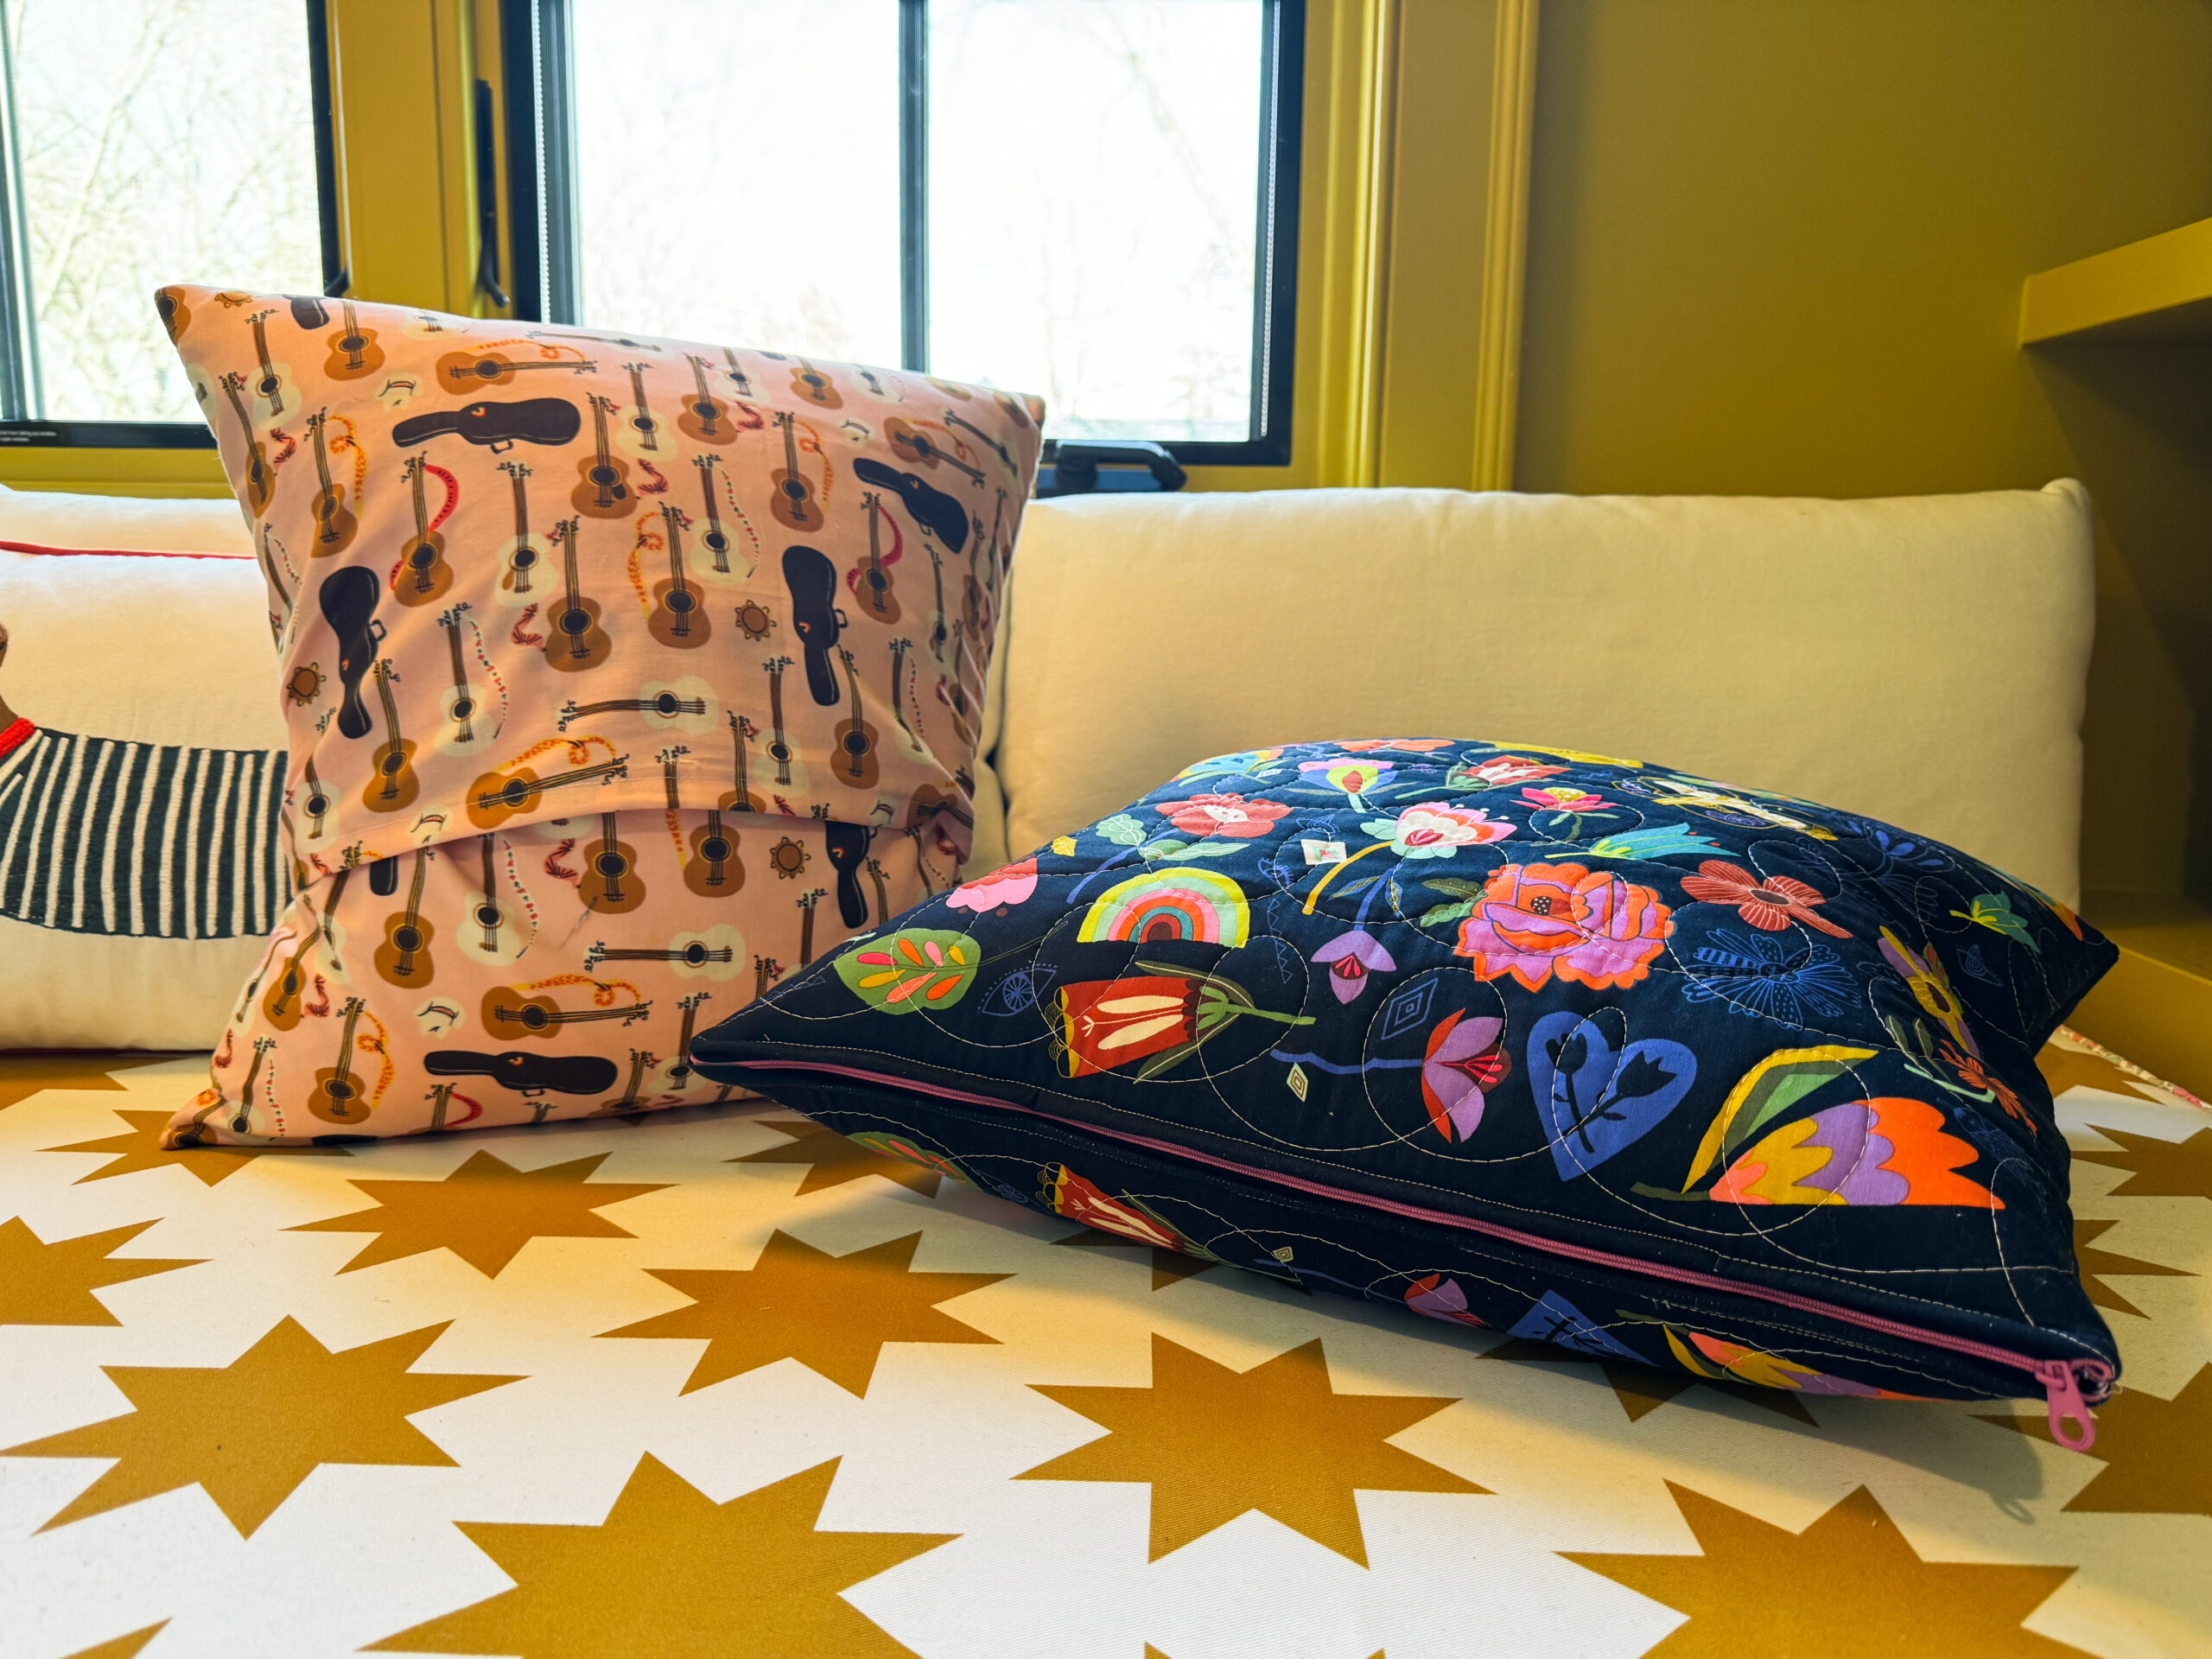
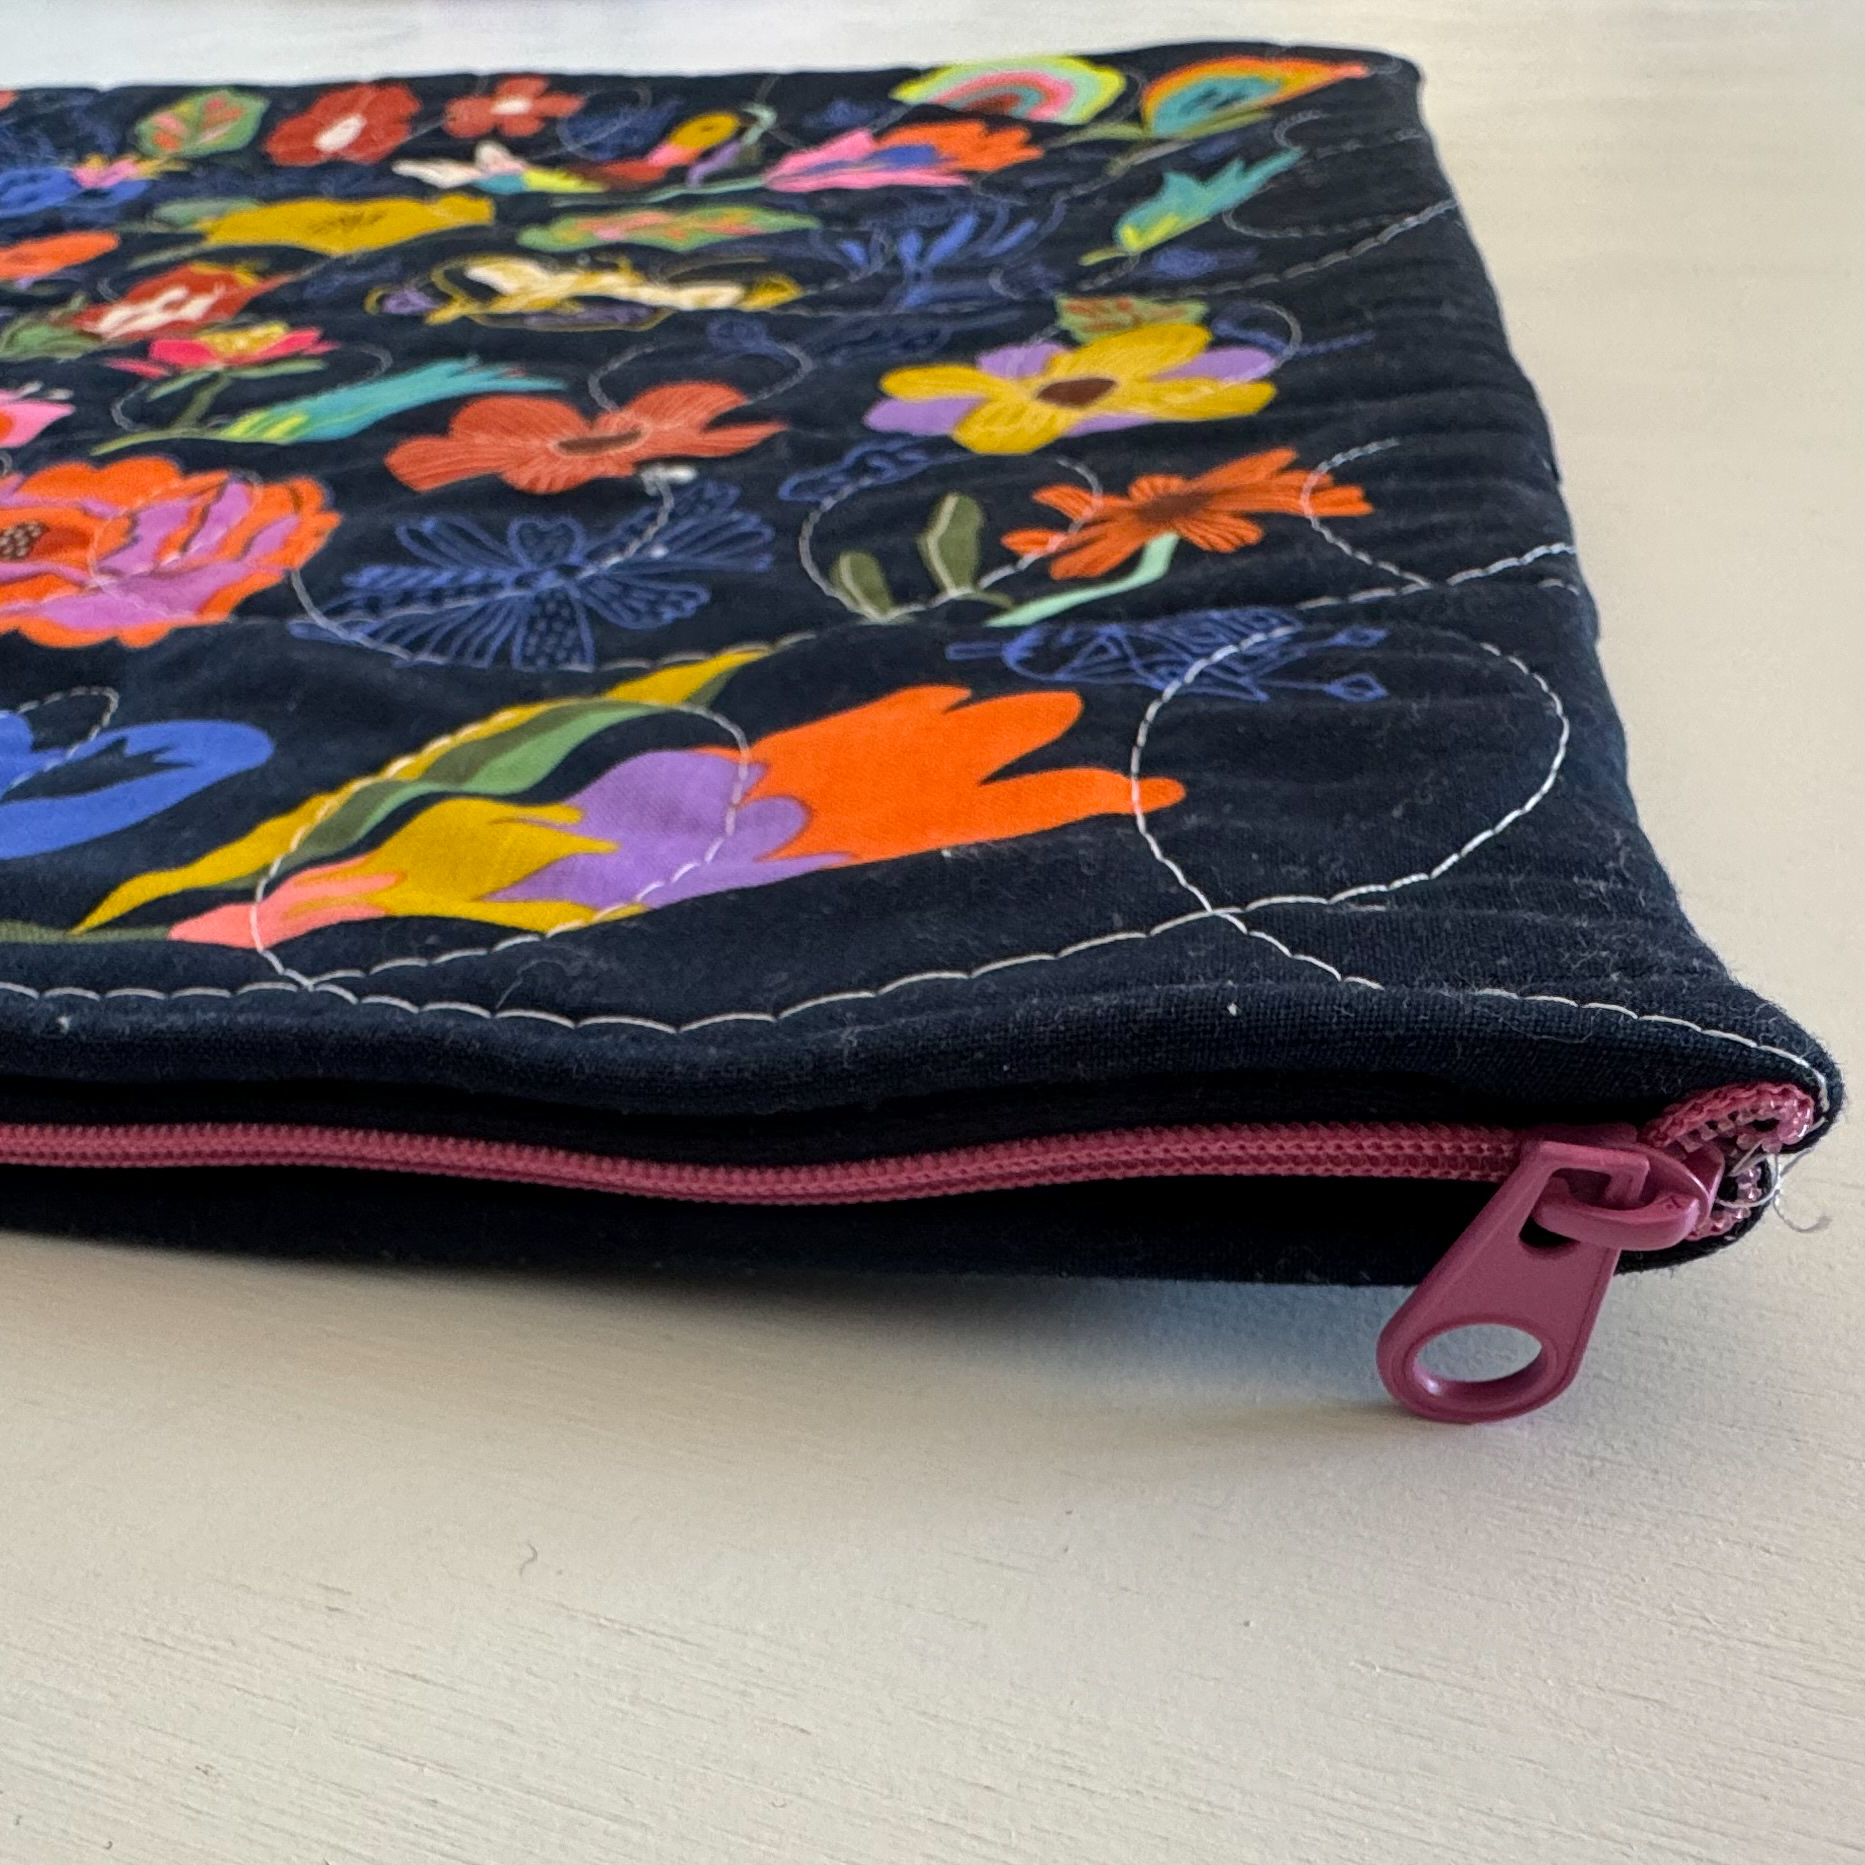
Zipper Closure instead of the Envelope Closure
Sometimes we prefer a zipper closure to an envelope closure. Now I will walk you through that option. You will still need the Free Checkered Pillow Downloadable Tutorial to make the Pillow Front. Just sub in the info below for the backing.
Instead of cutting the two pieces for the backing, cut one single square the same size as your Front of Pillow. For instance in the pattern that is 18.5″ square. You will also need a zipper measuring 18.5″ long. You can cut a longer zipper down to length or use zipper tape.
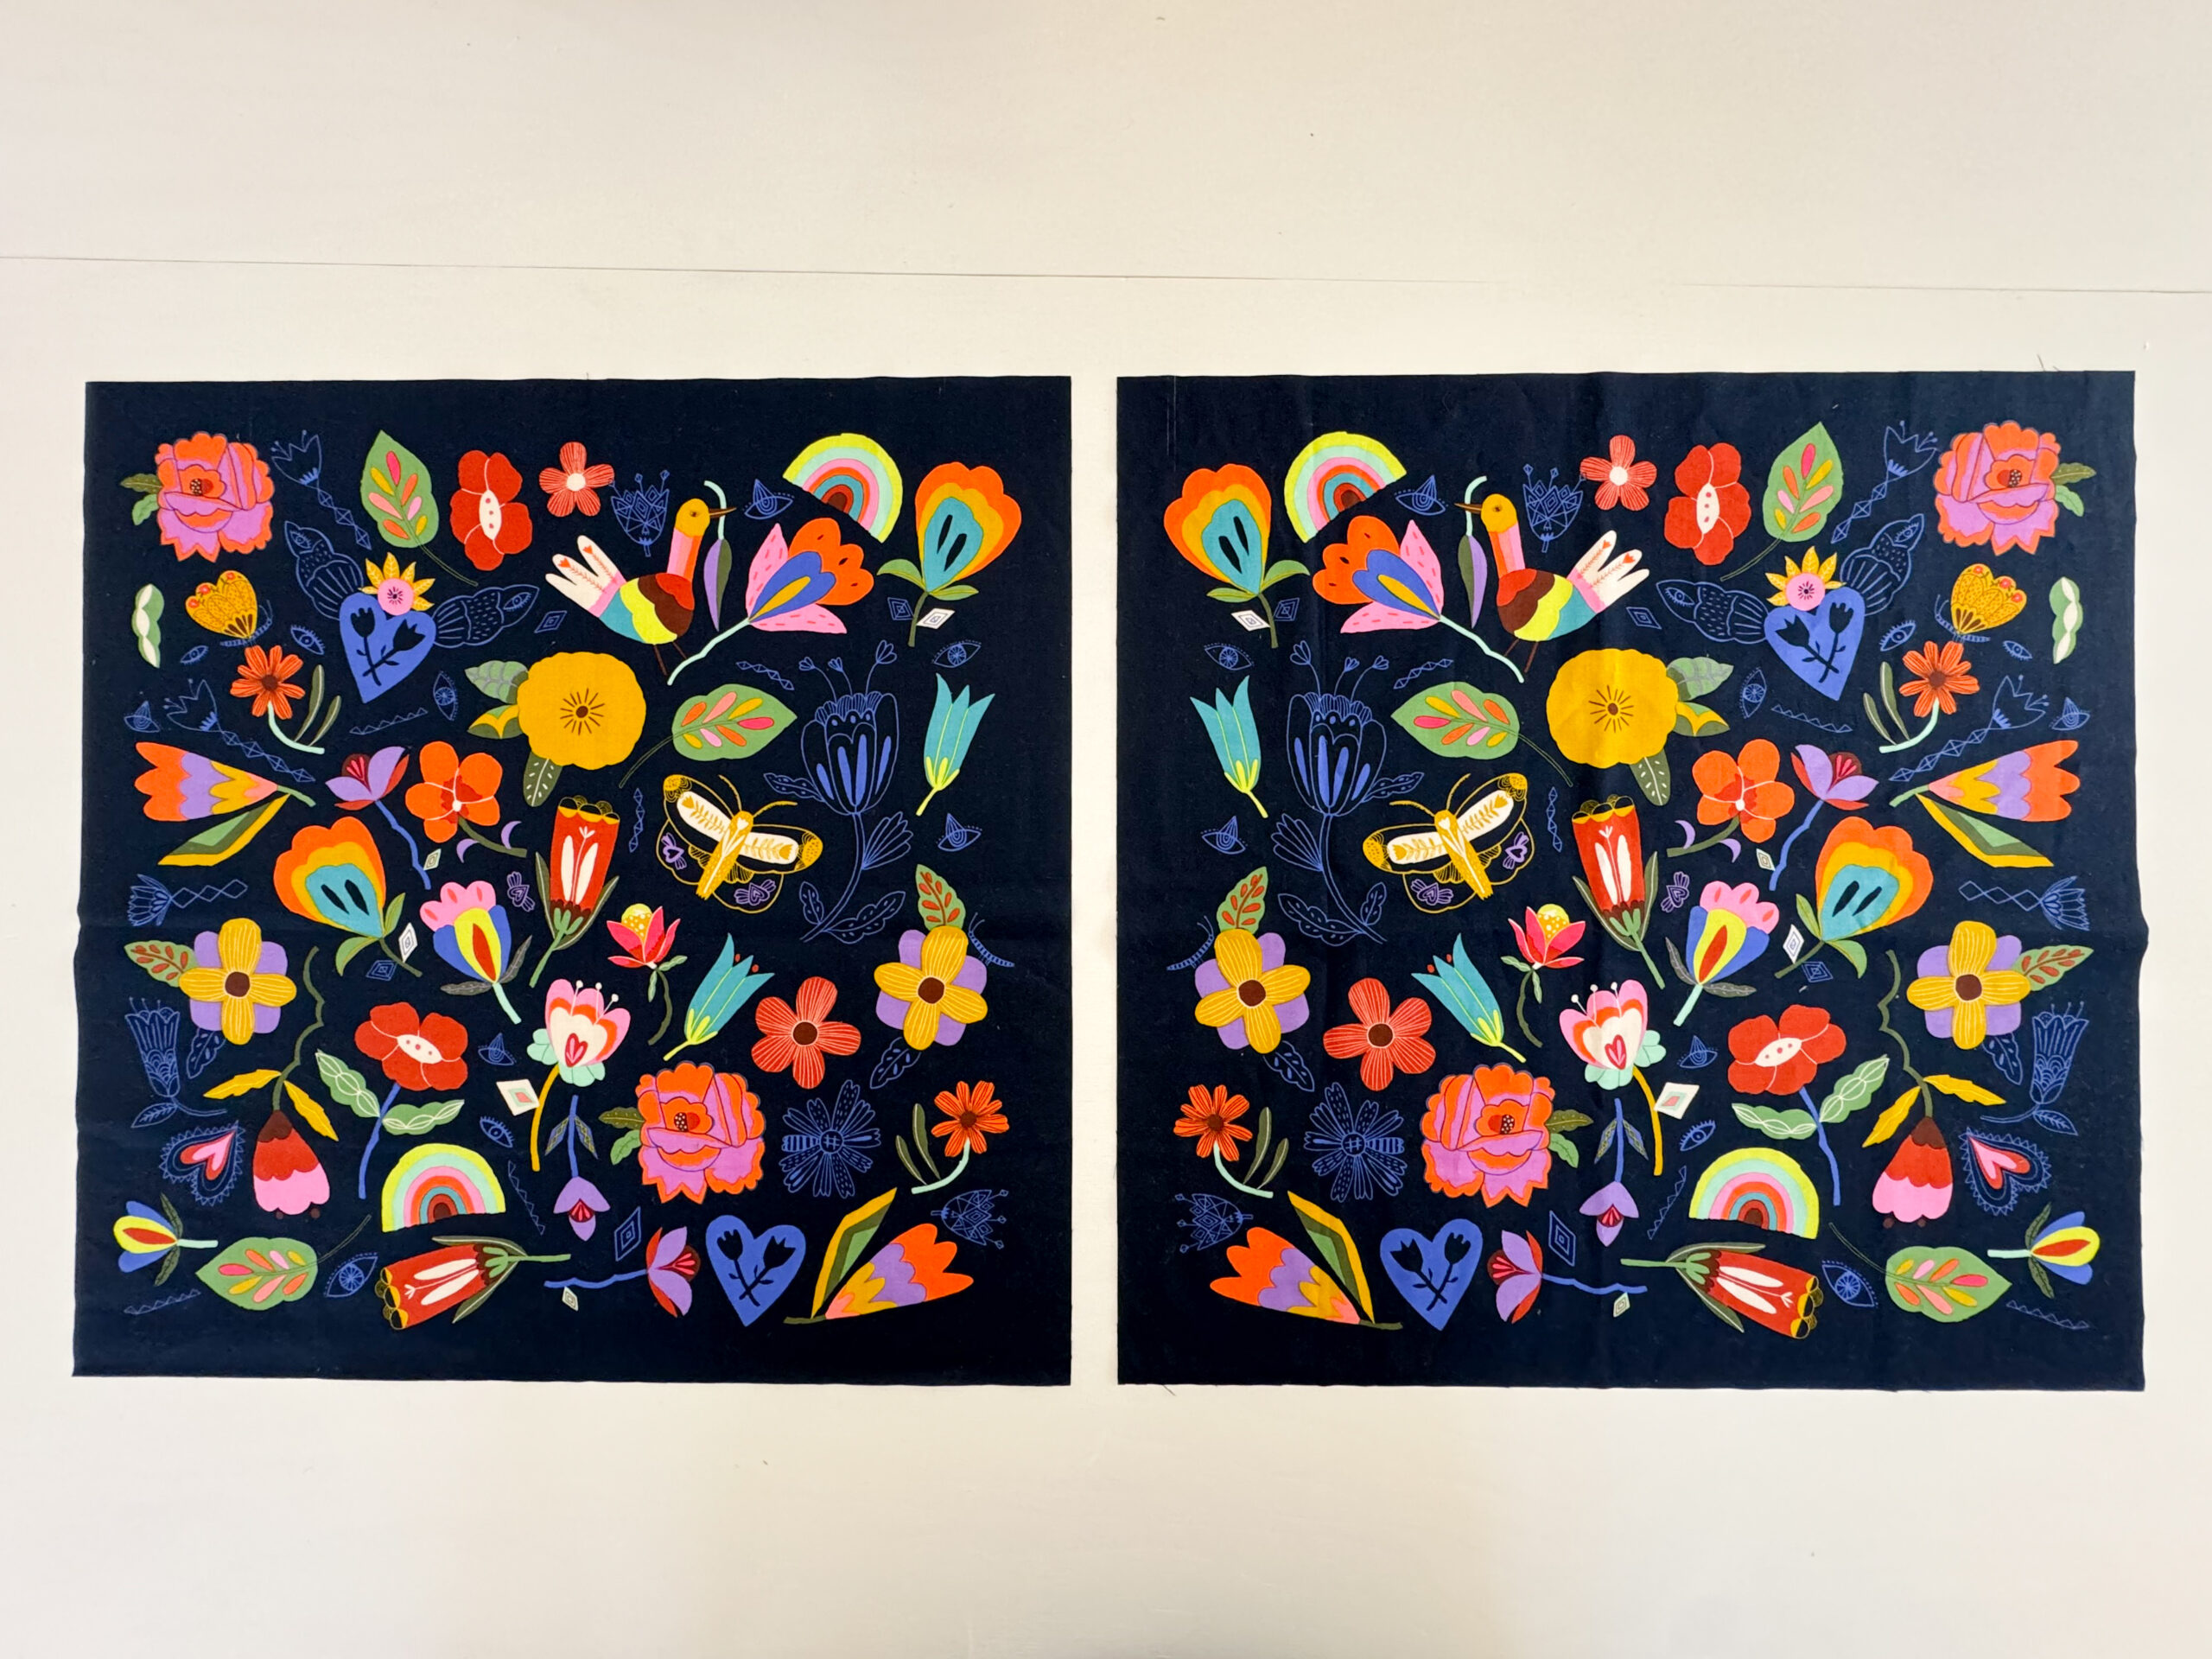
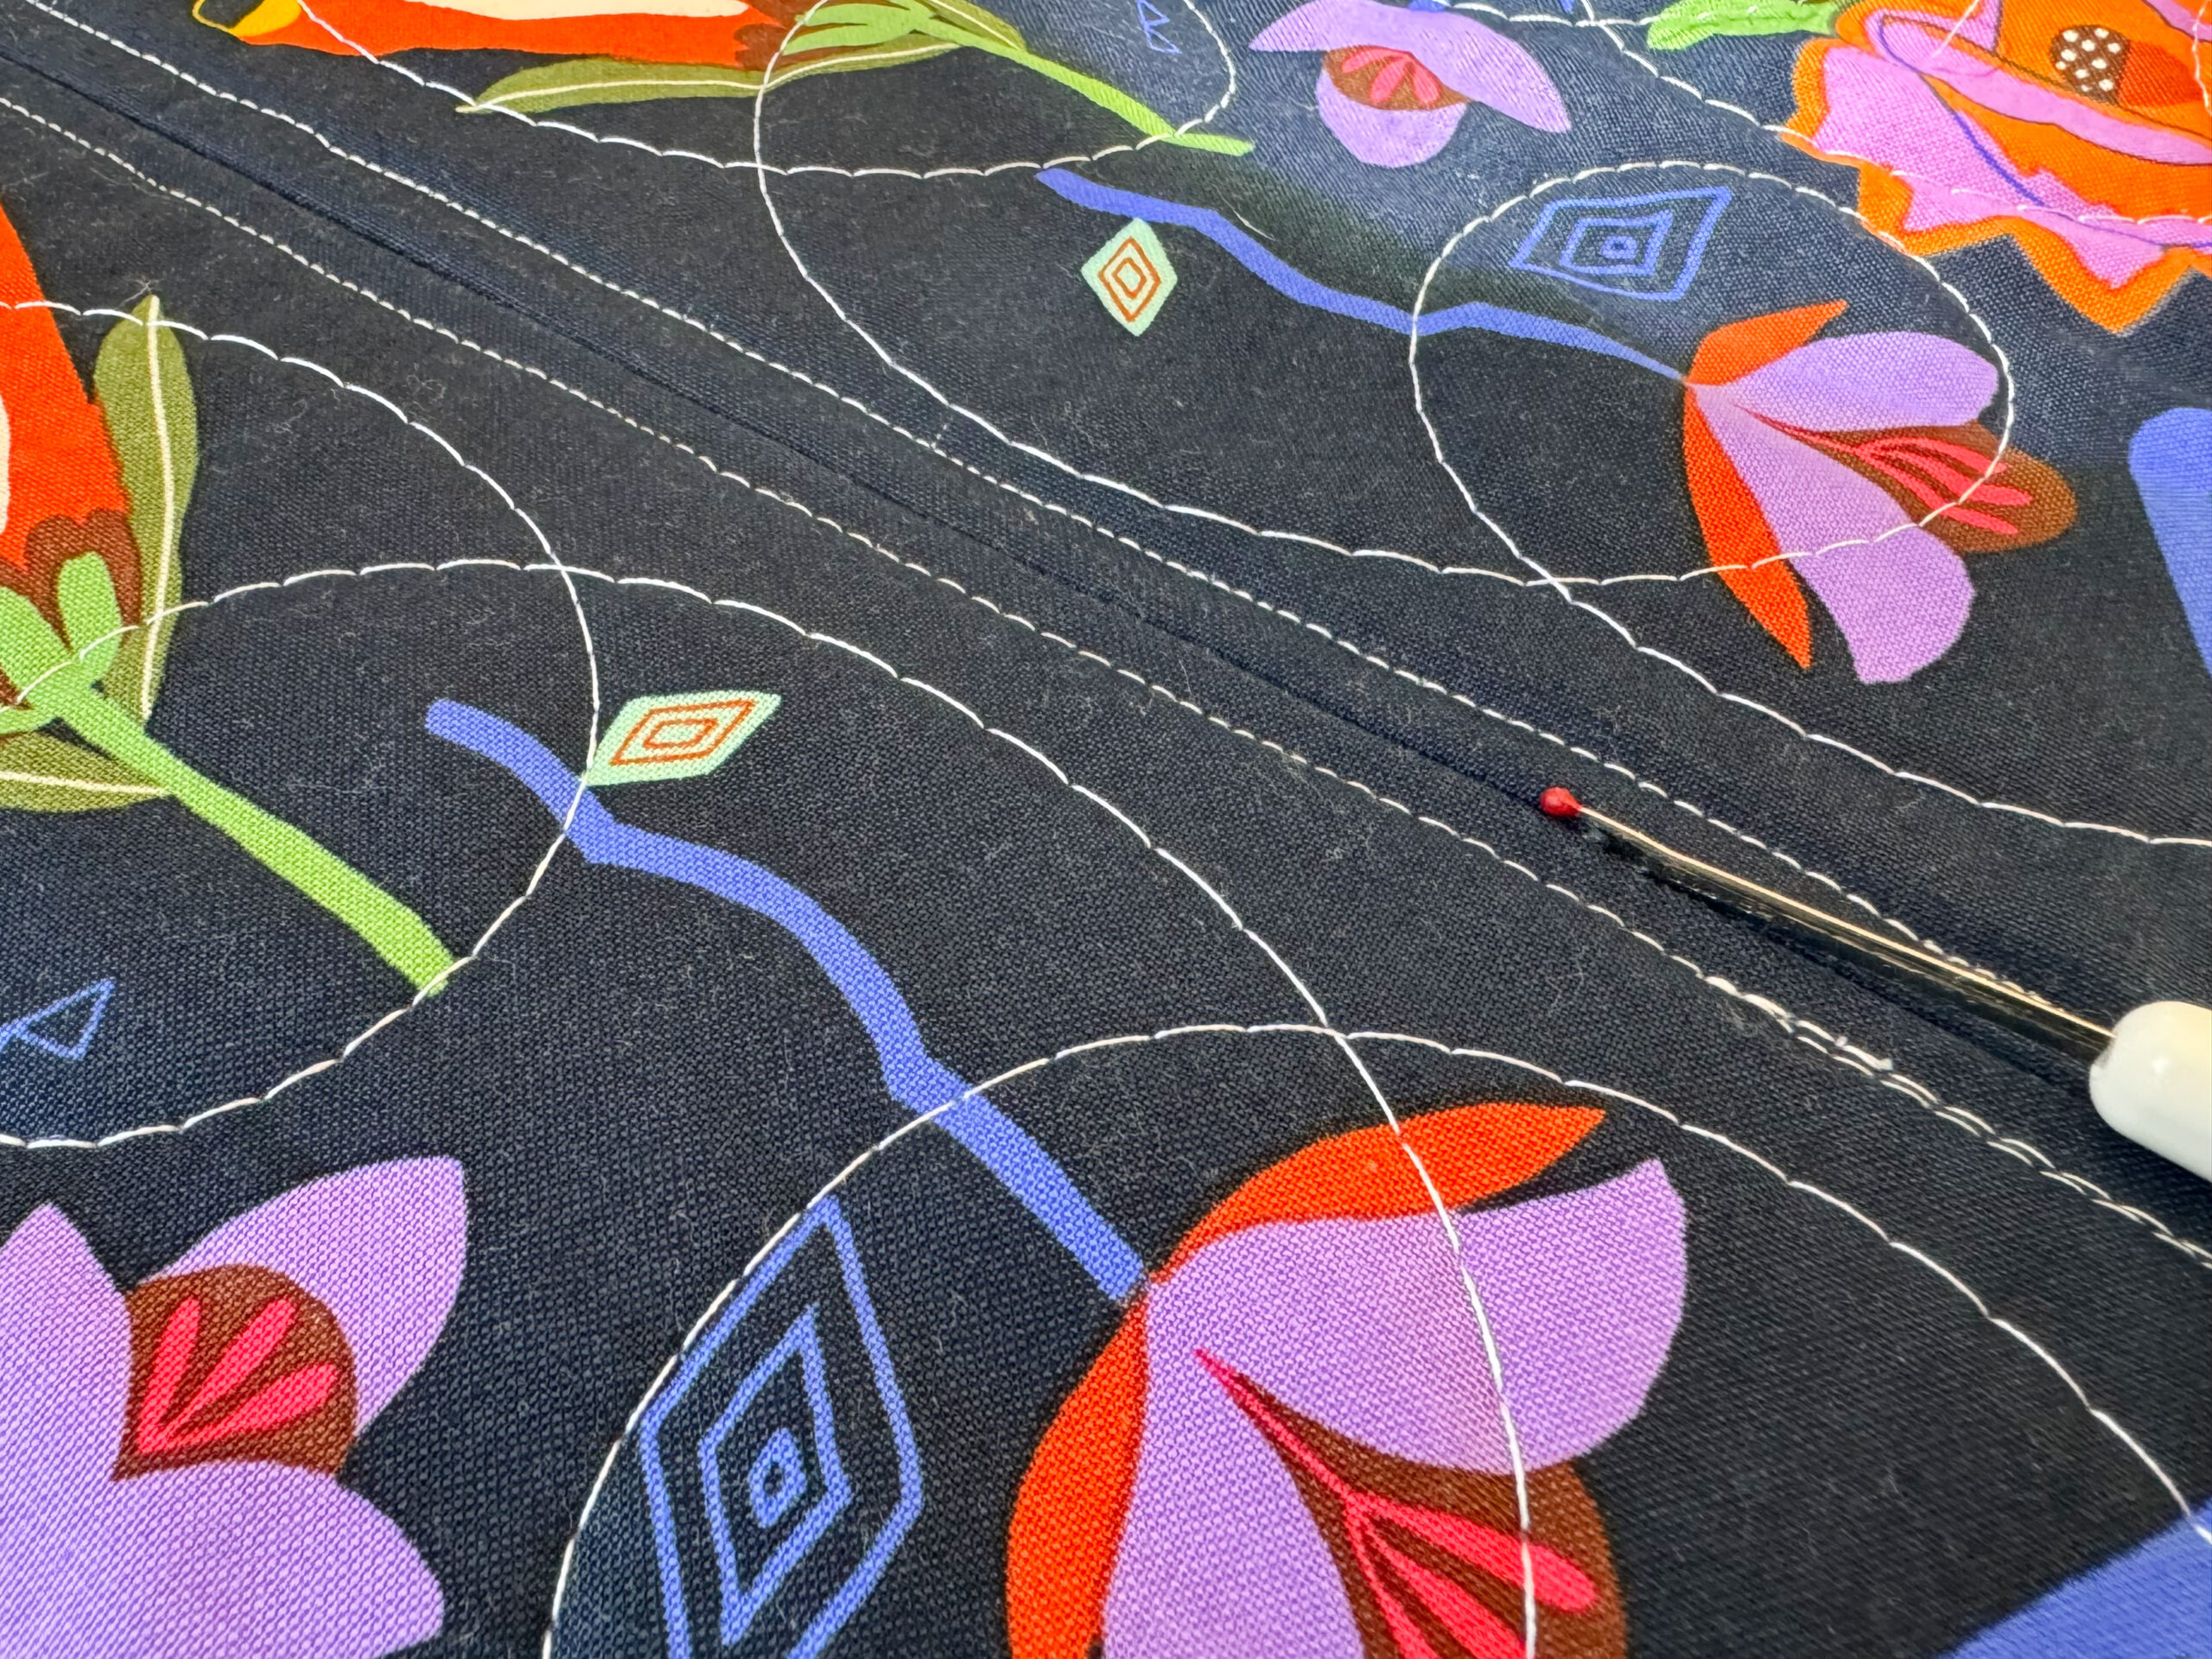
Additionally with this option is you have the ability to quilt the back the same as the front. You could even make a pillow that is Checkered on the back and front. That will require more fabric of course.
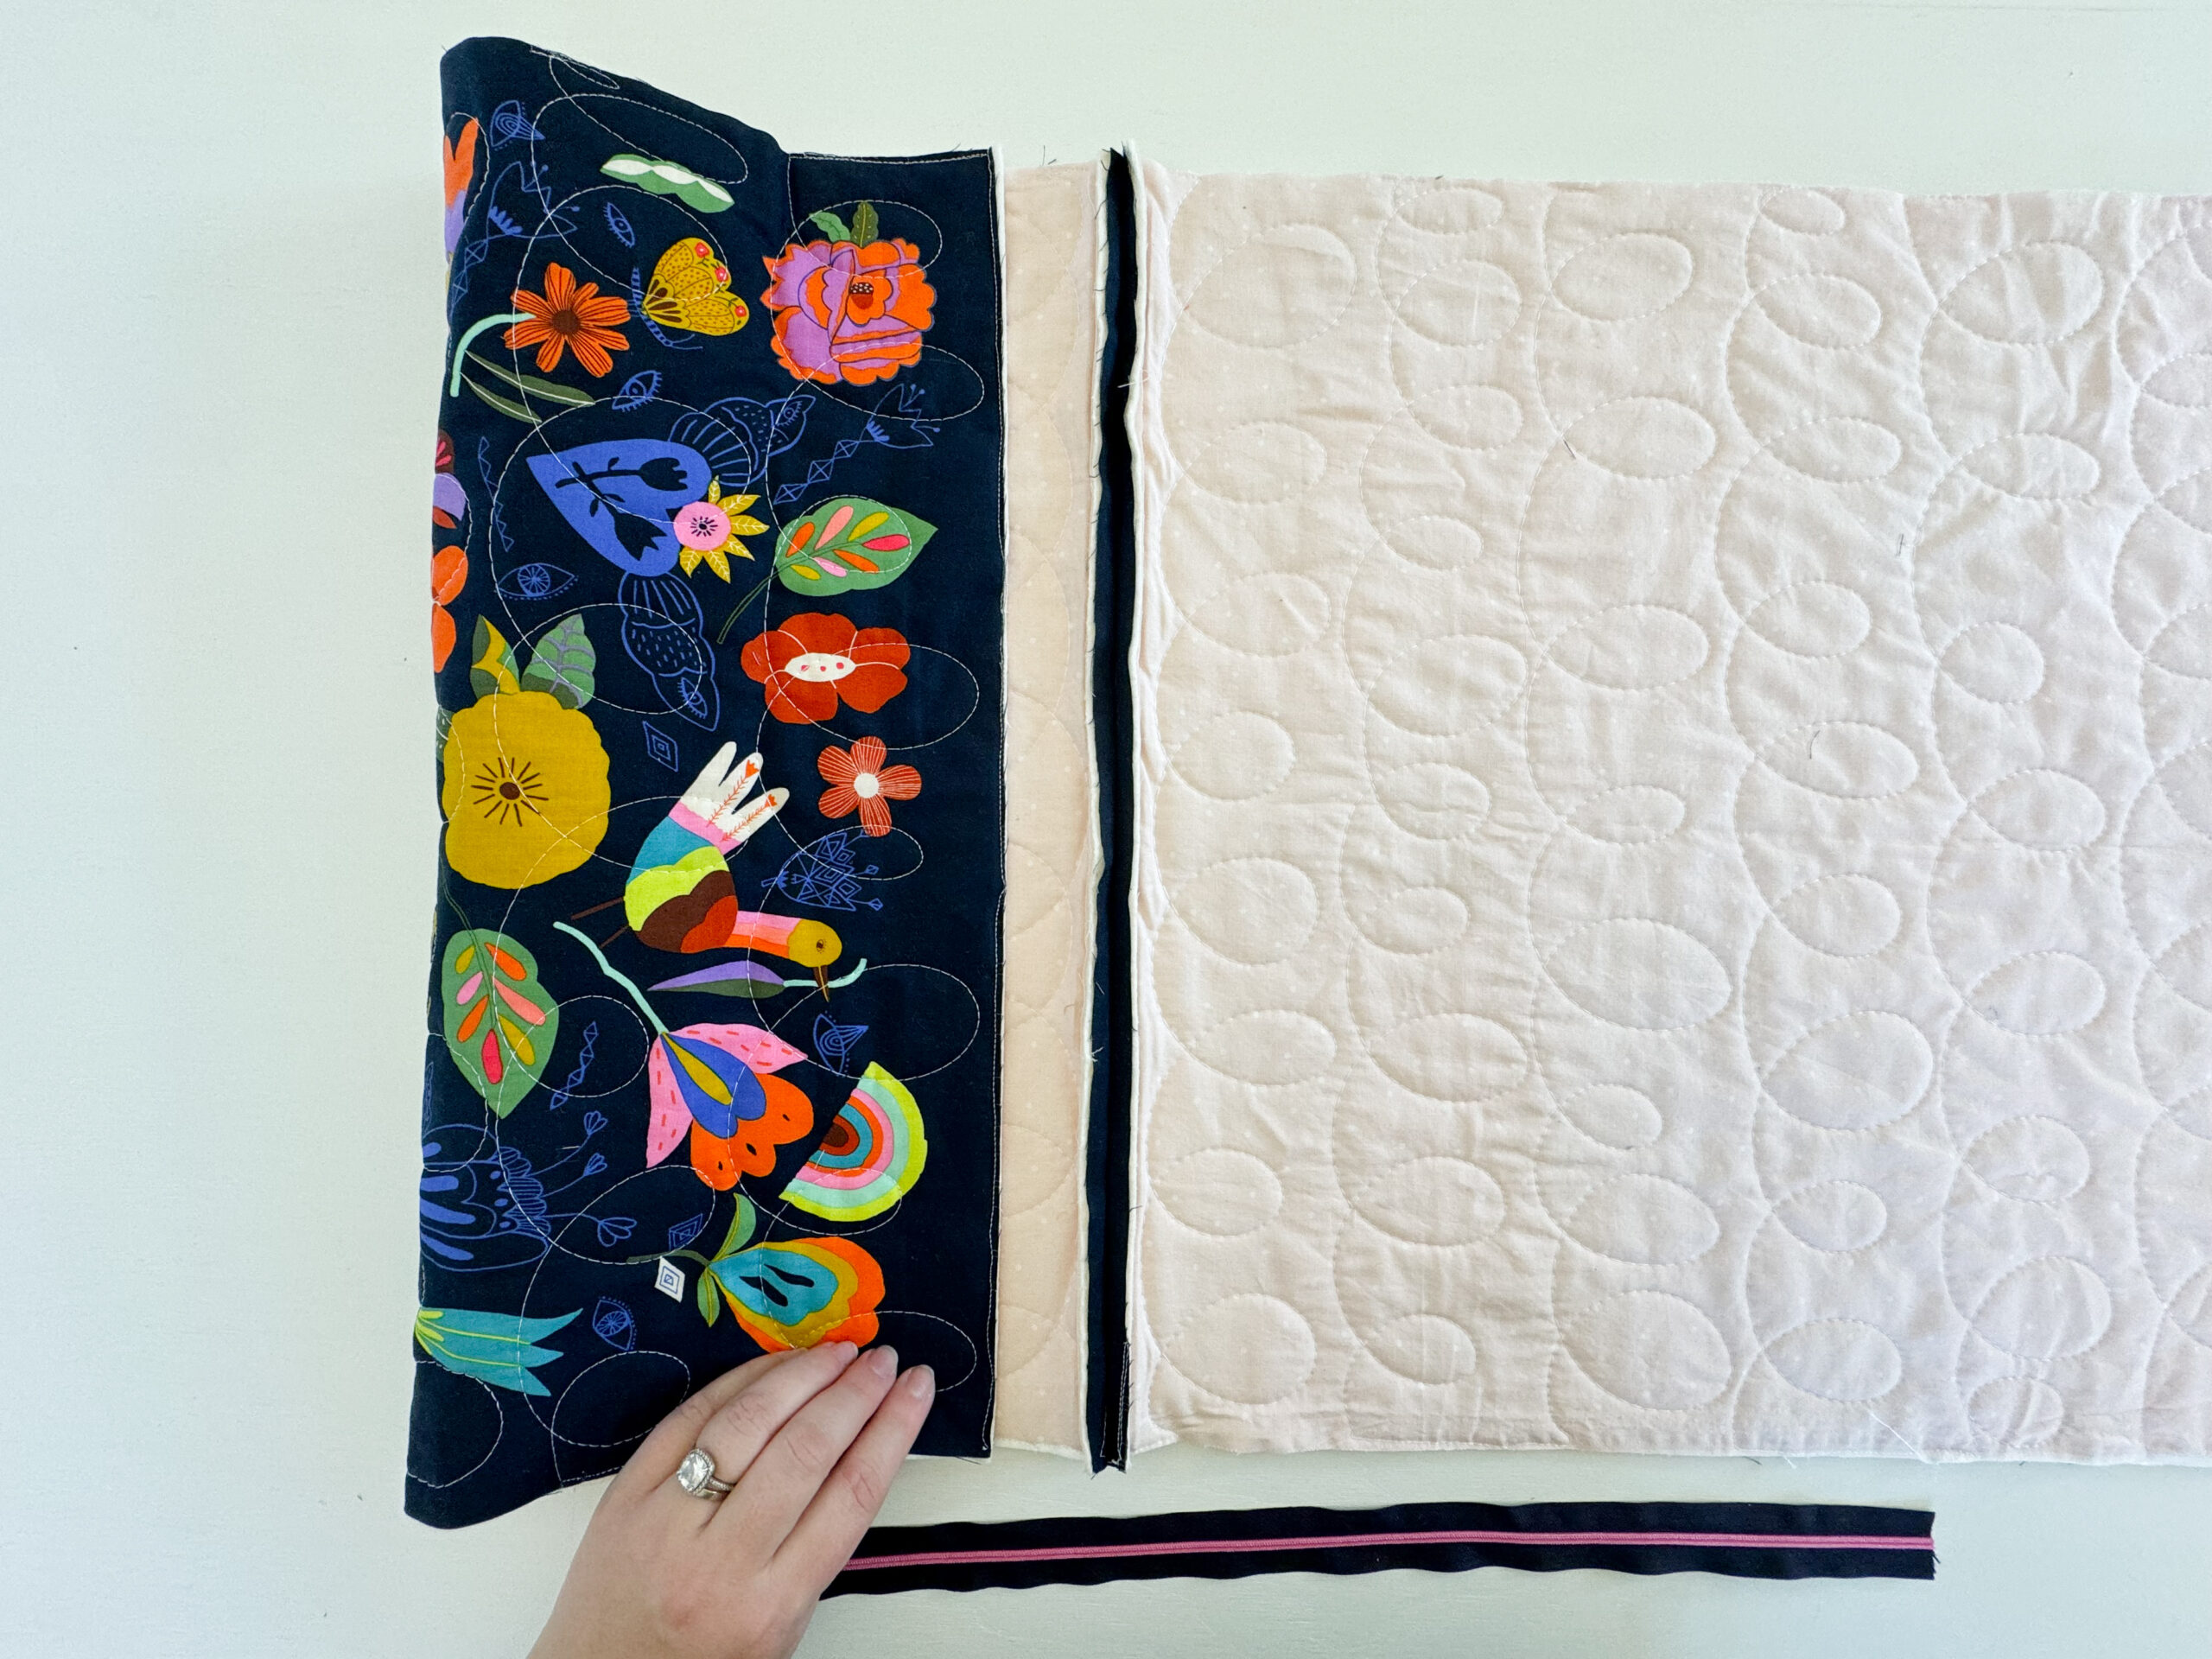
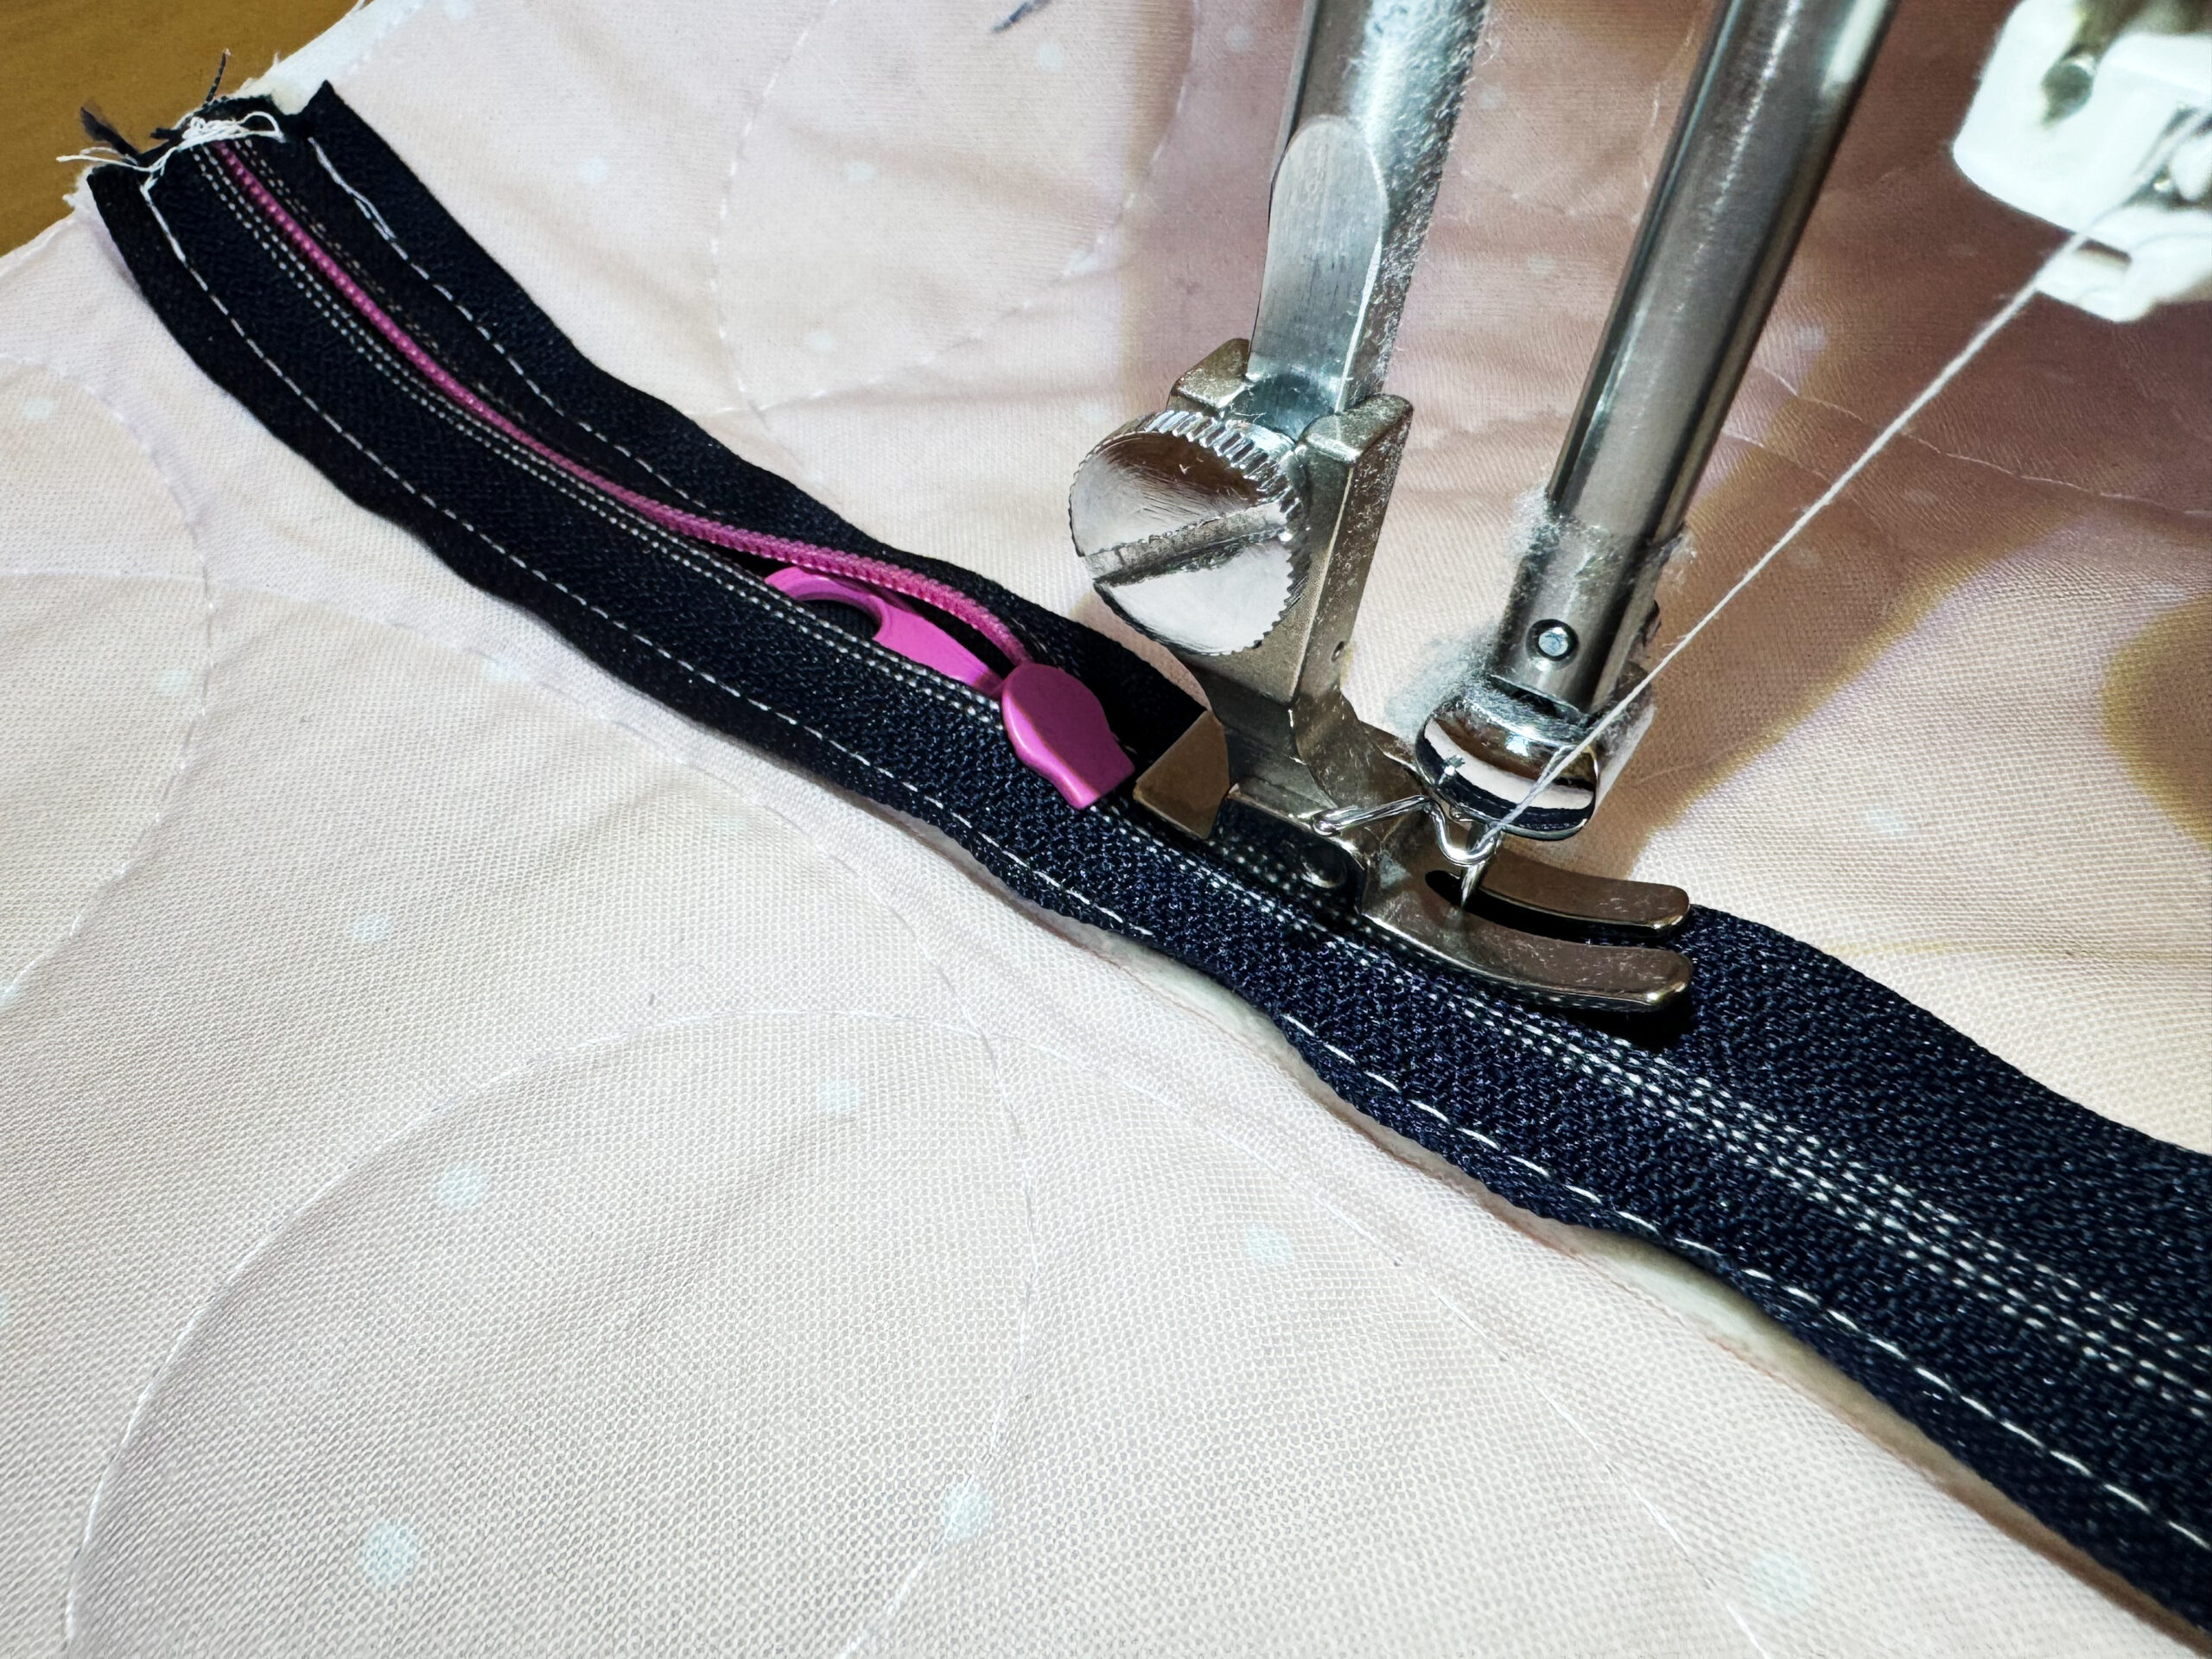
Next align the Front and Back of Pillow with right sides together and sew a 1/2″ seam along the bottom edge. Use a larger basting stitch for this seam as we will be ripping it out later. Iron the seam open and as flat as possible. Lay the zipper right side facing the seam directly on top of the seam and pin in place centered over the seam.
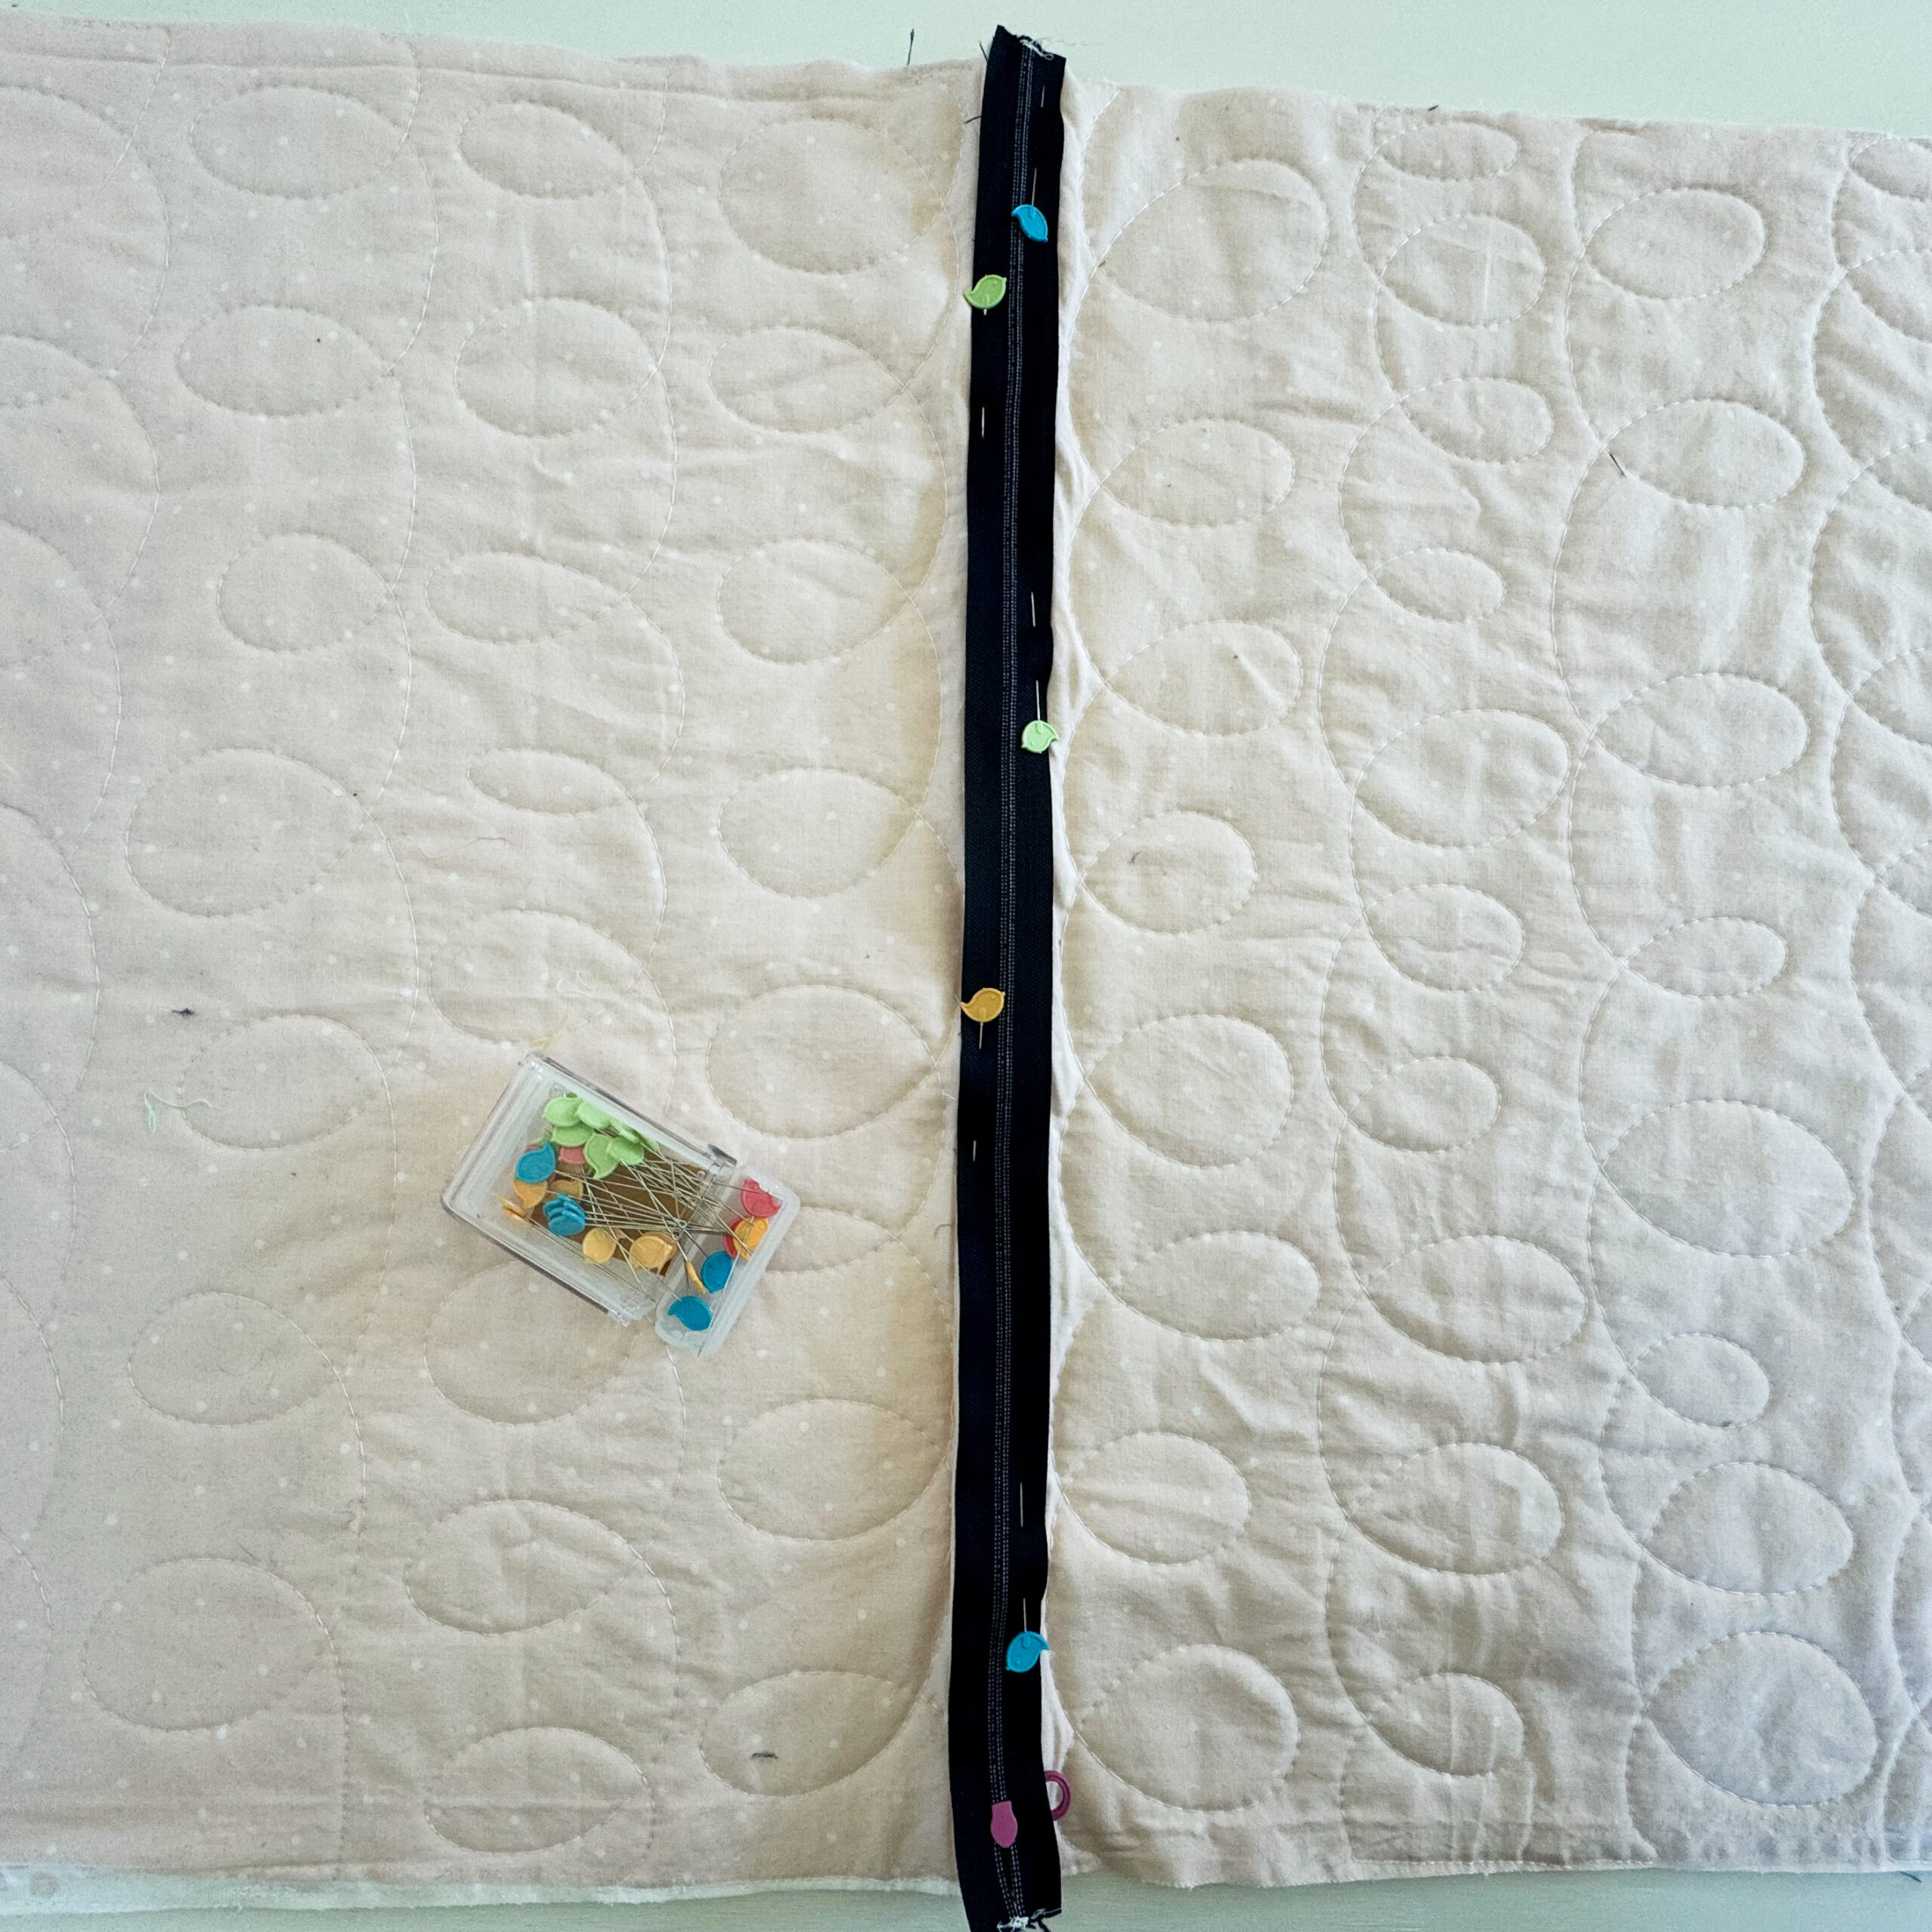
You are going to sew down the sides of the zipper to attach it directly on top of the seam. Use a thread that matches the fabric so the stitches blend in and sew roughly 1/4″ away from the edge of the zipper making sure to catch the edge of the seam when sewing. You may have to move the zipper a little in different directions to sew over where the zipper pull is.
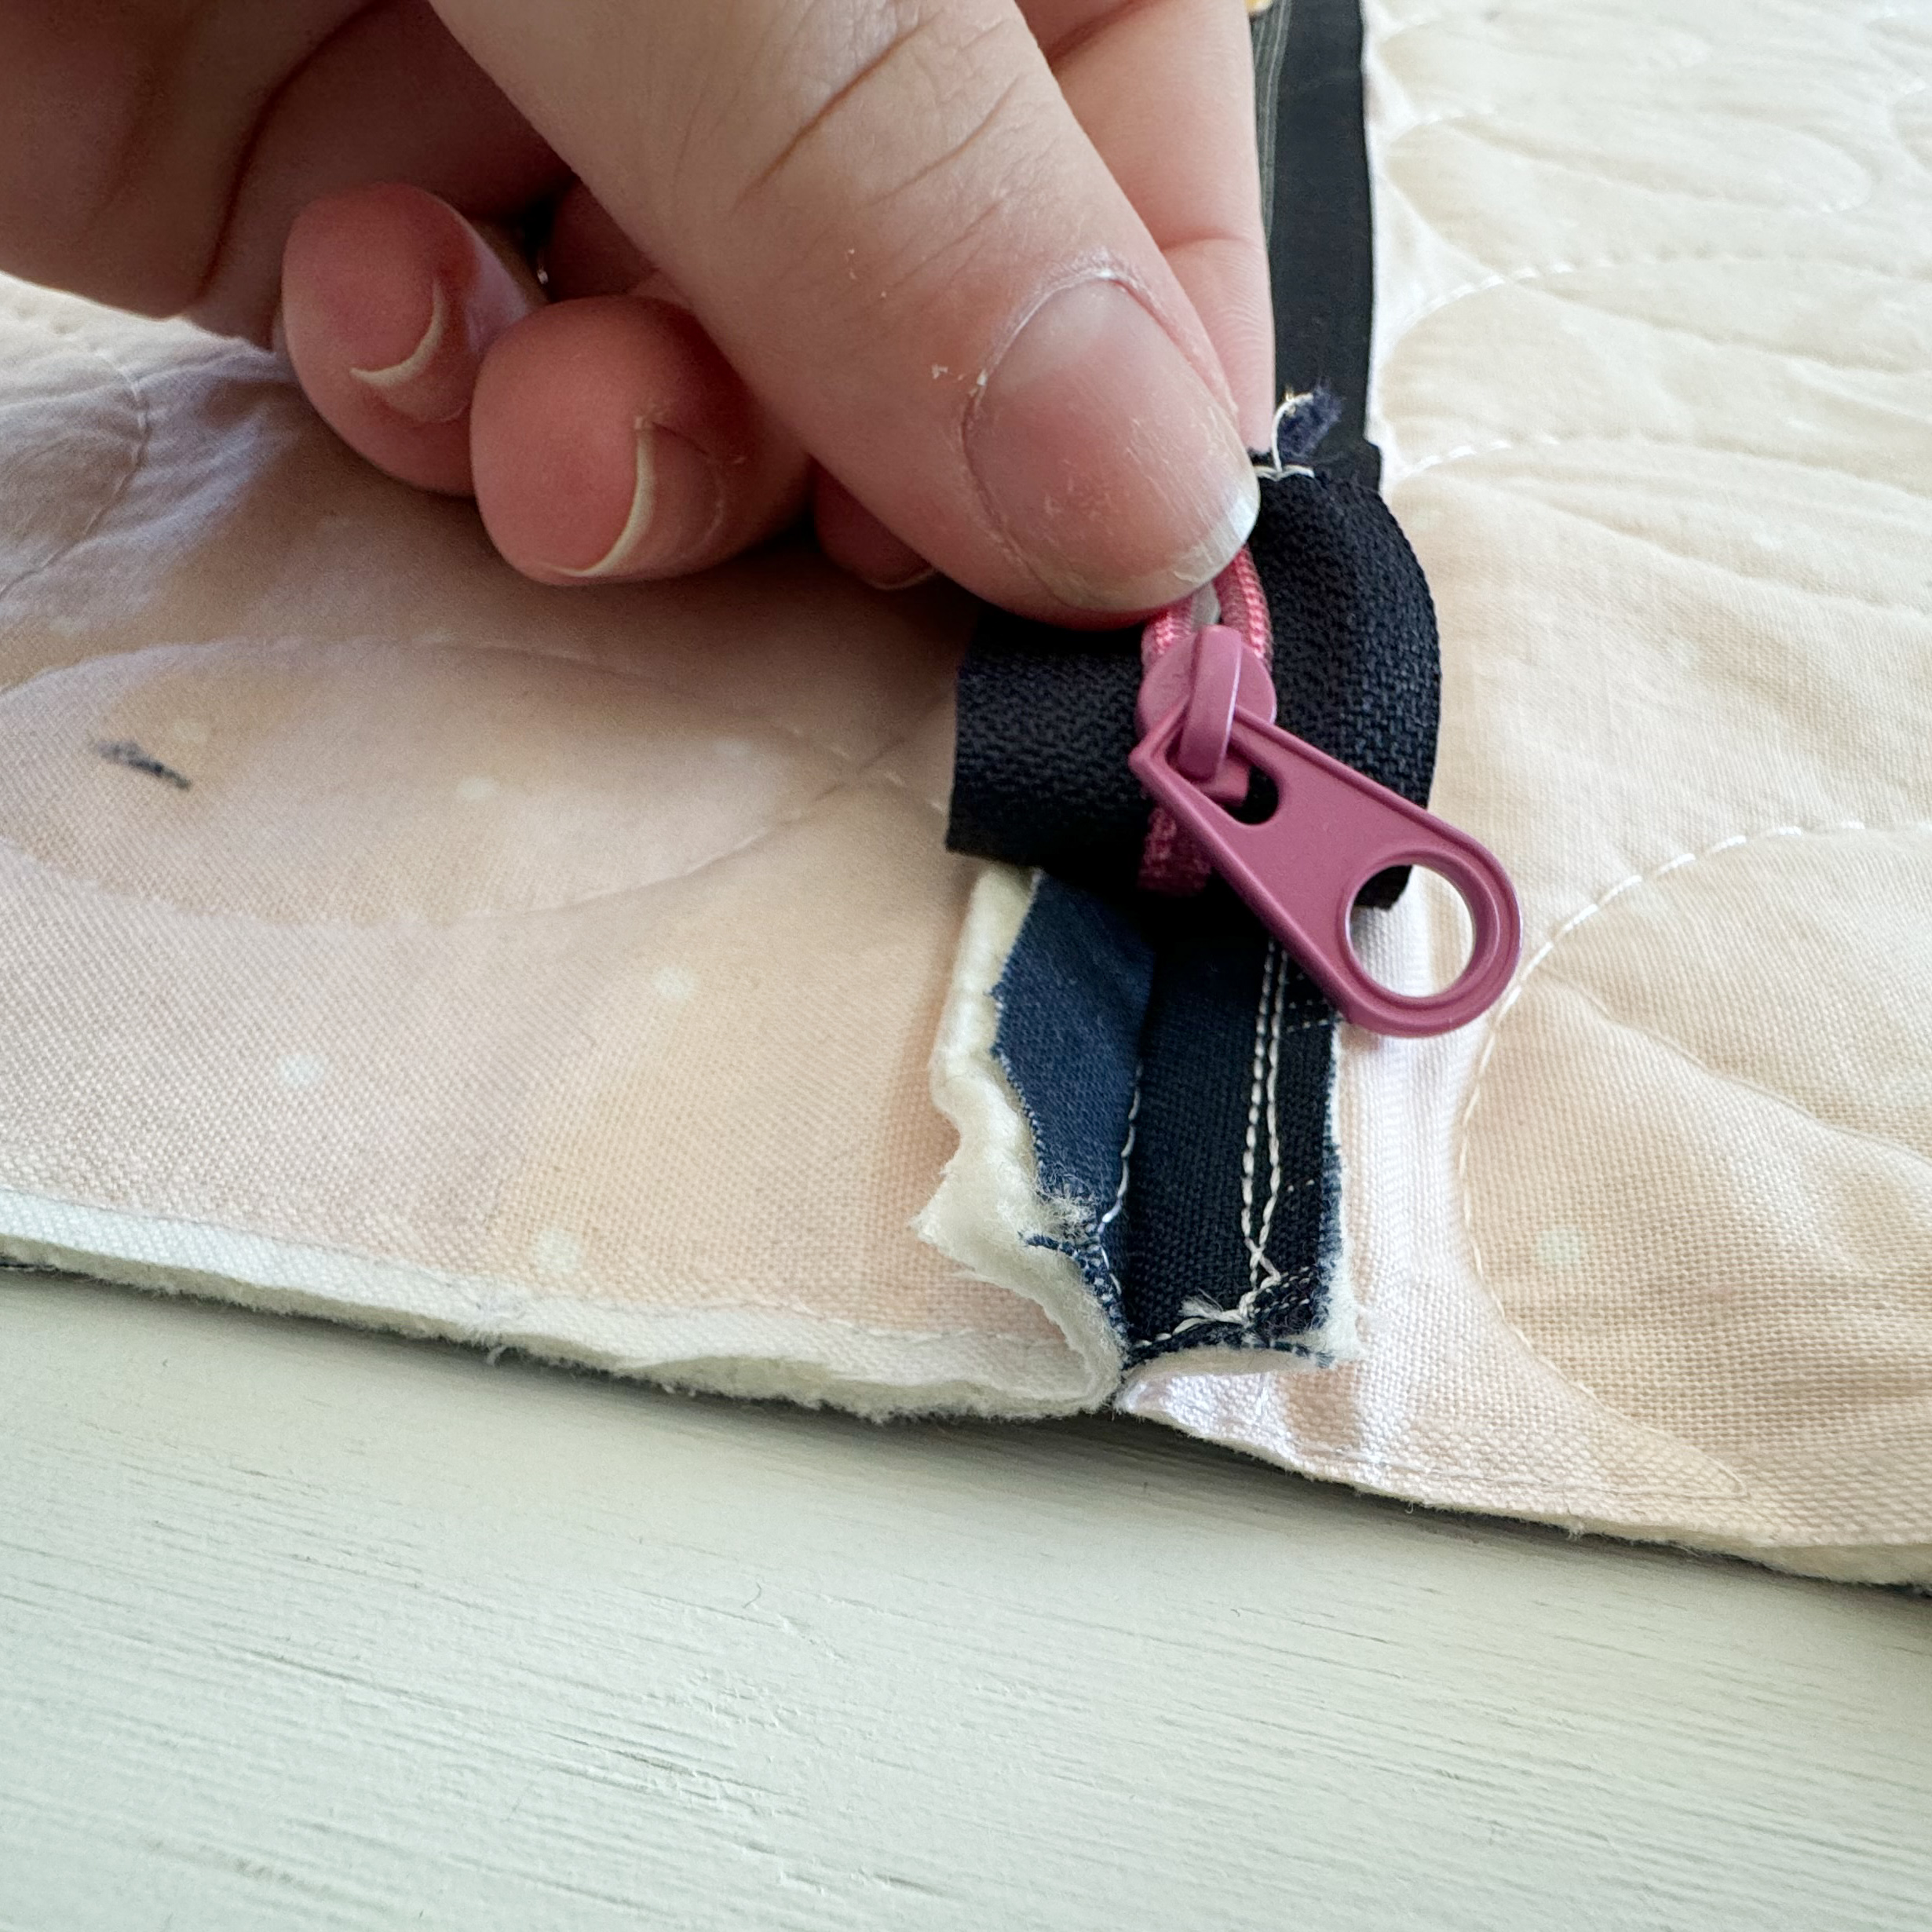
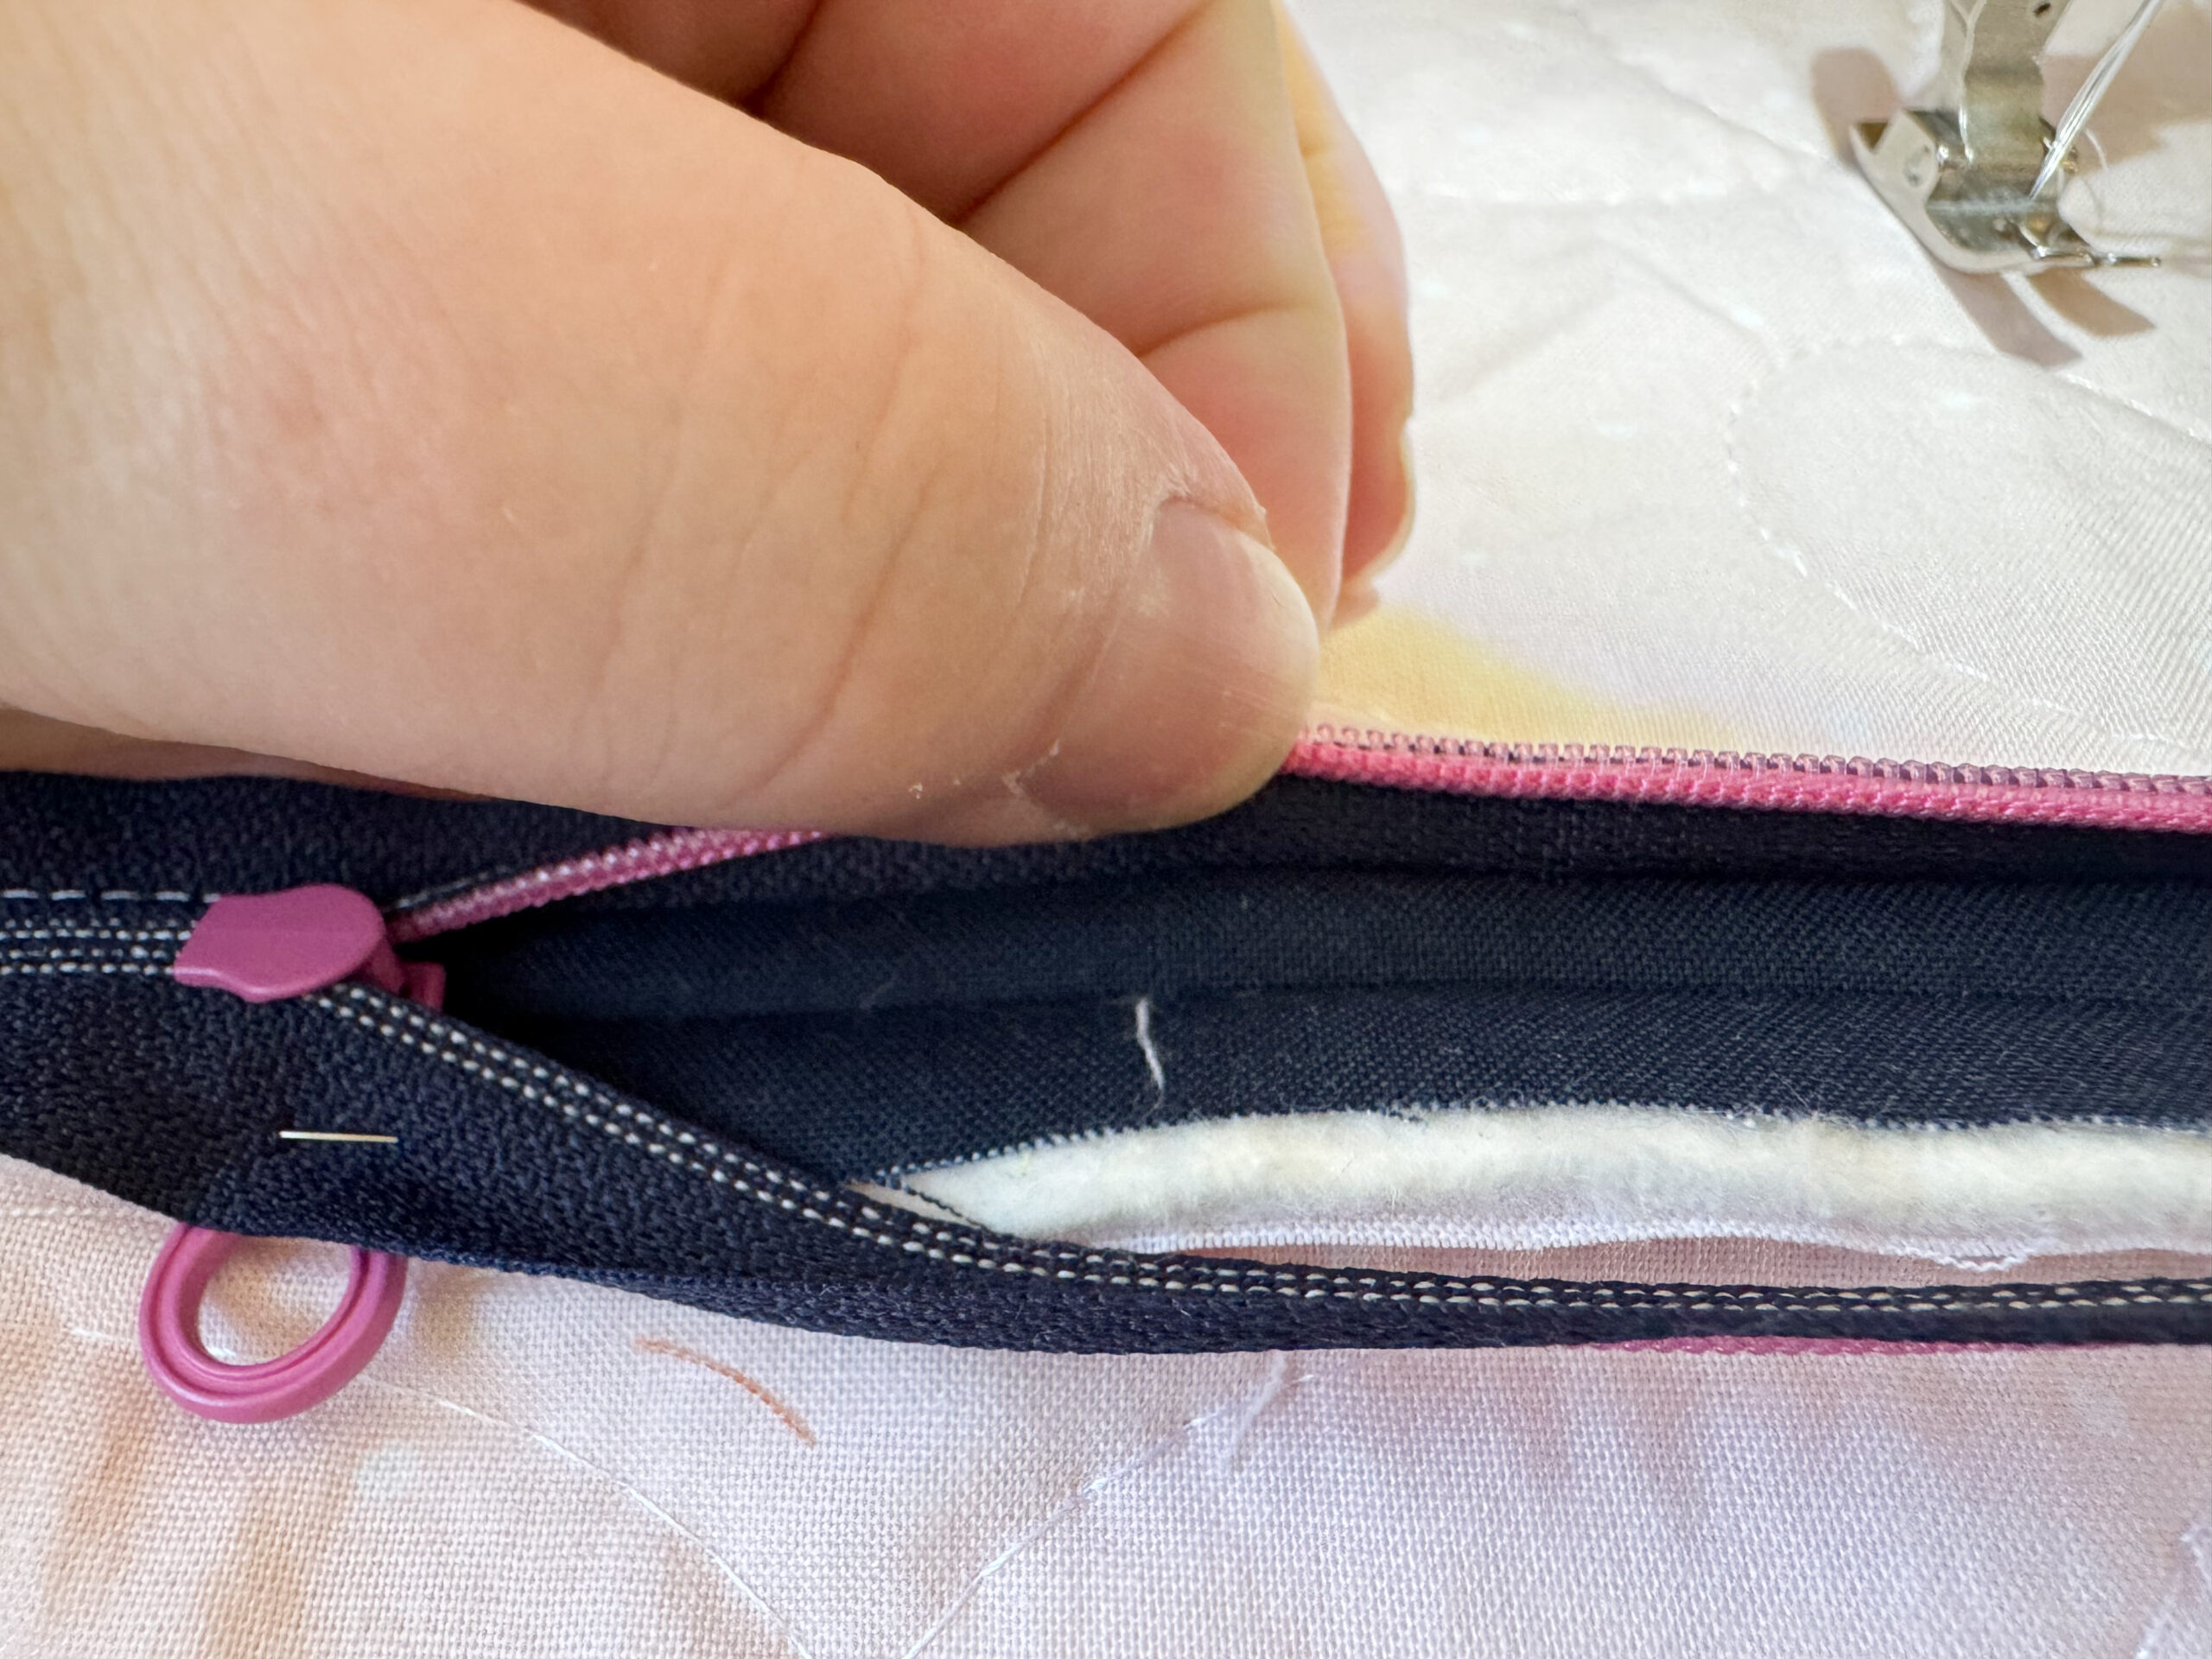
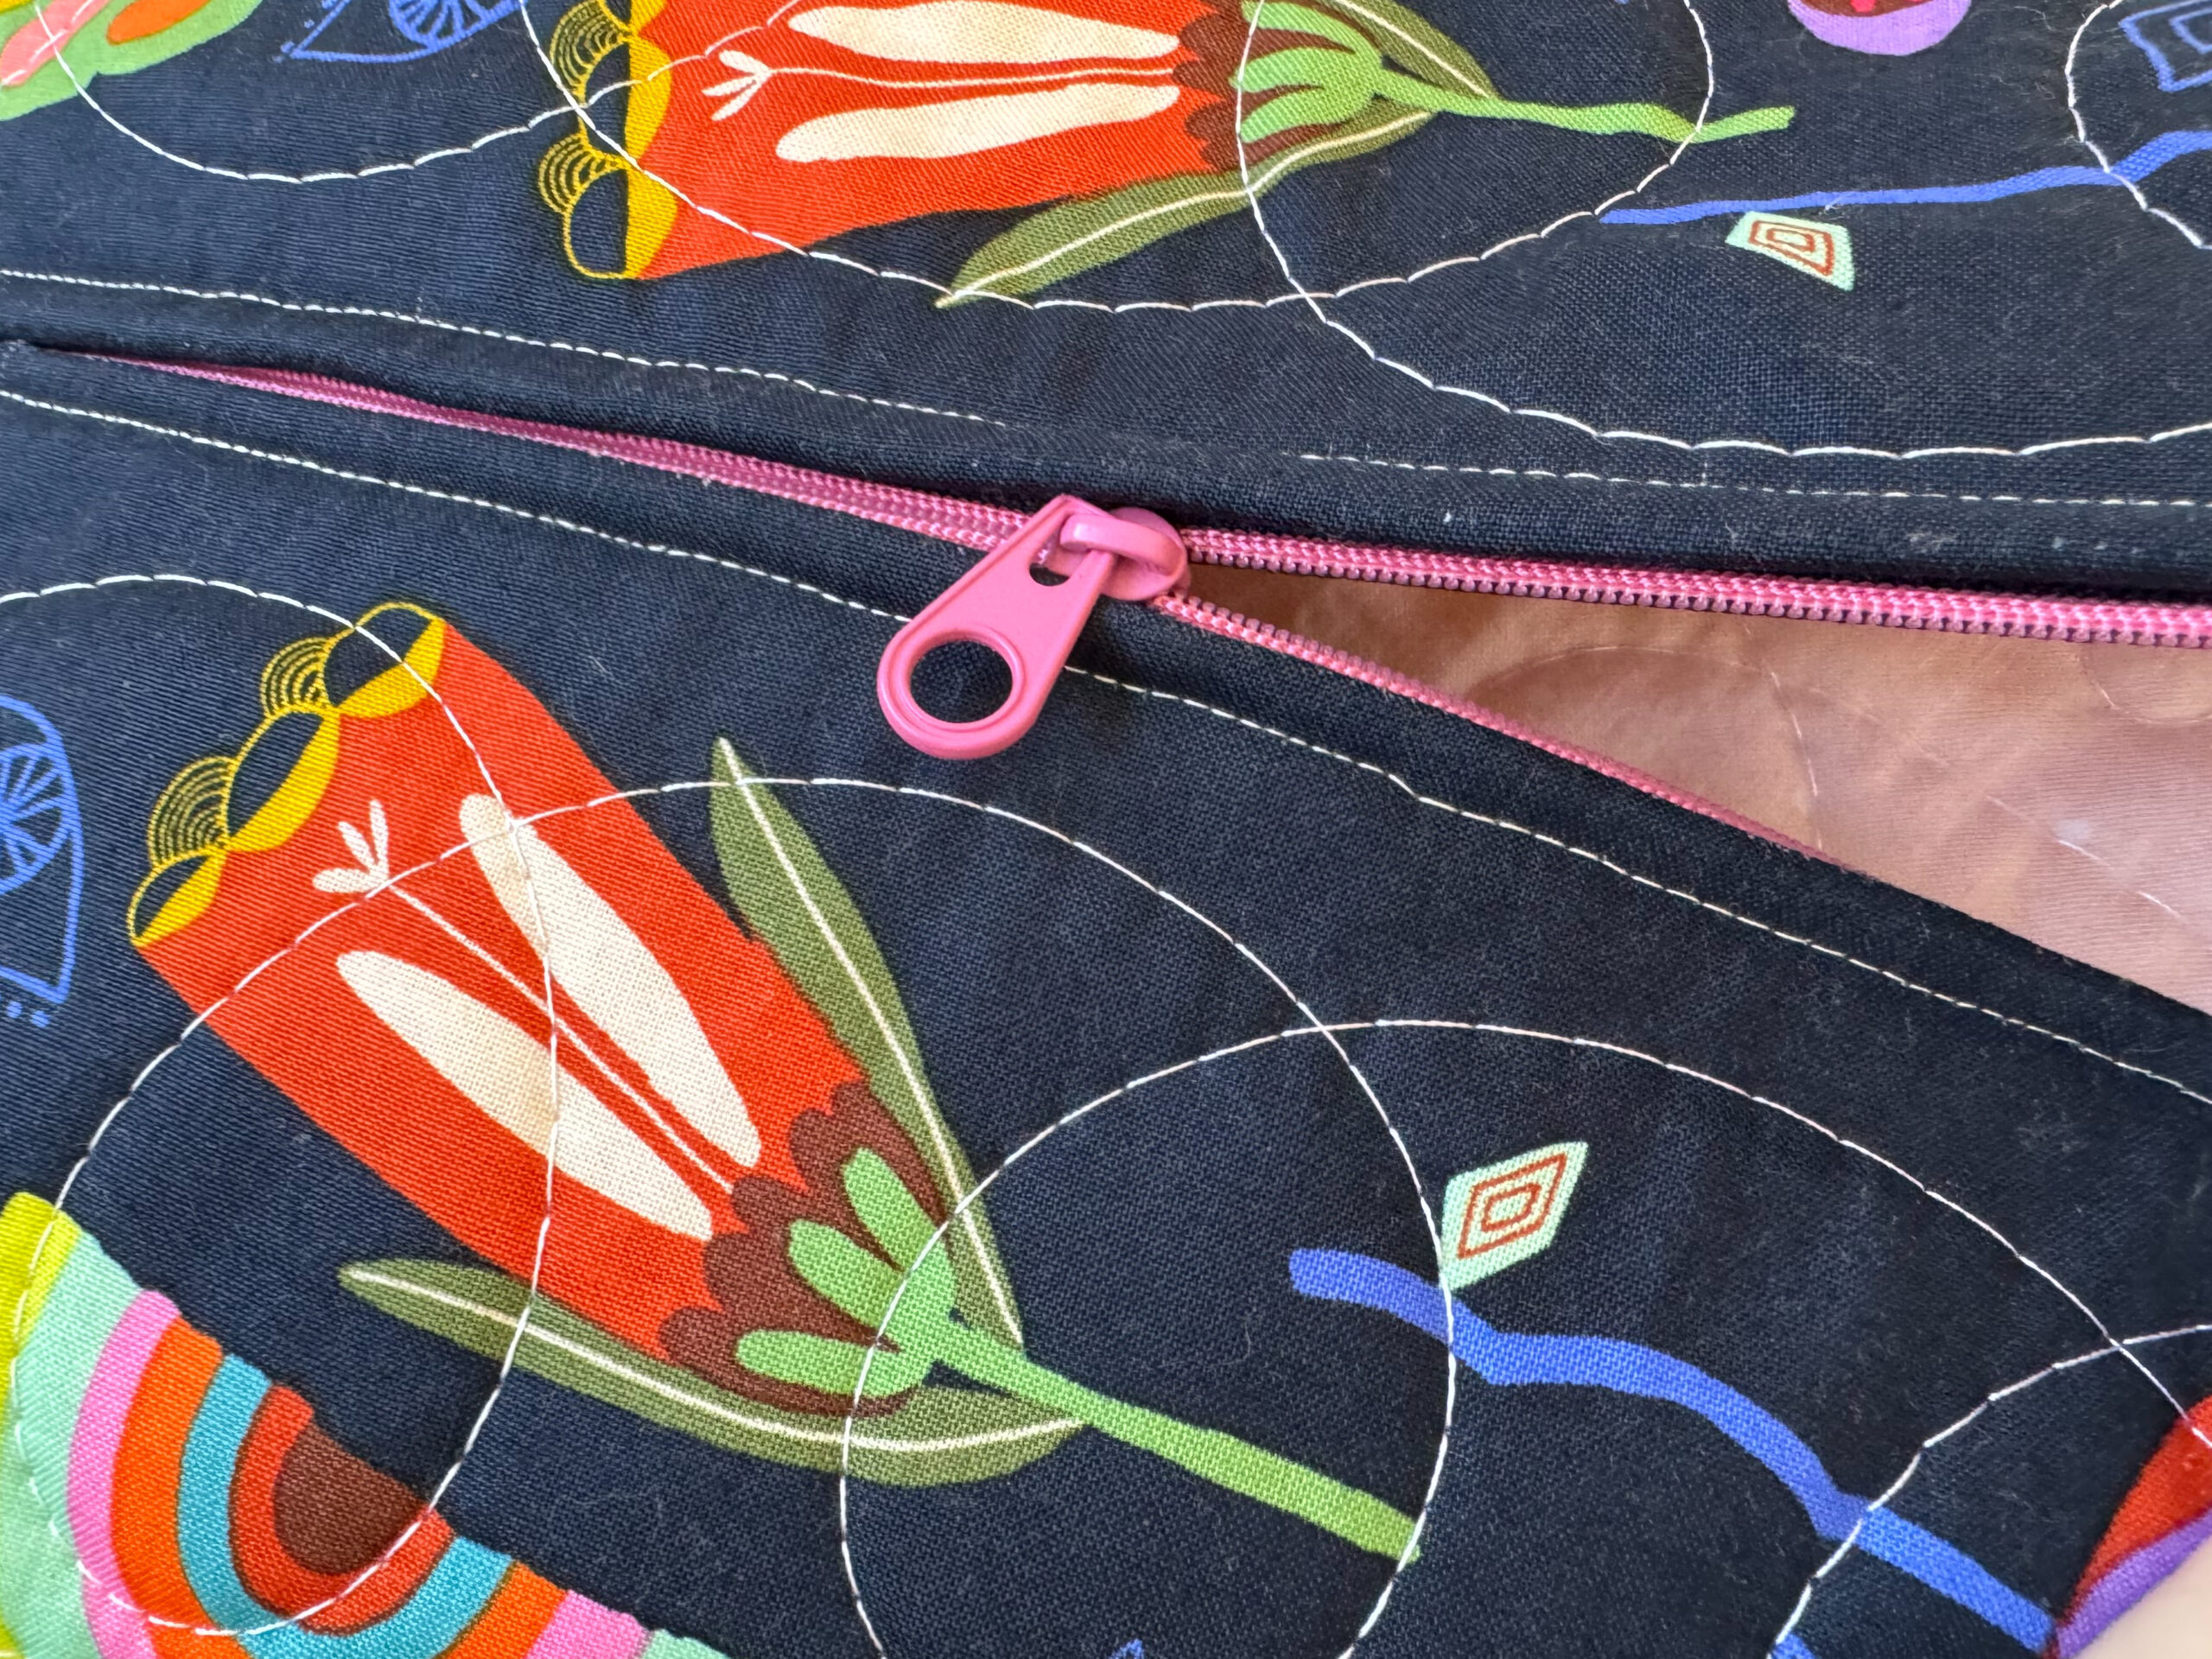
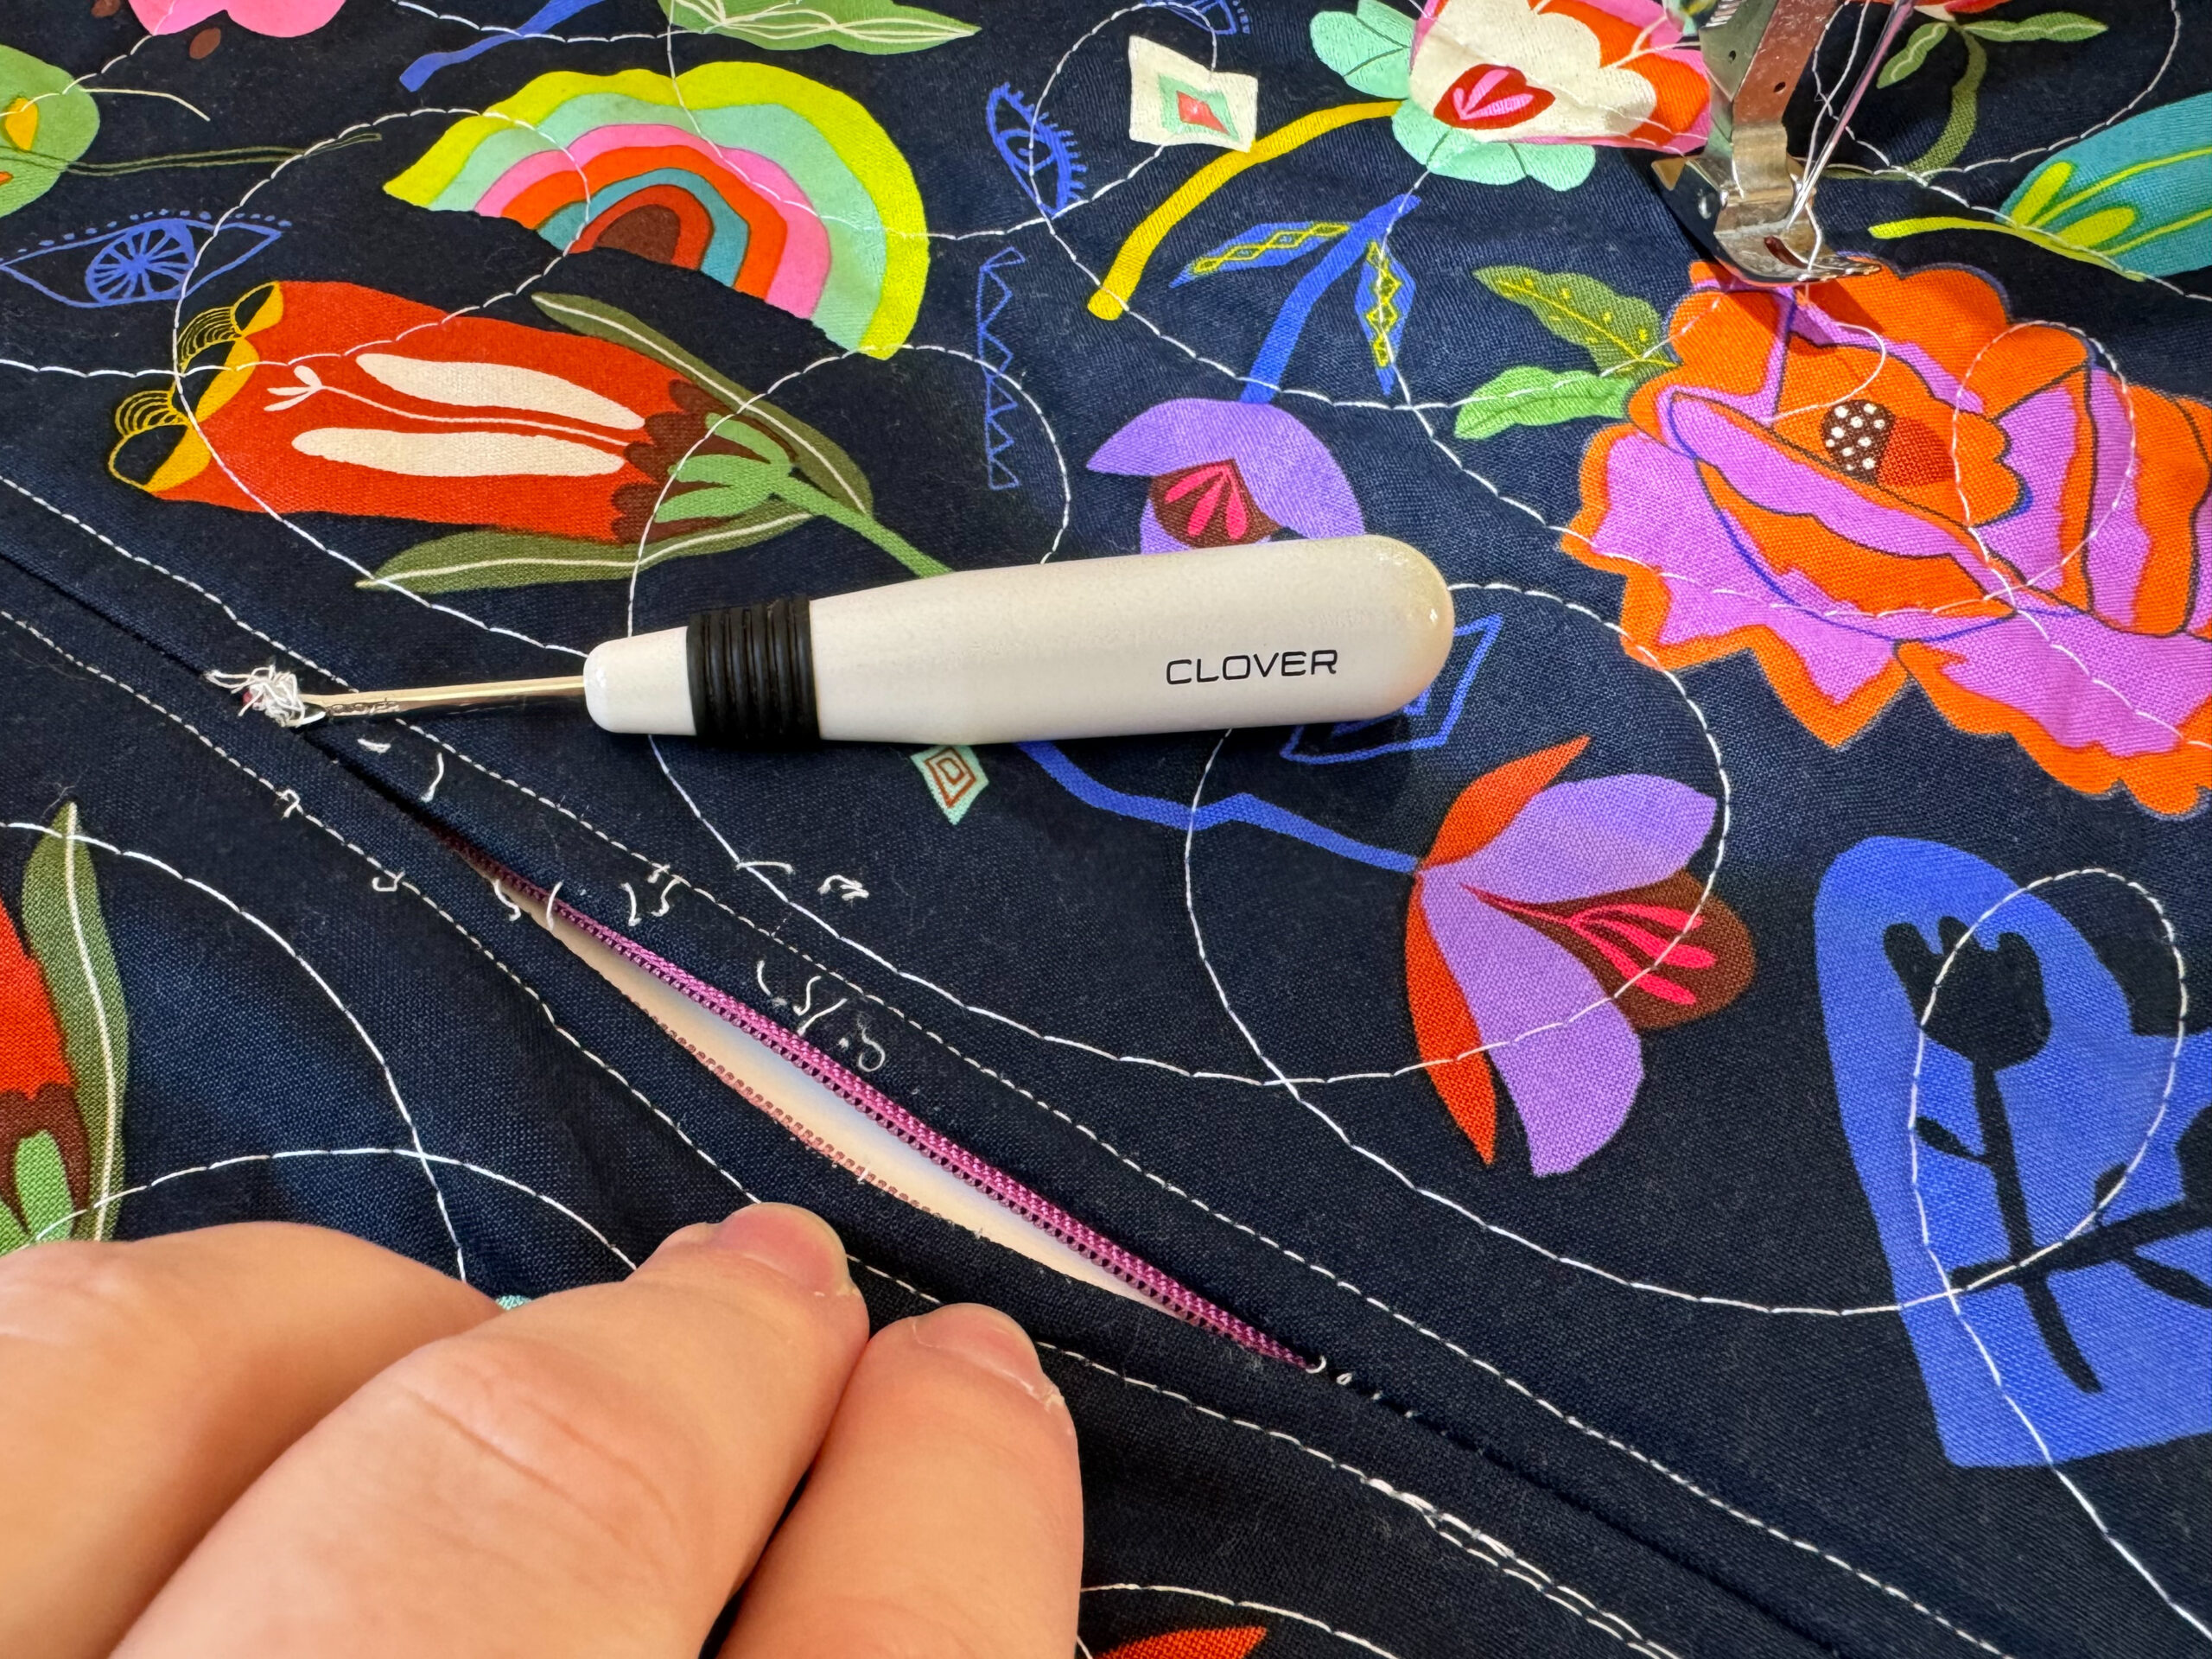
Once the zipper is sewn flat onto of the seam. Carefully seam rip the seam on the right side of the pillow cover and slide the zipper open. Be careful not to open the zipper all the way to the ends until you have the pillow sewn up.
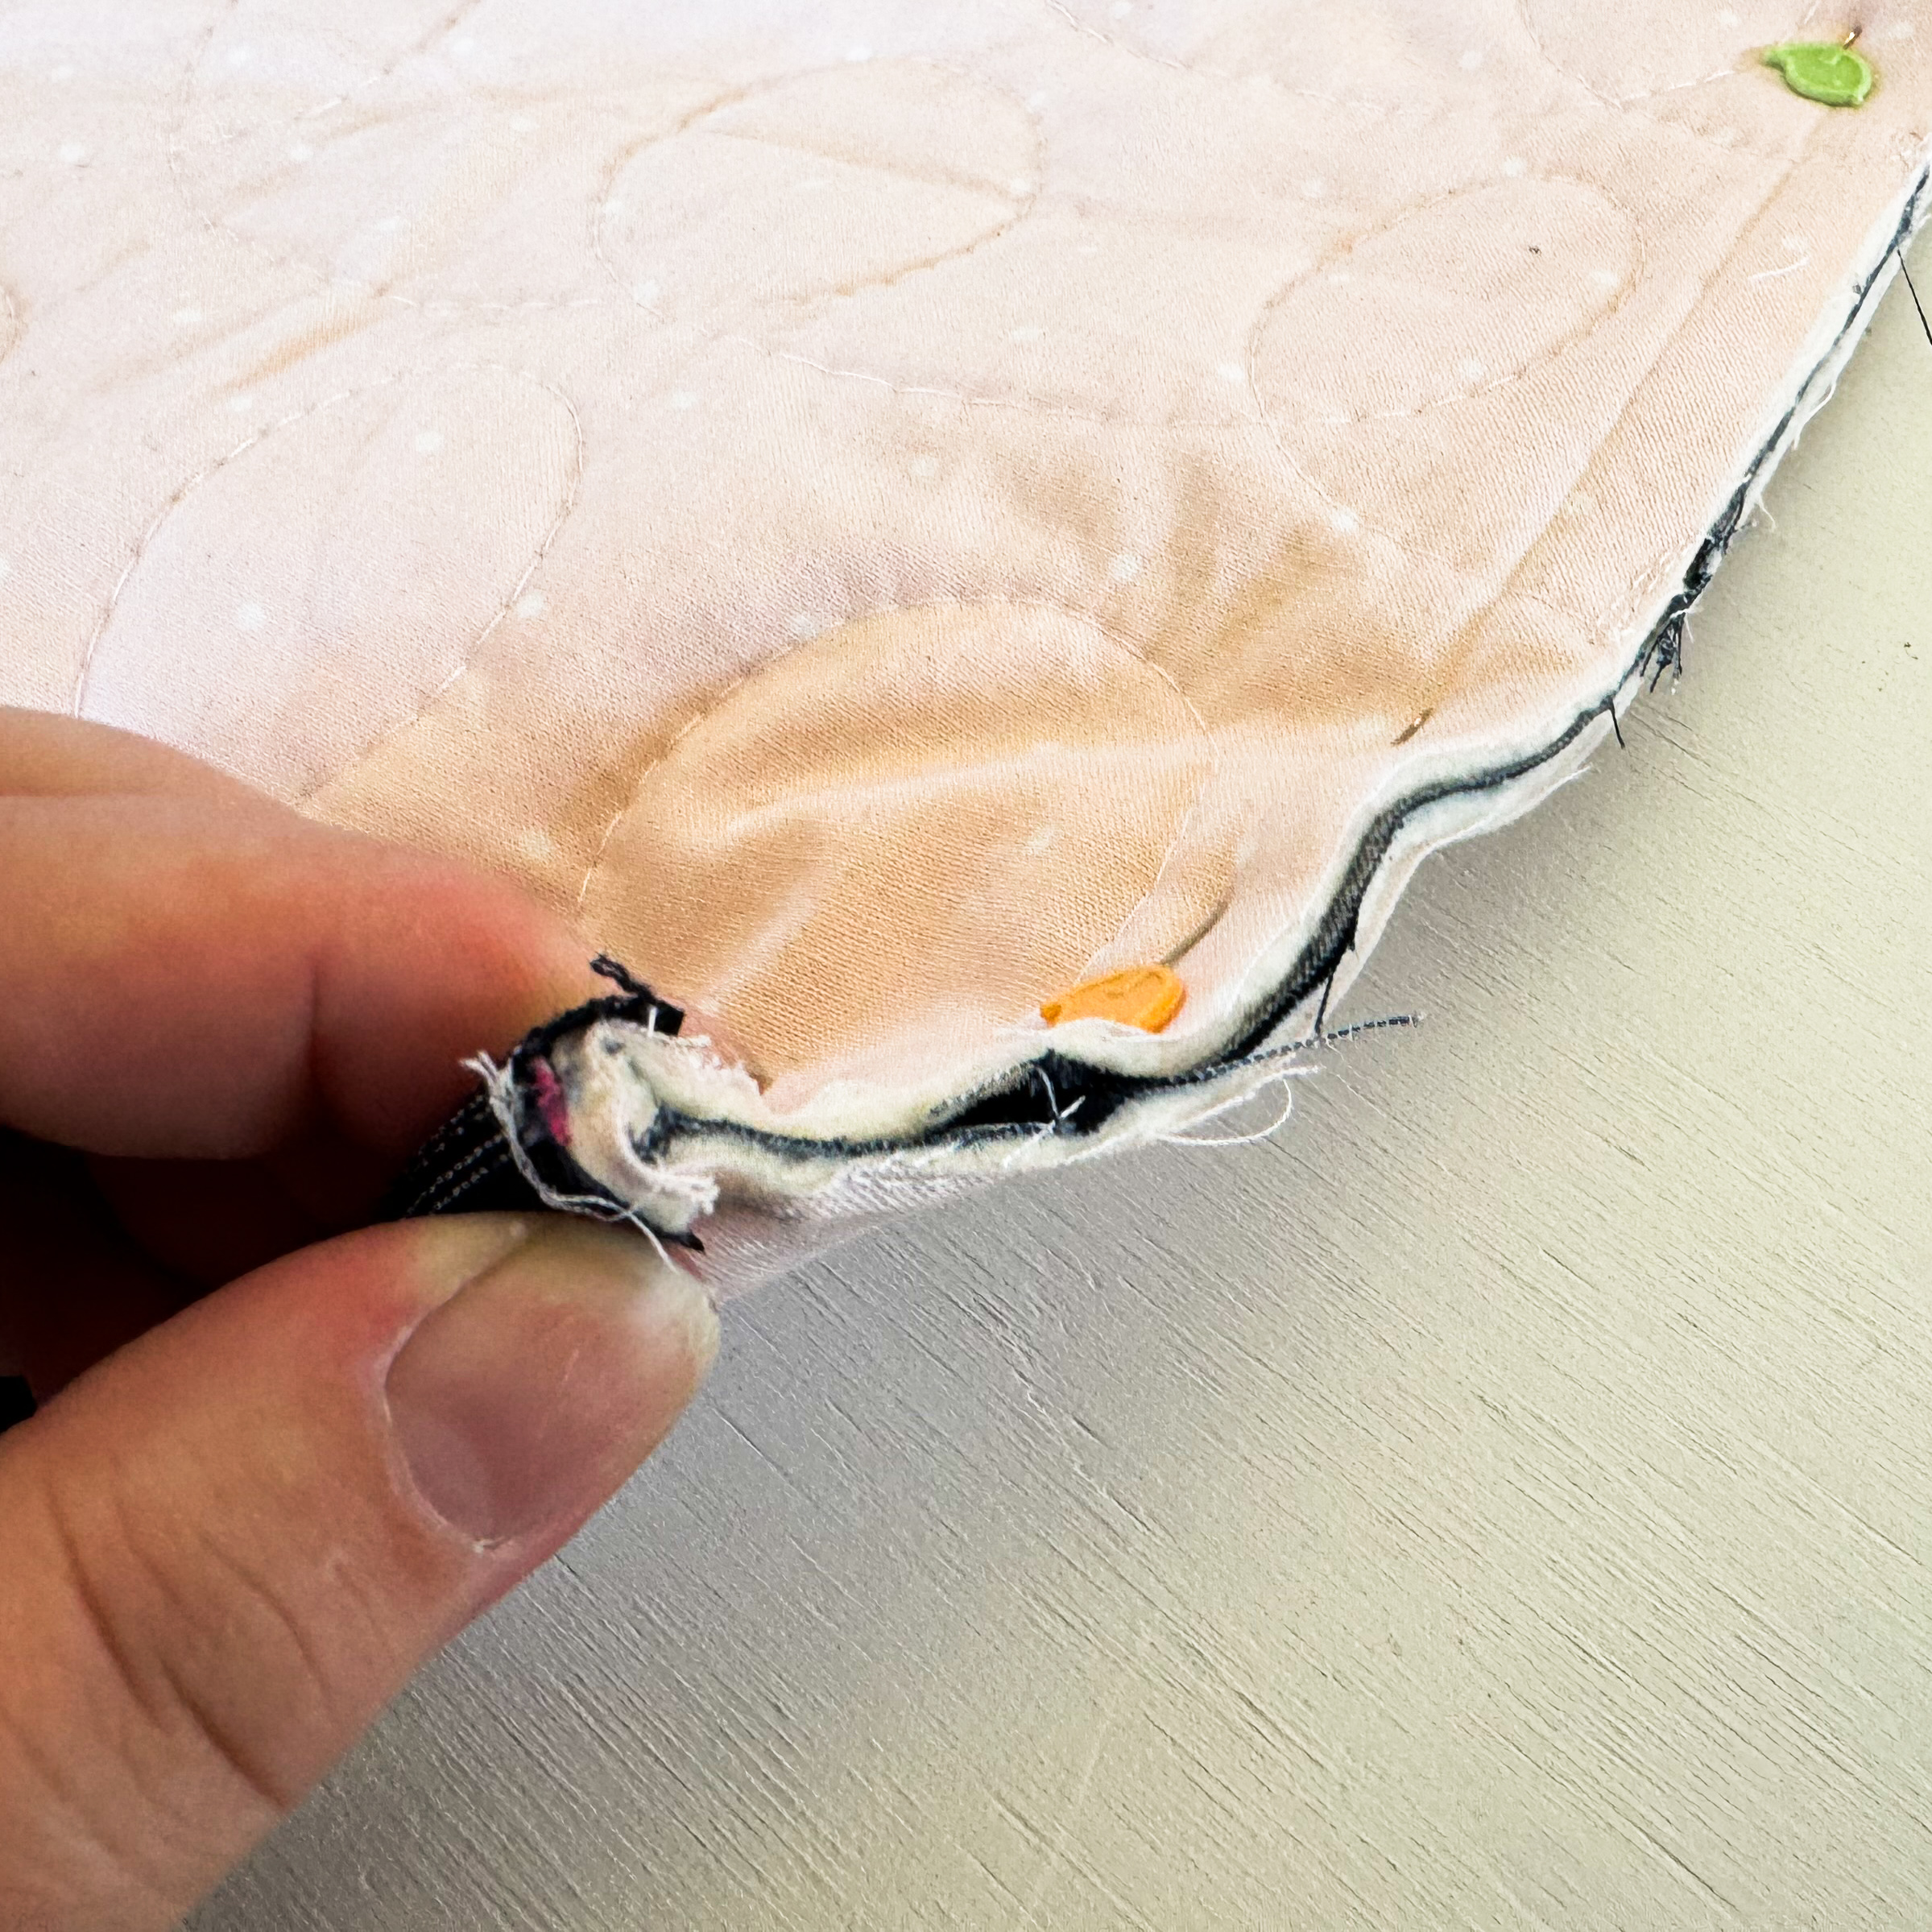
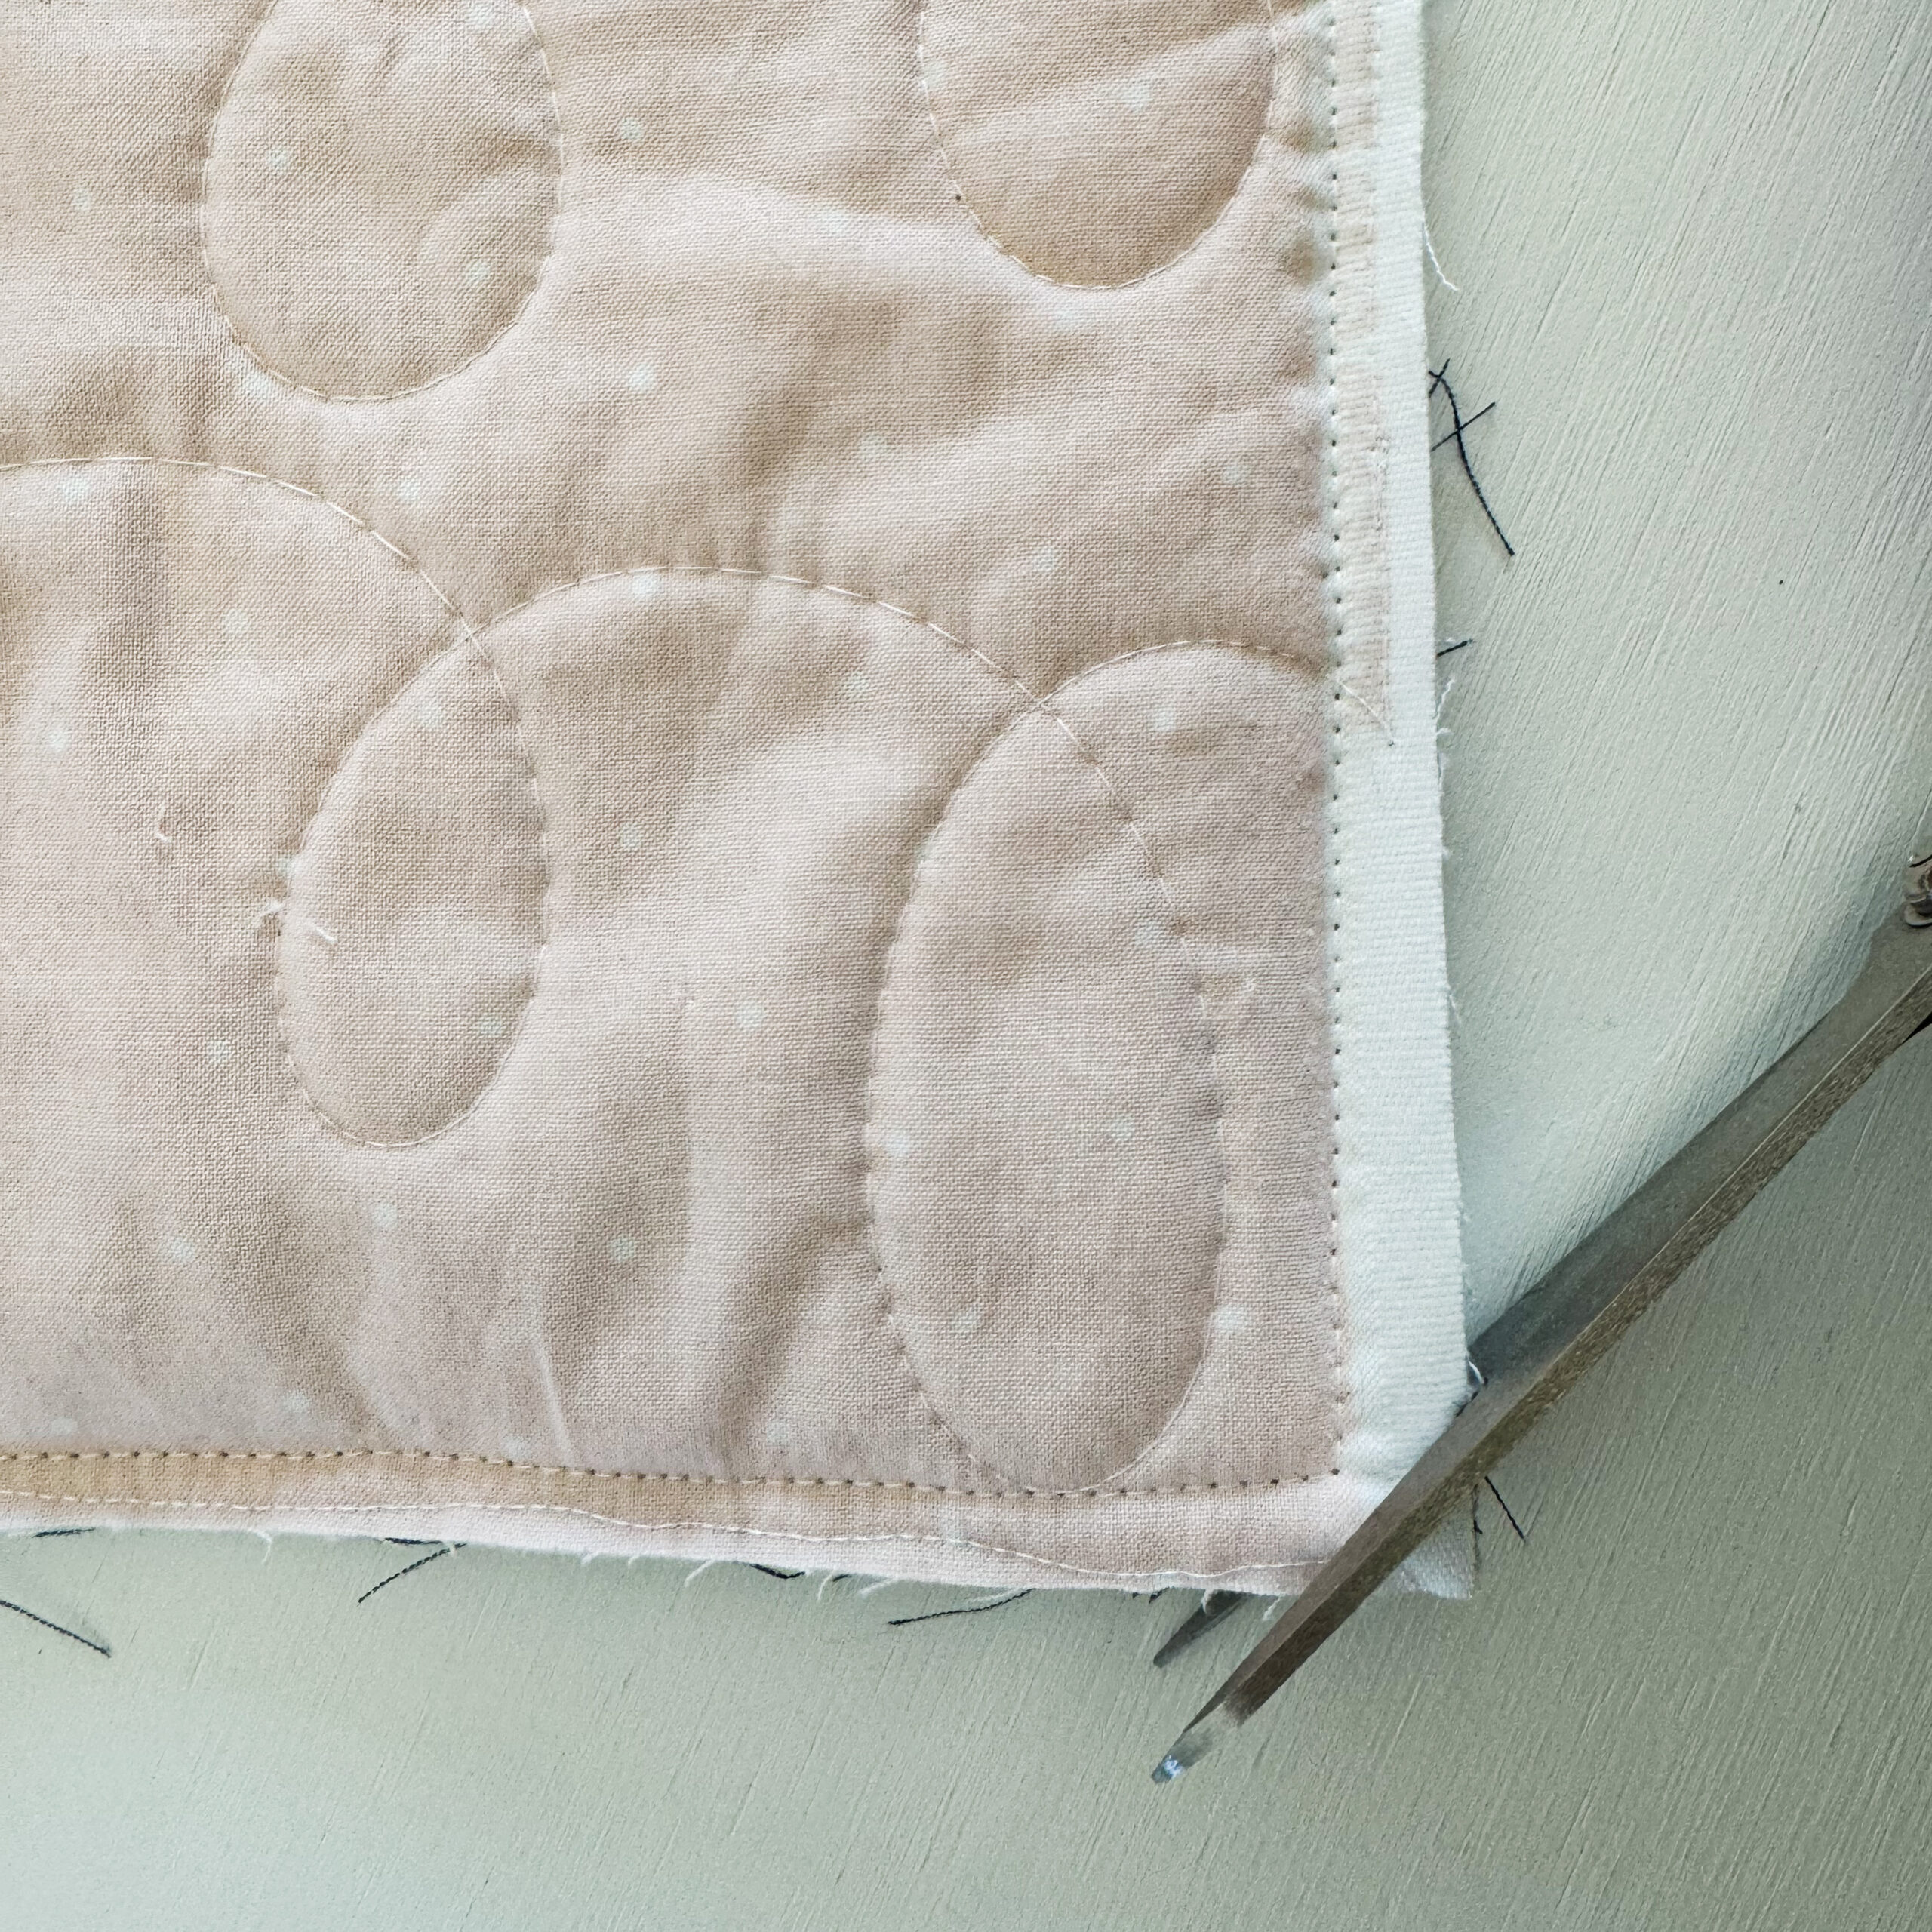
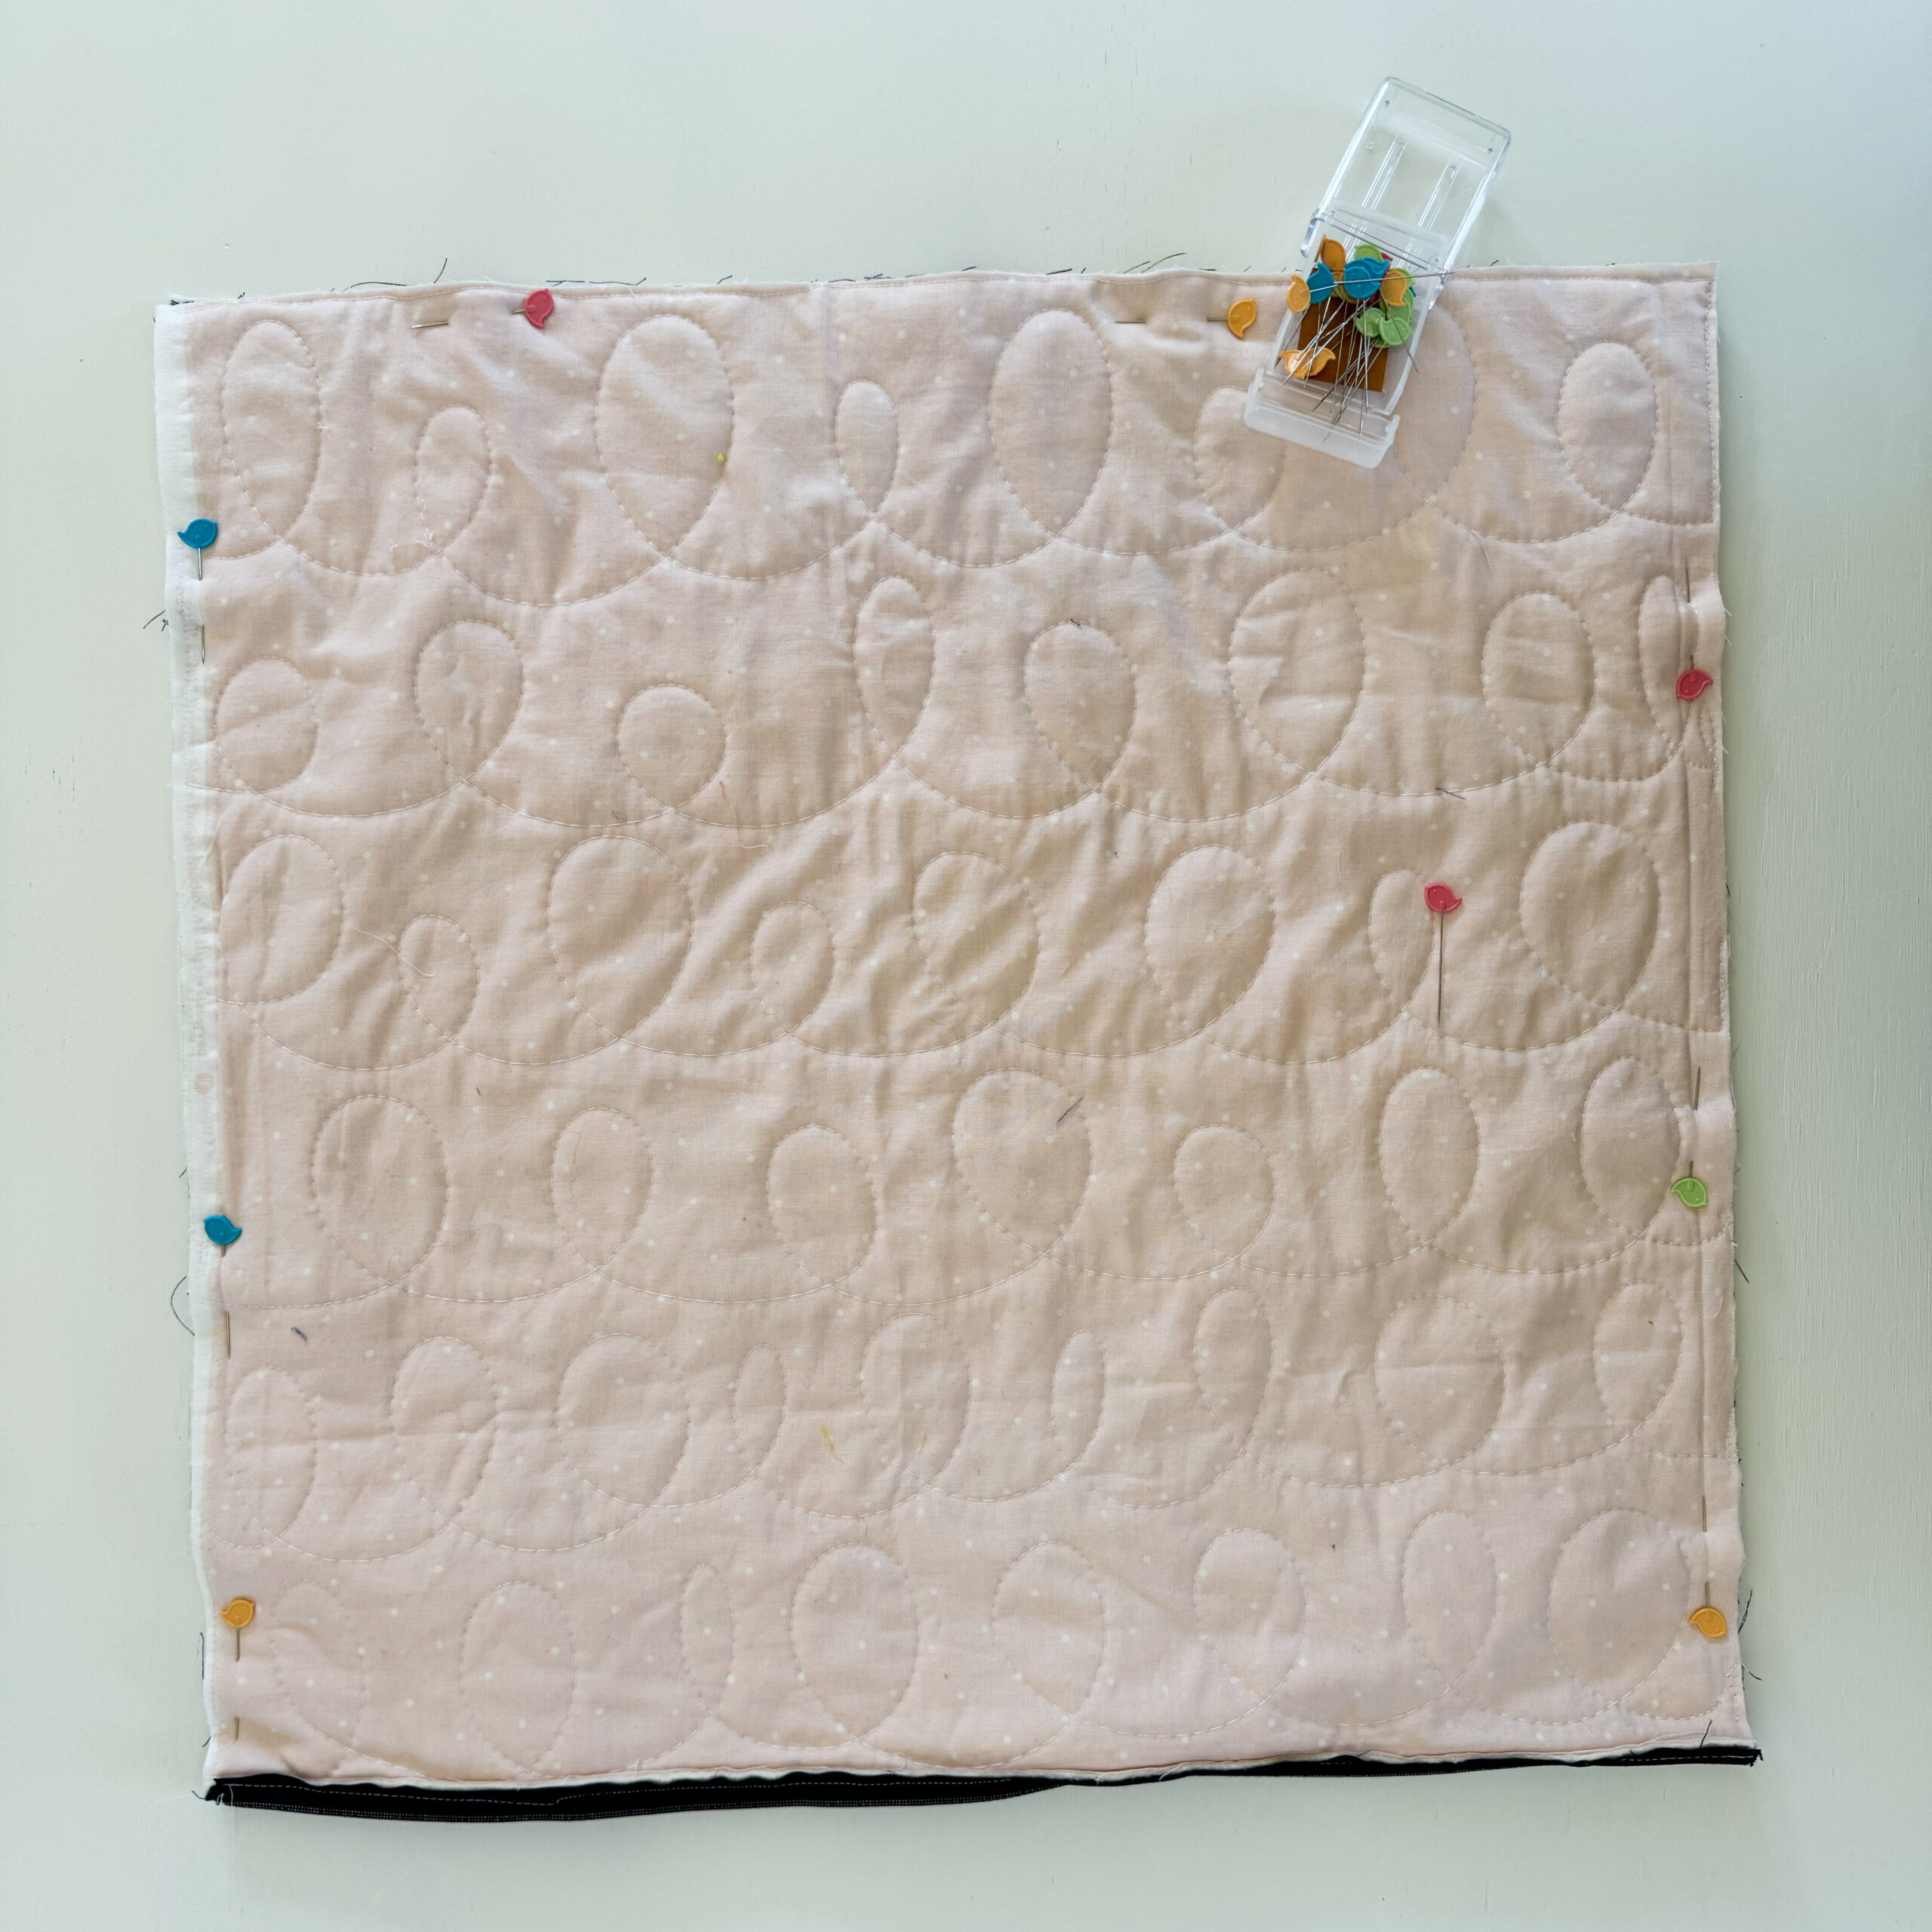
Next fold the pillow at the zippered edge aligning the two right sides of the pillow cover and all four sides. Pin together and sew the remaining 3 sides of the pillow backstitching at the beginning and end over the zipper ends. Do the same angled seam in the download pattern on the corners and clip off the corner fabric before turning. Make sure the zipper is open before sewing so you can turn the pillow right sides out though the zipper opening.
Other Details
A zippered closure allows you to have a reversible pillow with the back and front both finished, matching or not. But the envelope closure is such a simple and quick way to finish a pillow cover and great for beginners.
Then if you’re really feeling fancy you could try and pattern match your envelope closure pieces when cutting. Although once the pillow form is in the cover the open will not lay as flat so it may be more work for something you may not even notice.
Please share here or on Social Media if you make a checkered Pillow from this tutorial. I love to see the things you make.
Furthermore if you enjoyed this tutorial you might enjoy my upcoming New Star Begginner Quilt Pattern and Course to Learn how to Quilt. It will be in a similar format of a blog post along with a Youtube video and you can read more about it here. I’ll be sharing more info there in the coming weeks along with supply lists and kits.
<<<<< Free Checkered Pillow Downloadable Tutorial >>>>>>
Thanks for stopping by and sewing with me today!
Thank-you for the pillow tutorial !
Your Welcome!
How does an 18” pillow cover fit on a 20” pillow form? I’m really looking forward to making this pillow cover and want to be sure it’s not a typo :)
Hello,
Yes I recommend to use a bigger pillow form than the cover. Something I learned as an interior designer. It fills out the cover better and makes it look fluffier. Thanks for stopping by and checking on that. Feel free to share you pillow with me when you’re done.