
It’s Week 2 – Cutting Fabric for the New Star Beginner Quilt Course. Hopefully you made it through Week 1 – Fabric and Quilt Prep. And if not head over to the Week 1 post and check it out.
Week 1 – Fabric and Quilt Prep for the New Star Beginner Quilt Course
In Week 2 we are taking a look at the pattern for the cutting instructions. I will talk you through how to know what to cut and also go through how to figure out what to cut for a custom design. I share videos of how I cut out fabric as well.
Plus a couple BONUS videos of fussy cutting and multiple HST’s at a time. Check out all the videos linked at the bottom of this post.
Cut Prep
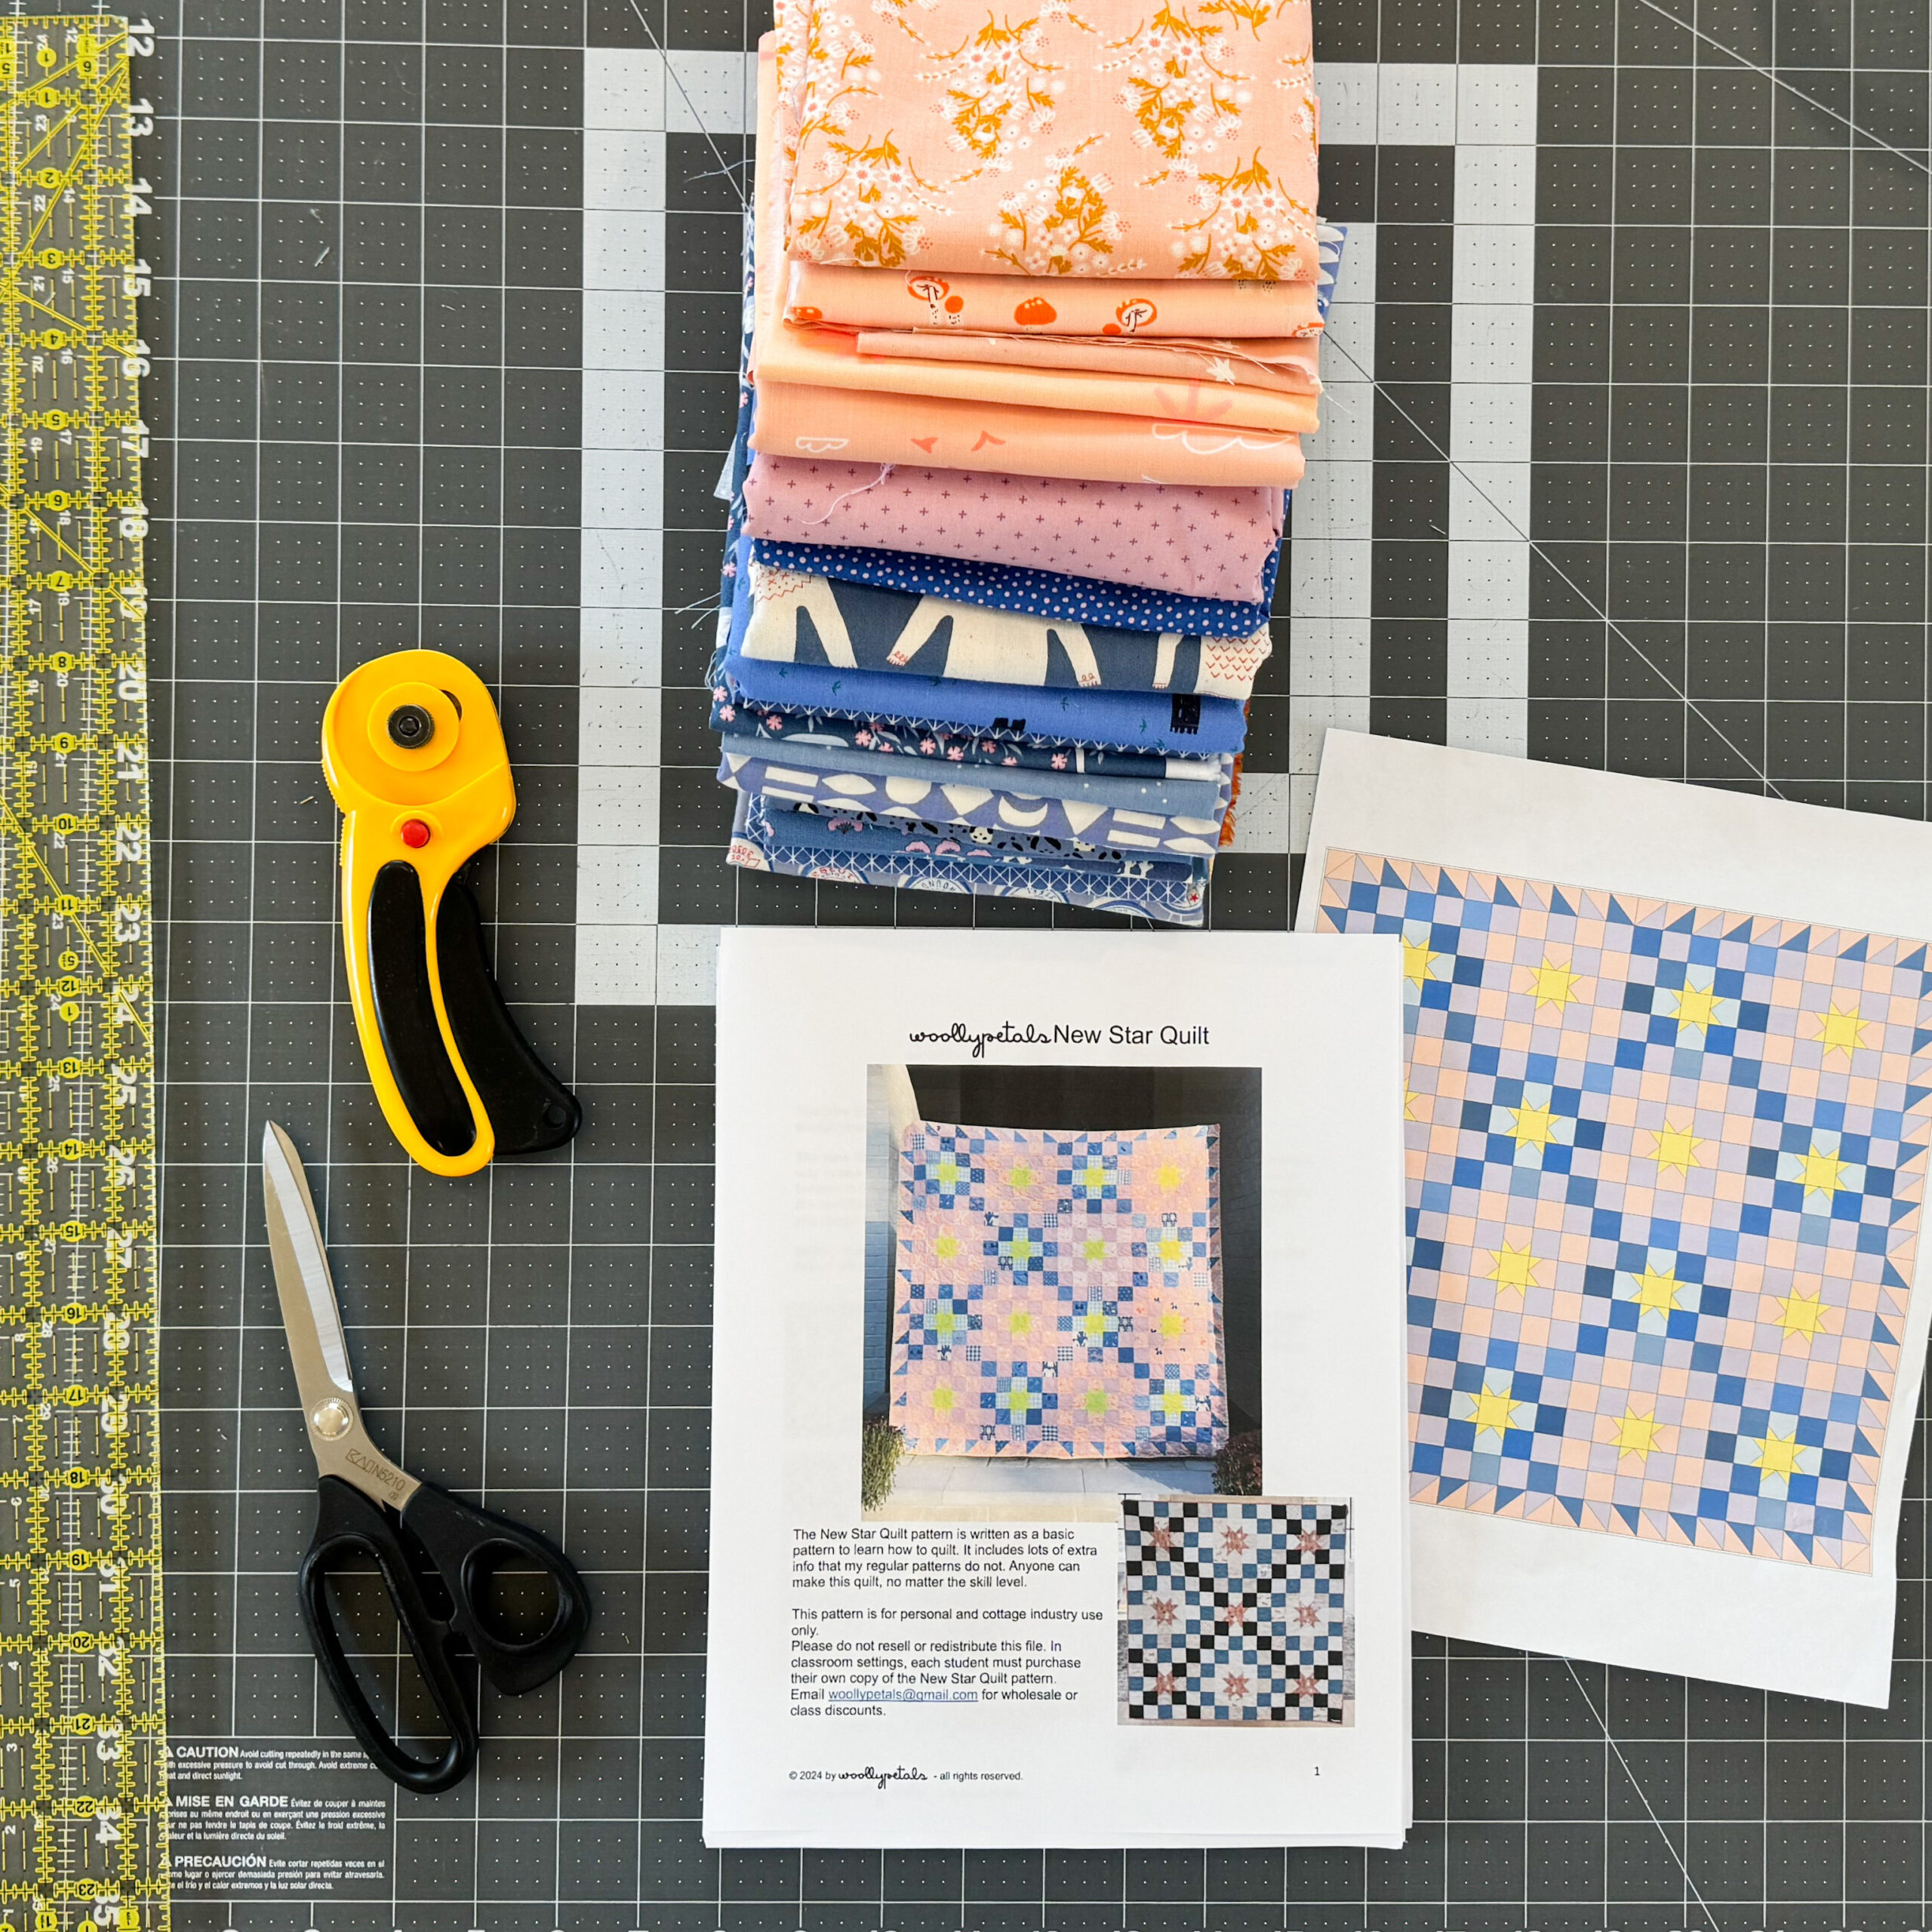
First for Week 2 – Cutting Fabric for the New Star Beginner Quilt Course you need to know what you are cutting. Take a look at your pattern. Page 7 is the cutting instructions page and it shares cutting instructions for a single block in both sizes, the whole cover quilt, and what to sub in for the larger square sized New Star Quilt.
I do recommend printing out the cutting page or having a notepad handy for notes.
If making the Cover Quilt follow the cut list under the heading Cover Quilt: Includes HST Border. Cut out the amount of each size piece under each fabric from that fabric.
Remember if you have swapped in different fabrics for the cover quilt to just not which you are subbing each fabric for. i.e. Star fabric for Brown, purple fabric for green…. etc. You can literally just cross out the color printed and write in the new color.
If you are making the cover quilt but in the larger size square/block size. This dimensions are noted at the bottom of the page. What I would do is cross out the cover quilt dimensions of each piece and write the larger piece size in its place. Remember the larger sized blocks take more fabric and make a larger quilt 88″ square. So unless you planned for this in Week 1 it’s not easy to just switch to that now.
Custom Quilt Cut Prep
If you designed a custom New Star Quilt you will have done some counts for the amount of fabric. What I mean is you counted up the pieces needed for each fabric in your design to calculate fabric quantities. For cutting you will use those same numbers.
Just note how many squares for each fabric on your cutting page or a notepad in place of the cover quilt cutting instructions. You can use the block diagrams on Page 7 with the labelled pieces as a road map.
HST Border Prep
The HST border is included in the cutting instructions for the Cover Quilt. It is Piece D for the Purple, Pink, and Dark Blue fabrics.
When custom designing a quilt remember to think about if you are doing an HST border or not.
The cut size for the HST border is the Piece D for either size quilt block. When making an HST border in the pattern you make two at a time HST’s. Which means you will use two squares of fabric to make two HST’s, both half one fabric and half the other fabric. Read pages 14 and 15 in the pattern if you have never made an HST before to understand them better.
To calculate fabric for a custom HST border you will need the same amount of squares as the border minus the corners. Depending on how many fabrics you design it with will determine how many squares of each fabric. But in general 2 squares sewn together makes 2 HSTs. So if you are making every HST out of the same two fabrics you will need half the amount of border squares from each fabric.
Or if you are not new to HSTs, or want to try a fun way to make more than two at a time HSTs. Check out my BONUS video this week about sewing a lot of HSTs at one time from two fabrics.
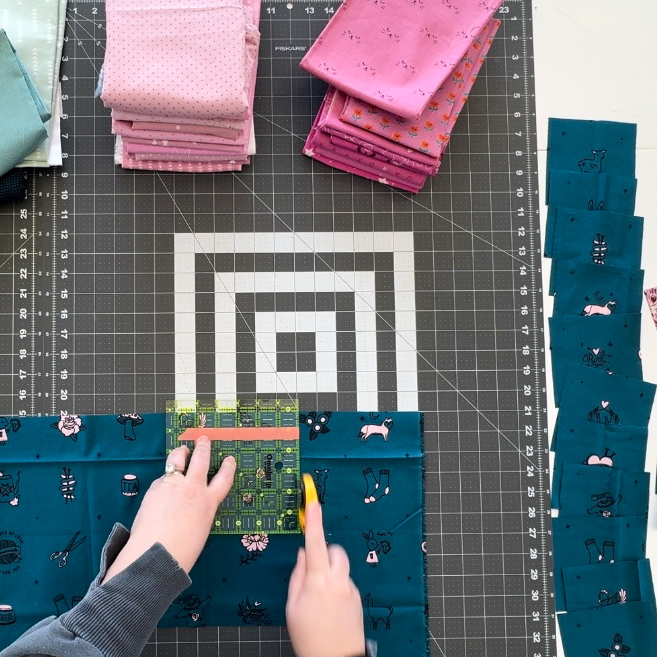
Cutting – Prepping the Fabric
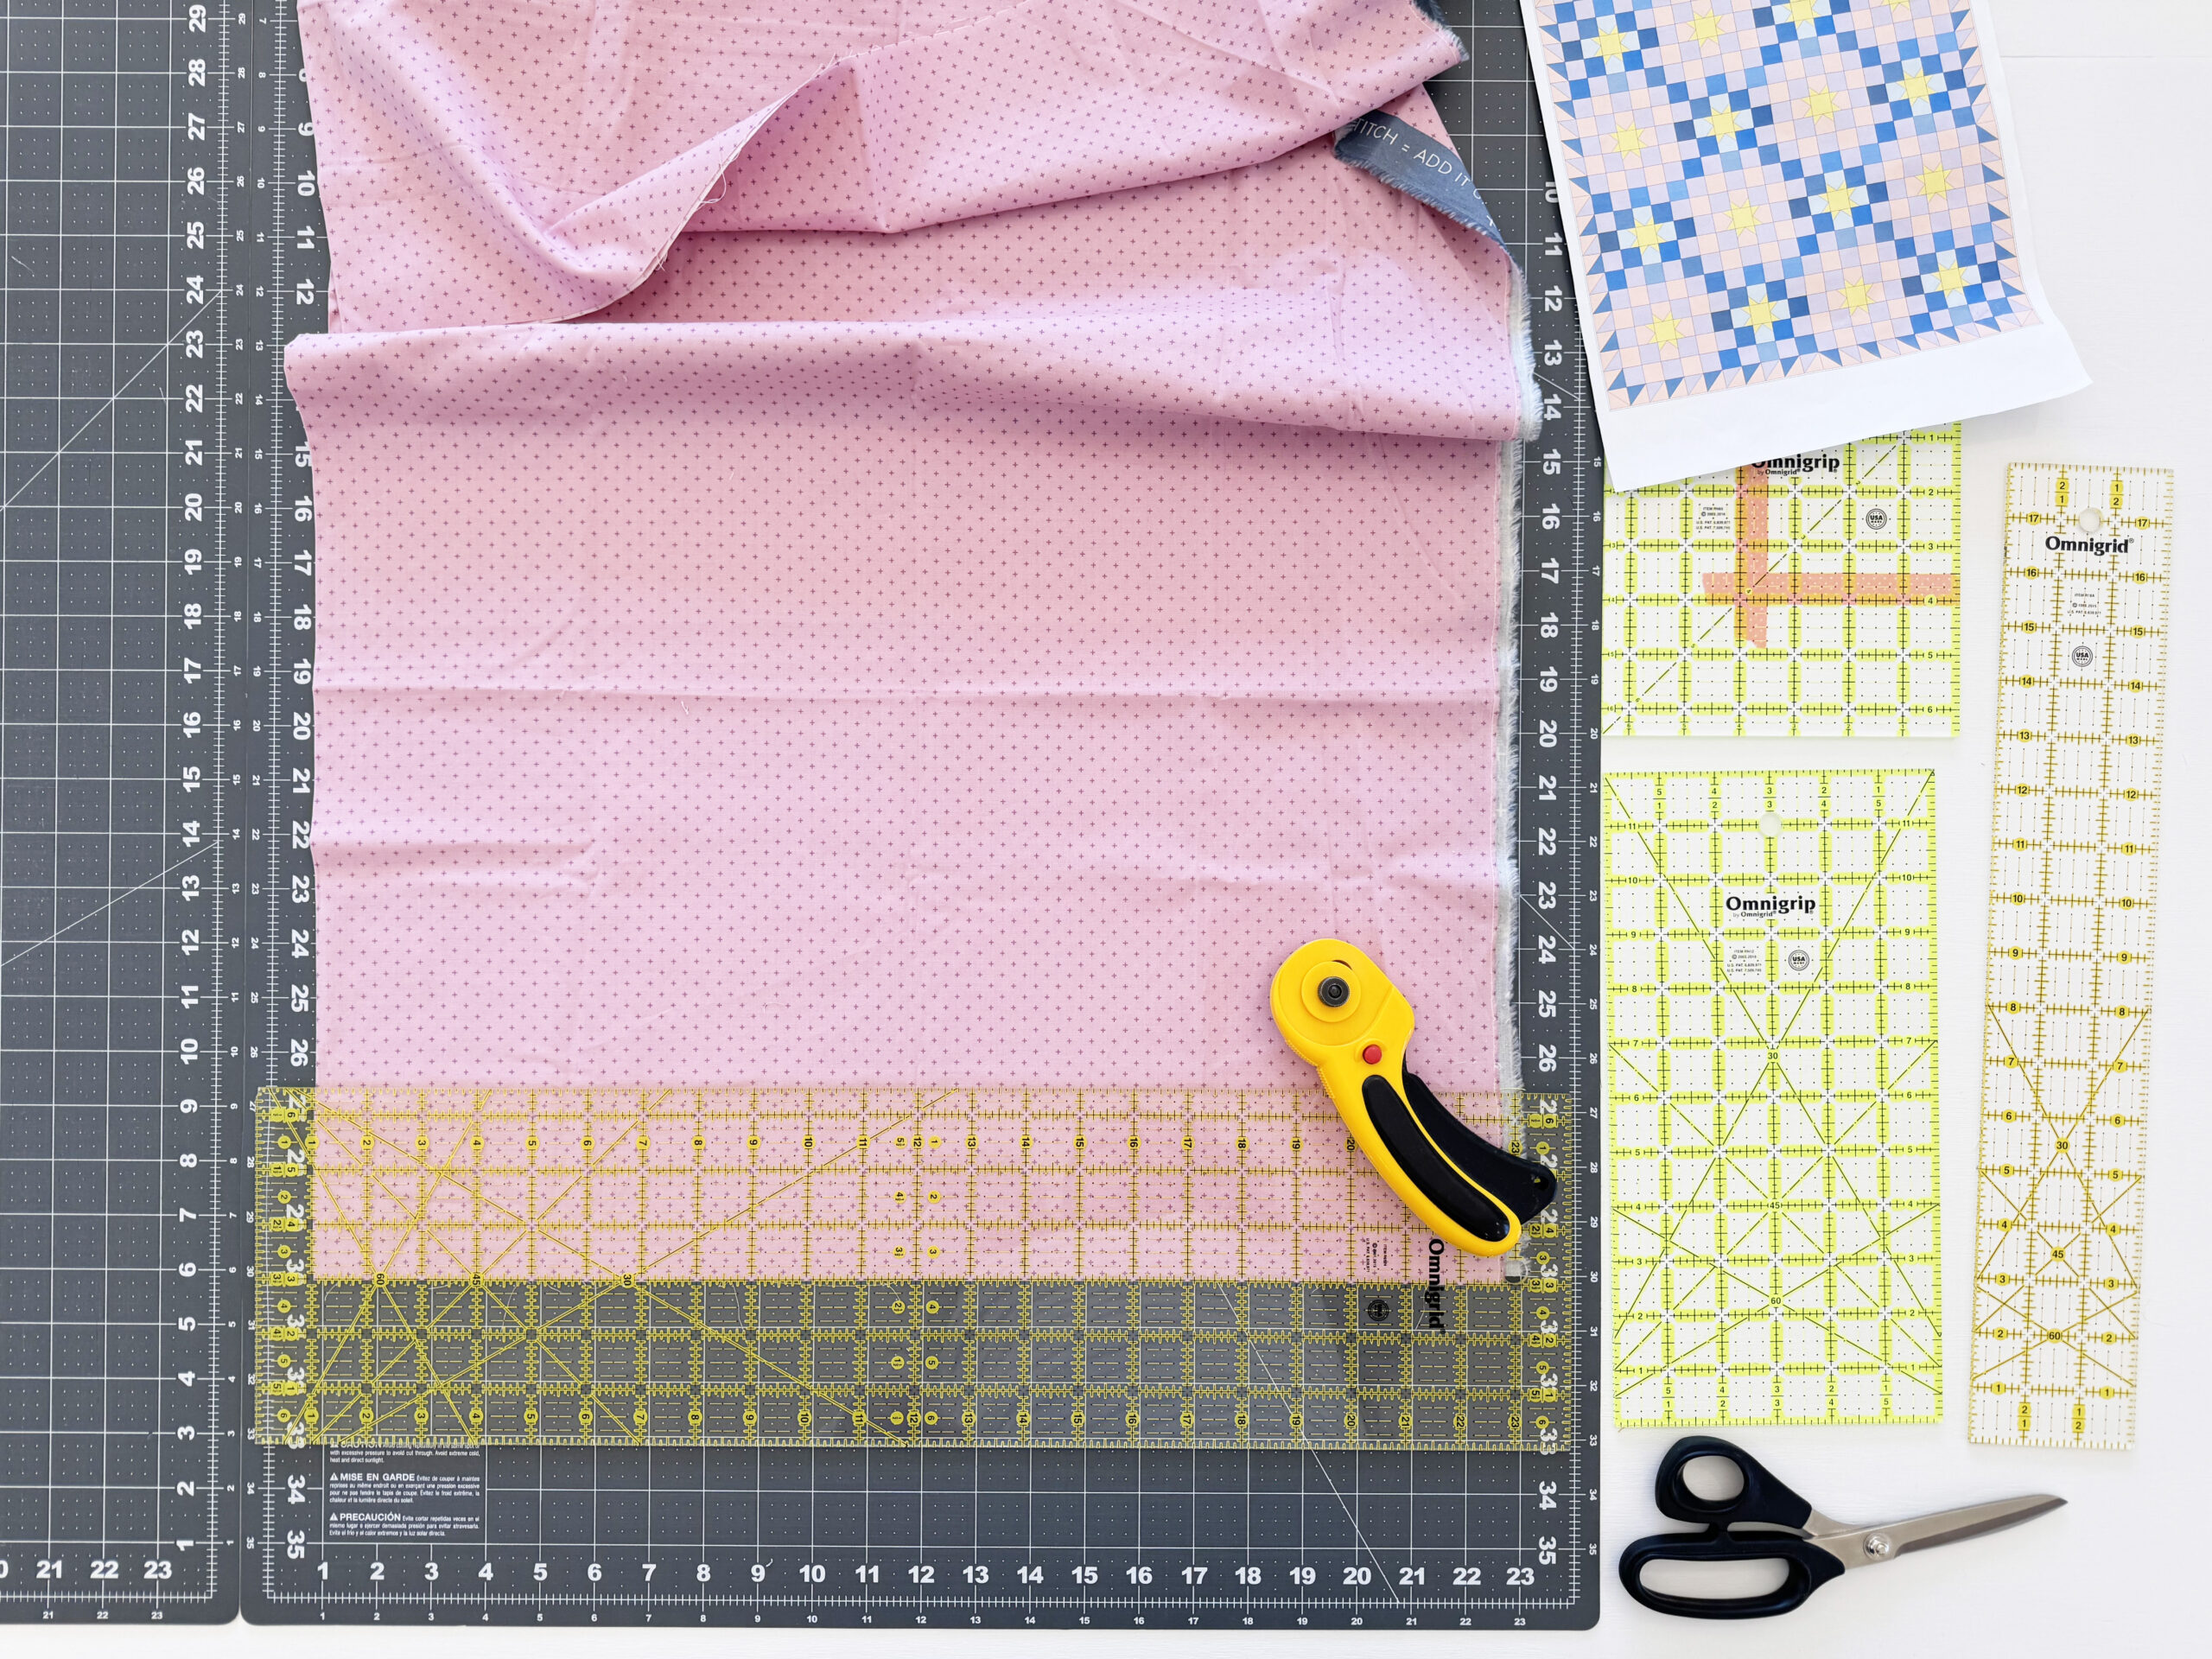
To set your fabric up for proper cutting, first and foremost iron your fabric. Whenever you have wrinkly fabric it can allow imperfect cutting. So always start with ironing. If you are using a full width of fabric that is folded in half of the bolt. There isn’t a need to iron the crease out yet. You could soften the crease by ironing it. But when cutting a wide piece of fabric I recommend leaving that fold in so you are not really doing anything for yourself by ironing it. If you iron with the fold, iron one side, flip over and iron the other side.
Then after ironing, start by cut a 90 degree angle on two sides. Lay the fabric flat horizontally, leave folded in half if you have a full width of fabric. Align a vertical line on the ruler along the folded edge or if it’s not folded, like a fat quarter, along the edge of the selvedge. Cut along the bottom of the ruler to make a straight line across the bottom of the fabric. After the bottom is straight, align the ruler vertically on one side of the bottom cut line and cut vertically to make a perfect 90 degree angle. No need to do this second cut for a folded piece, the fold on a full width of fabric makes this 90 degree angle already with the straight bottom edge. These cuts will help you align the ruler as you cut strips out.
Cutting
When cutting your fabric it is best to cut the largest size piece first and work you way down to the smallest size for each different fabric.
The New Star Quilt is all cut as squares in two sizes if not sewing an HST border. And in three square sizes if sewing with an HST border.
Cut the fabric into strips that are the width of your fabric and the height of the piece you are cutting. You will then cut those strips into squares. You can use the info in the pattern that tells you how many squares you will get out of a width of fabric and divide the amount of each quantity of squares you need from each fabric by that number to know how many strips you will cut out. Then sub cut all those strips down into the square size. If you have any strips when some width left after cutting the amount of the pieces you need. Then you can trim that leftover strip down to the next smaller size piece height and cut it into the next smaller size pieces.
Cutting – Other Patterns
Use this same technique when cutting other patterns without cut diagrams. Cut a strip the width of the fabric X the height of the tallest piece, and continue cutting down the list of pieces tallest to shortest on the strip you cut until you run out of fabric and have to cut a new strip.
Another thing to remember is always cut from one corner of the fabric and work your way up and to the opposite side. This tip is more for when you are cutting just a couple pieces from yardage and don’t want to cut a full strip across the fabric. Starting in a corner ensures the remaining yardage is as large as possible. In the future if you open a piece of fabric yardage and see a large piece cut out of the middle and find out you can’t use that piece of fabric.
Often Quilt Patterns with intricate designs or specific fabrics used in specific places will have cutting diagrams to make the most out of the fabric they recommend.
Fussy Cutting
In Week 2 – Cutting Fabric for the New Star Beginner Quilt Course you won’t really need to fussy cut anything. But you could! So I am going to explain what it is and you can watch the Fussy Cutting Bonus video.
Fussy Cutting is when you place the image or motif of a fabric pattern in a specific spot on your fabric piece. More specifically in the center of a fabric piece. Despite the New Star Quilt Pattern not requiring fussy cutting there is an opportunity for it.
In the cutting videos I am cutting out a larger size New Star Quilt. Because of the fabric I pick I decided to fussy cut the middle of the stars. The fabric I selected for the stars has a very wide set image driven print. Which when randomly cut into small pieces wouldn’t do really at all. It is very much made to use on a larger scale or to fussy cut. So I fussy cut 16 cute little pictures out into 16 squares.
An easy way to Fussy Cut is to use a clear ruler and if you don’t have the specific size you want to cut mark out the size in wash tape on the ruler. Then you can lay the clear ruler over your fabric to align the image in the center of the piece you are cutting. Consequently making it very simple to fussy cut the fabric perfectly.
Homework
Your Homework for Week 2 – Cutting Fabric is to watch the Youtube Videos, then prep your fabric. Once you have prepped the fabric, cut out all the pieces for your New Star Quilt.
The Youtube videos will really help a lot as I further explain some of the stuff you have read about today. And visuals are super helpful for the cutting steps.
NSBQC Week 2 Video – Cutting Prep
NSBQC Week 2 Video – Fussy Cutting
Woollypetals HSTs Tutorial – Any Amount and Size at ONE time. I’ll share this video again next when I officially explain how to make HSTs. But if you decide to try out this method you will have to cut your fabric differently so that’s what I like it here too.
New Star Quilt pattern on Etsy
I’ll see you back for week 3 where we learn the sewing techniques in the pattern. Stitch’N’Flip, HSTs, Straight Sewing.
Back to the New Star Beginner Quilt Course Page with all the links.
Community and Questions
I hope you have enjoyed Week 2 – Cutting Fabric for the New Star Beginner Quilt Course. Check out @woollypetals posts on Instagram for the New Star Beginner Quilt Course, leave your IG name and when you started the course and make friends with anyone else who has commented. This is a great way to find friends who are just starting out in the quilting world.
Have questions? Need answers right away? I do respond to questions on these posts but if you need an answer asap please reach out via email or Instagram. I am Instagram the most and would be happy to answer any questions you message me there. Typically I hop into email and respond to questions within a day or two.
Thanks so much for starting your quilting journey with woollypetals and the New Star Quilt Course.