It’s our last week and we are leaning How to Bind a Quilt. This is the last week of the New Star Beginner Quilt Couse and I am going to share info on how to trim your Quilt after quilting. As well as how to make binding and bind your quilt two different ways. Machine applied and then machine stitched or my favorite machine applied, and then hand stitched. Let’s get into it!
Trimming a Quilt
After you successfully quilted your quilt last week you need to trim down the batting and backing to be the same size last the Quilt Top. To do that you need to start on one side of the quilt top laid out flat on a cutting mat. Then align your longest ruler on the edge of the quilt top along. With a rotary cutter trim off the batting and backing. Then scoot the quilt down with the next section to trim on the mat. Realign the ruler and trim. Continue on all sides of the quilt till the batting and backing is the same size as the Quilt Top.
Troubleshooting any edges that might shrink in further on the edge or not be totally straight. Make sure your quilt top is aligned straight on the mat. If you need to shift any areas while the ruler is in position that fine. A worse case trim off a little extra of the quilt top to compensate for edges that are a little off.
But try and keep the trimmed edge as close to the quilt top edge as possible. The further into the quilt top you trim the more of the quilt block pattern will be cut off.
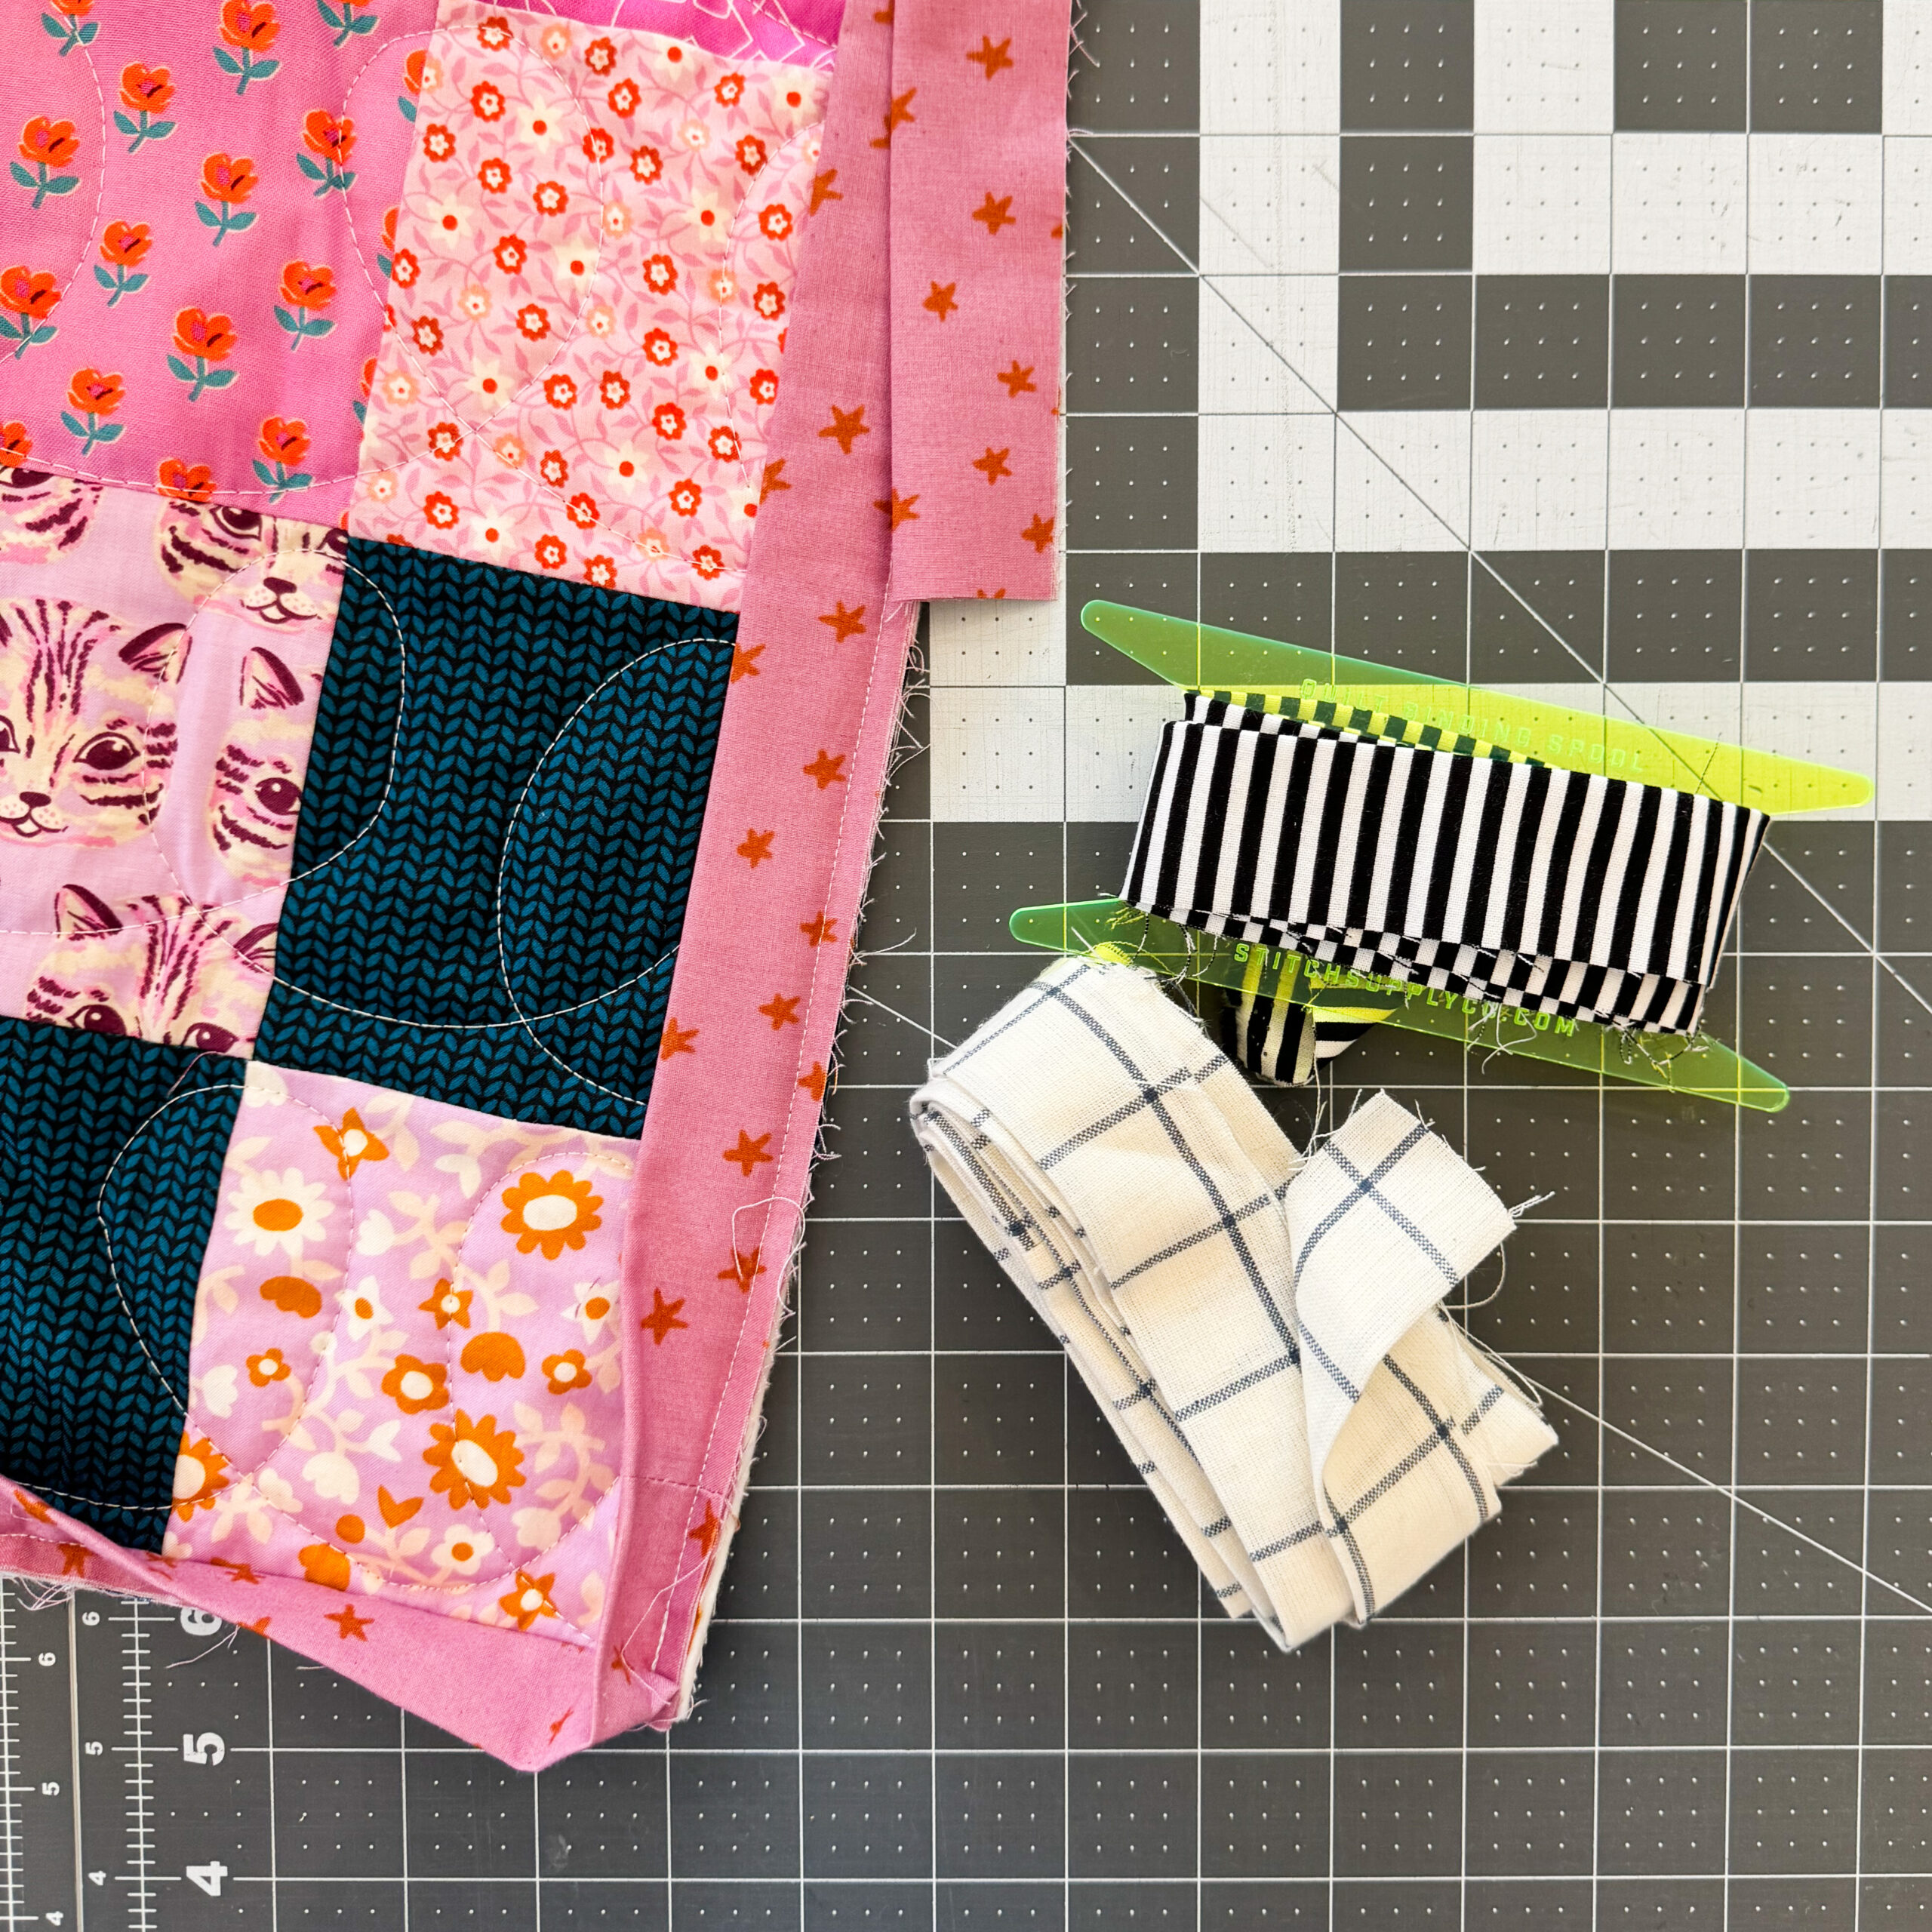
Making Binding
Next we get into How to Bind a Quilt and to do that you need to make binding. So you need to calculate how much length of binding you will need. Measure the length of a side of your quilt and the top or bottom of your quilt. Double each number and then add to get your total number of inches around the quilt. Or you can measure all the way around your quilt combining all four sides to a total number in inches.
Once you have the total number of inches for the your quilt sides you need to divide that number by the width of fabric you are using of the binding. You can measure the useable space on your fabric between the selvedges. It’s typically 40″-44″ wide.
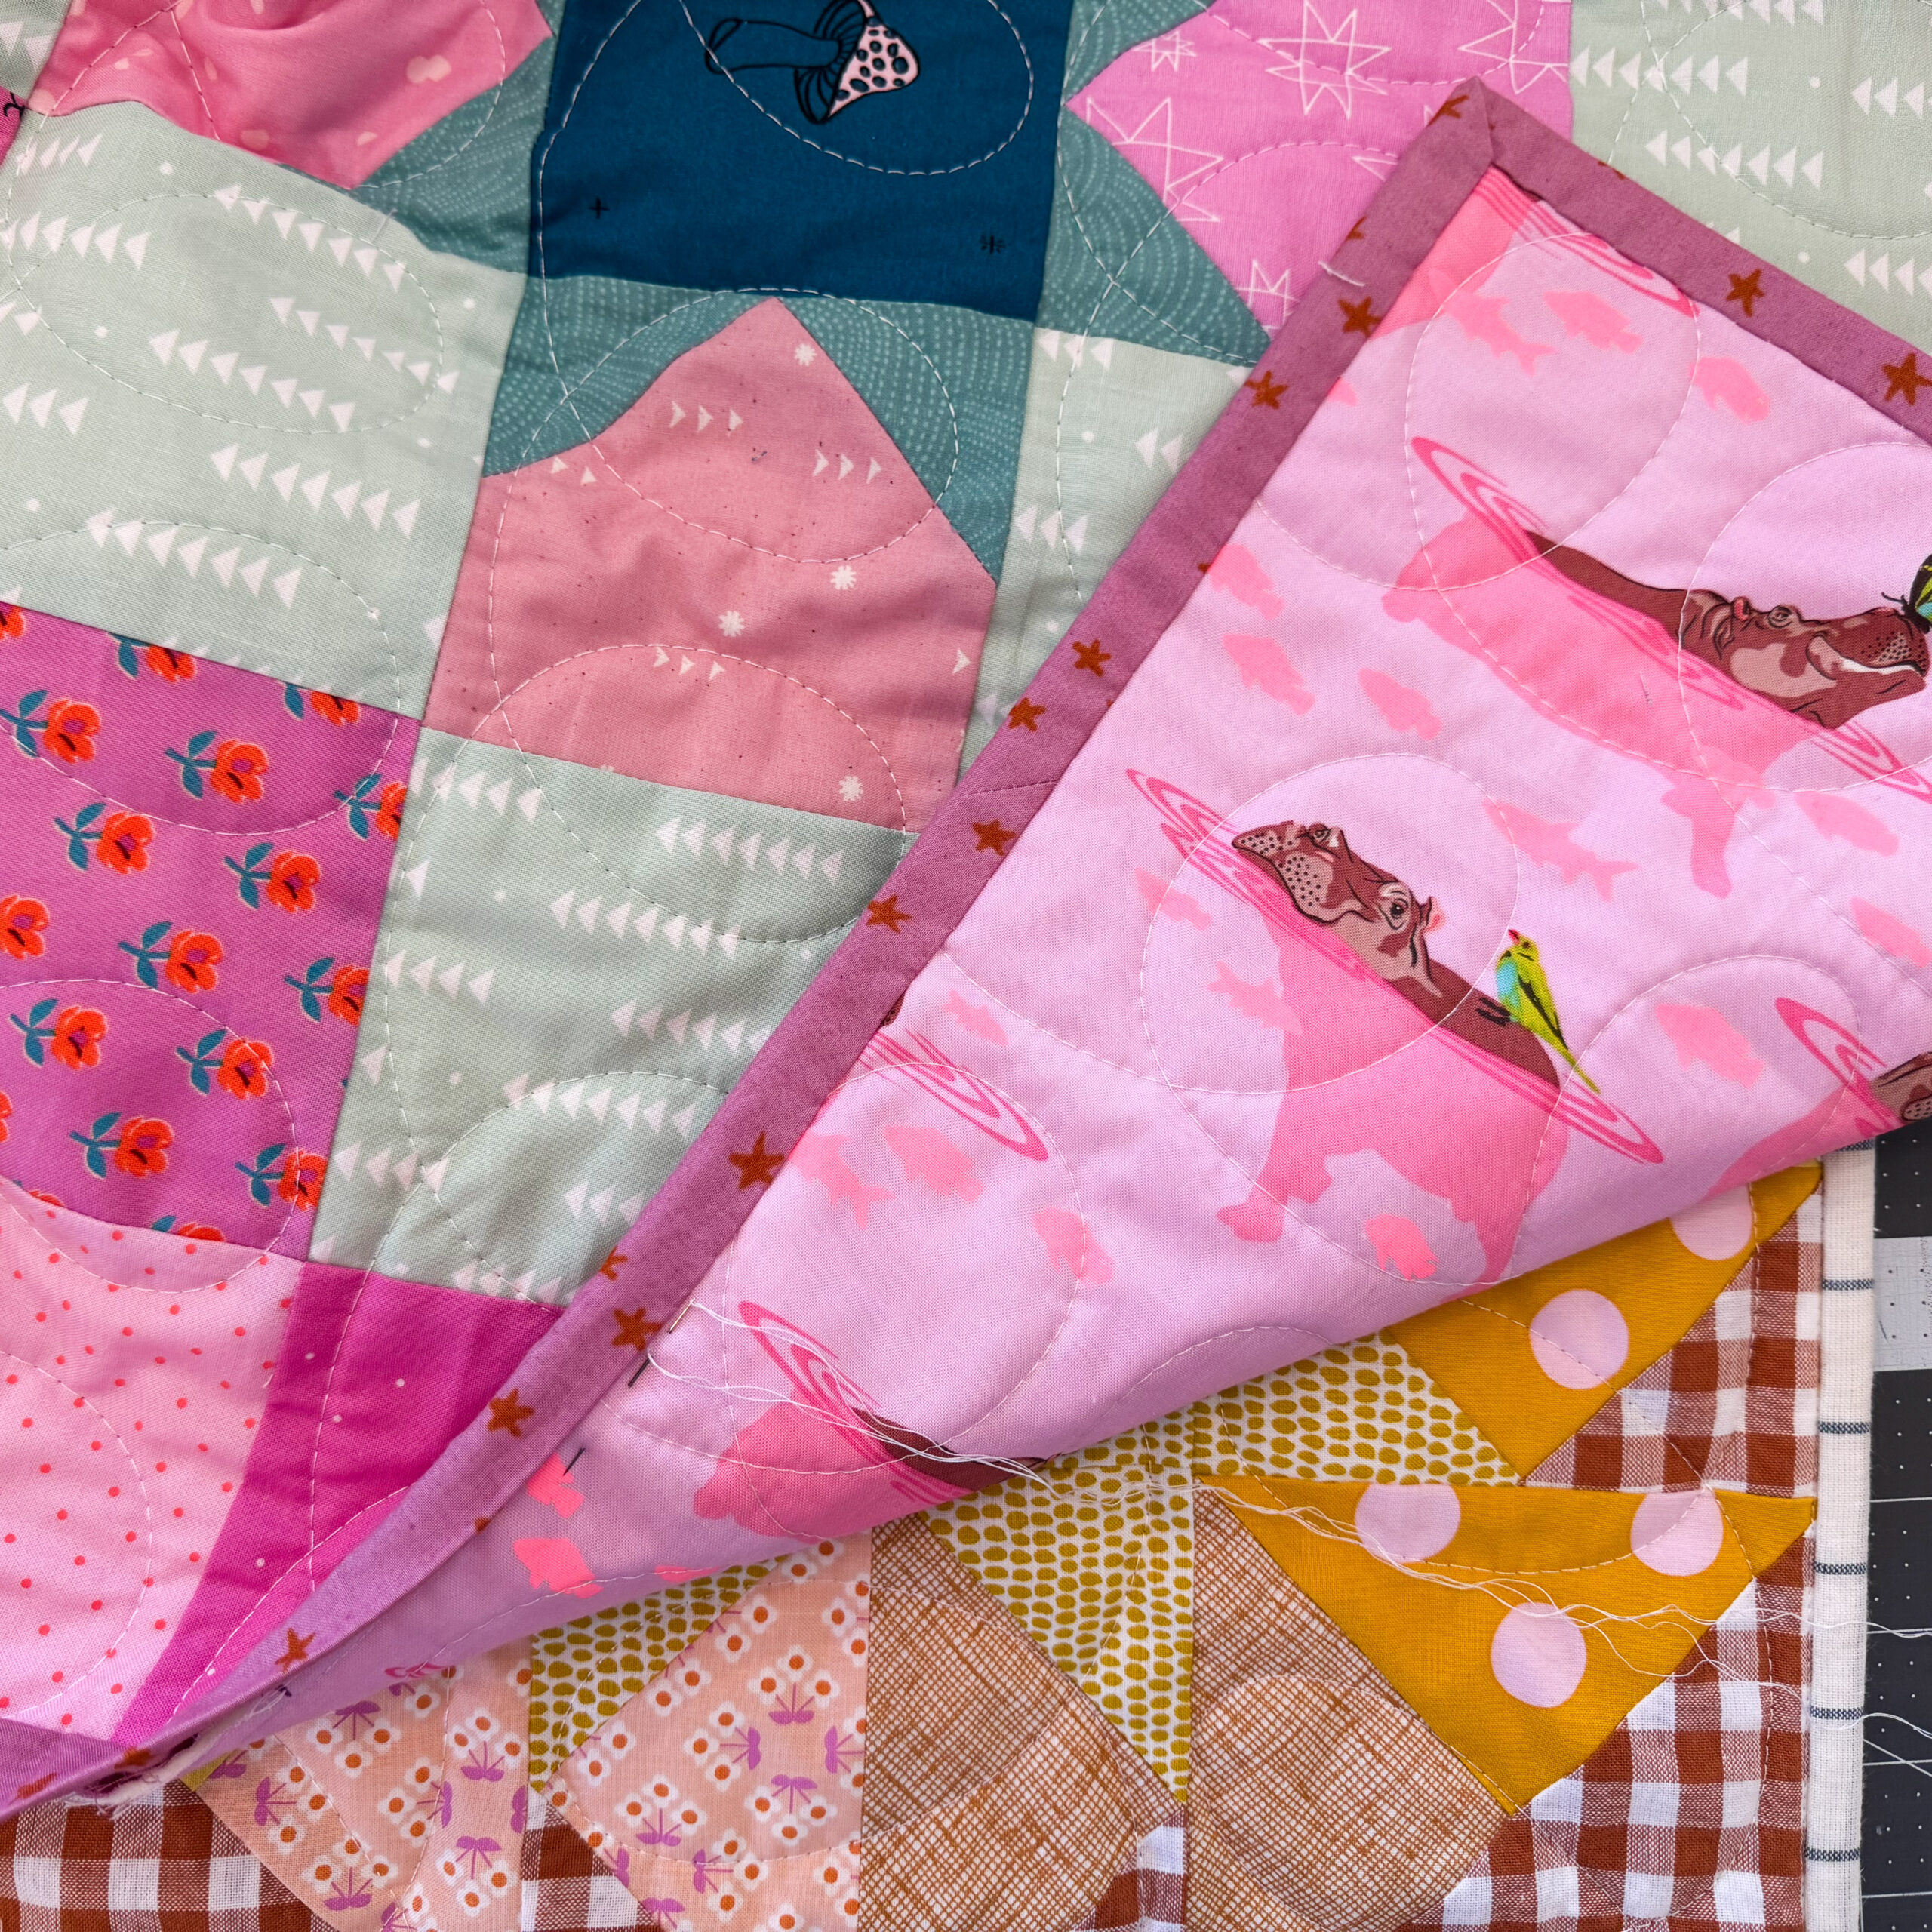
So for instance the quilt I hand stitch the binding in the videos is 68.5″ tall x 70″ wide. So 68″ x 2 = 137. 70″ x 2 = 140. 137 + 140 = 277. 277 divided by 42″ (width of my fabric for bidding) = 6.59… rounded up to 7. I need 7 widths of my binding fabric cut at 2.5″ tall each.
Just like cutting fabric in week 2 we use the fold off the bolt, cut a registration cut to make sure it’s all square and straight. And then cut 7 2.5″ tall strips by width of fabric. Or how ever many strips you calculate you need.
Then you will sew the strips end to end for one long strip of 2.5″ tall fabric. You can sew the strips right sides together with a straight seam backstitching at the top or bottom. Or a bias seam on the angle. See video for how to do that.
Once you have the lengths of binding sewn together you will need to iron the full length in half. So your binding will end up 7 WOF long by about 1.25″ with a folded edge and the two raw edges touching. Make sure to iron the seams connecting each width OPEN so they lay as flat as possible.
Binding – Machine apply
To bind, wether machine or hand stitched you need to sew the first side on by machine. This is typically done on the front of the quilt. You will start on one side of the quilt sew the two raw edges aligned on the edge of the quilt. Make sure to leave a 8″ tall of binding before you start you stitches so you can easily sew the binding ends together at the end.
Sew the binding down the side making sure the edges are all perfectly aligned and you are using a 1/4″ seam allowance.
Backstitch 1/4″ up from the next sides edge. Turn and fold the binding so the raw edges align with the next quilt side. See the video for more explanation. Continue sewing around all four sides of the quilt. When you get back to the start of first side. leave a bit of space to connect the two bindings to make a continuous loop of binding. Then sew the last section to the quilt top.
From this point the binding is fully sewn to the quilt top and will need to be wrapped around the edge and sewn to the back of the quilt. You can machine sew the binding to the back or hand stitch. Check out how to do both below.
Hand Stitched Binding
Once the binding is applied to the front of the quilt by machine you will need to wrap the binding to the back of the quilt so the folded edges covers the stitches of applying the binding to the front and the edge of the quilt fills the binding. Then using a ladder stitch you will stitch the binding to the back of the quilt top along the crease of the binding. This is shared in one of the videos for week 8.
Machine Stitched Binding
To machine finish the binding you will do the same thing and wrap the binding to the back. But iron and clip it all in place around the quilt making sure the folded edge of the binding nicely covers the stitches of the binding sewn on the front. To sew the binding down you will sew it from the front stitching on the quilt top right next to the edge of the binding on the front. It’s called stitch in the ditch. And you will need to be careful to catch the edge of the binding on the back. I share how to do this in the videos as well.
Sometimes if you want to make sure you are catching the binding you can cut the binding slightly wider so you will for sure be able to catch the edge in the stitches.
Both options for finishing you binding take practice. So it’s good try both and pick the one that feels the best for you.
Week 8 – Homework
Your Homework for Week 8 – How to Bind a Quilt is to bind your quilt. Watch the Videos on Youtube. And if you think you want to try both methods of binding try one on this quilt and then try the other on your next quilt. Then you can pick which feels the best. I love to hand stitch my binding as I love the slow down pace at the end of a project.
NSBQC Week 8 -Trimming a Quilt and Making Binding
NSBQC Week 8 – Bind a Quilt by Hand
NSBQC Week 8 – Bind a Quilt by Machine
New Star Beginner Quilt Course Landing Page
Community
I hope you have enjoyed Week 8 – How to Bind a Quilt for the New Star Beginner Quilt Course. Check out @woollypetals posts on Instagram for the New Star Beginner Quilt Course, leave your IG name and when you started the course and make friends with anyone else who has commented. This is a great way to find friends who are just starting out in the quilting world.
Have questions? Need answers right away? I do respond to questions on these posts but if you need an answer asap please reach out via email or Instagram. I am Instagram the most and would be happy to answer any questions you message me there. Typically I hop into email and respond to questions within a day or two.
Thanks so much for starting your quilting journey with woollypetals and the New Star Quilt Course.